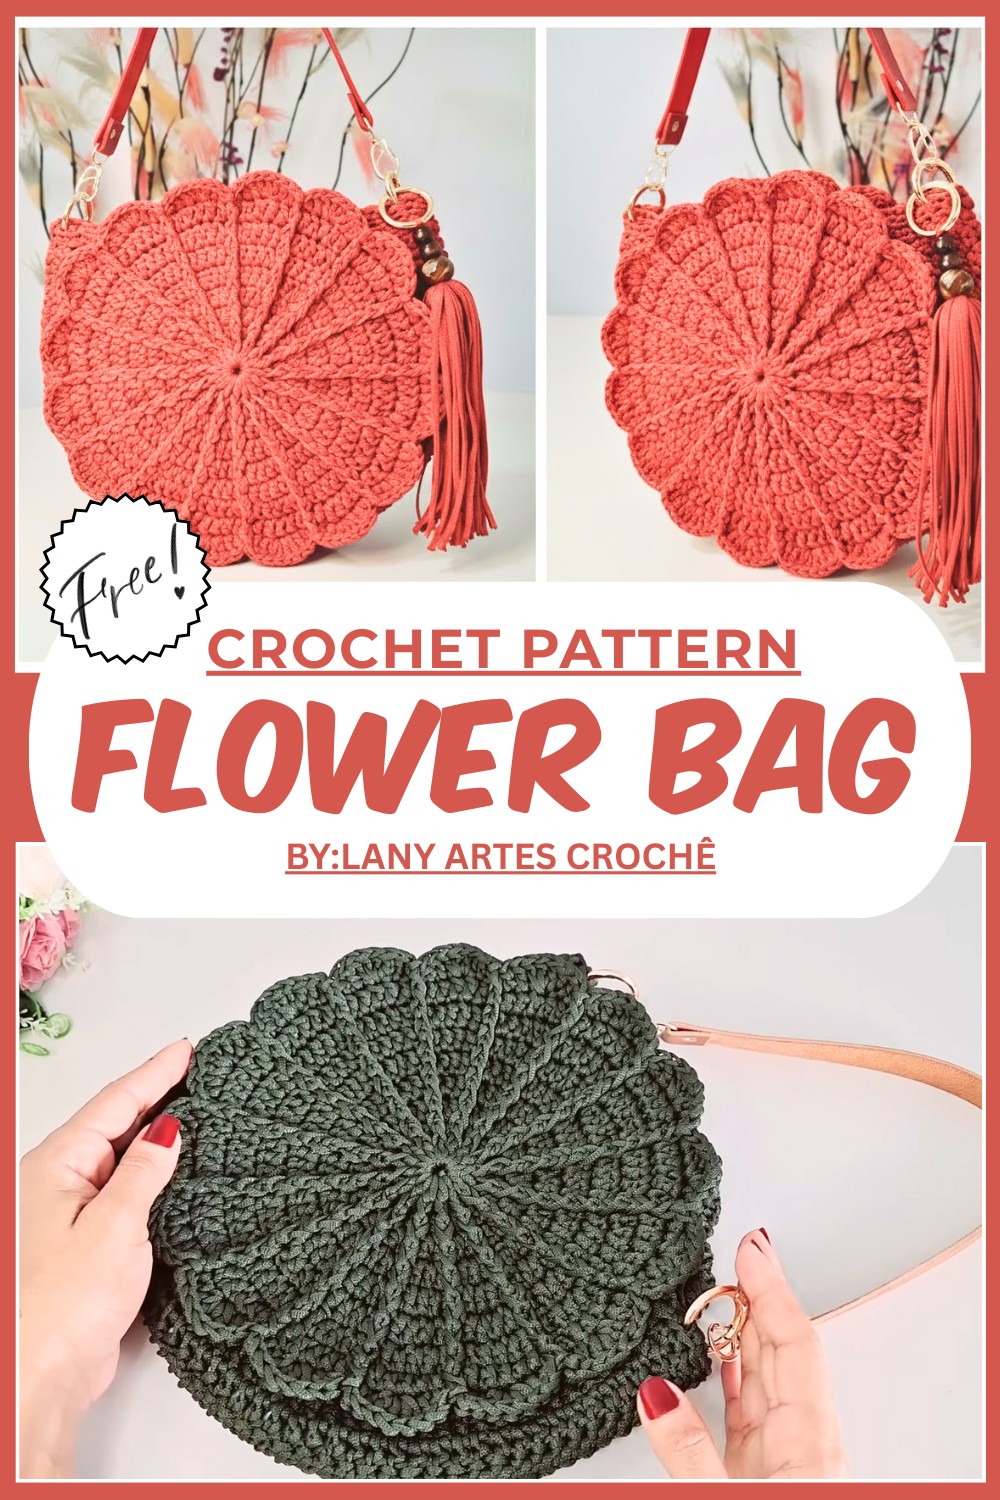
Blossom Crochet Flower Bag Pattern With Unique Style
Bloom with style using this charming crochet flower bag pattern that’s perfect for adding a splash of color and joy to your everyday look.
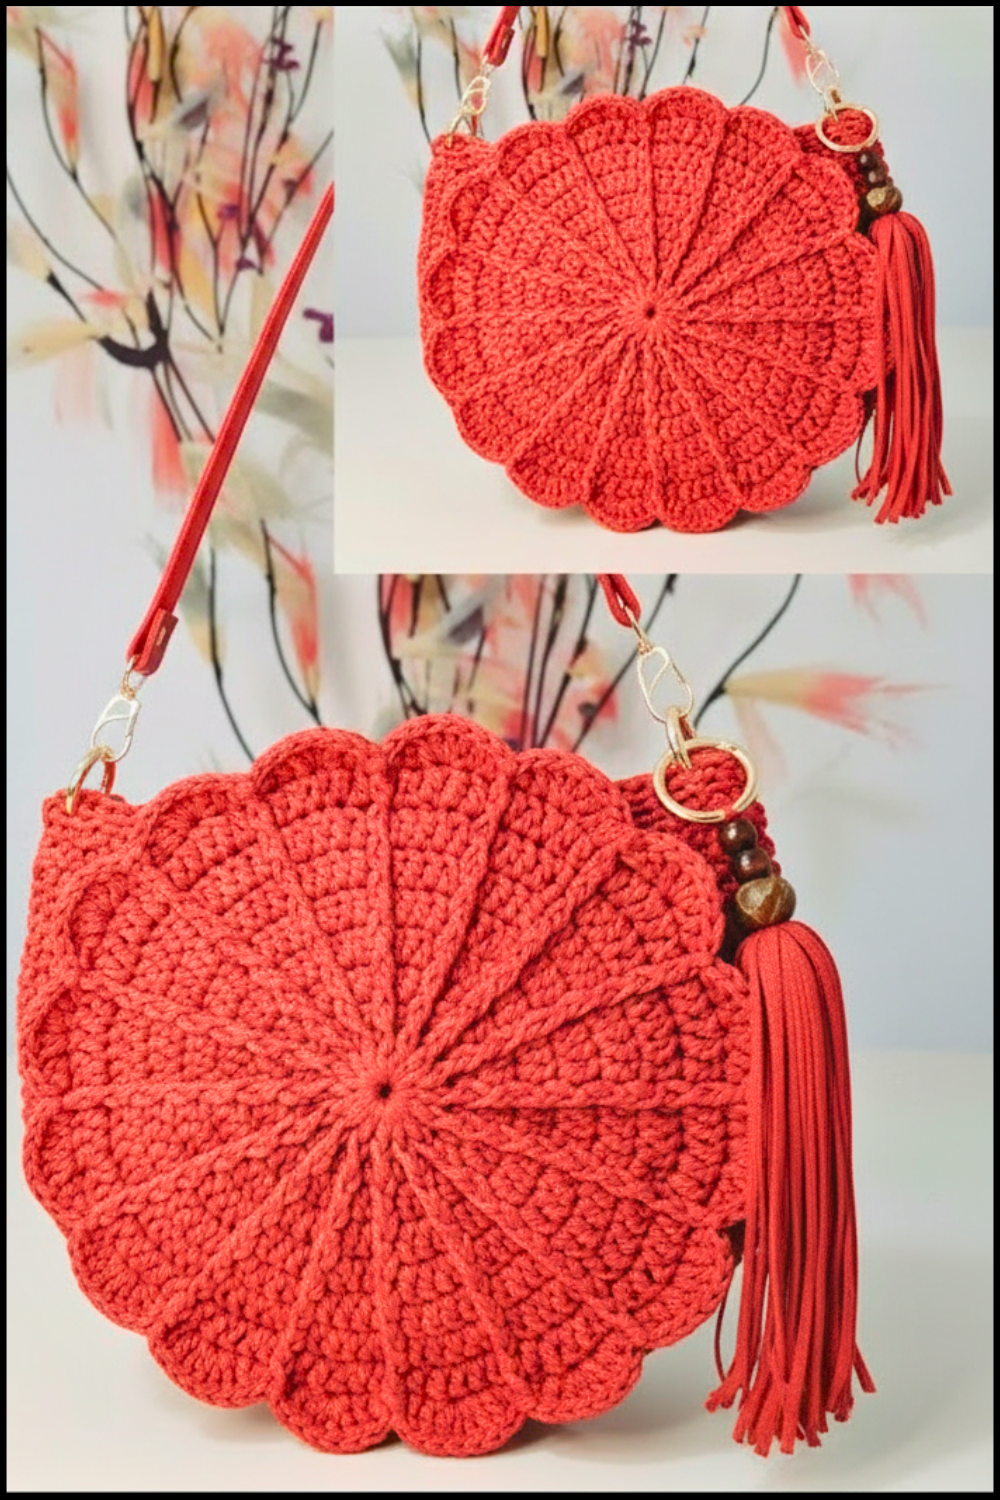
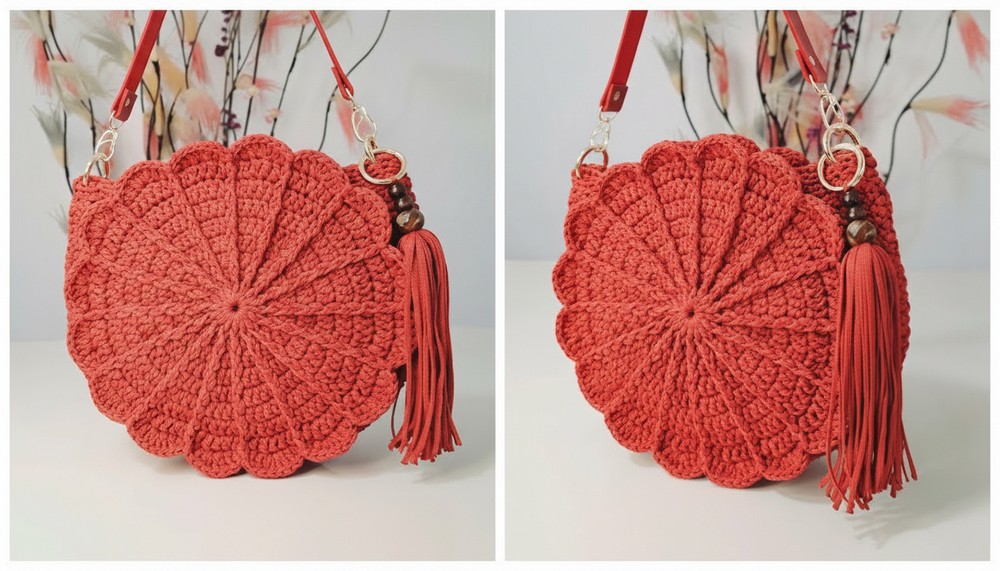
Carrying a bag that blooms just like a garden full of colorful flowers wherever you go. This lovely design uses the crochet flower bag pattern to create a beautiful and bright accessory that catches everyone’s eye. The bag is covered with delicate flower shapes, each one soft and textured, making it look like a bunch of fresh blossoms.
Fresh & Fun Crochet Flower Bag Pattern You Must Try
It’s not only pretty but also useful, you can carry your daily things, like a small wallet, phone, or keys, in style. The gentle colors and charming flower details give the bag a warm, cheerful feeling, perfect for sunny days or special outings. Lightweight and soft, the crochet flower bag is easy to carry and adds happiness to your look. It’s a wonderful way to bring the beauty of nature into your everyday life while keeping your things safe and handy.
Structured Crochet Nautical Thread Bag Pattern
Materials Needed:
- 3 mm nautical polypropylene thread (approx. 278 meters / 400g cone)
- Crochet hook 4.0 mm (or 3.5 mm for tighter stitches)
- Pair of 18 mm magnetic buttons (gold, with back latches)
- Pair of 30 mm articulated rings
- Eco-friendly handles (link in description)
- Small piece of fabric for lining
- Yarn needle, scissors
- Lighter (to seal thread tails)
- Sewing needle and thread (preferably nylon)
- Stitch markers
Special Features:
- Made with soft yet structured polypropylene thread
- Beautiful relief crochet stitch pattern for texture
- Professional invisible finish and edging
- Fully lined interior with sewn fabric
- Magnetic button flap closure and sturdy attachments
- Eco-friendly strap and hardware options
Level of Difficulty: Intermediate
Need familiarity with: magic ring, double crochet, relief stitches (front post/back post dc), increases, decreases, finishing techniques including lining and sewing hardware.
Step-by-Step Pattern
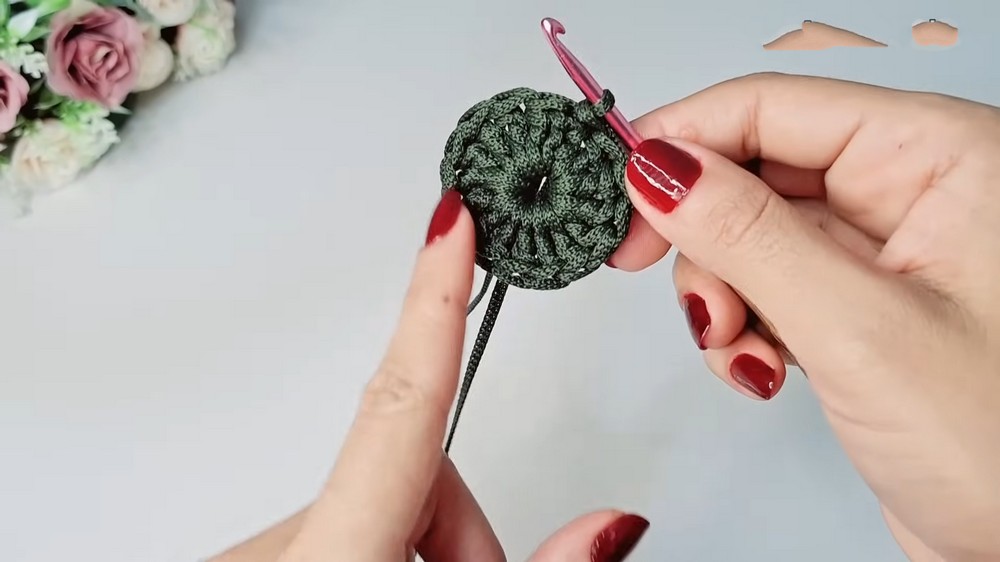
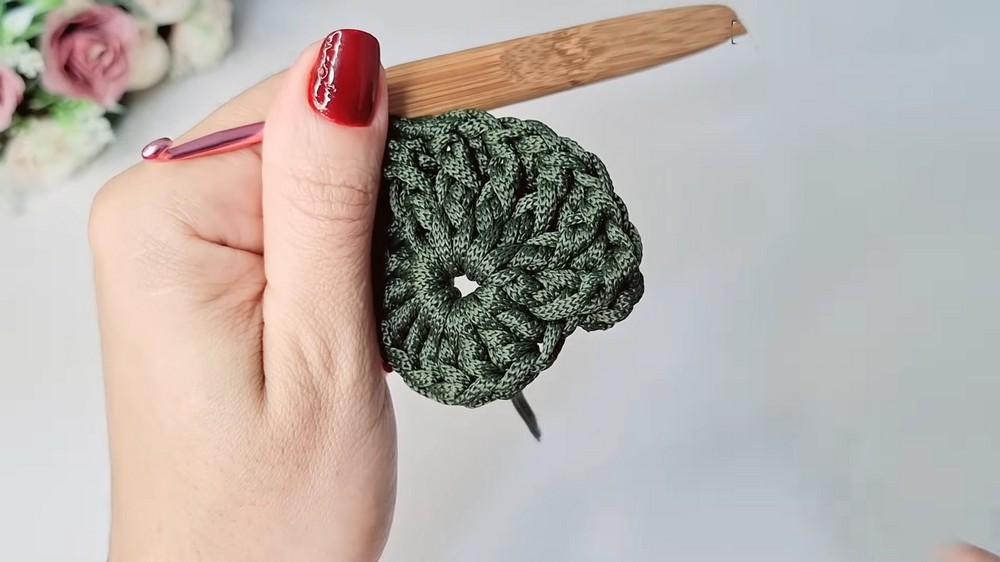
Step 1: Starting the Magic Ring Base
- Form a magic ring with your thread around two fingers crossing the ends in an X.
- Insert hook under the X, pull yarn, chain 3 (counts as first dc).
- Make 15 double crochets (dc) inside the ring together with the initial 3 chains count (total 16 dc).
- Pull yarn to close ring tight.
Step 2: Closing Round 1
- Slip stitch (sl st) into the 3rd chain of the beginning chain 3 to finish the round.
Step 3: Row 2 – Begin Relief Stitch Pattern
- Chain 3 (counts as first dc).
- Relief double crochet (back post dc) + normal dc alternately across the round:
- Insert hook behind the post of the previous row's chain 3 and dc (relief dc).
- Next stitch: dc normally (in the top loops).
- Continue alternating these stitches around (total 32 stitches = 16 relief + 16 normal).
- Finish with a slip stitch into the 3rd chain.
Step 4: Row 3 – Increasing with Relief Stitch
- Chain 3 (first dc).
- Increase between relief stitches:
- Work 2 dc into same stitch between relief stitches to increase.
- Working relief dc on relief stitches, increase dc between them, repeat around.
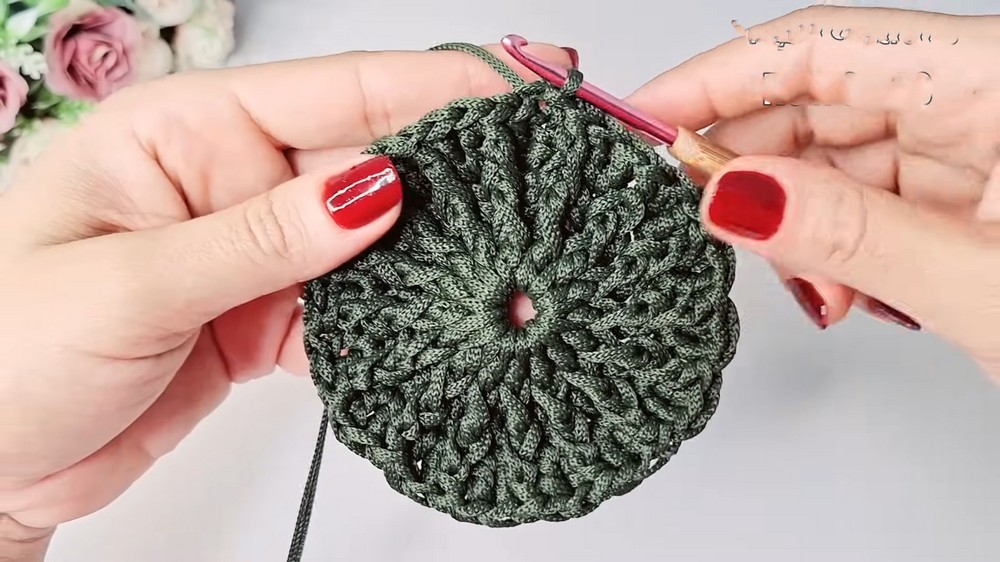
- Finish with slip stitch; total stitches increase to 48.
Step 5: Row 4 – Continue Pattern with Increase
- Chain 3, relief dc on front of relief, increase dc between stitches, working pattern similar to Row 3.
- Total stitches: 64.
Step 6: Row 5 – Increase and Relief Stitch Sequence
- Chain 3, work two single stitches then increase using 2 dc in one stitch, relief stitch on relief stitches, repeat.
- Total stitches: 80.
Step 7: Row 6 – No Increases, Straight Relief Pattern
- Chain 3; work relief dc and normal dc over each stitch without increases.
- Total stitches: 80.
Step 8: Row 7 – Resuming Increases
- Chain 3; work 3 normal dc in a row then increase (2 dc in one stitch), repeat with relief stitches in between.
- Total stitches: 96.
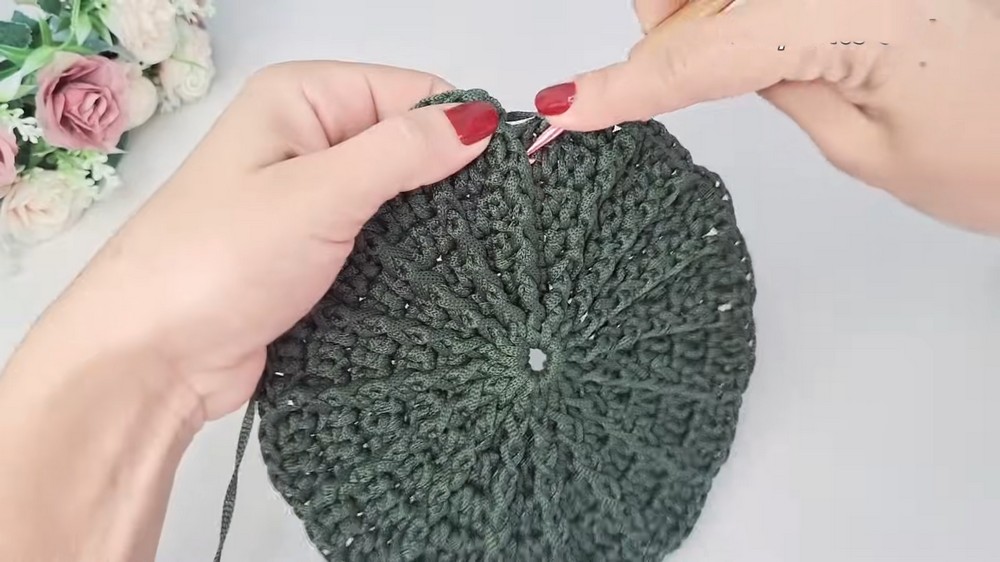
Step 9: Row 8 – Front Loop Only dc and Relief Stitches
- Chain 3; work double crochets picking only front loops, leaving back loop free.
- Relief dc and 5 normal dc alternately over front loops to create texture.
- Total stitches: 96.
Step 10: Row 9 – Final Row Formation with Increases and Relief
- Chain 3; make 4 dc in single stitch at center point to increase; work 2 normal dc on sides, relief stitches with single crochet, repeat.
- Skip first 3 chains; slip stitch to finish row.
- Leave a long thread tail, work an invisible finish by pulling yarn through back loop stitches and knot securely.
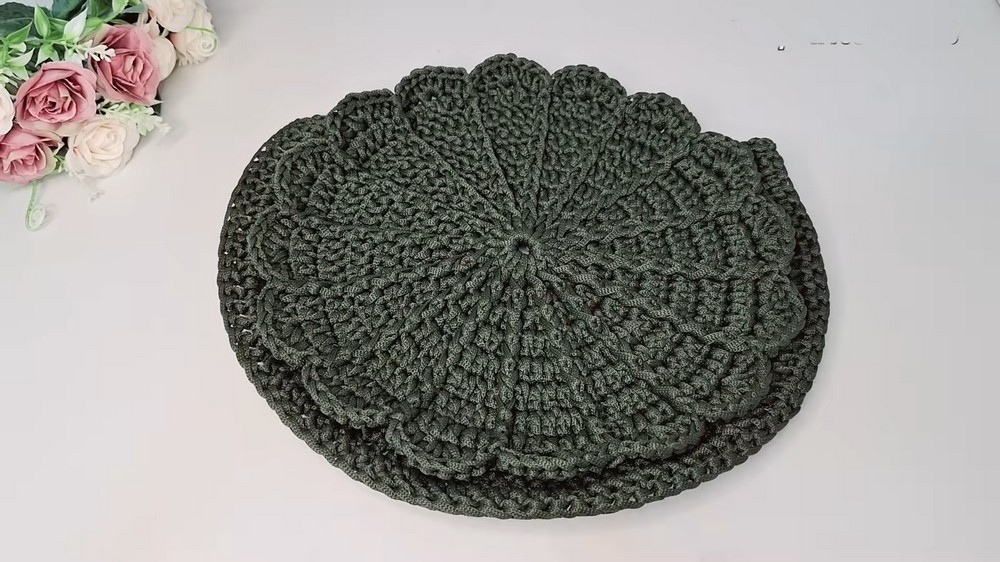
Step 11: Measure & Finish Crochet Body
- The piece should measure approx. 27 cm in diameter.
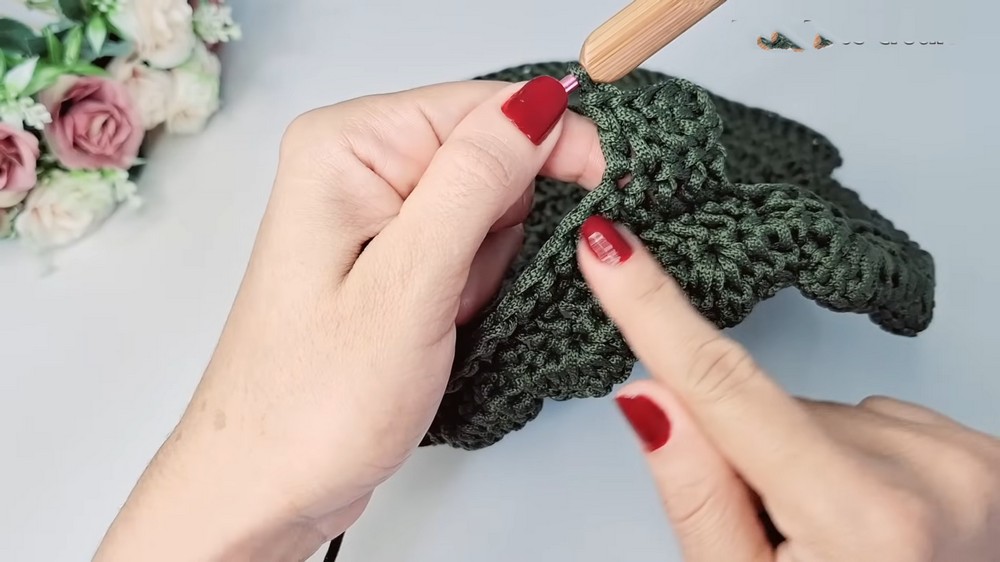
Step 12: Crochet Side and Bottom Bands
- Insert hook into free back loops from previous rows.
- Chain 3 (counts as dc height), work dc evenly around base edge for 72 stitches.
- Work 3 rows of dc with chains of 3 to establish side and bottom band.
- Finish off, weave in ends, and seal with lighter.
Step 13: Prepare Two Equal Bands
- Repeat step 12 to create two identical side/bottom bands.
Step 14: Lining Fabric Preparation
- Choose fabric slightly larger than bag.
- Place bag centered on fabric and mark outline with 1 cm seam allowance.
- Cut fabric accordingly.
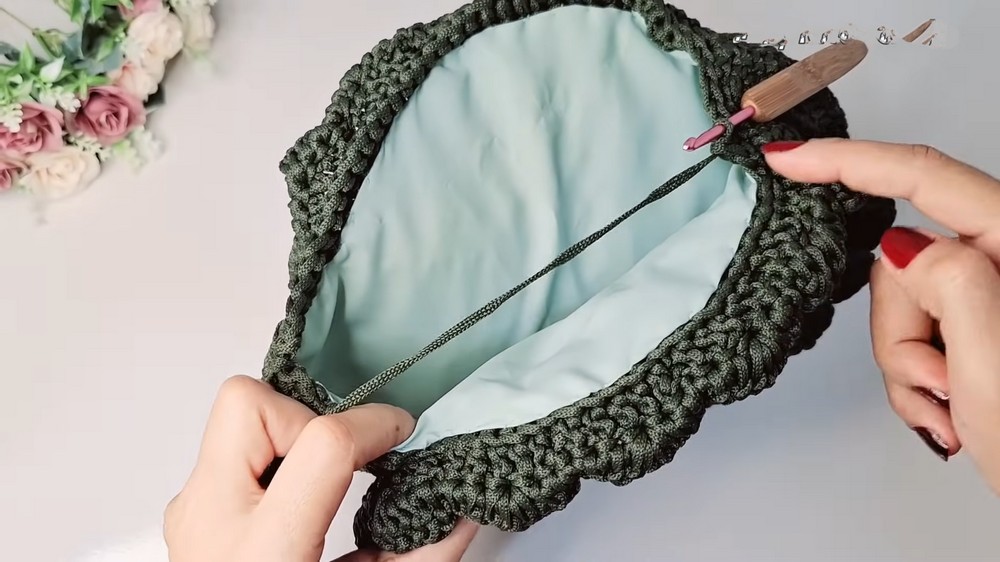
- Fold seam allowance and pin fabric inside the bag, ensuring alignment of fabric edges just below the stitch straps on crochet.
Step 15: Sewing Fabric Lining
- With needle and thread, sew through fabric and stitch straps on crochet bag, forming secure lining installation.
- Fold and sew all seams neat, leaving stitch straps free for later assembly.
Step 16: Sewing Bag Body
- Position crochet body pieces right sides facing for sewing.
- Using tapestry needle and 2 meters of yarn, stitch through free stitch straps on both sides (#72 stitches per side), joining body and bands tightly.
- Knot securely at ends, weave ends inside and seal with lighter.
Step 17: Creating Bag Edge Border
- Join yarn at corner edge of bag near row 3 of relief stitches.
- Chain 1 and work 6 single crochets (sc) evenly around corner edge.
- Continue sc rows, skipping 1 stitch at each of the 4 corners to create slight contour shaping.
- After 4 rows of this edging, slip stitch and finish with invisible finish.
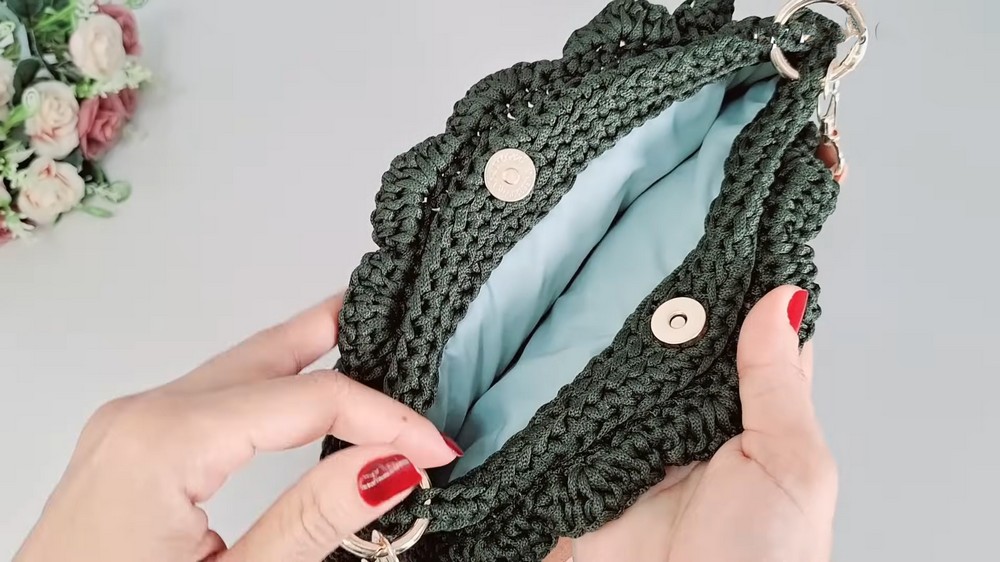
Step 18: Folding Edge & Attaching Magnetic Buttons
- Fold edging inward to hide raw edges and prepare flap.
- Attach gold 18 mm magnetic buttons at center flap area, securing latches tightly (use pliers or tool if needed).
- Attach opposite magnet on corresponding backside of flap.
Step 19: Attaching Flap to Bag
- Using nylon sewing thread and needle, sew flap securely along the edge onto the bag.
- Use close stitches to keep an invisible look.
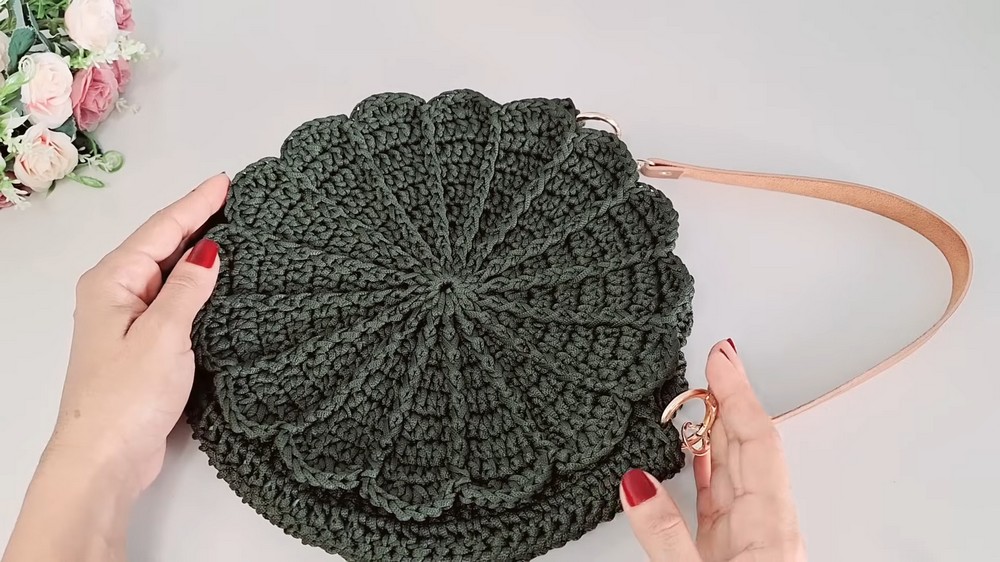
Step 20: Attach Articulated Rings & Handles
- Sew 30 mm articulated rings on bag sides as handles attachments.
- Attach eco-friendly handles securely.
Tutor’s Suggestions:
- Use stitch markers to keep track of rounds and increases.
- Adjust hook size based on your stitch tension to maintain bag shape.
- When sewing, pull yarn firmly to avoid gaps but avoid puckering.
- Be careful when sealing yarn ends with lighter to avoid damage.
- Test magnet button placement carefully before final attaching.
Uses:
- Perfect everyday tote or structured handbag.
- Stylish accessory suitable for casual or formal occasions.
- Handmade gift with professional finish and durability.
Helpful Tip:
Keep your turning chains consistent and use the front loop relief stitches to add textured contrast and structure without extra bulk.
Conclusion:
This classic nautical polypropylene bag combines structure with elegance through a textured stitch pattern, smooth lining, and professional finishing techniques. Follow these steps to create a durable and attractive bag that you'll be proud to carry.