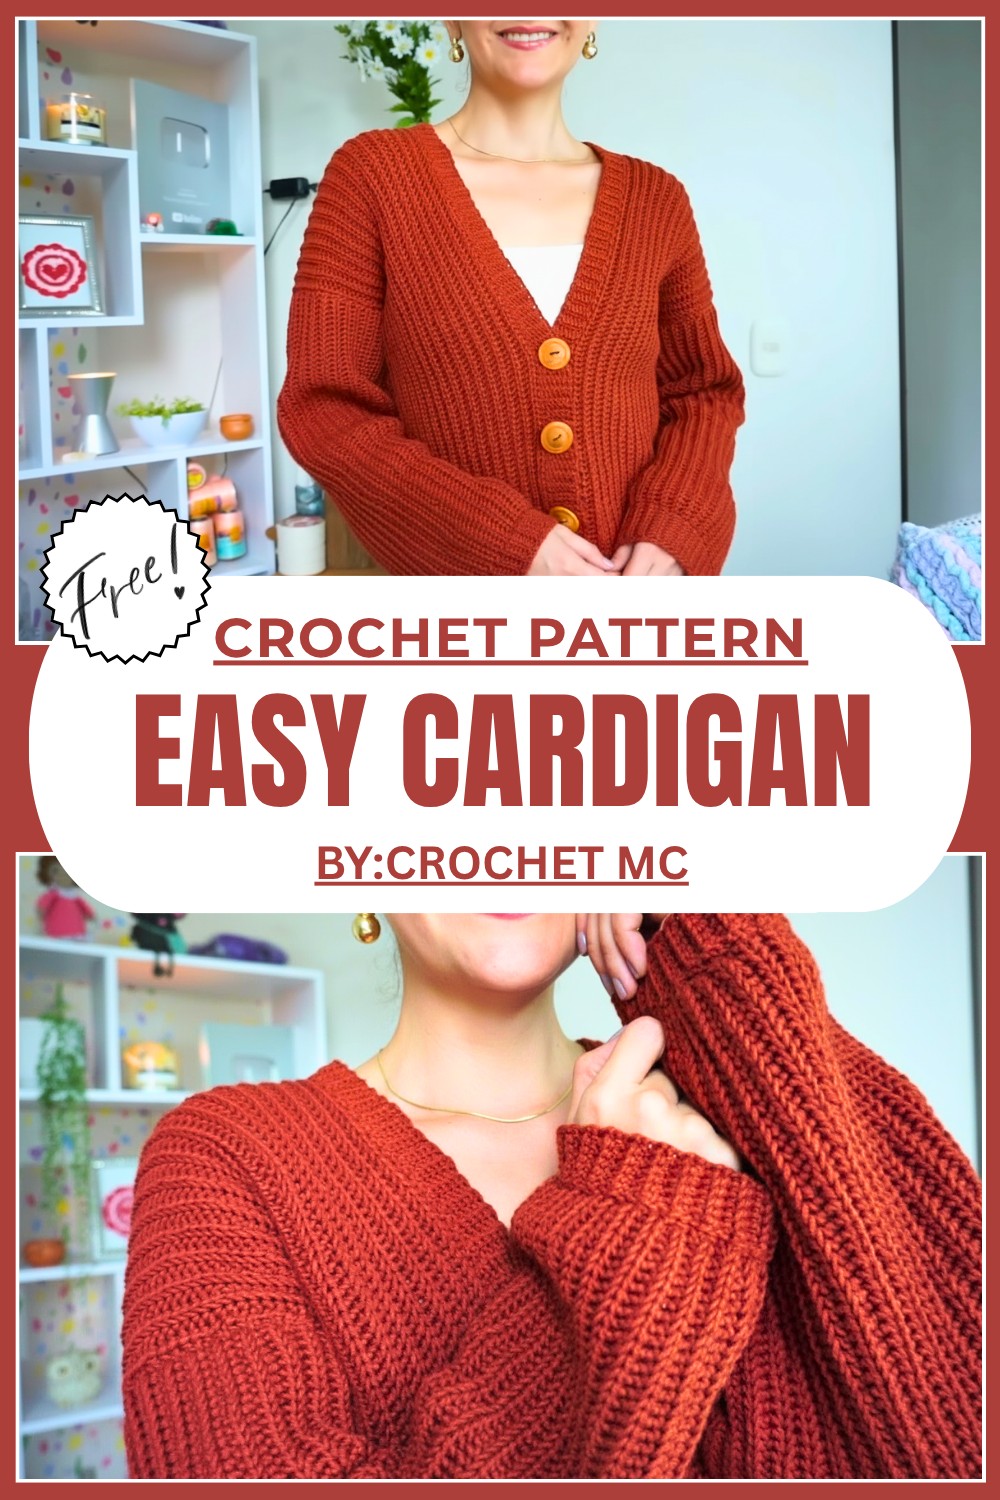
Free Crochet Cardigan Pattern To Stay Cozy And Stylish
Follow this free crochet cardigan pattern to build a light and cozy sweater that keeps you warm and adds style to your look.
Free Crochet Cardigan Pattern That Adds Warmth to Your Closet
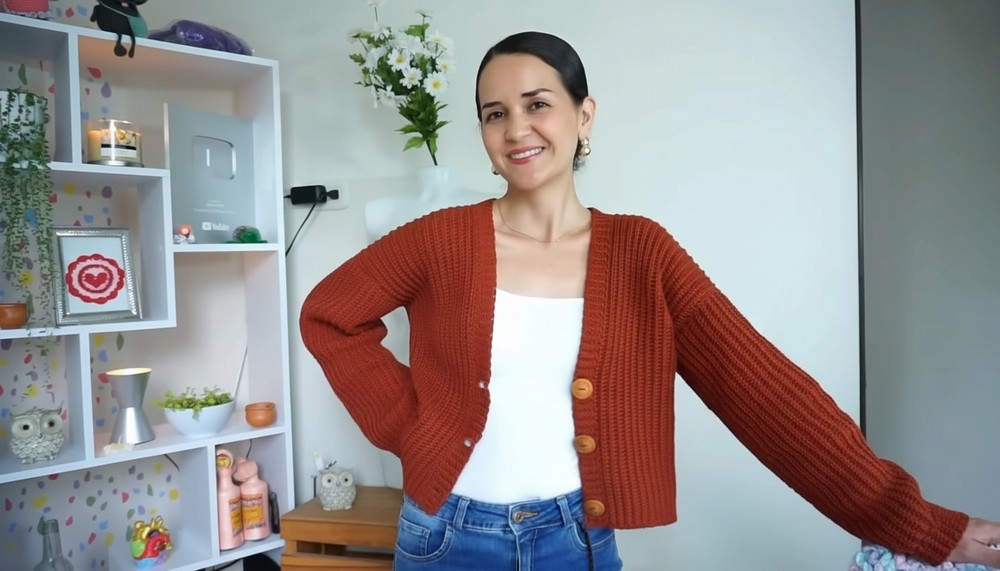
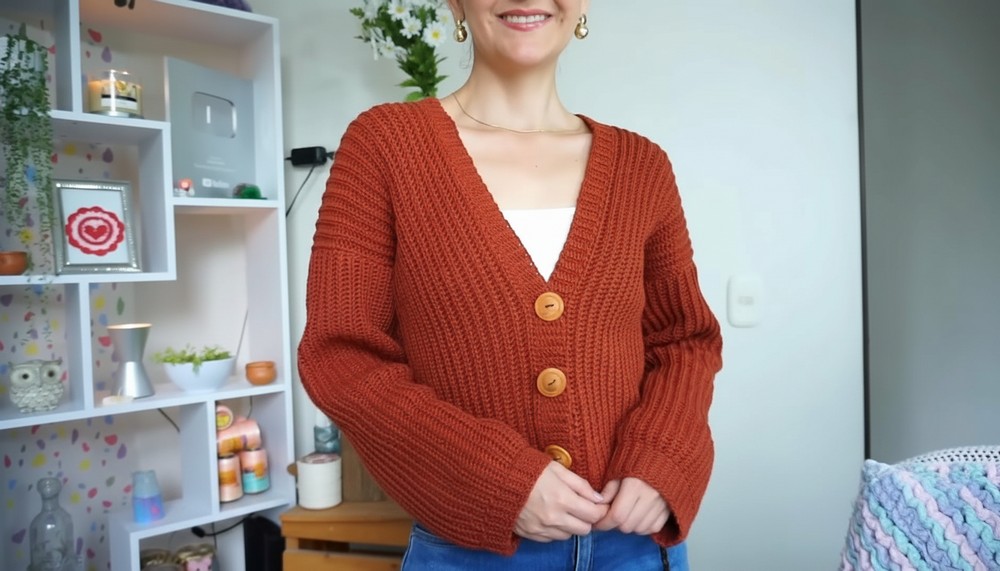
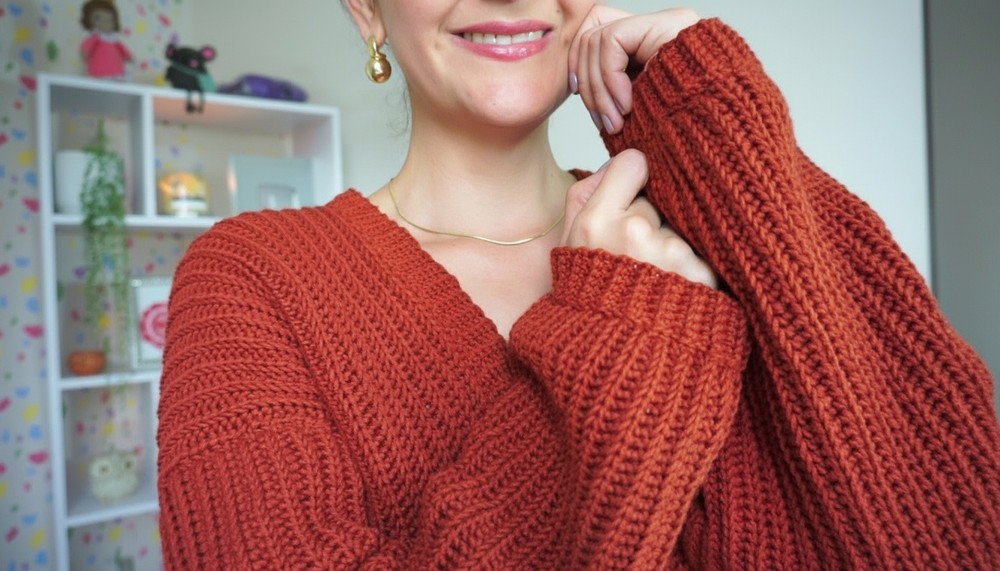
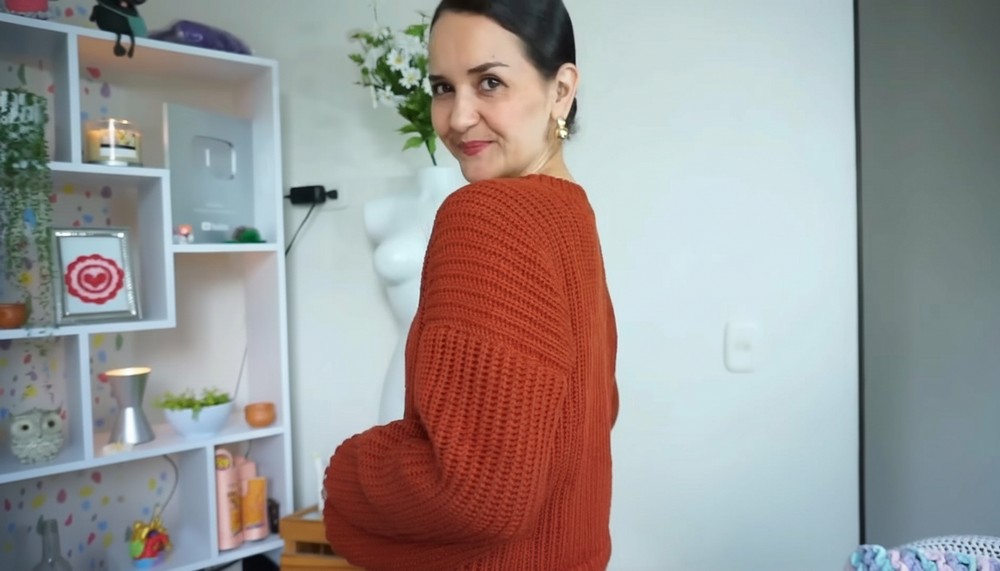
Are you ready to create something cozy and stylish with this guide to a free crochet cardigan pattern? We have an easy to follow design that anyone can make, whether you’re a beginner or an expert at crochet. This cardigan is unique because of its simple yet modern look, featuring a stitch that mimics knitting and gives it a polished finish. It’s made into three main pieces, making the process super easy to understand. You can use any yarn to create a cardigan that matches your style and is perfect for chilly days or casual outings. 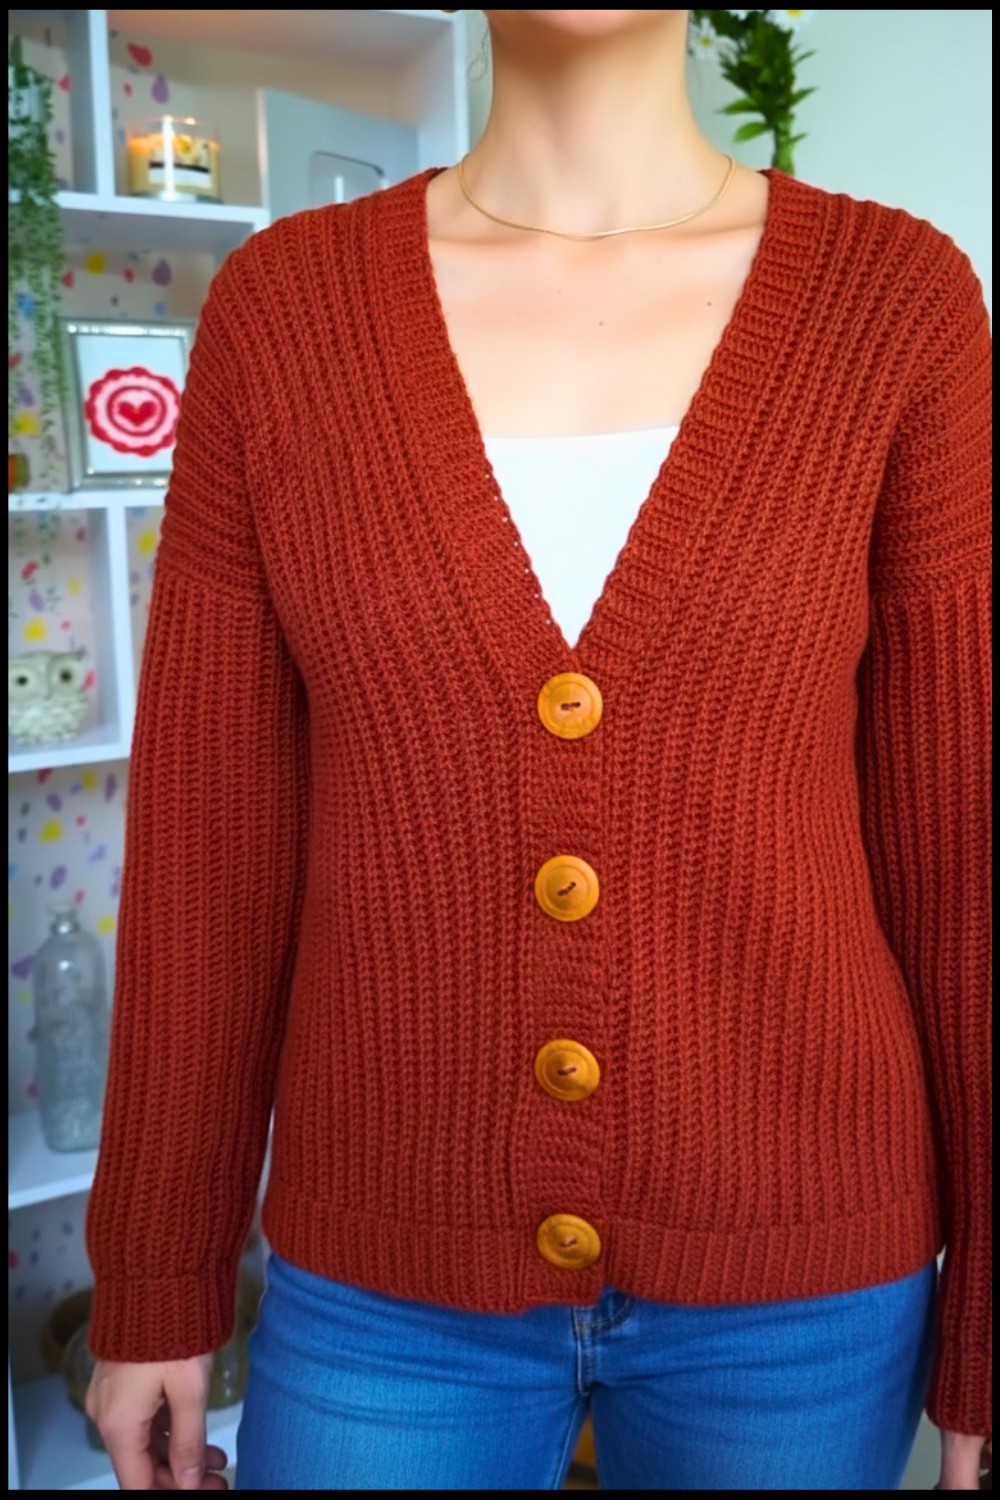 You can choose to add buttons for an extra touch or keep it simple for a relaxed look. With this fun crochet project, you can create a lovely, warm cardigan that’s both beautiful and practical.
Crochet Cardigan Pattern
Materials
- Yarn:
- Recommended: Any medium weight yarn (e.g., Category 3 yarn).
- Example used in video: Copito yarn, 100% acrylic, 100g (250m per skein).
- Note: Choose a yarn suitable for your desired warmth. Avoid very thin materials if you are new to crocheting.
- Yarn Quantity: Approximately 480g for a size Small (S). Adjust yarn quantity based on size.
- Crochet Hook:
- Use a hook size slightly larger than recommended for the yarn you choose. For example, if the yarn suggests a 3.5mm hook, use a 4mm hook.
- This creates a looser tension, making it easier to crochet and achieve an elastic texture.
- Additional Tools:
- Scissors.
- Tapestry Needle (Lanera).
- Tape Measure.
- Stitch Markers.
- Optional: 3cm buttons (customizable size and number).
Techniques Used
- Foundation Chain: Crocheted loosely.
- Half Double Crochet Slip Stitch (hdc slst):
- Yarn over, insert hook into stitch, pull up a loop (3 loops on hook).
- Pull the last loop through the other two loops on the hook.
- Back Loop Only (BLO):
- Work into the back loop of each stitch for rows, creating the ribbed texture.
- Basic Sewing for assembly and edging work.
Pattern Overview
The cardigan is constructed in the following steps:
- Main Body (One Piece): Back panel and both front panels are crocheted as a single rectangle, folded, and shaped.
- Sleeves: Two rectangles are crocheted and sewn into the body.
- Edging and Finishing: Add ribbing and optional buttons.
Step 1: Create the Main Body Piece
Step 1.1: Measuring for the Main Body
- Length: Measure from shoulder to the desired hemline. (Example: 44cm for a long cardigan).
- For this example, multiply the length by 2, yielding 88cm as the length of the starting chain.
- Width (First Front Panel): Measure half the bust circumference and add an ease allowance.
- Example: If your bust circumference is 80cm, divide by 2 = 40cm. Add an ease of 10cm for loose fitting (adjust to preference). Final width: 50cm.
- Subtract the neck width (measure between the base of the neck on both sides). Example: neck width 15cm. Subtracting, you have 35cm for both front panels. Divide by 2 for the first panel width: 17.5cm.
Step 1.2: Crochet the Main Piece
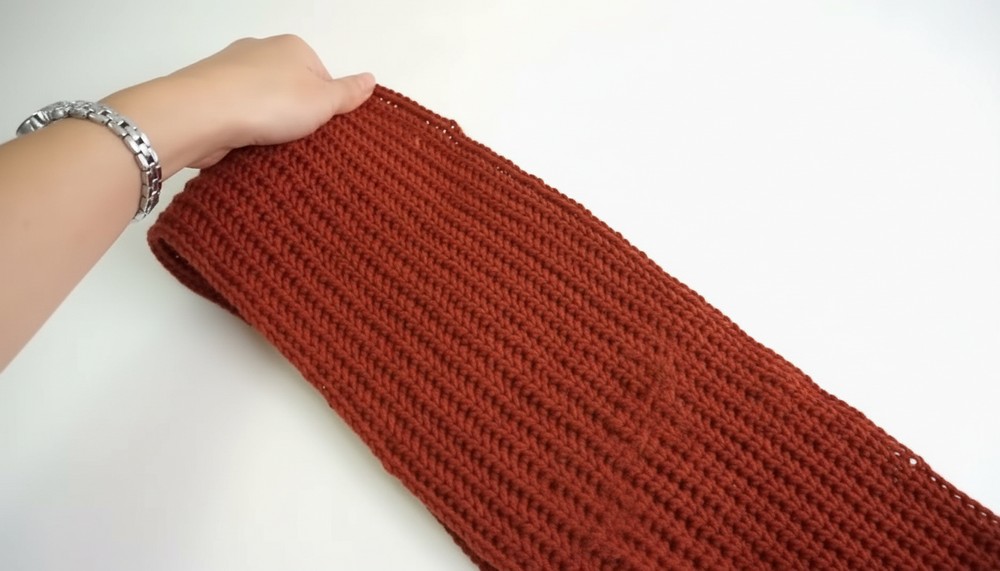
- Foundation Chain: Chain to match the total length of your cardigan multiplied by 2 (e.g., 88cm). No specific stitch count is required; use your own measurement. Ensure the chain is loose and lies flat.
- Row 1:
- Yarn over, and insert the hook into the back bump of the second chain from the hook.
- Work hdc slst in each chain across, inserting into the back bump of each chain.
- Turn the work.
- Row 2 and Onward:
- Chain 1 (does not count as a stitch), turn. Skip the first stitch and work hdc slst BLO into each stitch across.
Repeat Rows
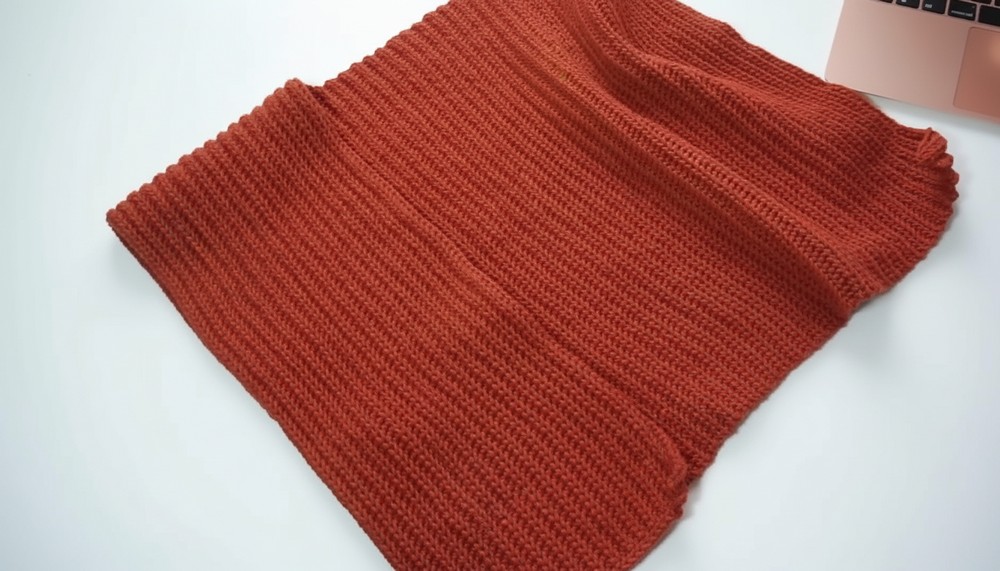
- Continue crocheting rows until you reach the width of the first panel (e.g., 17.5cm or your measured width). Measure the width regularly to ensure consistency.
- Mark the midpoint of the final row to split the piece into two.
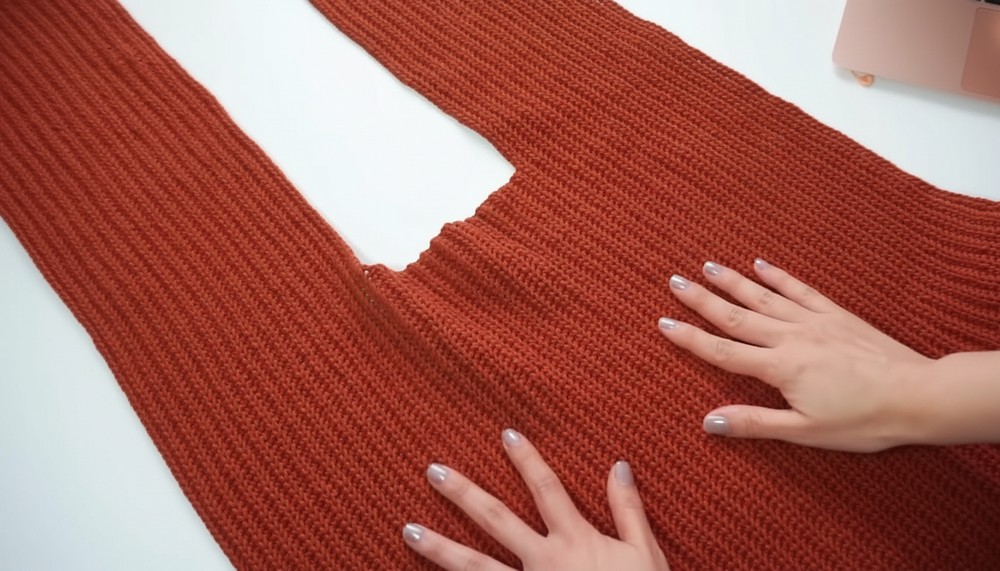
Step 1.3: Form the Front and Back Panels
- First Front Panel (Left Panel):
- Continue working rows on one half of the marked stitches while leaving the other half unworked.
- Work hdc slst BLO until you reach the measurement for your neck base (e.g., 15cm).
- Fasten off.
- Back Panel:
- Rejoin yarn at the midpoint marker and work rows across the opposite half.
- Crochet until the length matches the neck measurement (15cm in the example).
- Second Front Panel (Right Panel):
- Work rows along the stitches left unworked from the first panel.
- When the width matches the opposite front panel, fasten off.
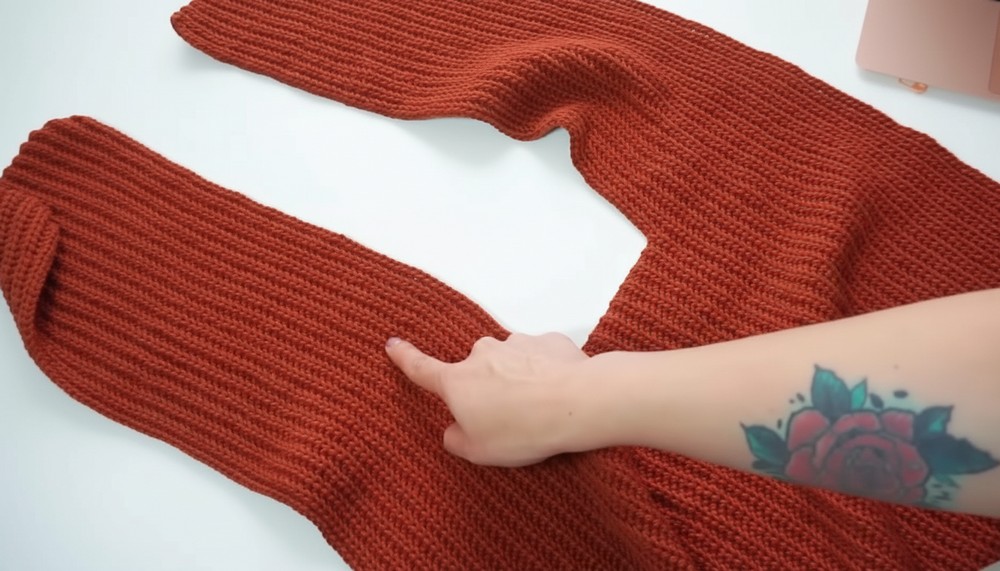
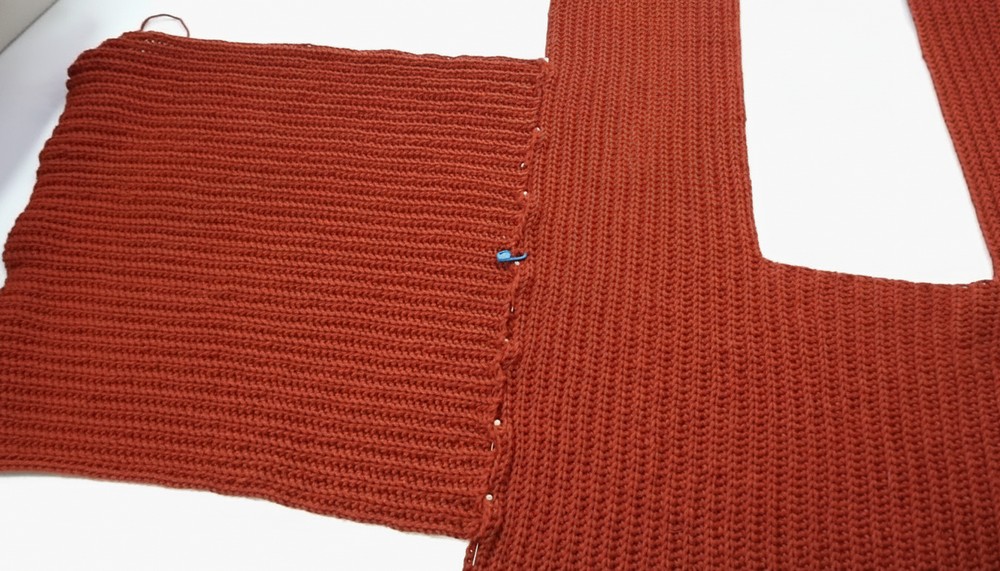
At this stage, you have a T shaped piece composed of two front panels and the back body.

Step 2: Sleeves
Step 2.1: Measuring and Starting the Sleeve
- Measure Length: Measure from your shoulder to the wrist for the desired sleeve length. Example: 40cm.
- Measure Width for Fit: For a loose sleeve, measure from the shoulder to the side of the chest. Multiply by 2 (e.g., 20cm × 2 = 40cm width). For a more fitted design, use the sisa (armhole) circumference.
Step 2.2: Crochet the Sleeves
- Foundation Chain: Chain to match the measured length of the sleeve (e.g., 40cm).
- Row 1: Work hdc slst in the back bump across.
- Repeat Rows: Crochet rows until the width matches your measurement (e.g., 40cm).
- Create a second sleeve using the same steps.
Step 3: Assembly
- Join Sleeves to Body:
- Fold each sleeve lengthwise. Use stitch markers to center the sleeve on the shoulder seam. Sew the sleeve to the armhole with a tapestry needle.
- Sew along the length of the sleeve and side seams of the cardigan body.
- Fasten Off: Ensure all seams are secure. Weave in ends.
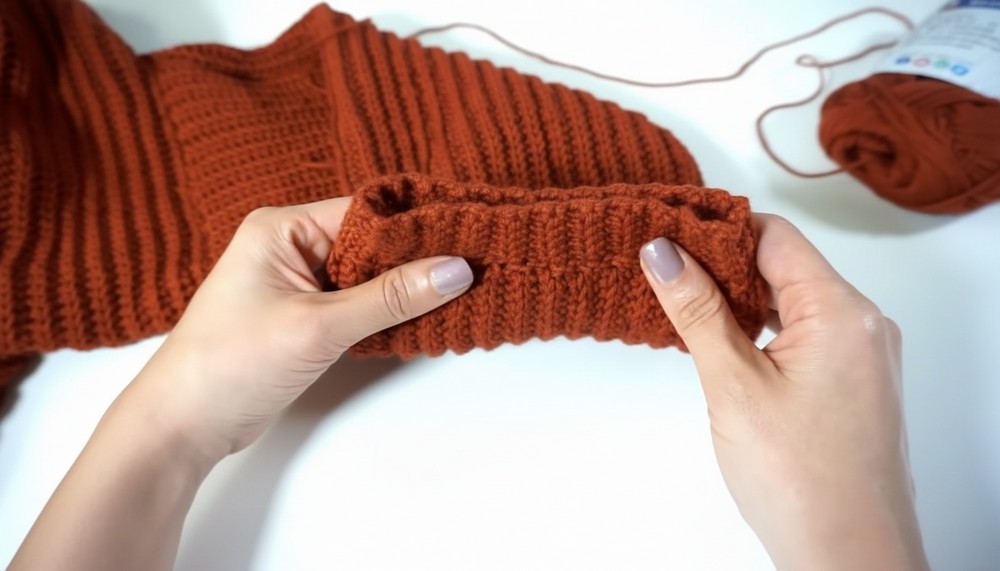
Step 4: Edging and Buttons
- Neckline and Hem Edging:
- Attach yarn at any point along the neckline or hem. Work in sc (single crochet) or hdc rows to add ribbed texture.
- For the hem, maintain measurement for balance with added rows.
- Buttonholes (Optional):
- If adding buttons, mark positions on the edging before crocheting. Work 2–4 chain spaces to match button sizes.
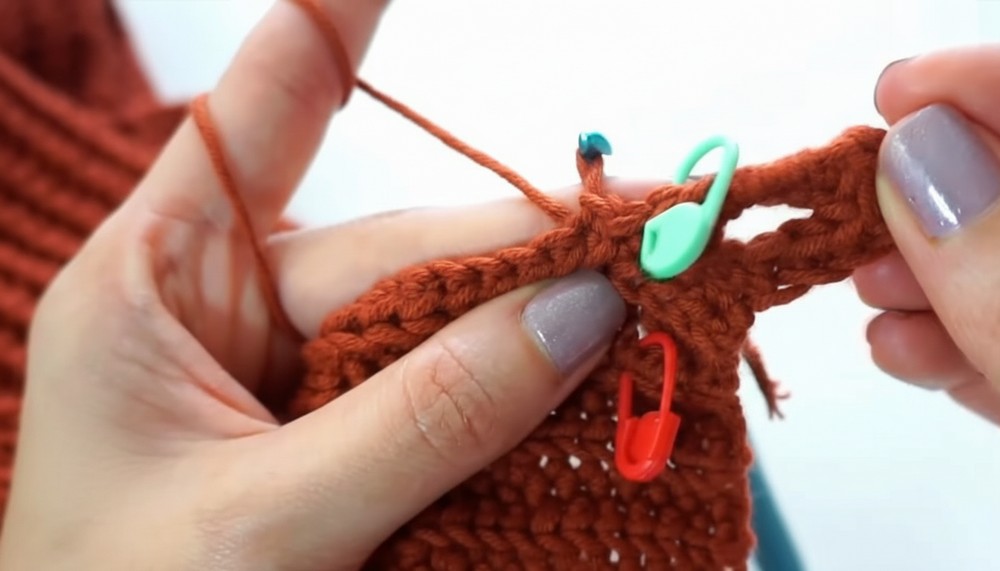
- If adding buttons, mark positions on the edging before crocheting. Work 2–4 chain spaces to match button sizes.
Finishing
- Sew Buttons: Attach buttons on the opposite side of the buttonholes.
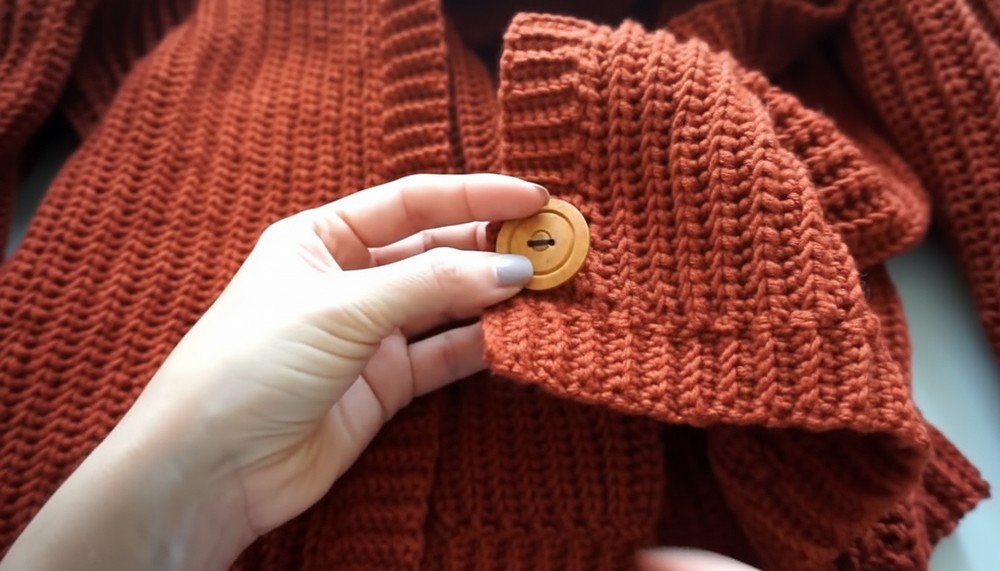
- Weave in Ends: Use your tapestry needle to secure all loose ends neatly.
- Final Steam Block: Gently steam or block your cardigan for a polished look.
Final Words and Maintenance Tips
Congratulations on completing your crocheted cardigan, Here are a few tips to extend the life of your project:
- Care and Washing: Hand wash or machine wash on a delicate cycle with mild detergent. Air dry flat to prevent warping.
- Storage: Fold and store in a cool, dry place to avoid stretching.
- Customizations: Experiment with colors, textures, or add decorative edging to personalize your cardigan.