Cute Crochet Squirrel Free Pattern For Woodland Decor
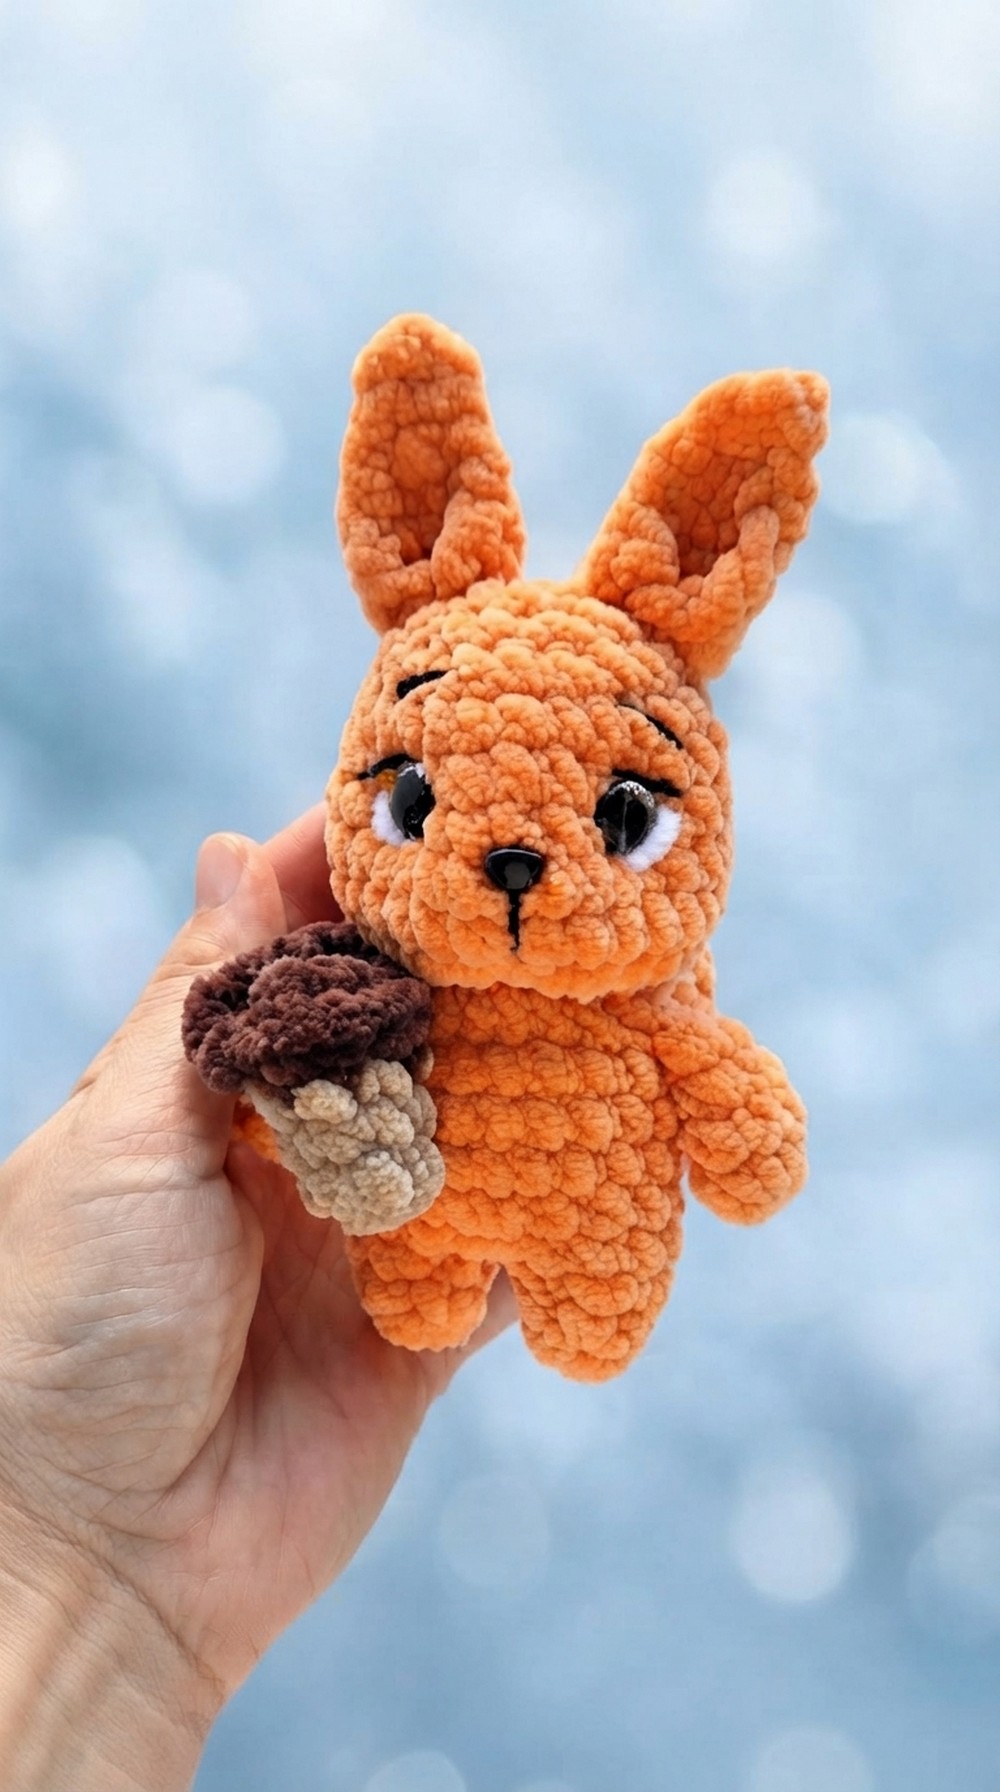
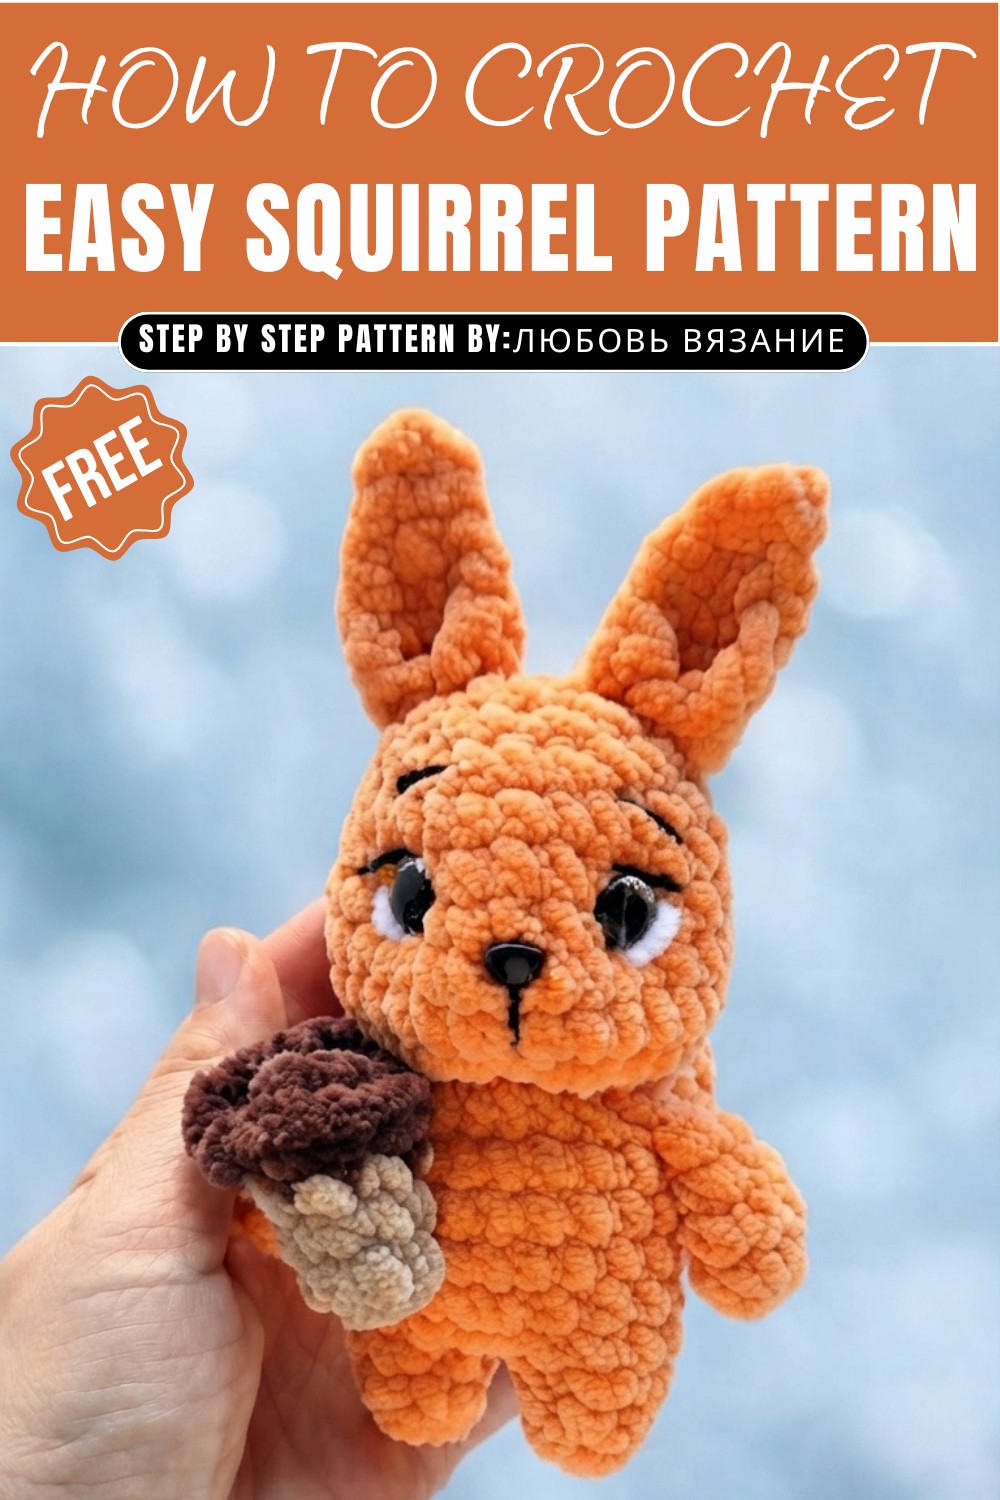
Brighten any space with this Crochet Squirrel Pattern which is a cute woodland animal that adds charm to every handmade display.
Bringing a touch of woodland magic to your crochet basket is easy with an crochet squirrel that’s both fun and satisfying to make. This project offers a cozy way to practice your amigurumi skills while creating a sweet little companion full of character. Its approachable design makes it a great choice whether you’re new to crochet or looking for a relaxing, enjoyable project.
Adorable Crochet Squirrel Free Pattern with Easy Steps
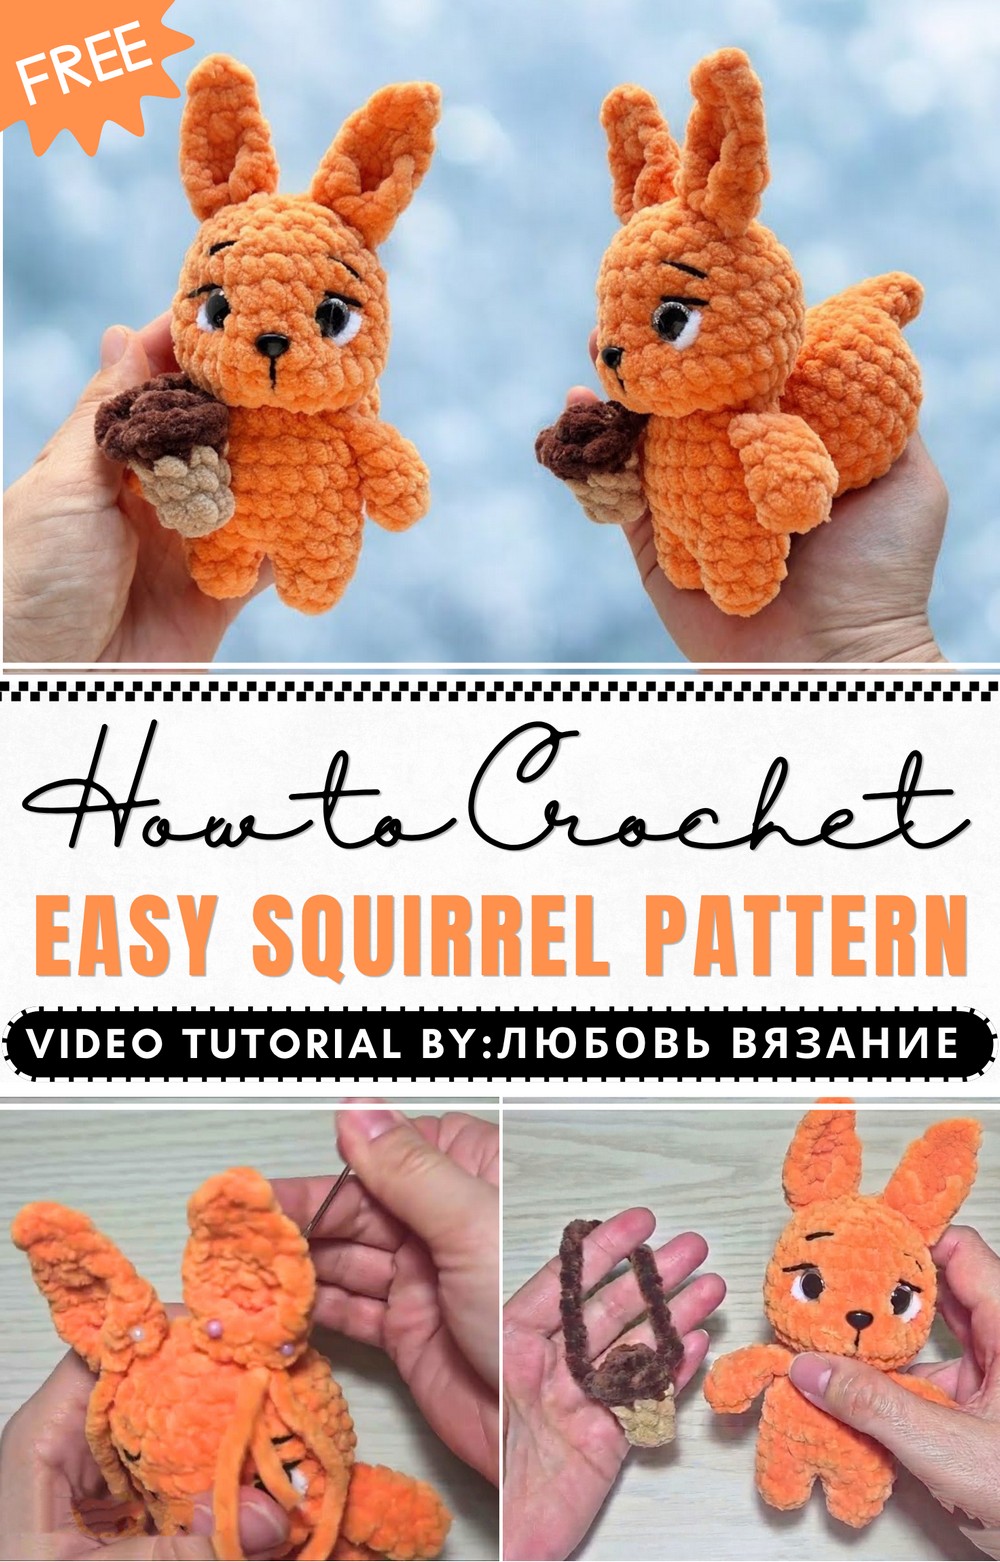
Working this pattern involves crocheting in spirals and shaping through simple increases and decreases, so maintaining even tension helps to keep the piece neat and well-formed. Using soft yarn with a bit of structure, like acrylic or a wool blend, can really enhance the look and feel, lending the squirrel a cuddly but durable quality.Whether you’re making it for a birthday, a cozy winter project, or just because, this pattern encourages creativity and adds a handmade charm that’s hard to beat. It’s a delightful way to bring a bit of nature’s warmth indoors through your crochet work.
This little squirrel is a sweet gift choice for nature lovers or kids, perfect for birthdays or as a cute decoration. Plus, it’s a great way to personalize with different yarn colors or even add tiny accessories, maybe a mini acorn. It’s a joyful project that invites a bit of creativity and a lot of smile-worthy charm.
Pattern Information
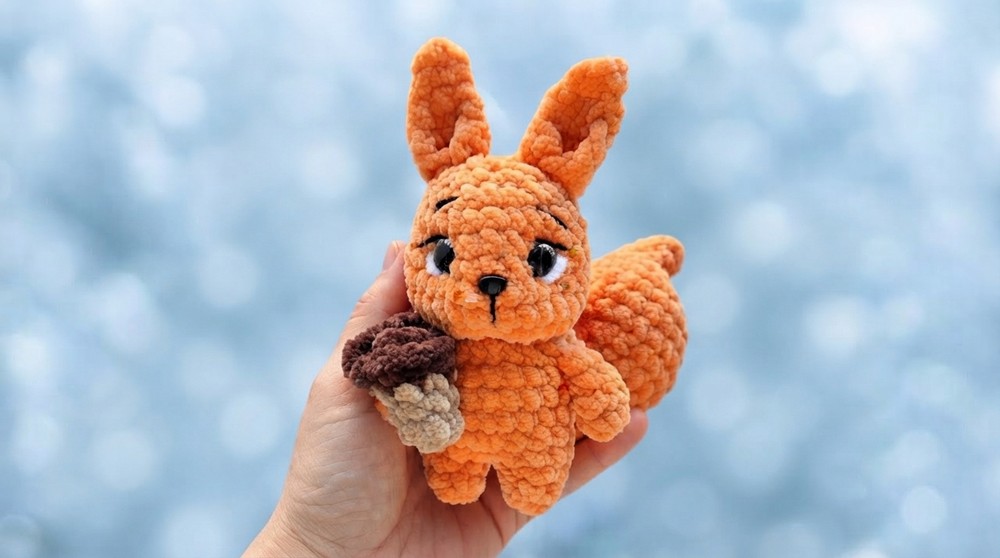
The crochet squirrel pattern is a free, beginner-friendly amigurumi design that guides you step-by-step through creating a small, charming squirrel. It primarily uses basic crochet stitches such as single crochet, increases, and decreases, worked in continuous rounds to form the body, head, limbs, and tail. The pattern typically includes clear written instructions along with helpful tips for assembling the parts and adding facial details. It also allows for customization in size and yarn choice, making it versatile for different skill levels and personal preferences.
Amigurumi Squirrel Crochet Pattern
Bring your next project to life with this charming squirrel, a delightful plush toy that captures a whimsical spirit sure to please. This pattern offers a rewarding experience, guiding you through the steps to create a character that is as expressive as it is cute. Whether you are adding to a set or making a thoughtful gift, this squirrel stands out as a standout addition to your handmade collection. The clear, step-by-step instructions focus on shaping and assembly, helping you achieve a professional-looking finished piece. You’ll enjoy working with the materials and techniques, making the process both fun and fulfilling. This project promises not only a charming final result but also a satisfying creative journey from start to finish. Celebrate your craftsmanship with this sweet, handmade companion that brings joy and warmth wherever it goes.
Quick Overview
- Design: Plush squirrel with detachable acorn
- Method: Amigurumi style (rounds for body, rows for ears)
- Assembly: Needle sculpting for face; ears and tail sewn on securely
- Customization: Removable acorn
Notes
- Gauge: Check stitch count regularly
- Stuffing: Firm but soft; tail stuffed only at base
- Safety: Secure eyes and nose well for gifting
Skill Level
Intermediate
Materials
- Plush yarn (100g / 120m)
- 4 mm crochet hook
- Fiberfill
- 12 mm safety eyes
- 8 x 6 mm safety nose
- Sewing needle and pins
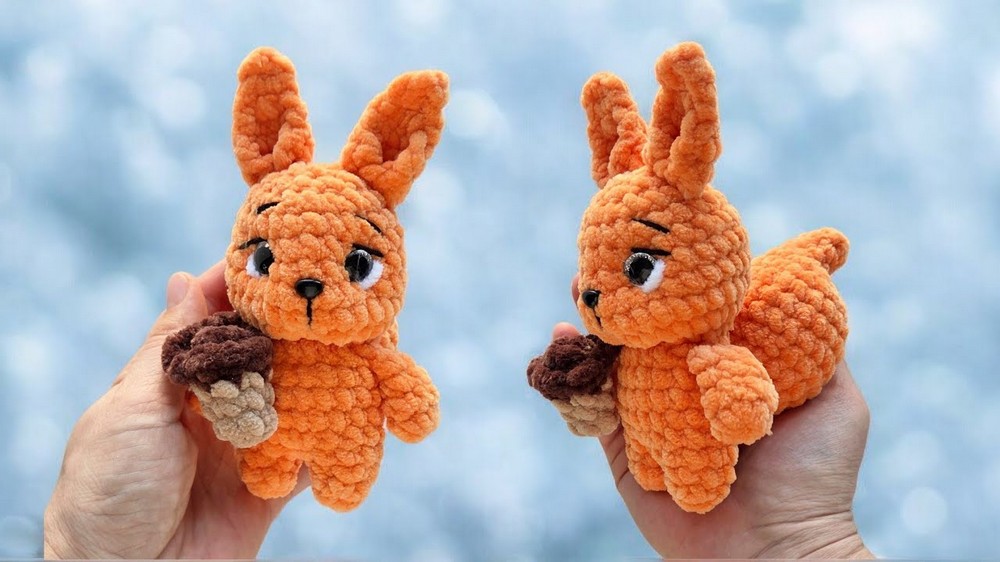
Measurements
- Height: 11 cm (without ears), 15 cm (with ears)
Stitch Abbreviations
| Abbreviation | Meaning |
|---|---|
| st(s) | stitch(es) |
| sc | single crochet |
| inc | increase (2 sc in one stitch) |
| dec | decrease (crochet 2 sts together) |
| ch | chain stitch |
Crochet Pattern
1. The Arms (Make Two)
- Round 1: Amigurumi ring, 6 sc [6 sts]
- Round 2: 6 sc [6 sts]
- Round 3: 6 sc [6 sts]
- Round 4: 6 sc [6 sts]
- Round 5: Fold piece, 3 sc through both layers to close opening [3 sts]
- Fasten off, leave tail for sewing
2. The Legs (Make Two)
- Round 1: Amigurumi ring, 6 sc [6 sts]
- Round 2: 6 sc [6 sts]
- Round 3: (1 sc, 1 inc) repeat 3 times [9 sts]
- Fasten off first leg; keep thread for second leg
3. The Body
- Round 4: Knit 9 sc on first leg, then 9 sc on second leg to join [18 sts]
- Round 5: 1 inc, 8 sc, 1 inc, 8 sc [20 sts]
- Round 6: 20 sc [20 sts]
- Round 7: 20 sc [20 sts]
- Round 8: 4 sc, 1 dec, 8 sc, 1 dec, 4 sc [18 sts]
- Round 9: 4 sc, knit 3 sc through first arm and body, 6 sc, knit 3 sc through second arm and body, 2 sc [18 sts]
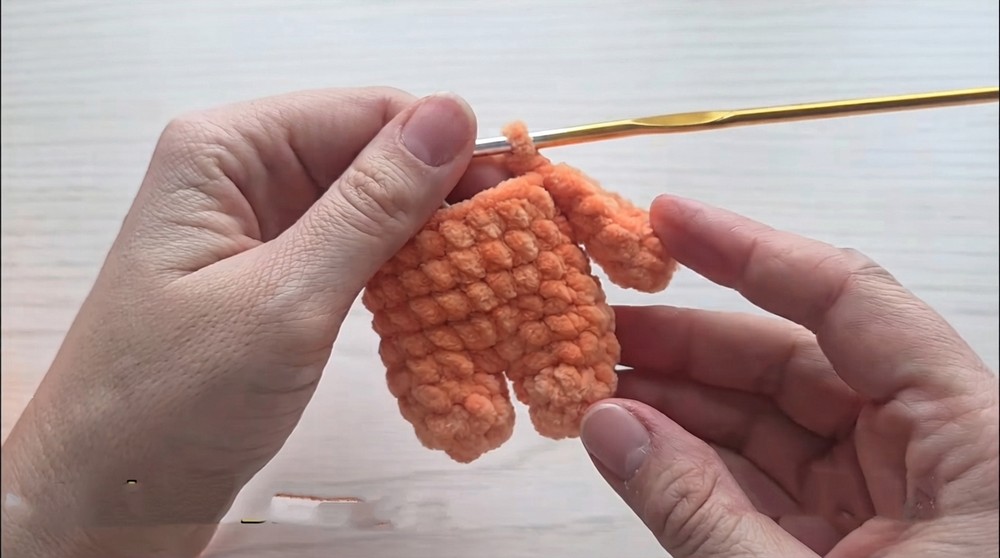
- Round 10: (1 sc, 1 dec) repeat 6 times [12 sts]
- Stuff the body firmly
4. The Head
- Round 11: 12 inc [24 sts]
- Round 12: (3 sc, 1 inc) repeat 6 times [30 sts]
- Round 13: 30 sc [30 sts]
- Round 14: 30 sc [30 sts]
- Round 15: 30 sc [30 sts]
- Round 16: (3 sc, 1 dec) repeat 6 times [24 sts]
- Round 17: 24 sc [24 sts]
Placement: Insert 12 mm eyes between rows 15 & 16 (7 sts apart). Insert 8 x 6 mm nose between rows 14 & 15.
- Round 18: (2 sc, 1 dec) repeat 6 times [18 sts]
- Round 19: (1 sc, 1 dec) repeat 6 times [12 sts]
- Stuff the head firmly
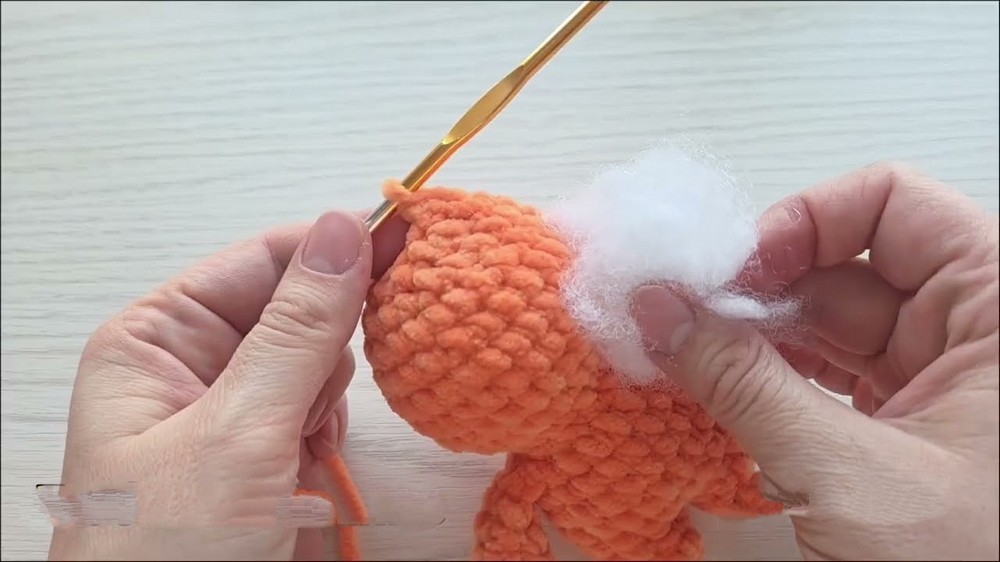
- Round 20: 6 dec [6 sts]
- Fasten off and sew hole closed
5. The Ears (Make Two)
- Row 1: Amigurumi ring, 2 sc, ch 1, turn
- Row 2: 2 sc, ch 1, turn
- Row 3: 2 inc [4 sts], ch 1, turn
- Row 4: 4 sc, ch 1, turn
- Row 5: 1 inc, 2 sc, 1 inc [6 sts], ch 1, turn
- Row 6: 6 sc; fold and join with slip stitch
6. The Tail
- Round 1: Amigurumi ring, 6 sc [6 sts]
- Round 2: 6 sc [6 sts]
- Round 3: 2 sc, 3 inc, 1 sc [9 sts]
- Round 4: 9 sc [9 sts]
- Round 5: 2 sc, 5 inc, 2 sc [14 sts]
- Round 6: 2 sc, 10 inc, 2 sc [24 sts]
- Round 7: 24 sc [24 sts]
- Round 8: 24 sc [24 sts]
- Round 9: 20 sc, 1 dec [22 sts]
- Round 10: 22 sc [22 sts]
- Round 11: 3 sc, 1 dec, 3 sc, 1 dec, 3 sc, 1 dec, 3 sc, 1 dec, 2 sc [18 sts]
- Round 12: 18 sc [18 sts]
- Round 13: (1 sc, 1 dec) repeat 6 times [12 sts]
- Stuff lightly
- Round 14: 6 dec [6 sts]
- Round 15: 3 sc through both layers to seal [3 sts]
7. The Acorn
- Round 1: Amigurumi ring, 6 sc [6 sts]
- Round 2: (1 sc, 1 inc) repeat 3 times [9 sts]; slip stitch end
- Round 3: Work in back loops only: 1 sc, 1 dec to end [6 sts]
- Round 4: 6 sc [6 sts]
- Round 5: 6 sc [6 sts]; stuff and close
- Finishing: Use dark yarn for front loop border and chain loops for handle
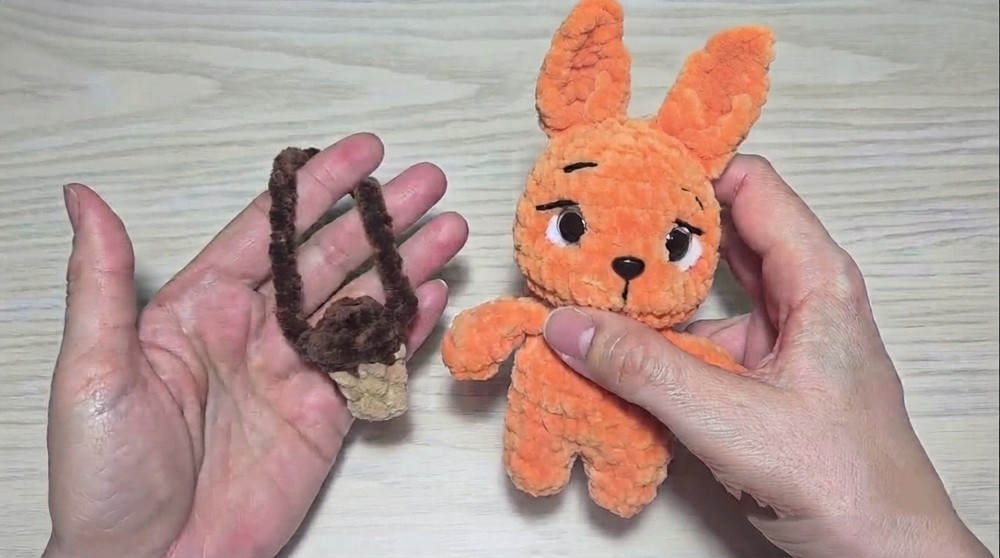
Assembly & Finishing
- Use needle sculpting by running thread from bottom of head to eye corners; pull to shape face.
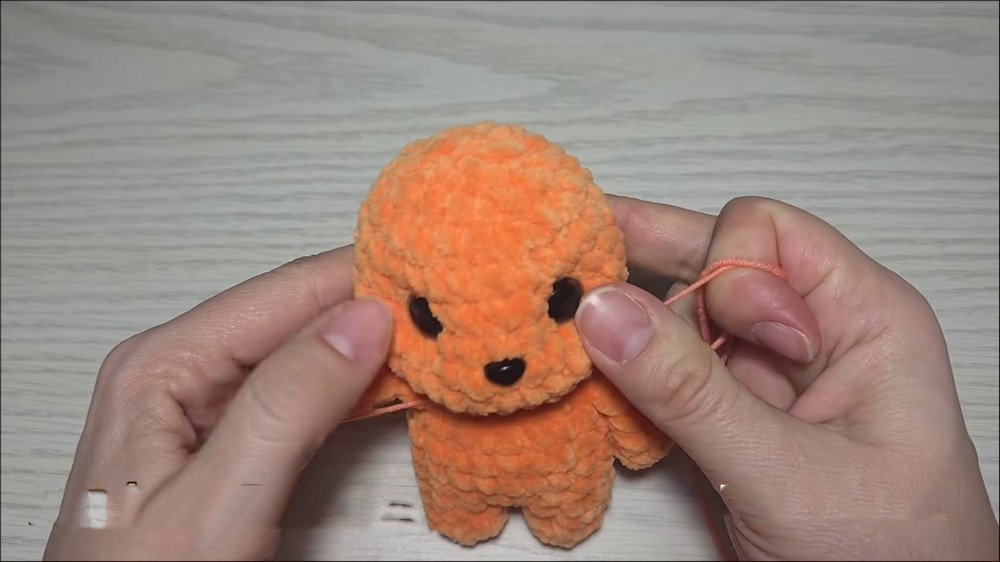
- Secure thread, hide ends.
- Sew ears curved onto head.
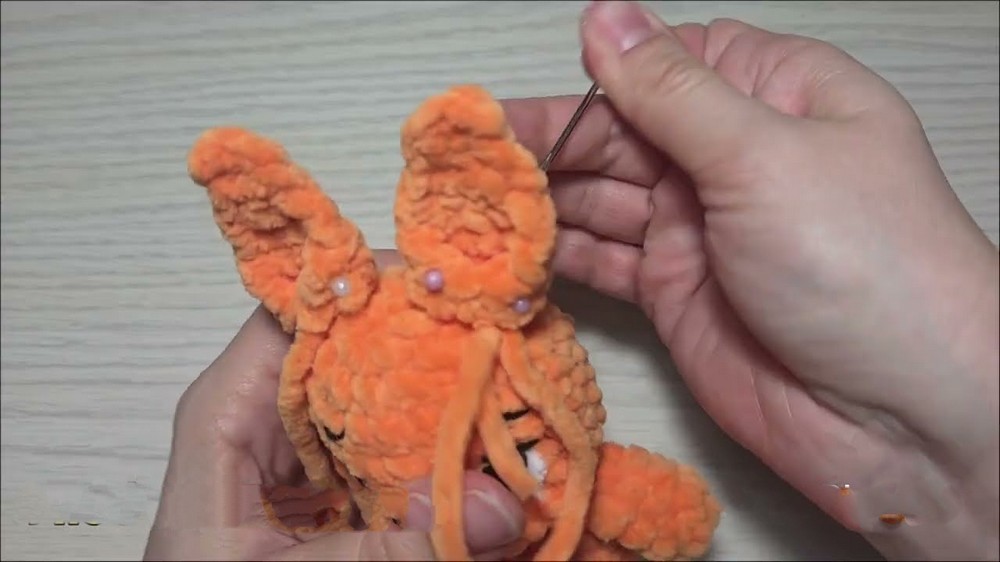
- Attach and reinforce tail at the top so it holds shape.
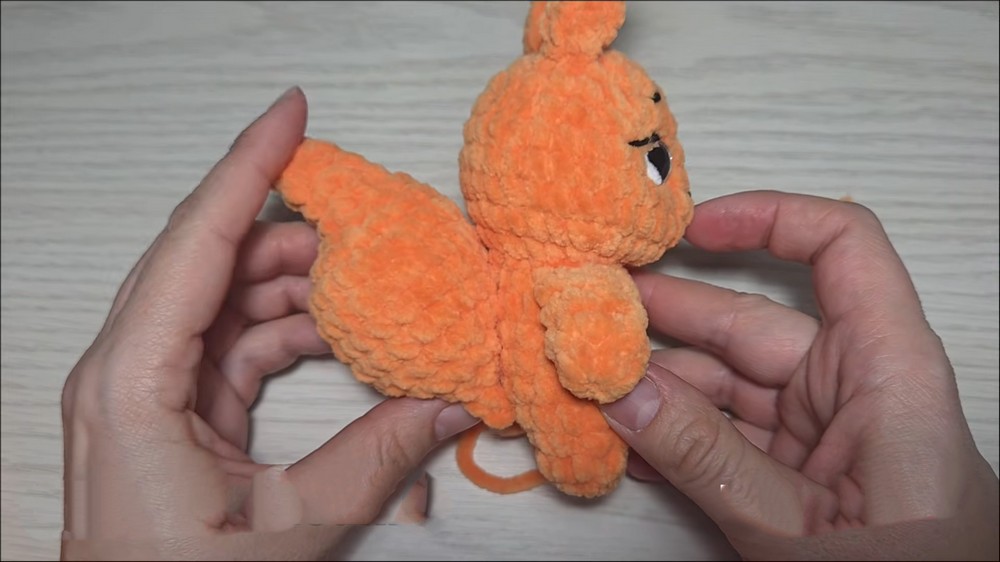
- Finished squirrel measures approximately 15 cm with ears.
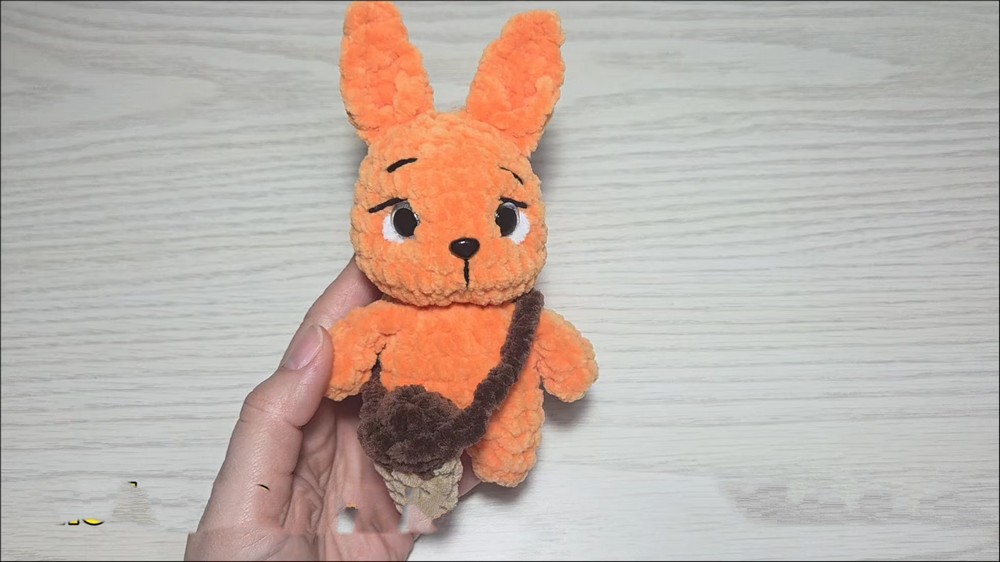
Conclusion
This pattern provides a detailed step-by-step guide to creating a complete squirrel toy, including all parts from the legs to the tail and an attachable acorn accessory. It emphasizes seamless assembly by working limbs into the body and offers techniques for securing facial features. The instructions encourage adjusting tension throughout to ensure all pieces fit together smoothly. Additionally, the pattern includes guidance on crocheting smaller accessories that enhance the overall design. Overall, it delivers a comprehensive process that combines construction, finishing, and personalization to help you create a cohesive and well-crafted plush toy.