
Free Crochet Amigurumi Squirrel Keychain Pattern For Your Bag
Create a charming crochet amigurumi squirrel keychain with this free pattern, offering a fun and easy way to add a handmade touch to your accessories collection.
If you love tiny, cute friends you can carry with you, the Free Crochet Amigurumi Squirrel Keychain Pattern is just right! This project makes a small, adorable squirrel that can hang on your keys, backpack, or purse. It's a fun little toy you can also turn into a zipper pull, fridge magnet, or even a cute gift topper with a little imagination.
Free Crochet Amigurumi Squirrel Keychain Pattern with Cute Details
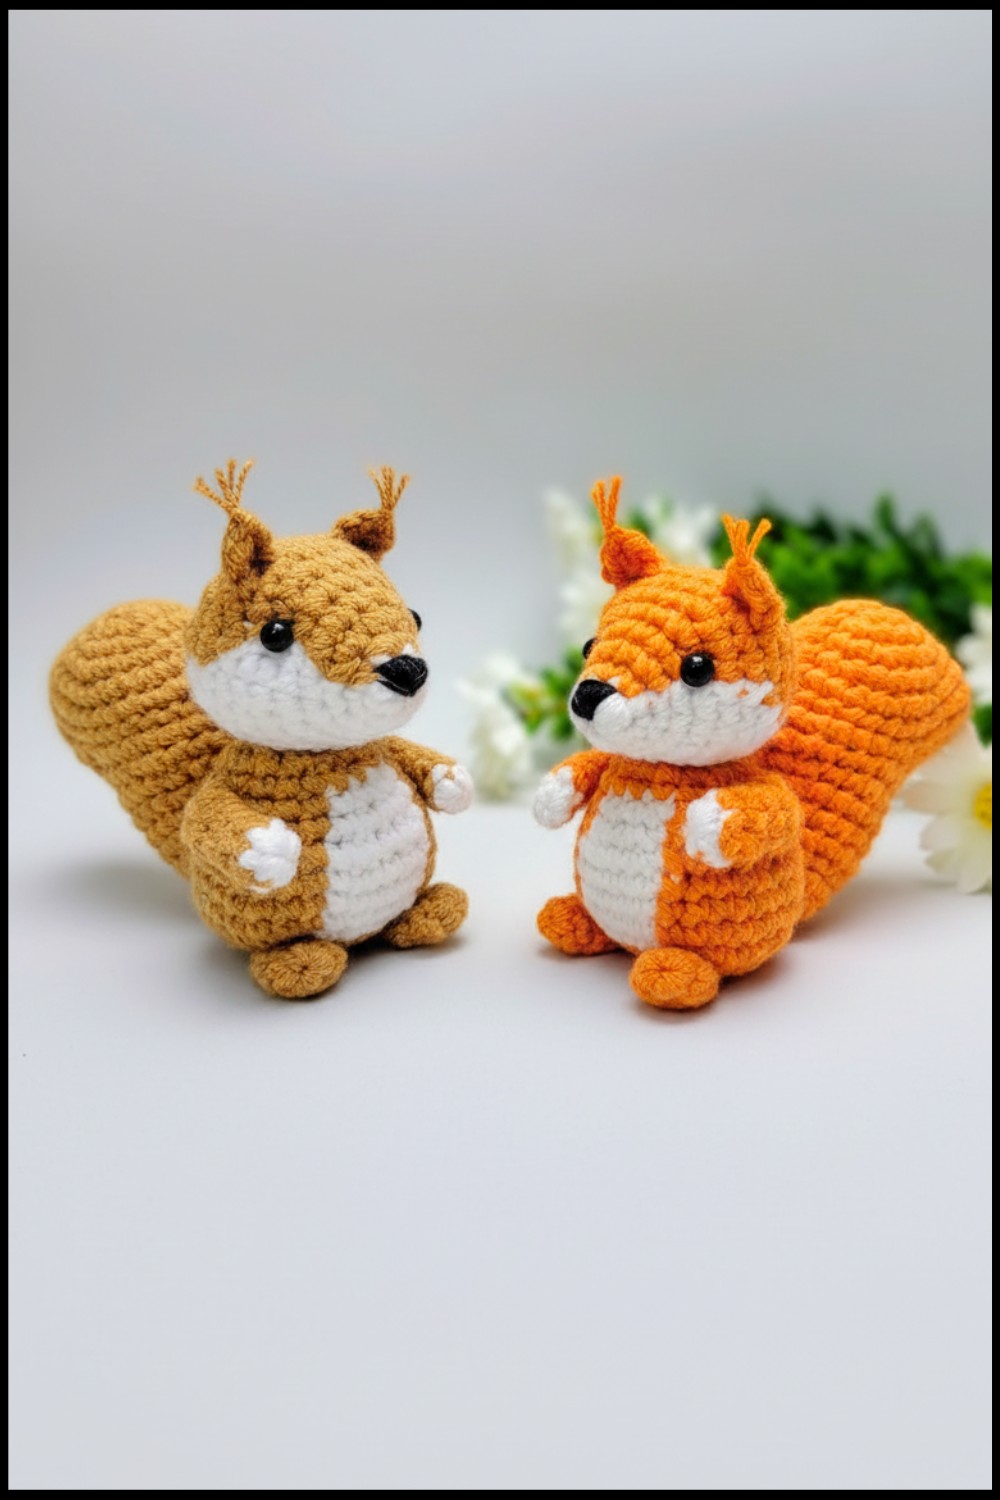
What makes this squirrel so charming is its soft, round shape and big bushy tail, just like a real squirrel’s! You can choose any color you like, from soft browns and grays to bright and fun shades—making it perfect for personalizing. The size can be changed a bit by using a bigger or smaller hook number; the pattern suggests a 3.5 mm crochet hook for a perfect small size about 3 to 4 inches tall, just right to fit in your hand or hang nicely on your keys.

This little squirrel is made using amigurumi techniques, which means working in rounds to create a smooth and tight fabric. The most important stitch here is the single crochet stitch, used throughout to make the squirrel’s body, head, and tail. Sometimes the pattern uses invisible decreases to shape the parts neatly, giving the squirrel a nice and clean look.
Using worsted weight yarn works well, as it’s soft but holds shape nicely. When finished, this project is lightweight, portable, and guaranteed to make you smile each time you see it. Whether you want a fun little friend for yourself or a special gift to brighten someone’s day, this squirrel keychain is a perfect, easy-to-make choice. Give it a try—you’ll love carrying this tiny, sweet creation everywhere!

Amigurumi Squirrel Pattern
Before You Start
- This is a detailed, step-by-step amigurumi squirrel pattern featuring color changes and classic shaping.
- Pattern is written in US crochet terminology.
- Body parts are made separately and then sewn together.
- The pattern uses tight single crochets—stuff parts as you go for best results.
- Read through all the notes and abbreviations first for smooth progress!
Pattern Notes
- Work in continuous rounds unless otherwise noted.
- Mark the first stitch of every round to keep track.
- Change colors as instructed, always completing the last yarn over of the final stitch before the color change with your new color.
- Keep your tension consistent for seamless parts.
- Parts are joined at the end using a yarn needle.
- Stuff the head, body, tail, arms, and legs firmly for a well-shaped result.
- Instructions include both small details (tentacles/ears) and shaping techniques for realistic effect.
How I Made the Crochet Pattern
- Started with head, crocheting in the round, using color changes for face markings.
- Made ears by crocheting into the head, then adding a chain and working back with hdc (half double crochet) for structure.
- The body was constructed in oval rounds, with shaping provided by increases and decreases, and stripes made by color changes.
- Arms and legs are simple tubes, closed at the ends, with slight shaping achieved by decreases.
- The tail is worked in rounds with frequent increases for fullness, then decreases and an opening for curling or posing.
- All parts are sewn together at the end.
- Simple embroidery (optional) can add facial expression or details.
Skill Level
Intermediate: This pattern requires basic amigurumi experience, color changing, and working in the round.
Finished Size
- Approx. 12–15 cm high (with 4 strand milk cotton yarn and a 2.0 mm hook).
- Size may vary depending on your yarn and tension.
Materials
- 4-ply milk cotton yarn (brown, white, dark brown, a little black)
- 2.0 mm crochet hook
- Tapestry/yarn needle
- Scissors
- Stitch marker
- Stuffing (polyester fiberfill)
- Optional: pins for assembly
Measurements / Sizing
- Head: ~3–4 cm diameter
- Body: ~5–6 cm tall
- Arms/legs: ~2–4 cm each
- Tail: large and fluffy, ~6–7 cm in length
- Small details (ears/tentacles) ~1–2 cm
Gauge
- Not crucial for amigurumi, but work tightly so that stuffing does not show.
- Approx. 6 sc x 6 rows = 2 cm x 2 cm (un-stretched).
Stitch Abbreviations
- ch – chain
- sl st – slip stitch
- sc – single crochet
- hdc – half double crochet
- inc – increase (2 sc in one stitch)
- dec – decrease (sc 2 together)
- st(s) – stitch(es)
- FO – fasten off
Special Stitches
Invisible Decrease:
Insert hook in front loop of next 2 sts, yarn over, pull through both front loops, yarn over, pull through 2 loops.
THE PATTERN
1. Head
Work in continuous rounds. Change colors where indicated.
Rnd 1: With brown, make magic ring, ch 1, [sc, 2 hdc, dec, 2 sc, 2 hdc, dec, 2 sc]—7 sts.
Rnd 2: Ch 1, sc in next 2 sts, inc, (change color) sc in next 2 sts, inc, (change to white) sc in next st, inc, sc in last st—18 sts.
Rnd 3: Ch 1, sc in next 2 sts, (sc, inc) twice with white, sc in remaining sts—14 sts.
Rnd 4: Ch 1, sc in first 2 sts, (sc, inc) x2, sc in 6 sts with brown, (sc, inc) x2 with white, sc in last 2 sts—18 sts.
Rnd 5: Ch 1, (sc 3, inc) x3, sc, (change to dark) sc, inc, sc 2, sc, inc, sc, (change to white) (sc 3, inc) x3, sc, sl st—26 sts.
Rnd 6: Ch 1, sc 8, (dark) sc 3, sc, inc, sc 2, sc, inc, sc 3, (white) sc 8, sl st—28 sts.
Rnd 7: Ch 1, sc 12, (dark) sc 12, (white) sc 8, sl st—28 sts.
Rnd 8: Ch 1, sc 7, (dark) sc 14, (white) sc 7, sl st—28 sts.
Rnd 9: Ch 1, sc 6, (dark) sc 16, (white) sc 6, sl st—28 sts.
Rnd 10: Ch 1, sc 2, (sc 2, dec) x1 (brown), sc 12, sc, dec, (white) (sc 2, dec) x1, sc 2, sl st—22 sts.
Rnd 11: Ch 1, sc 4, (dark) [sc, dec] x4, sc, (white) sc 4, sl st—18 sts.
Rnd 12: Ch 1, [sc, dec] x6, sl st—12 sts.
Rnd 13: Ch 1, [dec] x6, sl st—6 sts. FO, stuff head.
For non-pattern readers:
Start with a magic loop and mix single and half double crochets, using color changes for cheeks and face marks, making the head rounder and smaller with decreases. Stuff before closing.
2. Ears (Make 2)
Work directly into round 8 of the head.
Right Ear:
- Insert hook, pull up brown yarn, ch 4.
- Hdc in 3rd ch and next ch (2 hdc).
- Skip next st, sl st to base.
- FO, leave tail for attaching. Add a small tentacle by folding scrap yarn, pulling through, and trimming.
Left Ear:
- As for right but mirror on other side of head.
After both ears are done:
Hide all ends for neatness.
If the steps are confusing:
Just make an oval on each side of the head at Rnd 8, and attach a small piece of yarn on top for tufts.
3. Body
Rnd 1: With brown, make magic ring, ch 7. Flip and sc in 2nd ch and next 4 ch (5 sc), 3 sc in final ch. Turn, sc in opposite side of chain for 4 sc, (sc, inc) in last, sl st—14 sts.
Rnd 2: Ch 1, (sc, inc), sc 4, (sc, inc) x3, sc 4, (sc, inc) x2, sl st—20 sts.
Rnd 3: Ch 1, (sc, inc), sc 4, repeat (sc, inc) three times, sc 4, repeat (sc, inc) twice, sl st—26 sts.
Rnd 4: Ch 1, sc 2, (sc, inc), sc 3, repeat (sc, inc, sc) three times, last sc in white, sc 6 in white, sc, (sc, inc), sc 2, sl st—32 sts.
Rnd 5-7: Ch 1, sc 19 (brown), sc 6 (white), sc 7 (brown), sl st—32 sts per round.
Rnd 8: Ch 1, sc 2, (sc, dec), sc 2 (x3), sc, sc 6 (white), sc 3, (sc, dec), sc 2, sl st—28 sts.
Rnd 9: Ch 1, (sc, dec), sc 2 (x4); in white, sc, (sc, dec), sc 2, sc, sc, (sc, dec) sc 2, sl st—21 sts.
Rnd 10: Ch 1, sc 12, sc 4 (white), sc 5 (brown), sl st—21 sts.
Rnd 11: Ch 1, sc 5, (sc, dec) x3, sl st—18 sts.
Rnd 12: Ch 1, sc 2, (sc, dec) x3, sl st—15 sts. FO, leave tail. Stuff.
"For users who prefer a summary, shape the oval body by working flat then round. Switch between brown and white as directed, making simple increases and decreases for shape. Stuff as you finish."
4. Arms (Make 2)
Rnd 1: With brown, make magic ring, ch 1, sc 5—5 sts.
Rnd 2-5: Ch 1, sc in each st around—5 sts each row.
Rnd 6: Ch 1, skip 1 st, sc 2, sl st, FO—sew opening closed, stuff lightly.
"Make two tubes for arms, closing at the end and lightly stuffing."
5. Legs (Make 2)
Rnd 1: With brown, make magic ring, ch 1, sc 6—6 sts.
Rnd 2-3: Sc in each st around—6 sts each row.
FO, leave yarn tail. Stuff.
"Follow the arm method for small fat legs, sew closed and attach to body."
6. Tail
Rnd 1: With brown, make magic ring, ch 1, sc 6—6 sts.
Rnd 2: Ch 1, [sc, inc] x6—12 sts.
Rnd 3: Ch 1, [sc, inc] x6—18 sts.
Rnd 4: Ch 1, [sc 2, inc] x6—24 sts.
Rnd 5: Ch 1, sc, inc, sc 7, inc, sc 4, inc, sc 7, inc, sc, sl st—28 sts.
Rnd 6: Ch 1, sc 11, inc, sc 4, inc, sc 11, sl st—30 sts.
Rnd 7: Ch 1, sc around—30 sts.
Rnd 8: Ch 1, sc 7, ch 8, skip 16, sc 7, sl st—14 sts.
Rnd 9: Ch 1, sc 22, sl st—22 sts.
Rnd 10: Ch 1, sc, dec, sc 16, sc, dec, sl st—20 sts.
Rnd 11: Ch 1, sc around—20 sts.
Rnd 12: Ch 1, sc, dec, sc 14, sc, dec, sc, sl st—18 sts.
Rnd 13: Ch 1, sc around—18 sts.
Rnd 14: Ch 1, sc 4, dec, sc 6, sc, dec, sc 4, sl st—16 sts.
Rnd 15: Ch 1, sc 5, dec, sc 2, dec, sc 5, sl st—14 sts.
Rnd 16: Ch 1, sc 3, dec, sc 4, dec, sc 3, sl st—12 sts.
Rnd 17: Ch 1, sc 3, dec, sc 4, dec, sc 3, sl st—10 sts.
Rnd 18: Ch 1, [sc, dec] x3, sc, sl st—7 sts.
FO, stuff as you go.
If making the curved part: Open a new round at the curl base: ch 1, sc 24, sl st; next round: ch 1, [sc 2, dec] x6, sl st (18); next round: ch 1, [sc, dec] x6, sl st (12); next round: [dec] x6, sl st (6). FO. Sew end closed and attach.
For readers who need a summary:
The tail is worked with rapid increases then shaped with chains, decreases, and extra scs for a fluffy look. Stuff as you go and sew up any small holes. Attach more securely for standing-up tails.
Assembly & Finishing
- Sew the head to the top of the body, slightly forward for “cute” angle.
- Attach ears symmetrically to top/side of the head.
- Sew arms to the sides just below the head join.
- Attach legs at the base of the body for sitting posture.
- Sew tail securely to the back base.
- If desired, embroider small nose and eyes for extra cuteness.
- Hide all ends inside the body for tidy finish.

Solution of Problem
Problem: If you find your color changes are jagged or not smooth, pull up the next round’s color on the last yarn over, and use a needle to “surface stitch” any jagged steps. Keep tension even for smoother transitions.
What You Can Make With These Stitches
- Simple amigurumi animals (bunnies, cats, mice)
- Miniature keychains and bag charms
- Lovey and baby-safe plushes
- Appliqués for hats, scarves, or blankets