
Dazzling Free Crochet Granny Square Top Pattern To Use at Poolside or Vacations
Simple squares turn into a lovely top with this free crochet granny square top pattern that is fun to enjoy making a soft colorful and stylish outfit you will love to wear.
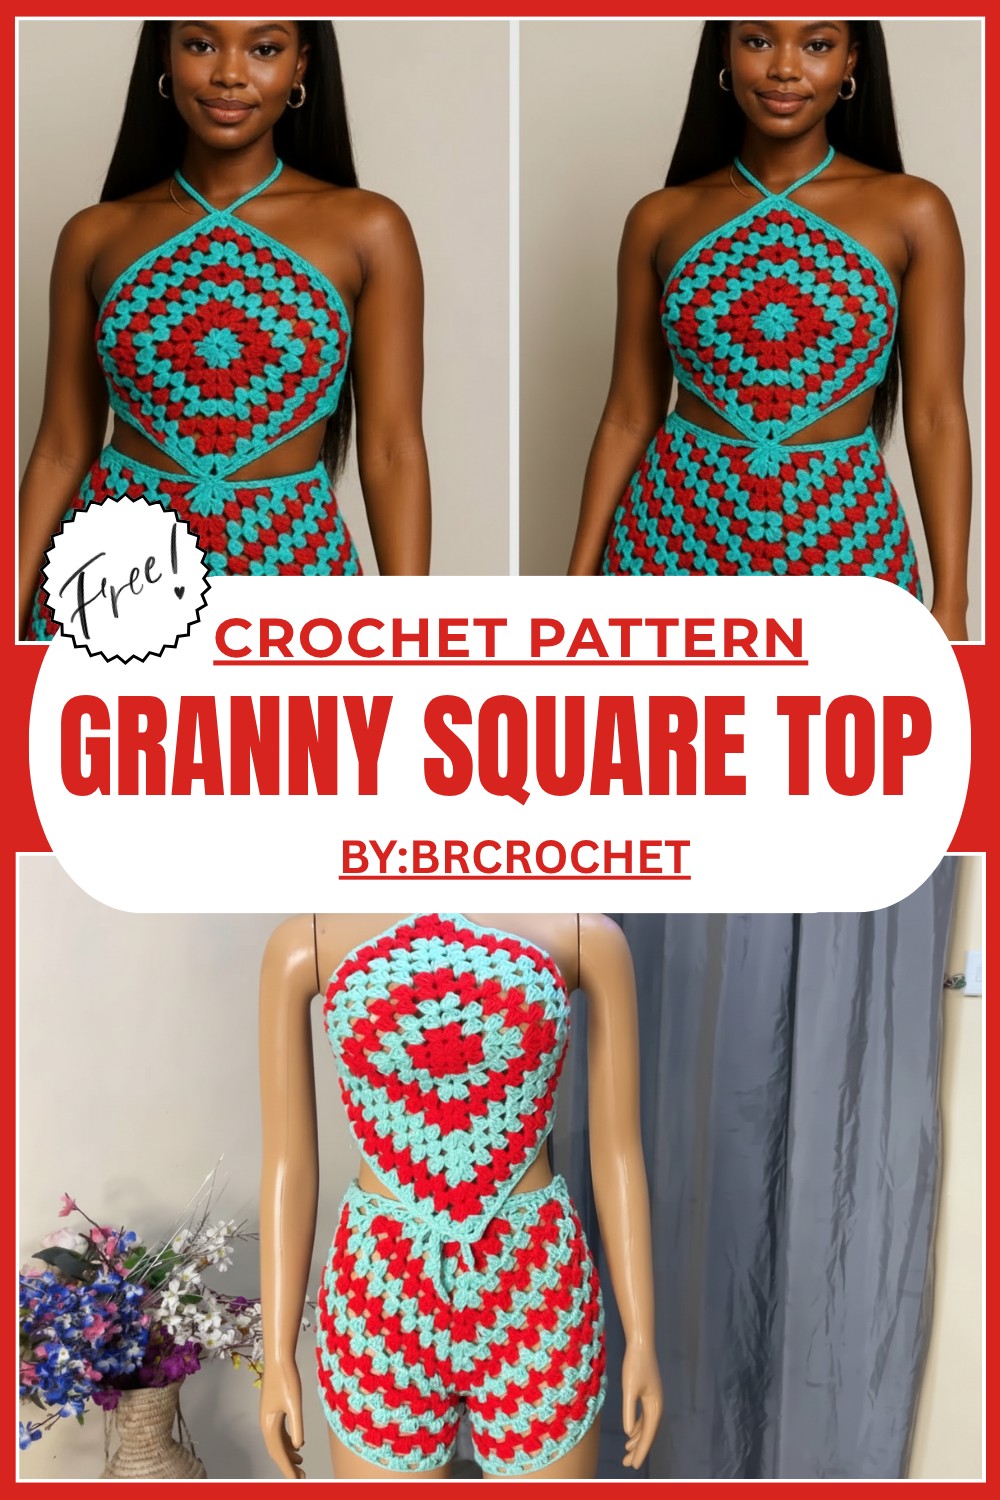
Use This Stunning Free Crochet Granny Square Top Pattern for Your Next Summer Look
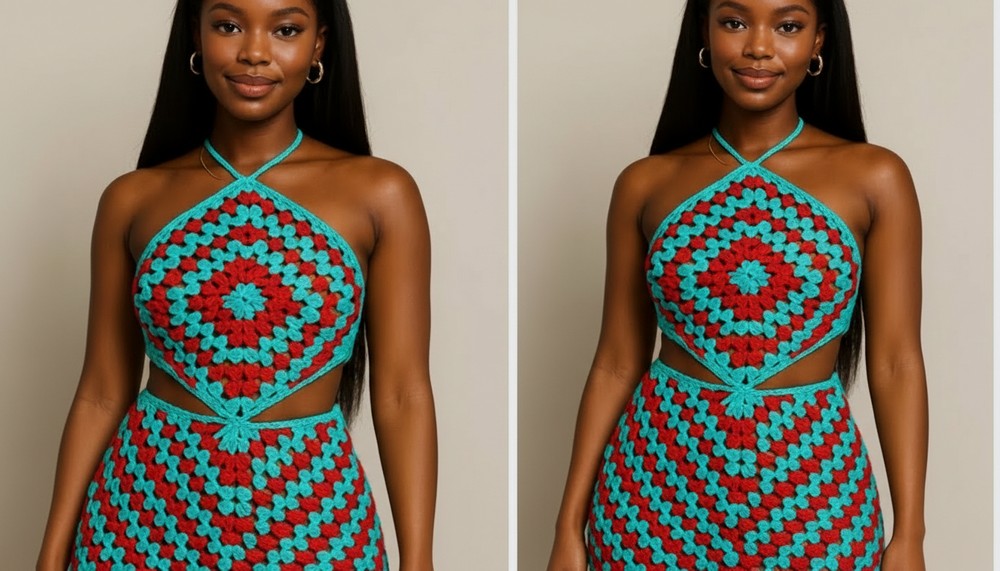
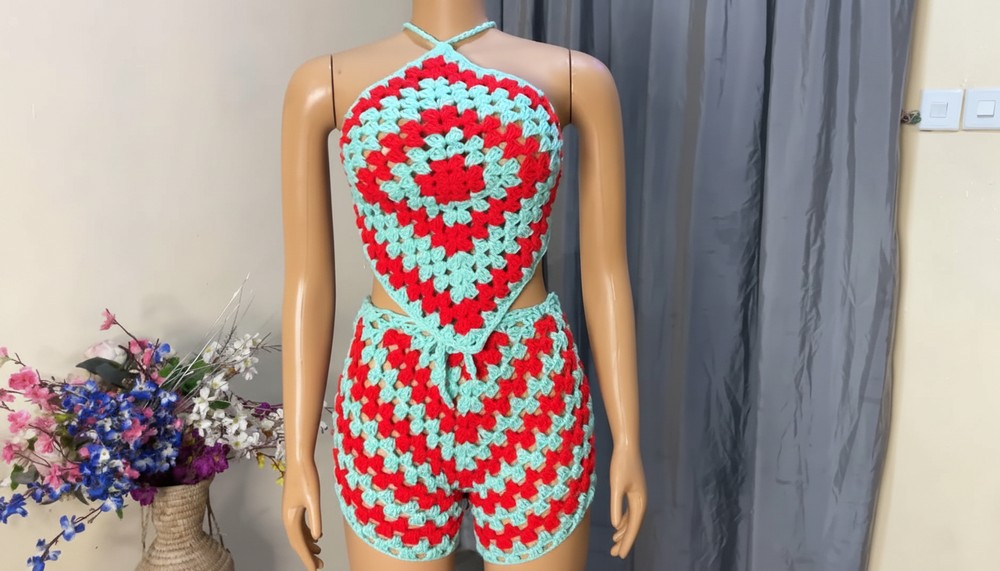
Capture everyone's attention and bring smiles all around by creating your very own stunning shirt with this Free Crochet Granny Square Top Pattern. This eye catching top bursts with joy as it combines vibrant, colorful squares into a cozy and stylish piece you'll love.
It’s like wearing a cheerful rainbow, perfect for brightening up any summer day. The beauty of this top shines through its clean, classic design and the way the colors blend into a fun and happy outfit. With thick, secure shoulder straps and comfortable open stitches, it feels lightweight while giving off major handmade boutique vibes. 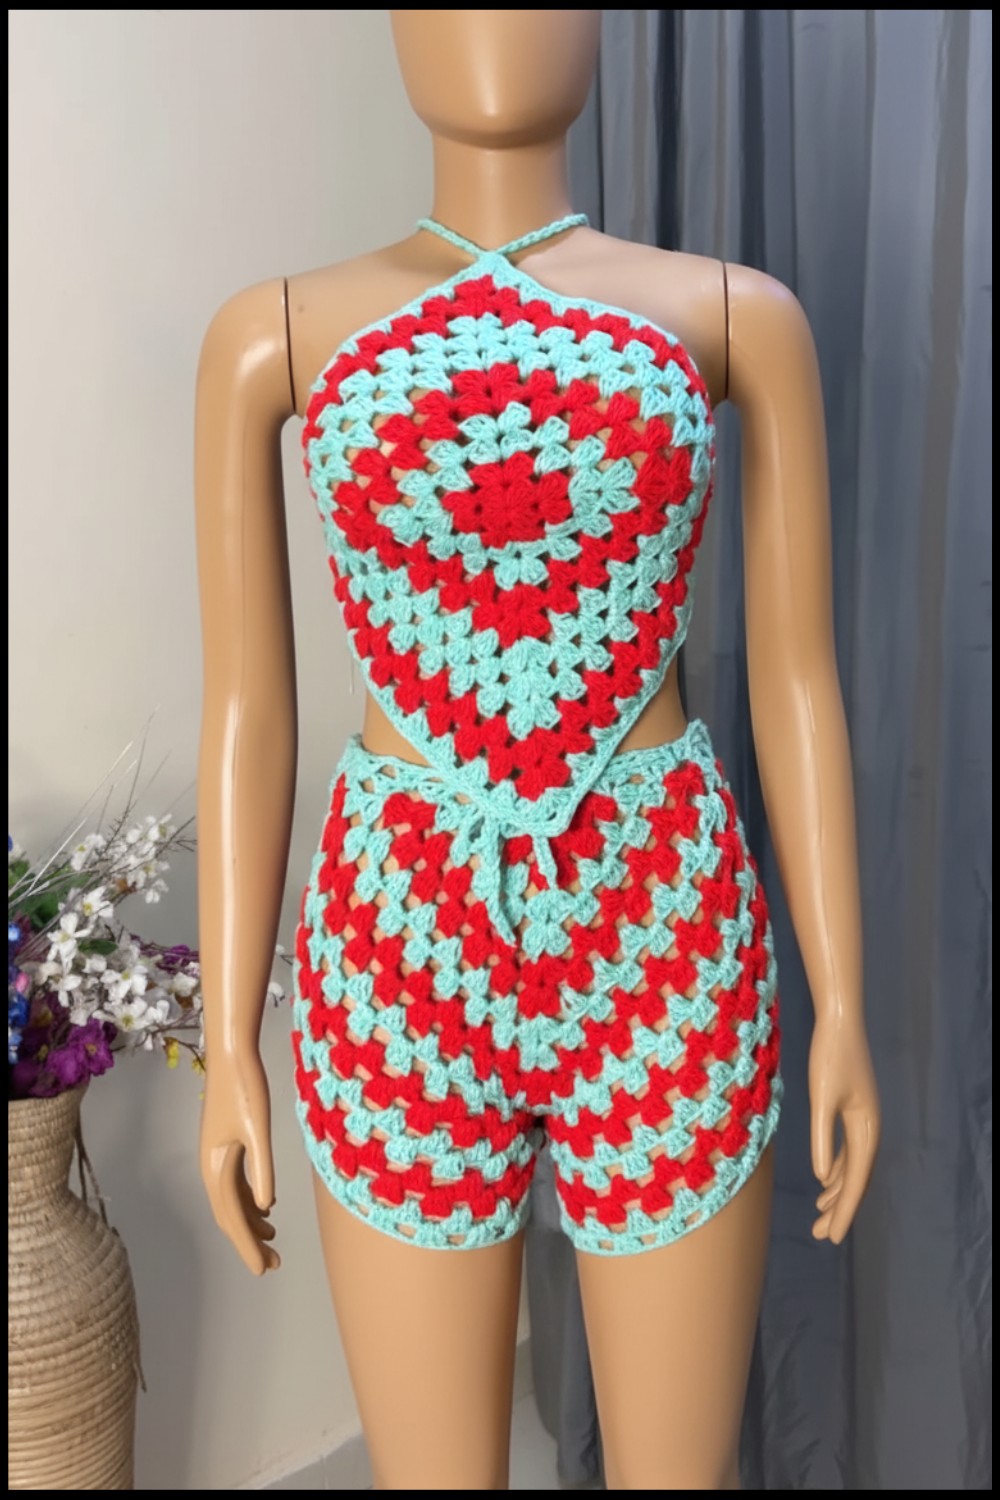 Pair it with jeans for a casual day out, or make it a thoughtful birthday gift for someone special. Even beginners will find the simple, process easy to follow, making it a quick and rewarding project.
Crochet Granny Square Top Pattern
Materials Needed:
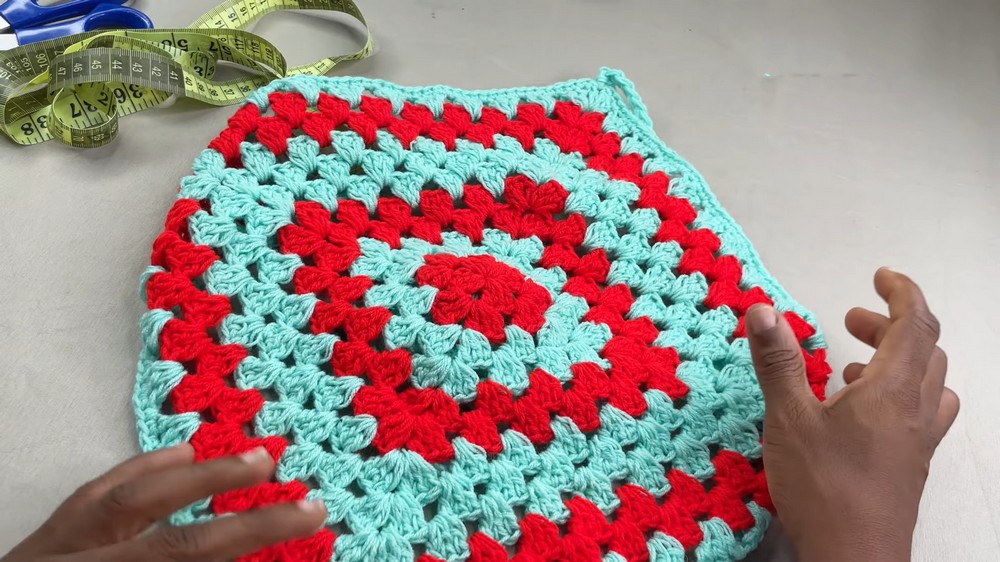
- Yarn: Two colors (Mint Green and Red are used in the tutorial, though you can use any yarn type or color of your choice)
- Tape Measure: For measurements to ensure proper fit
- Scissors: For cutting yarn
- Crochet Hook: Size 4.0mm hook
Special Techniques Used:
- Slip Knot: Starting technique for crochet projects
- Chain Stitch: Foundation for crochet fabric
- Double Crochet (DC): Main pattern stitch
- Single Crochet (SC): Used for finishing edges
- Slip Stitch (SS): Helps join clusters and rounds
- Corner Formation: Creating clusters with chain spaces for shaping
Step by Step Pattern
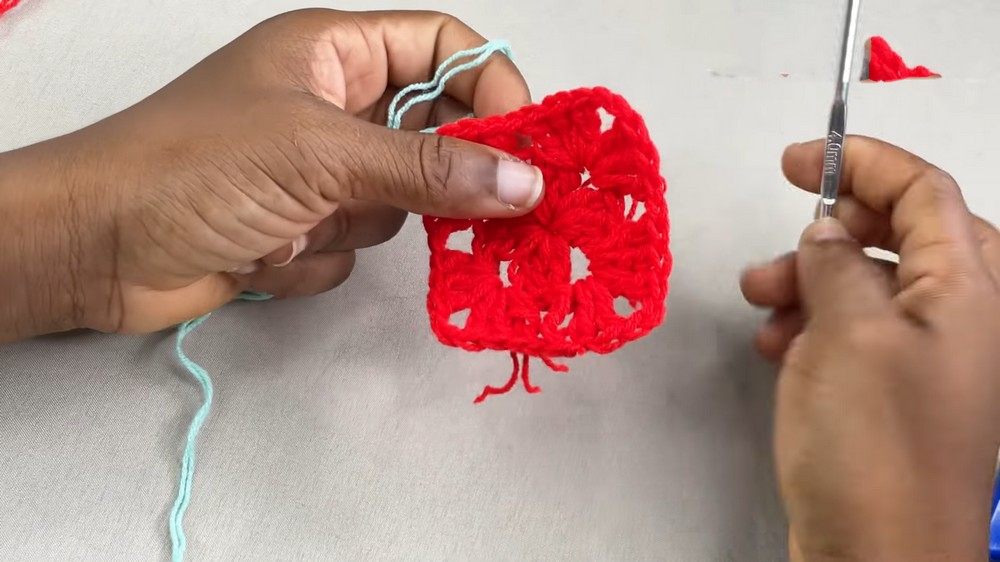
Step 1: Create the Foundation Ring
- Begin with a slip knot to secure your yarn to the hook.
- Chain 3 stitches.
- Insert your hook into the first chain and slip stitch to form a ring.
Step 2: Begin the First Round
- Chain 3 to count as the first double crochet (DC).
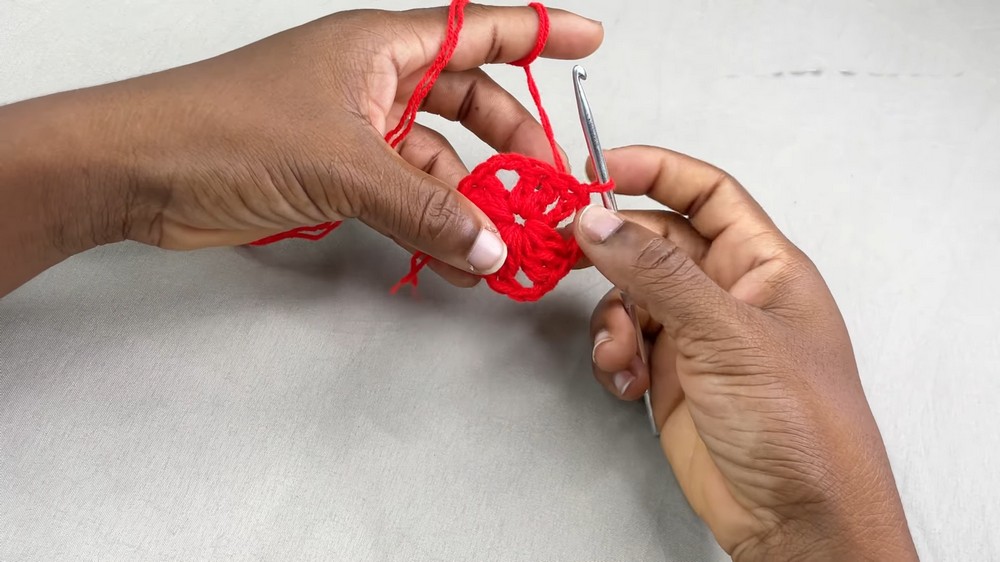
- Into the ring, crochet 3 double crochets.
- Chain 2, then create another set of 3 double crochets.
- Repeat this process to form a total of 4 clusters of 3 double crochets, separated by chain 2 spaces. You should now have 12 double crochets total organized into 4 corner spaces.
Step 3: Expand the Square
- Slip stitch into the next chain 2 space.
- Repeat the following for each corner:
- Chain 3 (counts as the first DC).
- Into the same corner space, crochet 3 double crochets, chain 2, and 3 double crochets again.
- Chain 1 before moving to the next corner.
- For spaces between corners, crochet:
- 3 double crochets, chain 1 in the neighboring chain 1 space.
- Repeat this process until the entire square is expanded into 6 double crochet clusters for each corner.
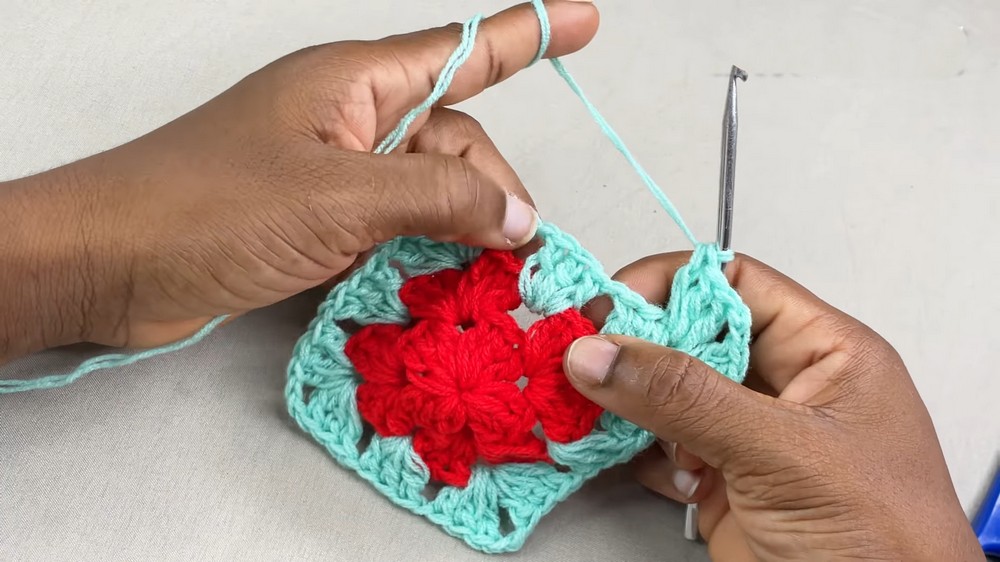
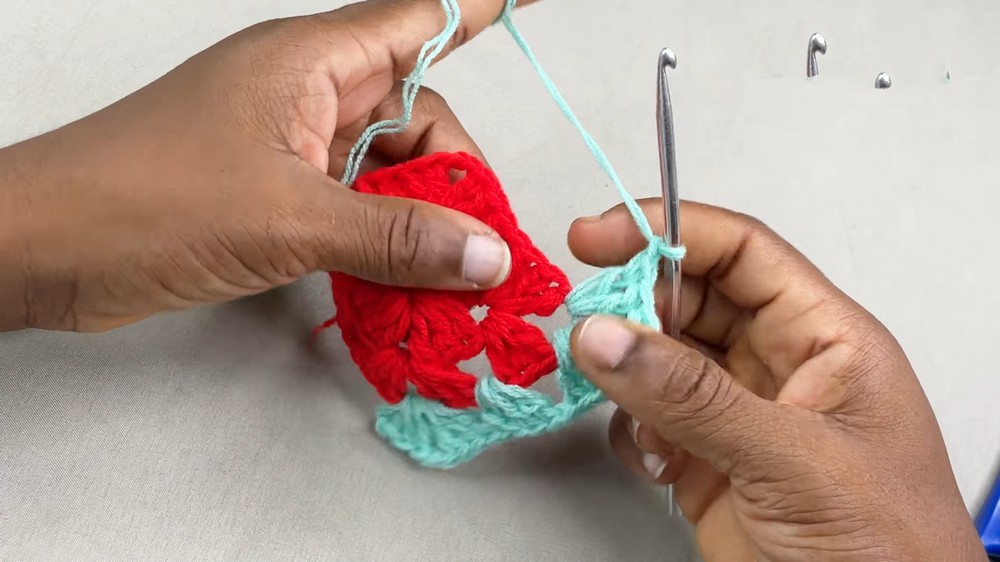
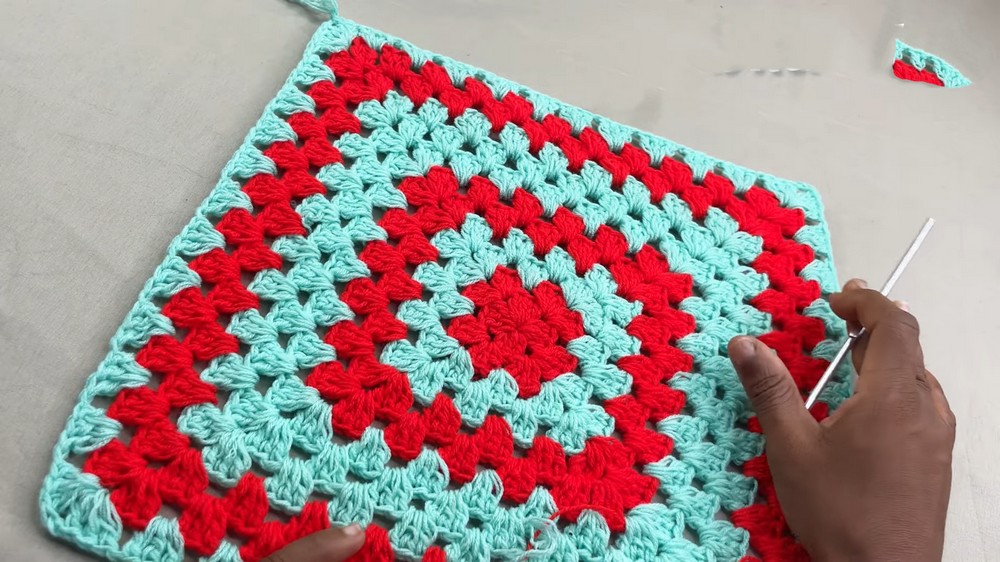
Step 4: Alternate Rows with Second Color
- Begin your second color at any corner space to create contrast.
- Repeat the same expansion technique:
- 3 double crochets, chain 2, 3 double crochets in each corner space.
- Chain 1 between clusters.
- Alternate between the two colors, completing 2 rows per color.
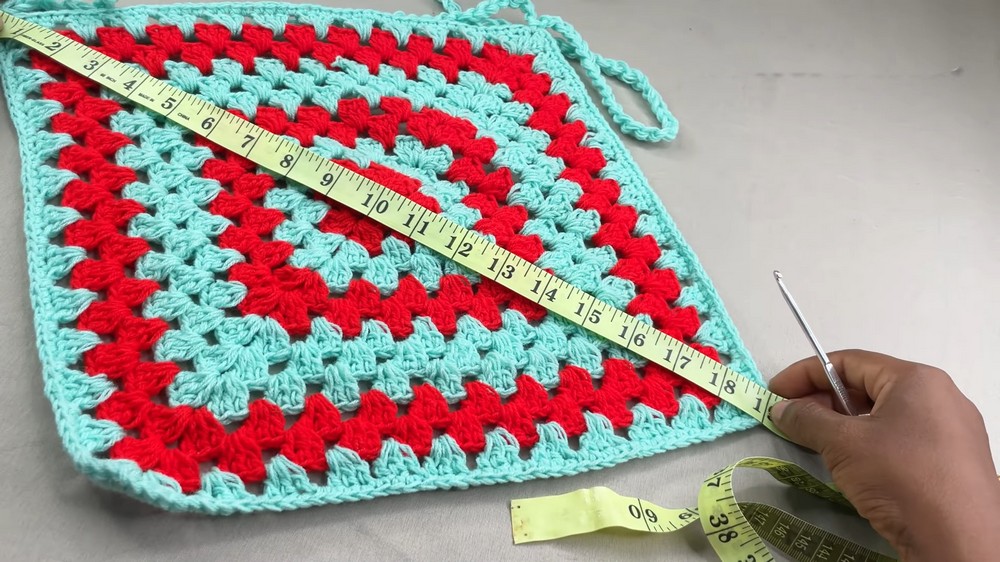
- Continue working rows until you achieve the bust to bust measurement (approximately 18 inches or desired width for your halter top).
Step 5: Side Panel Shaping
- Fold the square horizontally or vertically, depending on the desired coverage.
- Create single crochet edging around the entire piece:
- Crochet 1 single crochet per stitch.
- For corner spaces, crochet 2 single crochets, chain 2, 2 single crochets.
- This creates a neat edge and rounds off the design.
Finishing the Halter Top
Attach Ties
- Create a long chain for neck ties:
- Chain stitches until the length is sufficient to wrap around and tie at the neck (approximately 30 to 50 inches, or based on preference).
- Secure with slip stitch at the attachment points on either end of the top panel.
- Repeat the same process to create back ties:
- Chain long enough to tie securely at the back.
- Chain long enough to tie securely at the back.
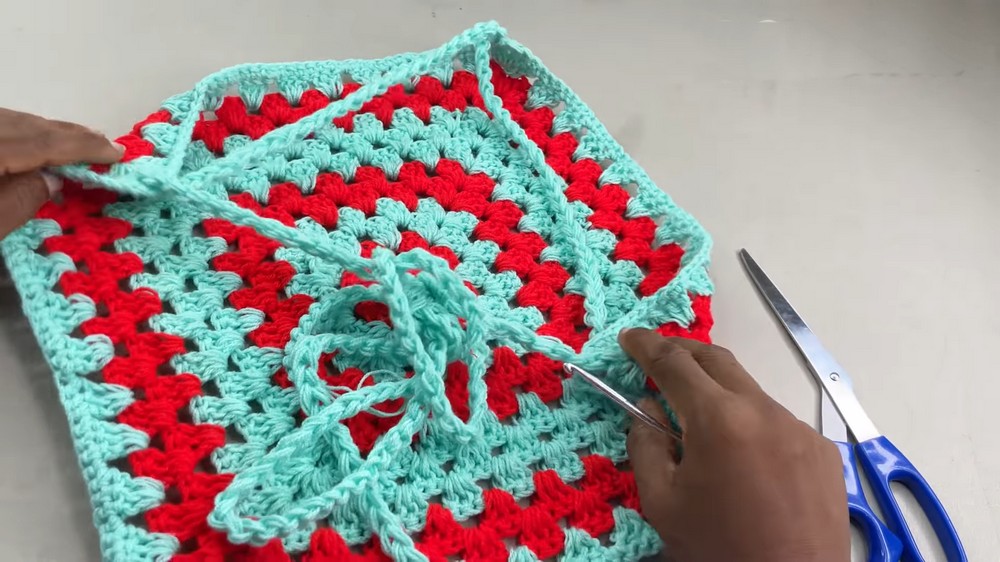
Trim Excess Yarn
- Cut any remaining yarn and weave in loose ends.
- Ensure all attachment points are secure by tying off the yarn twice.
Final Words and Tips to Maintain the Pattern
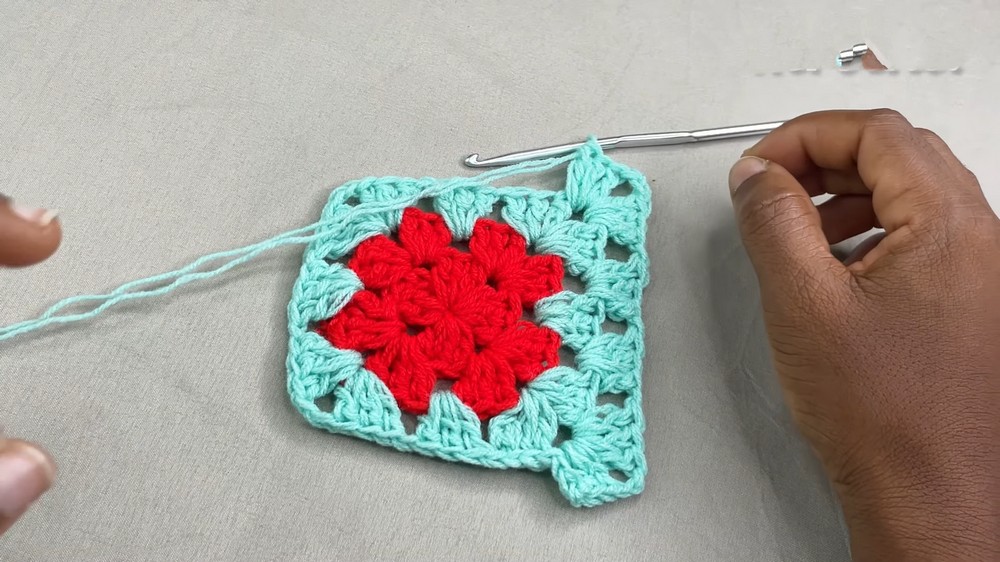
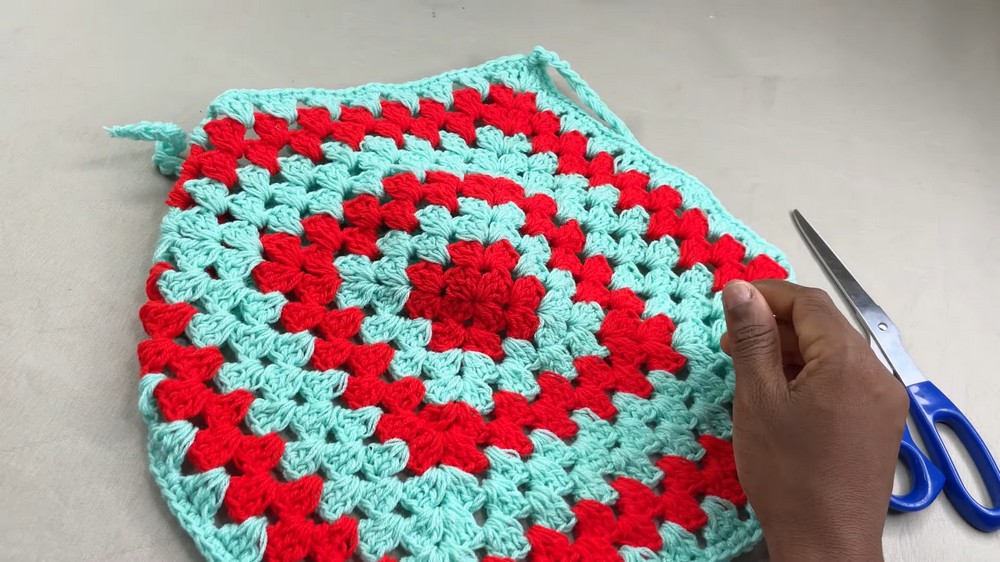
Final Look
- Ensure the square design lays flat and corners remain crisp for clean symmetry.
- When finished, the halter top should fit snugly with adjustable neck and back ties.
Tips for Maintenance
- Washing: Hand wash using mild detergent to avoid fraying the yarn.
- Blocking: Lay flat and shape the piece after washing to maintain the square edges.
- Storage: Fold neatly and keep away from direct sunlight to preserve yarn colors.
Creative Suggestions
- Add embellishments like beads or tassels to the edging to personalize the top.
- Experiment with color blocking by alternating row colors for a unique look.