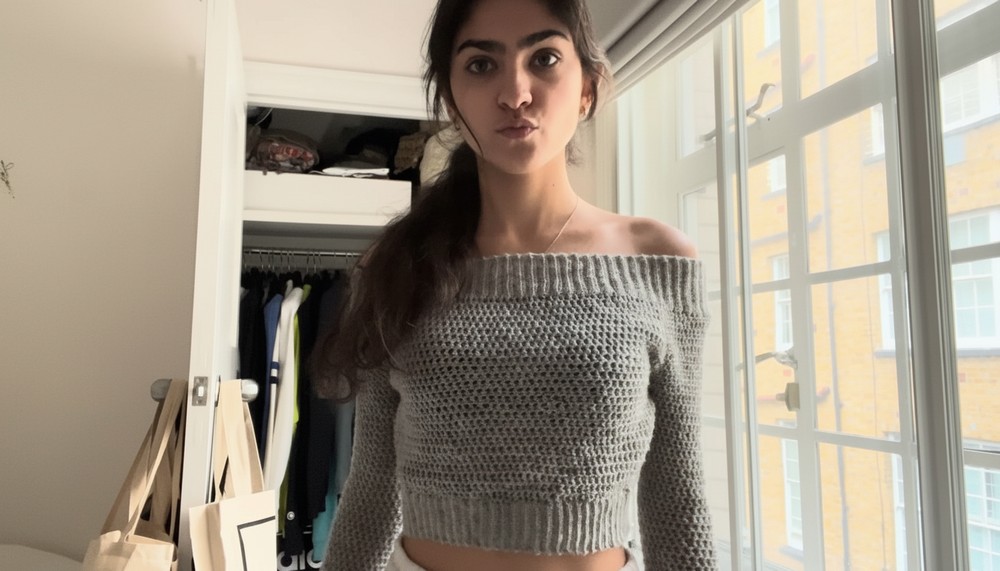
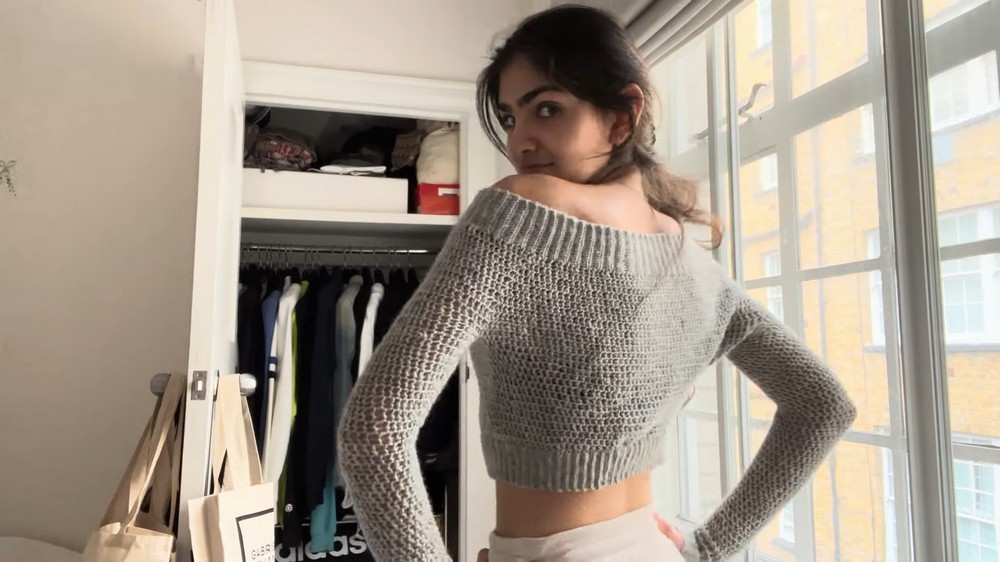
Chic Free Crochet Off The Shoulder Top Pattern For An Elegant Look
Show off a stylish look with this free crochet off the shoulder top pattern that and helps you create a soft and trendy top for warm days.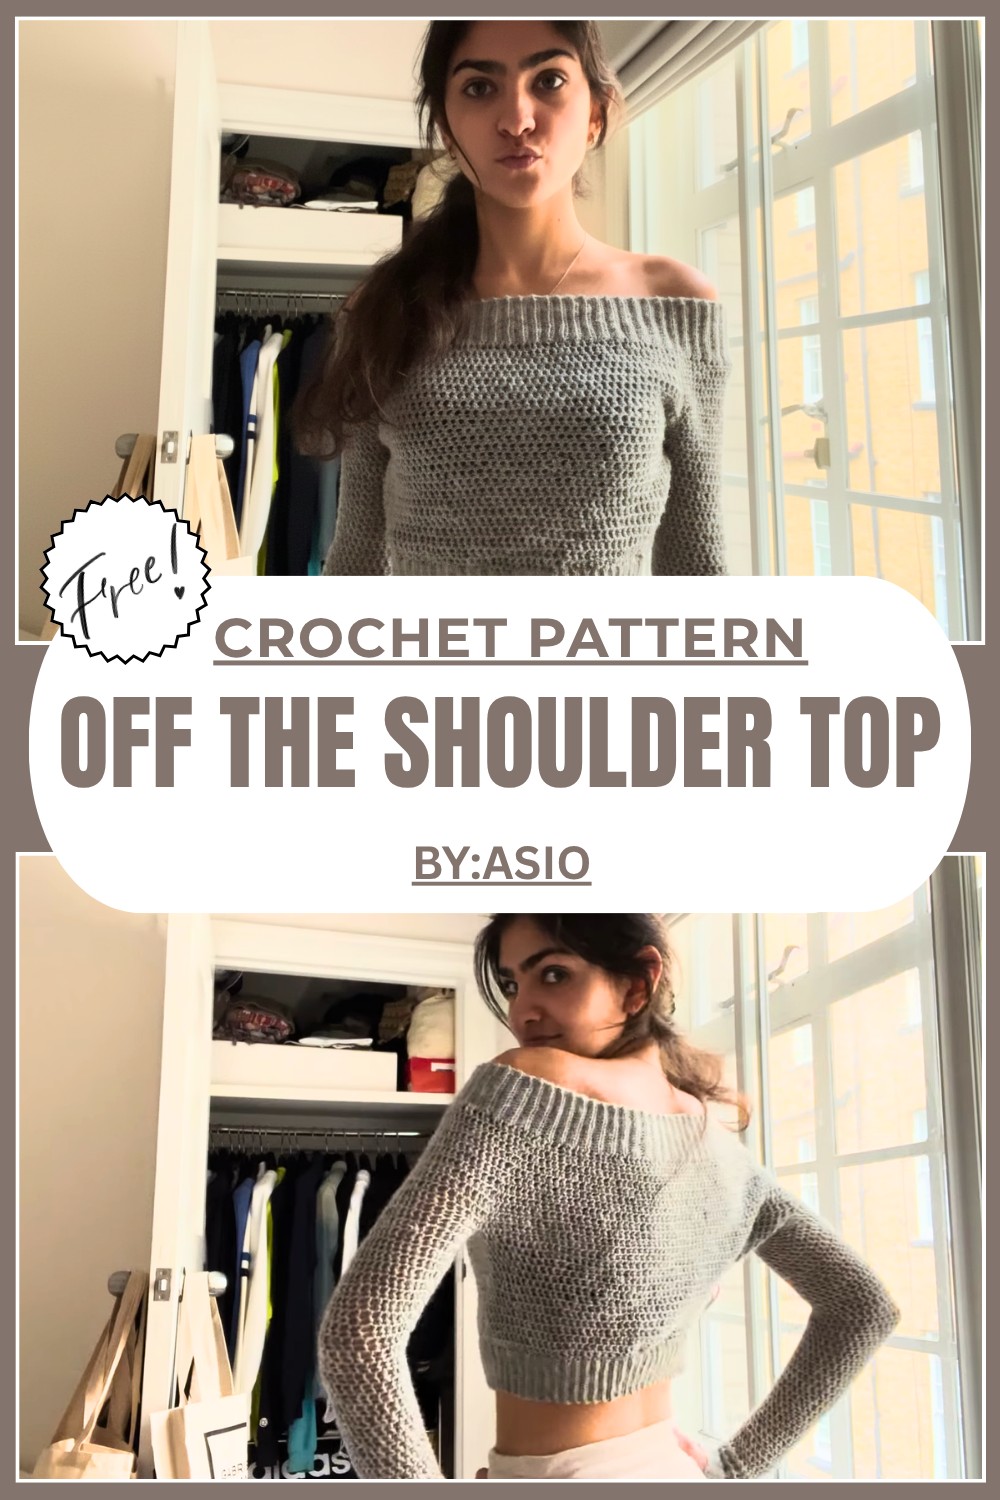
Free Crochet off the shoulder top Pattern you’ll actually want to wear
If you’re looking for a fun, creative, and easy crochet project, the Free Crochet Off The Shoulder Top Pattern is perfect for you. This top is soft, comfortable, and works beautifully for casual days or special occasions. The design features a trendy off the shoulder look with a pretty ribbing effect that makes it stylish and unique.
You can crochet this top to fit your size perfectly, ensuring it’s snug but not too tight, making it ideal for all body types. It’s created using simple techniques like single crochets and double crochets, which are repeated to form the body, sleeves, and cuffs. 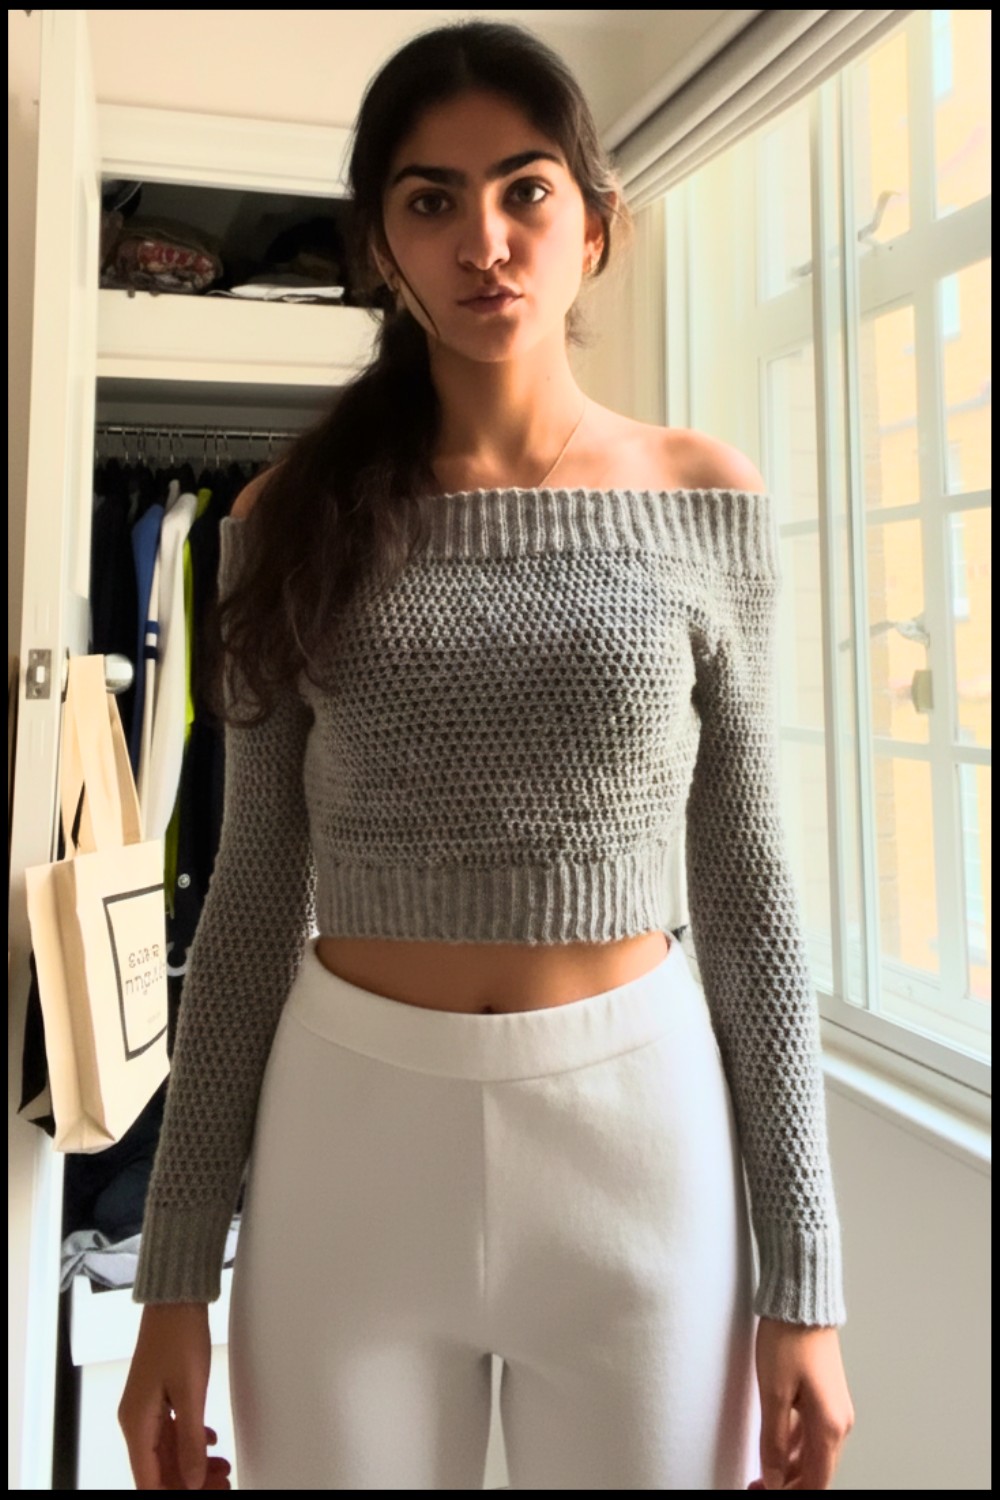
The pattern is easy to follow and perfect for beginners or experienced crocheters looking for a quick project. Whether for a summer outfit or a layered look in cooler weather, this crochet top is a creative and fun way to show off your skills.
Crochet Off The Shoulder Top Pattern
Materials Needed
- Yarn: Size 4 medium weight yarn. Choose a soft and stretchy yarn for comfort.
- Hook: 3.5 mm crochet hook.
- Equipment: Yarn needle, scissors, and stitch markers (paper clips can be used as alternatives).
- Additional Supplies: Measuring tape (optional, for ensuring proper fit).
Gauge
Ensure your gauge matches for a proper fit:
- Gauge measurement: Work 10 rows of back loop single crochets. Approximate width should be 2 inches.
Measure this against your ribbing progress to confirm you are on track.
Finished Size
The sweater is customizable to fit various sizes. The pattern works up to approximately:
- Body Width: Adjustable ribbing (instructions provided).
- Body Length: 14 cm before bottom ribbing is added.
- Sleeves: Variable length per your preference, with cuffs forming a snug finish.
Tips Before You Start
- Fit Adjustment: Try on your project periodically to ensure it fits your body snugly, especially the ribbing and sleeve sections.
- Customization Opportunities:
- Experiment with different yarn colors for stripes or gradient effects.
- Add decorative details or embroidery to the finished sweater.
- Technique Practice: Practice slip stitches and working into back loops separately to familiarize yourself with these techniques as they form the foundation of this pattern.
Pattern Instructions
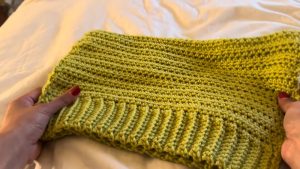
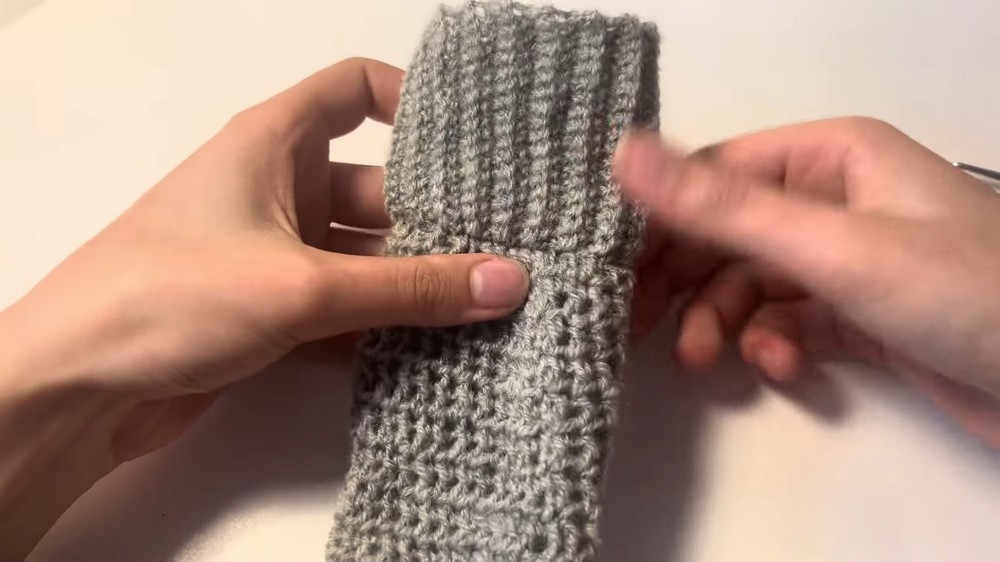
Step 1: Ribbing for Off The Shoulder Panel
- Begin Row 1:
- Create a slip knot. Chain 19+1, for a total of 20 chains.
- Work one single crochet into the third chain from the hook.
- Continue working single crochets across to the end of the row.
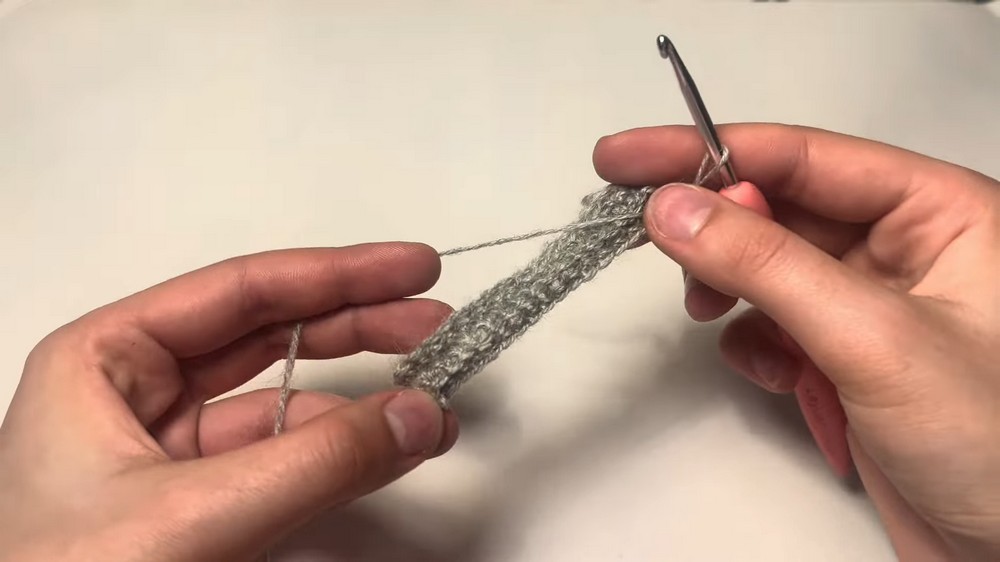
- Begin Row 2:
- Chain 1 and turn.
- Work single crochets into the back loops only for this row. The back loops are identified as the loops furthest from you when looking at the stitch.
- Subsequent Rows:
Repeat Row 2 for the ribbing until the ribbing reaches a length that fits snugly around your shoulders. Use stitch markers to hold the ends together for fitting checks.- Suggested length: Approximately 158 rows for adult sized ribbing.

- Suggested length: Approximately 158 rows for adult sized ribbing.
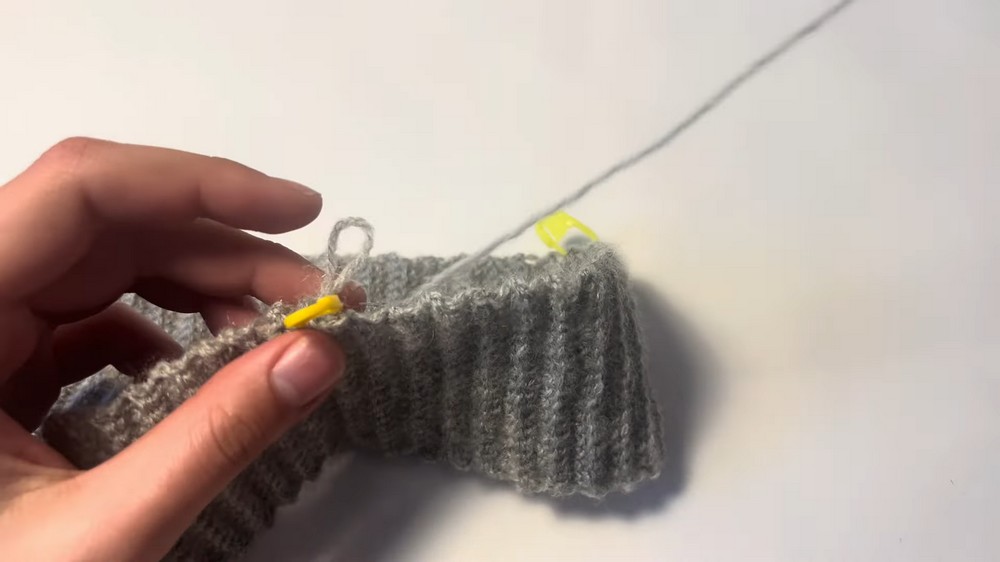
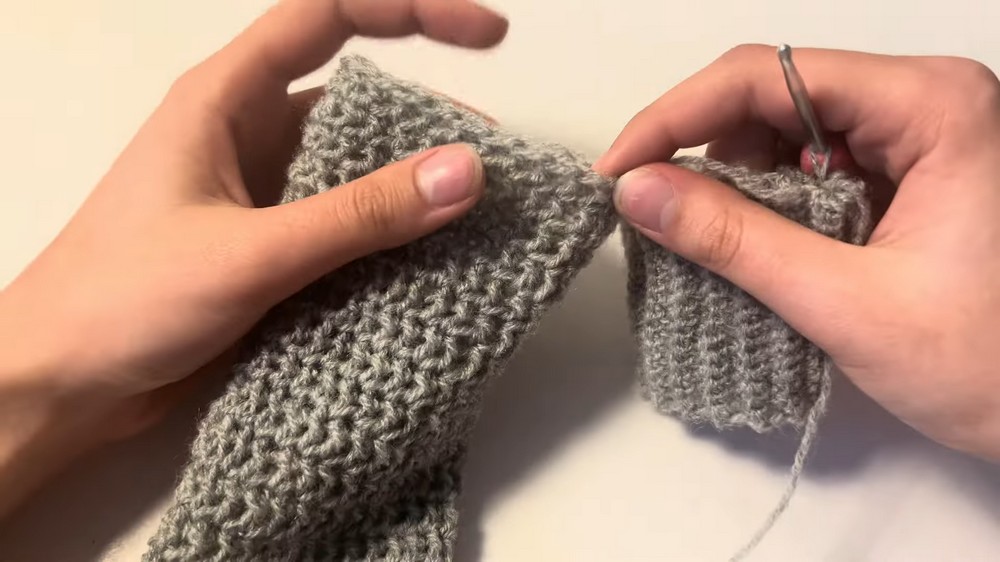
- Joining the Ribbing:
- Fold the ribbing lengthwise with the wrong side facing out.
- Use slip stitches to join the two ends. Insert your hook into the parallel stitches of both sides and pull through.
- Turn the joined ribbing inside out to reveal the neat seam.
Step 2: Raglan Stitch Sections
- Calculate Stitches for Raglan Increases:
- Count the total stitches in your ribbing; for this example, the total is 158 stitches.
- Subtract the 4 stitches allocated for raglan increases (front, back, and two sleeves).
- Divide the remaining stitches into three sections: front, back, and the two sleeve halves. Example computation:
- Total: 158
- Subtract 4: 154
- Divide by 3: 51 stitches for front, 51 for back, and the remaining split across sleeves.
- Place stitch markers at calculated points where sections meet.
- Begin Raglan Rows:
- Chain 4 and double crochet into the same stitch (starting point).
- Work double crochets until reaching the next stitch marker (e.g., 51 stitches for the front panel).
- At each stitch marker:
- Work two double crochets in the stitch marker gap.
- Replace the stitch marker in the gap between these two double crochets for future increases.
- Repeat for all four raglan points.
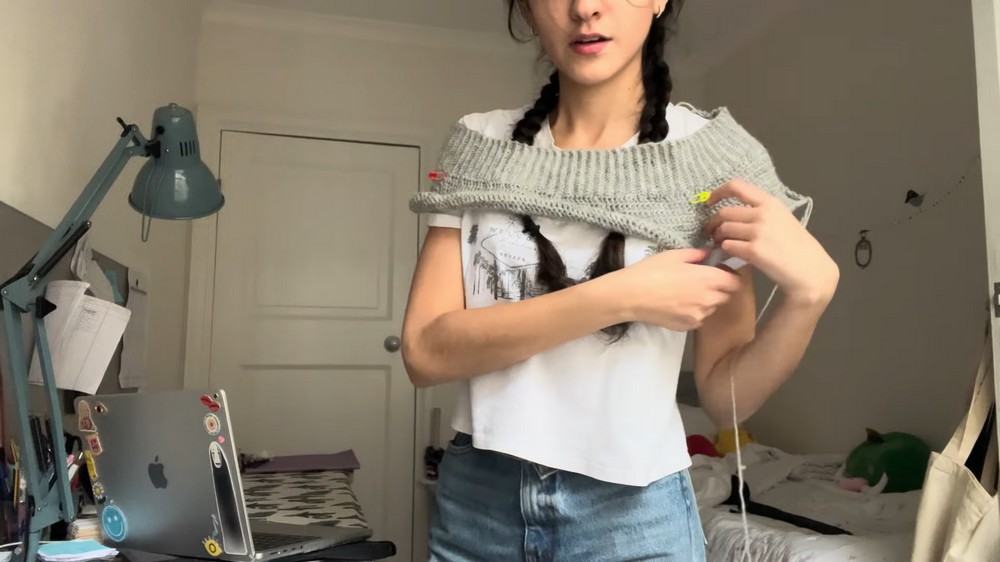
- Subsequent Rows:
Add rows using the same increasing technique at raglan stitch markers until your sleeve holes fit comfortably when tried on. Usually occurs after approximately 10 rows.
Step 3: Body Panel
- Joining for Body Panel Construction:
- Join the front and back sections by folding the sweater and slip stitching at the stitch markers.
- Continue working rows of double crochets without increases or decreases for the body length.
- Body Length:
Customize the body length based on preference, ensuring to add space for bottom ribbing. Example: 14 cm of double crochet rows.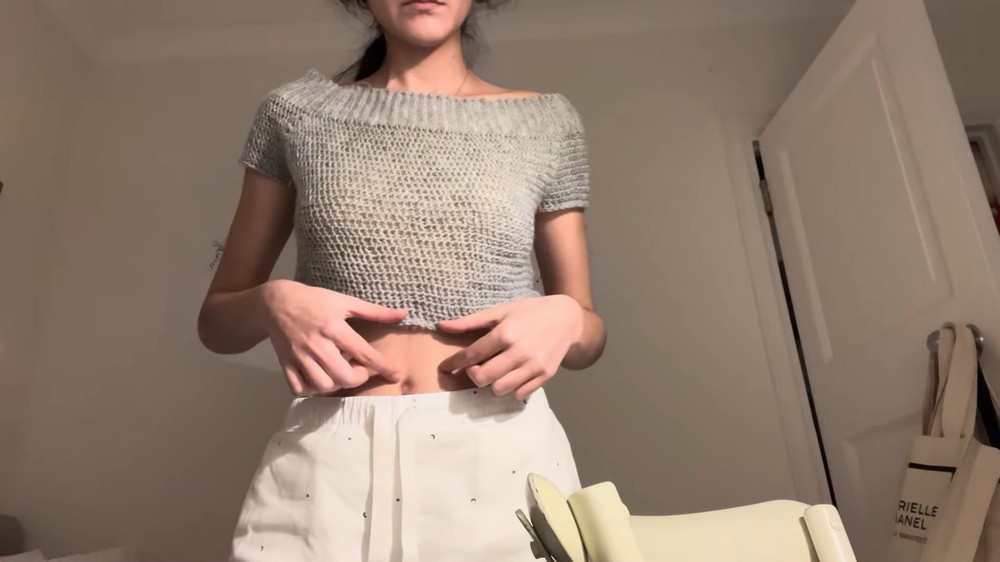
Step 4: Sleeves
- Start Sleeves:
- Attach yarn to one armhole seam.
- Chain 3 and work a row of double crochets around the sleeve opening.
- End the row with a slip stitch. Chain 2 and begin a new row.
- Length Adjustment:
- Continue working double crochet rows around the sleeve for your desired sleeve length. Example: leave space for ribbing near the wrist for snug cuffs.
- Continue working double crochet rows around the sleeve for your desired sleeve length. Example: leave space for ribbing near the wrist for snug cuffs.
- Ribbing for Sleeves:
- Work ribbing as you did for the off the shoulder panel, ensuring a snug fit around the wrist.
- Attach ribbing to the sleeve with slip stitches for a seamless finish.
- Repeat the process for the other sleeve.
Step 5: Bottom Ribbing
- Bottom Panel:
- Repeat the ribbing process for a panel long enough to fit your waist and connect it to the body using slip stitches.
- Repeat the ribbing process for a panel long enough to fit your waist and connect it to the body using slip stitches.
Special Techniques
- Back Loop Single Crochet: Creates the ribbed effect. Always insert your hook into the back loop of each stitch.
- Raglan Increasing Formula: Ensure proportional increases by counting and marking sections properly.

Conclusion and Final Tips
- Weaving Ends: Use a yarn needle to weave in all loose ends securely so they don’t unravel.
- Customization Suggestions:
- Add buttons or embellishments to enhance the sweater.
- Use contrasting colors for ribbing to add flair.
Important Remarks
This off the shoulder ribbed sweater is perfect for casual or semi formal outings. Its ribbing creates a flattering flow, while the fitted sleeves and bottom ribbing add structure. Pair this with jeans or a skirt for a cozy yet fashionable look.
Let your creativity shine with this versatile and intricate crochet project.