
Modern Crochet Top Down Blouse Pattern To Refresh Your Closet
Slip into style with this chic crochet top-down blouse pattern that featuring effortless design details perfect for any occasion or season.
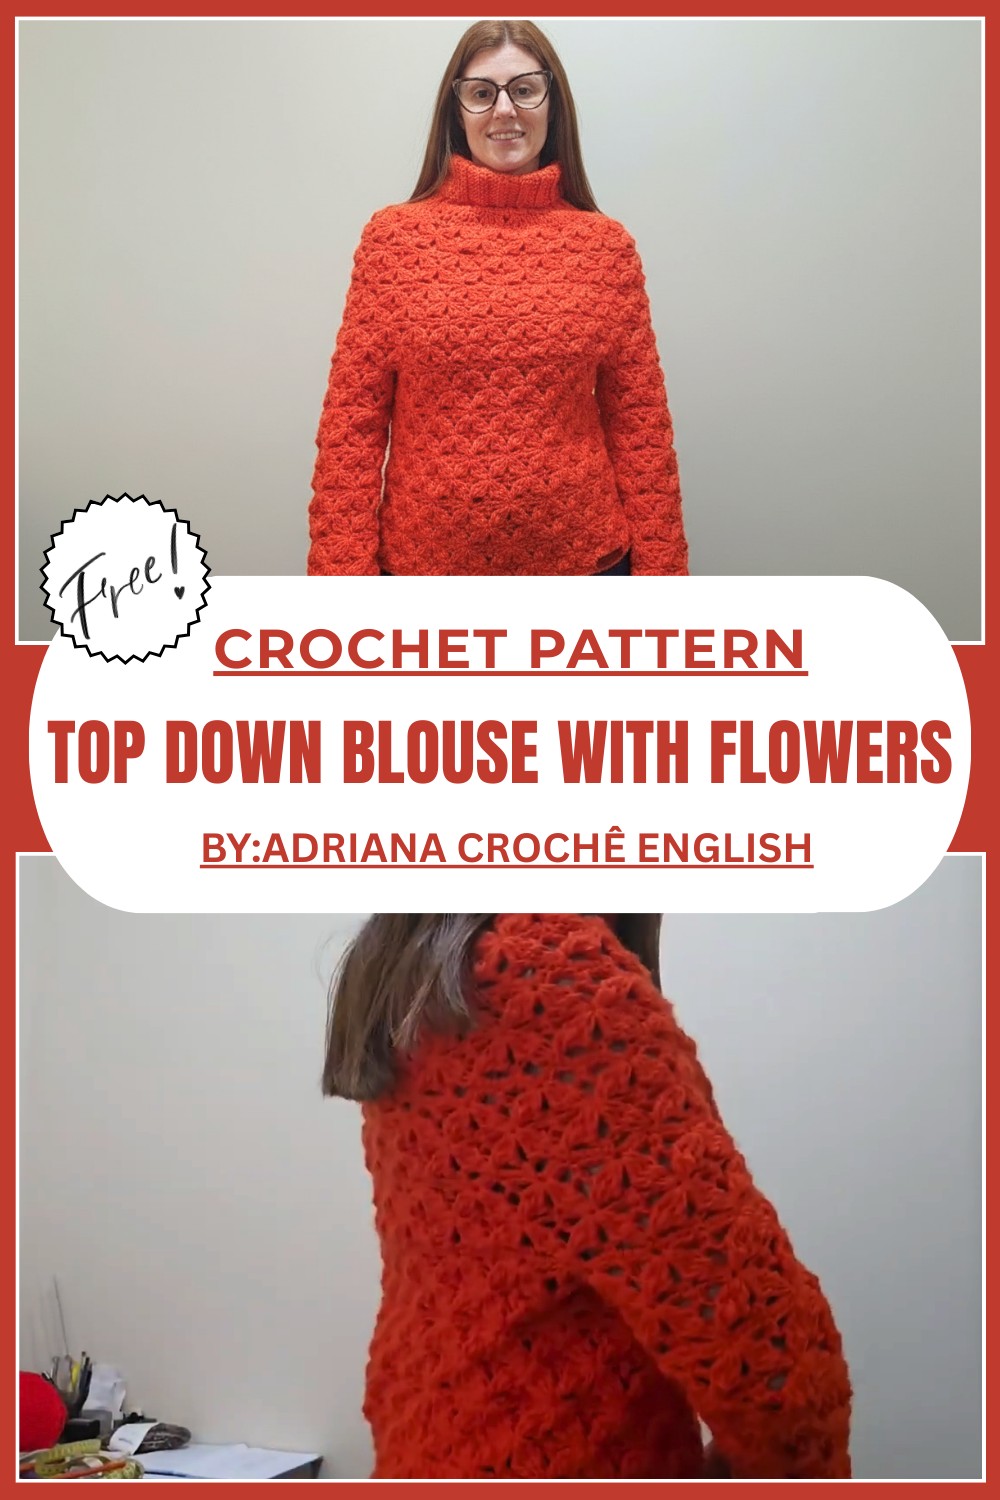
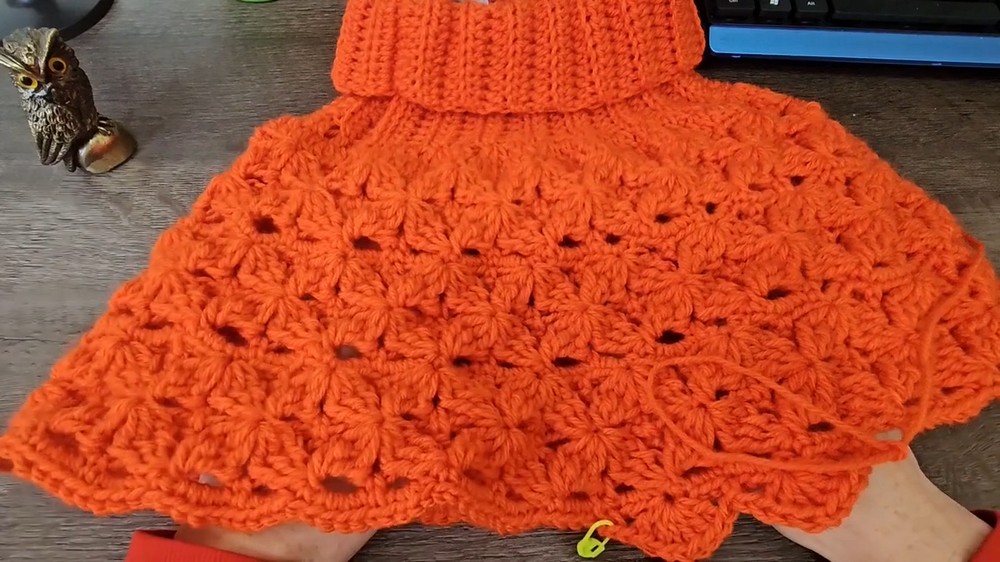
Charming Crochet Top Down Blouse for a Polished Look
Wearing something light, breezy, and beautifully handmade that feels as good as it looks. A crochet top-down blouse pattern brings just that—a stunning and practical design created from the neckline down. Its flowy and effortless structure gives it a flattering fit on all body types, while the intricate crochet work adds an elegant touch.
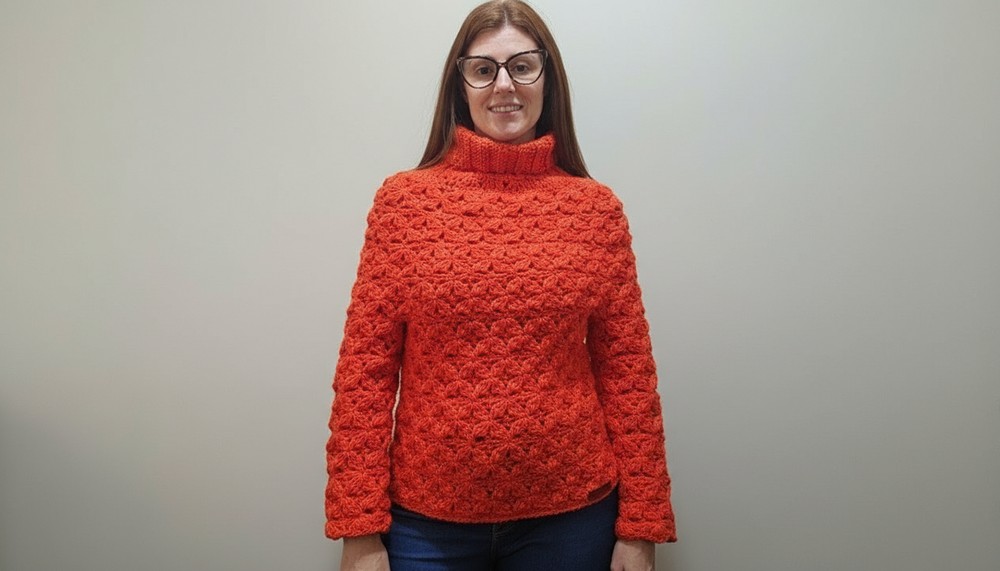
This blouse is perfect for warm days when you want to stay cool but stylish or for layering over a tank top for a laid-back yet chic look. Whether you choose soft pastels, neutral tones, or vibrant colors, the blouse’s unique stitching and delicate details instantly catch the eye. It’s a fantastic choice for casual outings, beach trips, or even when you want to dress up a bit without overdoing it. Beauty, comfort, and versatility come together in this timeless piece, making it a favorite for every wardrobe and season.
Top-Down Crochet Floral Blouse Pattern
Materials Needed
To recreate this crochet blouse, the following materials are required:
- Yarn:
- 100% acrylic yarn, 500 Tex recommended (approx. 500 m/100 g).
- Suggested color: Color #4165 (Energy), or any preferred shade.
- Crochet Hook:
- 5 mm hook for the collar and tighter sections.
- 6 mm hook for the body and flower motifs, ensuring a softer, looser effect.
- Other Tools:
- Measuring tape for accurate sizing.
- Stitch markers to keep track of rows and changes.
- Scissors for cutting yarn.
- Tapestry needle for sewing seams and finishing.
Skill Level
Intermediate to Advanced. This pattern involves textured stitches, flower motifs, top-down construction, increases, joining, and decorative edging techniques.
Key Abbreviations
- ch: Chain.
- sl st: Slip Stitch.
- sc: Single Crochet.
- hdc: Half Double Crochet.
- dc: Double Crochet.
- rep: Repeat.
- sp: Space.
Special Notes
- Yarn Recommendation: Thicker yarn yields a warmer blouse, ideal for full-body designs. Thinner yarn gives a breezy, spring-style finish. Adjust according to preference.
- Sizing Adjustments: Use measuring tape to match your collar and bust measurements precisely. This pattern fits sizes S/M (can stretch to L).
- Motifs: Flower motifs must maintain multiples of 8 stitches to ensure symmetry. Adjust if necessary.
Pattern Instructions
Section 1: Collar
The blouse begins with the collar. This section creates a textured, ribbed turtleneck with potential for folding.
Step 1: Foundation Chain
- Using a 5 mm hook, chain 26 to start the collar height.
- Add 1 more chain for turning. Total chains = 27.
Step 2: Half Double Crochet Ribbing
- Row 1: Starting from the second chain from hook, work hdc across the row. Total stitches = 26 hdc.
- Row 2:
- Ch 1, turn your work.
- Work hdc into the back loop only (BLO) across the entire row. This creates a ribbed texture.
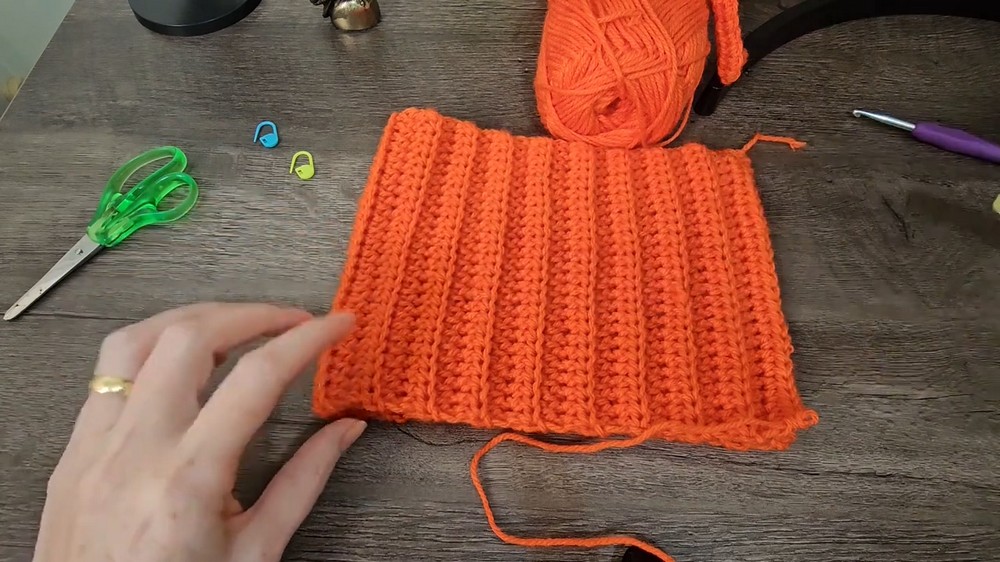
- Repeat Row 2 until ribbed fabric measures 24 inches long (or desired circumference of your neck).
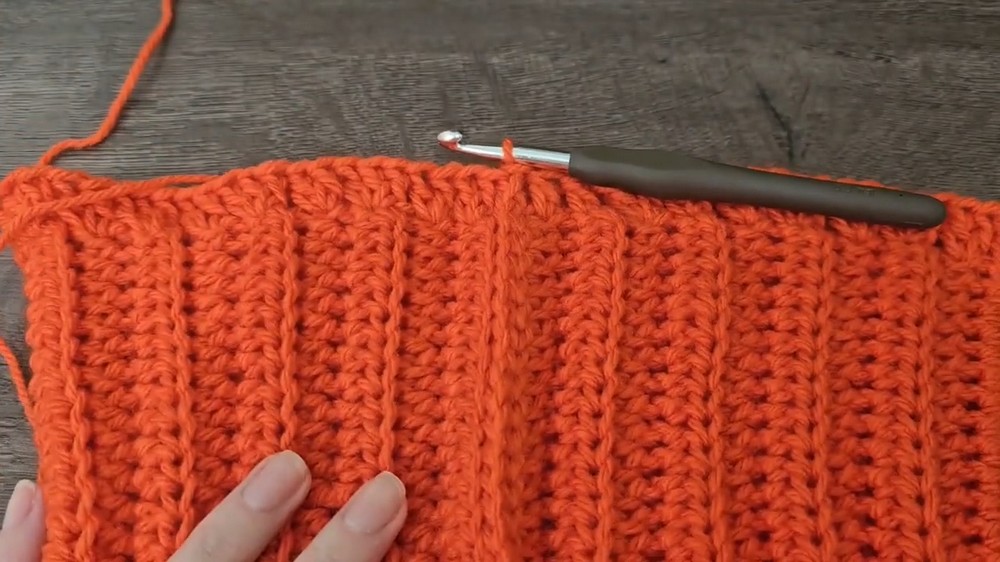
Step 3: Seaming the Collar
- Fold the ribbed fabric into a loop, aligning the long edges.
- Seam the edges using sl st, working into both BLO and foundation chain loops for a seamless join.
Section 2: Body Setup
The body of the blouse begins immediately below the collar by working in rounds.
Step 1: Base Round
- Attach the 6 mm hook to match the body tension.
- Count your rows of collar ribbing (e.g., 38 rows for size S/M).
- Calculate stitches per row: For size S/M, distribute 91 sc evenly around the seam (adjust as needed for size).
Step 2: Increasing Round (Alternating Clusters)
- Round 1: Start with ch 2 (does not count as stitch).
- Alternate 2 dc clusters and 3 dc clusters, separating them with ch 1. Distribute evenly through your base round.
- Total stitches = 91, ensuring multiples of 8 for flower motifs.
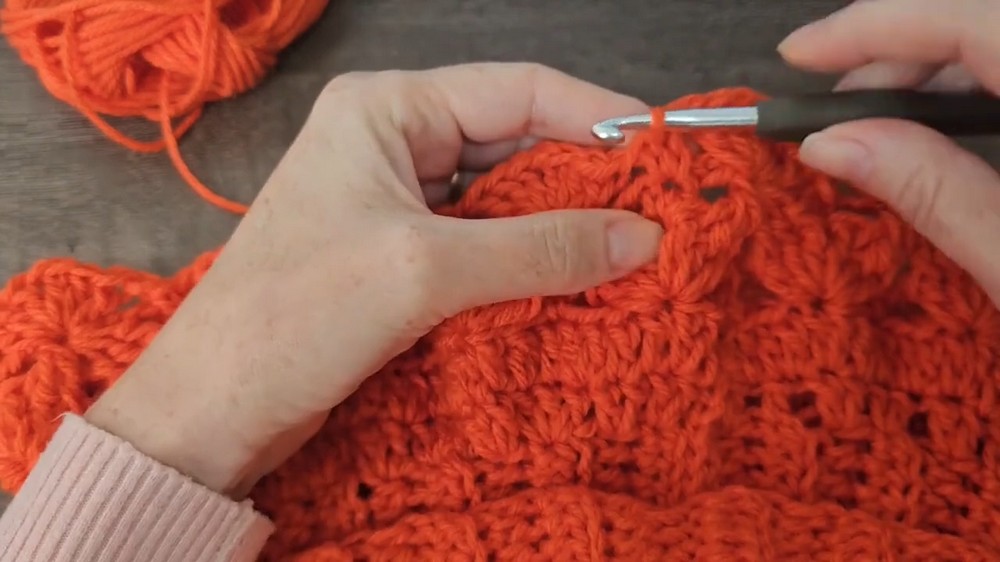
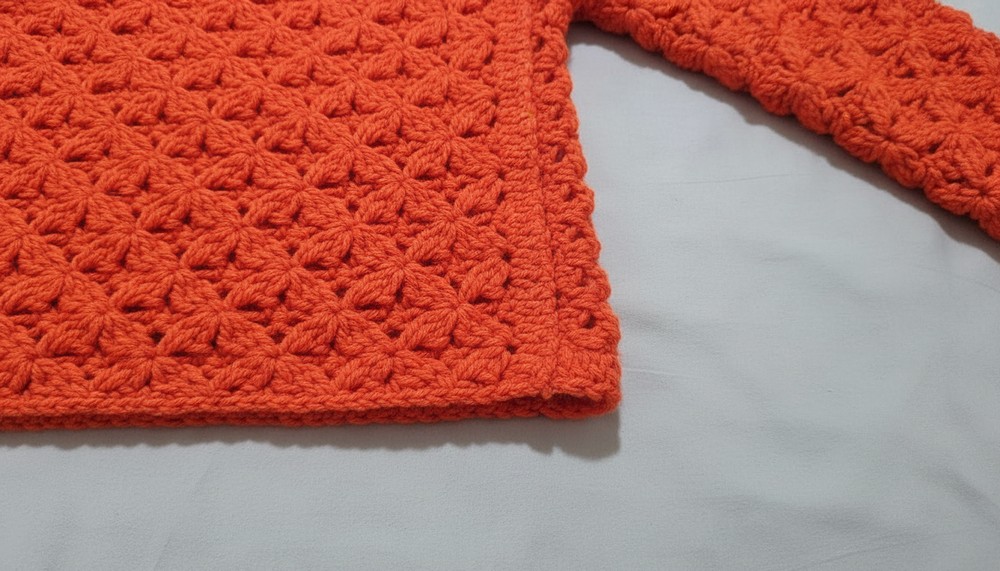
Section 3: Flower Motifs
The floral design is worked in four rounds per motif.
Round 1: Fans
- Ch 1, skip 3 stitches, and work 3 dc in the 4th st.
- Ch 1, work another 3 dc in the same st to complete the fan.
- Ch 1, skip 3 stitches, and sc in the next stitch.
- Repeat around: Fans alternating with sc stitches and chains between.
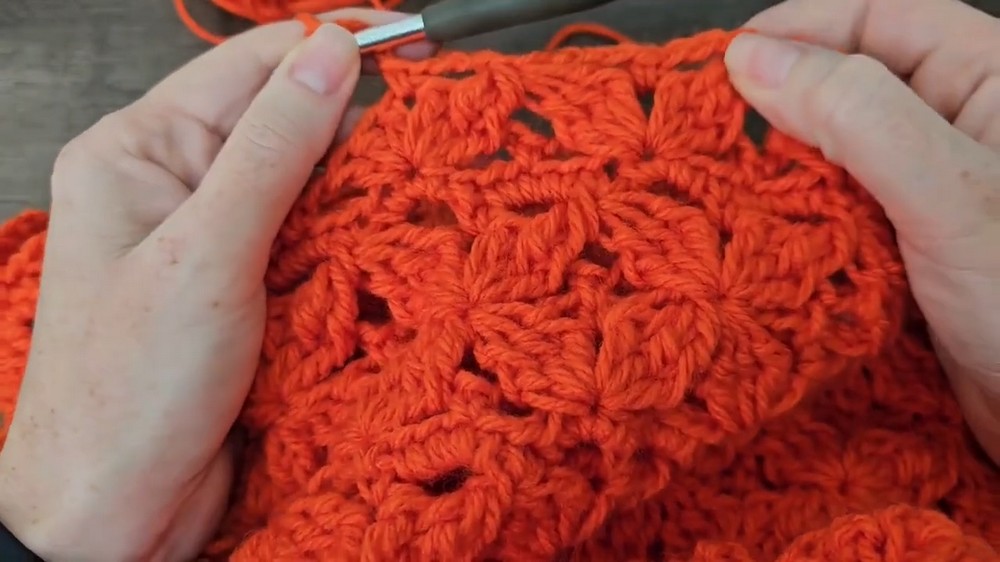
Round 2: Raised Petal Stitches
- Ch 3 (counts as dc).
- Work raised petals by creating dc worked in relief from front of fan stitches (front post dc - do not complete the dc until all loops are on hook).
- Yarn over and pull through all loops on hook at once (cluster petal).
- Sc between fans. Repeat all around.
Round 3: Larger Fans (as Round 1)
Repeat Round 1, positioning larger fans in between petals.
Round 4: Petals Repeated
Repeat Round 2, forming the final flower texture.
Section 4: Increases and Body
After completing each set of flower motifs (4 rounds), an increase round is added.
Increasing Rounds for Sizes
- Work increases by distributing 16 additional stitches evenly around each round.
- Example calculation (size S/M):
- Existing stitches = 91.
- Increase 16 stitches = Total 107 stitches.
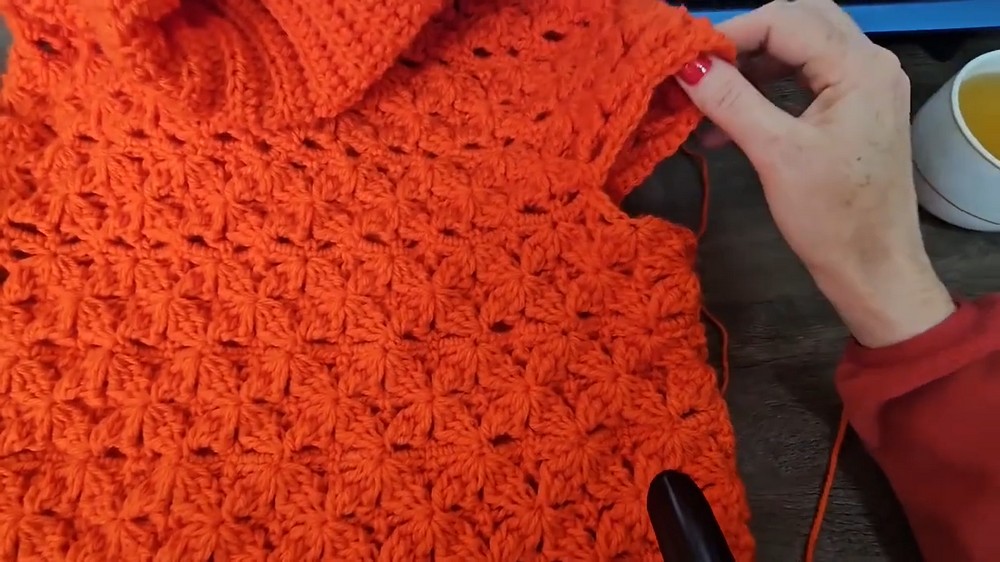
Repeat motif and increase rounds until the blouse reaches desired length. Suggested length for the body: 28 inches from underarm.
Section 5: Sleeves
Sleeves can be attached or skipped, depending on preference.
Sleeve Construction
- Count 4 flower motifs on each side for the sleeve opening.
- Attach yarn to underarm seam and work chains to fill gaps (16 chains works for size S/M).
- Continue working flower motifs in the round for sleeve length.
- Suggested sleeve length: 31 inches from underarm, including crab stitch edging.
Section 6: Edging
All blouse openings are finished with crab stitches for a polished aesthetic.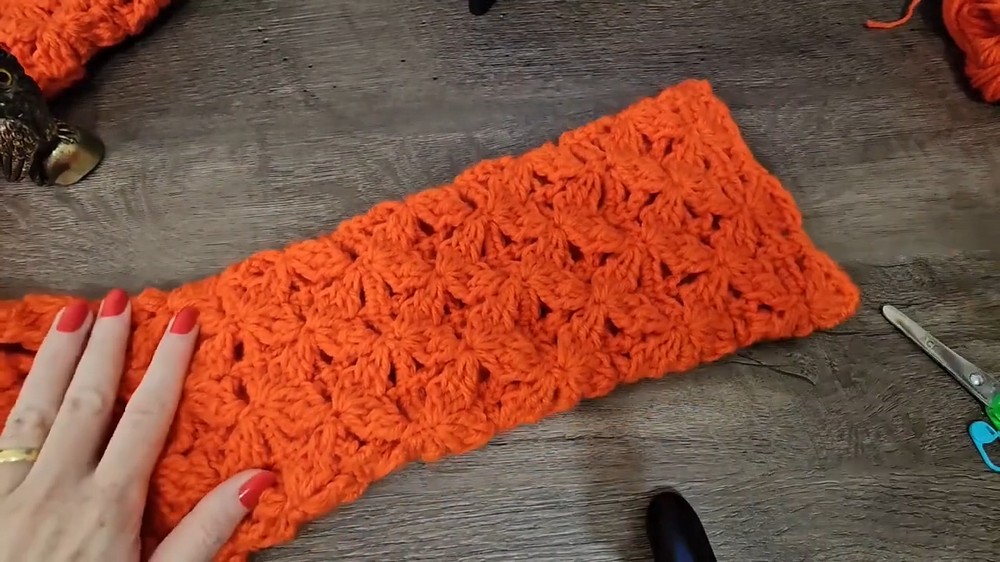
Crab Stitch Edging
- Attach yarn to starting point of collar/sleeve/hem.
- Work reverse sc stitches across all edges, skipping every other stitch if desired.
- Fasten off and weave ends.
Finishing
- Use a tapestry needle to weave in all loose ends securely.
- Add decorative tags or labels on the front for styling.
- Block the blouse lightly to shape motifs and smooth edges.
Pattern Corrections
- Ensure all motifs align symmetrically, especially at seams.
- Adjust sleeve or body circumference by increasing/decreasing stitches (always in multiples of 8).
Tips
- Customization: Add length or width by increasing flower motifs and using extra chains (multiples of 8).
- Proper Fit: Measure before attaching sleeves and finishing the hem.
- Experiment: Use thinner yarn for a spring or lightweight blouse.
Conclusion
This top-down floral blouse is a stunning wearable work of art perfect for intermediate to advanced crocheters seeking a creative challenge. Whether worn as a statement piece or adapted into a poncho, cape, or dress, this blouse offers versatility, elegance, and the opportunity to explore unique crochet techniques in garment construction.