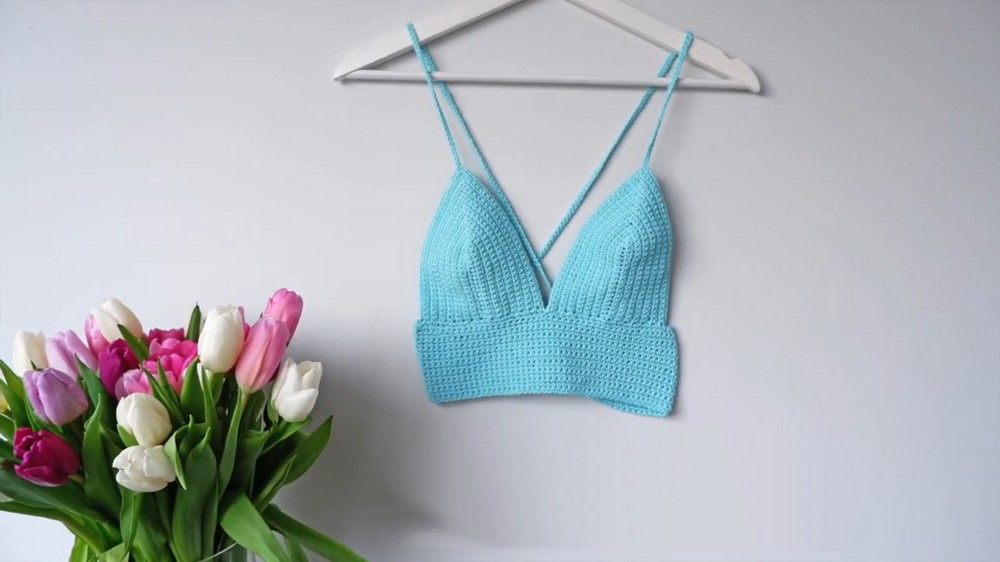
Stunning Free Crochet Bralette Top Pattern For Trendy Summer Use
Join the fun of crochet with this free crochet bralette top pattern that is stylish to wear, and perfect for adding charm to your summer look.
Free crochet bralette top pattern for lounge wear use
This easy to follow pattern creates a beautiful and lightweight bralette that fits comfortably and is ideal for summer days, festivals, or relaxing at the beach. Made using soft DK cotton yarn and a simple 4 mm crochet hook, the pattern creates a cute and breathable top that feels soft on the skin. Its unique features, like the rounded cups and adjustable straps, ensure a snug and custom fit for all sizes.  The pattern is simple yet elegant and can be paired with shorts, skirts, or layered under dresses. This crochet top is not only fun to make but is also a creative way to express your style. Whether you’re new to crochet or experienced, this pattern is perfect for crocheting something practical and pretty.
Free Crochet Bralette Top Pattern
Materials Required
- Yarn: Paintbox Yarns DK Cotton in "Washed Teal" or any DK weight cotton yarn.
- Crochet Hook: 4 mm crochet hook.
- Stitch Markers (Optional): Useful for marking centers of cup increases.
- Darning Needle: For weaving in the ends.
- Scissors: To finish threads neatly.
- Measuring Tape: To ensure accurate sizing and cup fitting.
Special Techniques
- Single Crochet (SC): Insert the hook into the stitch, yarn over, pull through, yarn over, pull through two loops.
- Slip Stitch: Insert the hook into the stitch, yarn over, pull through the stitch and the loop on your hook simultaneously.
- Chain Stitch: Create loops by pulling yarn through each previous loop.
Crochet Bra Top Pattern
Step 1: Create the Crochet Cups
Foundation Chain:
- Start with a slip knot and create a chain of 18 stitches for a size C cup.
- Adjust the initial chain according to your bust size (refer to the size chart or the video for further details).
- The chain should start at the center of your bust and extend to the bottom where the bra cup will sit.

Row 1:
- Chain 1 to turn your work. Starting from the second stitch from the hook, work single crochet (SC) stitches into each chain across the row.
- Once you reach the last stitch, insert your hook into the stitch and work three single crochet stitches (3 SC) into it. This creates a rounded edge for the cup.
- Continue working down the back of the foundation chain, placing one SC into each stitch until the end of the row.

Row 2 and Beyond:
- Begin with a chain 1 to turn your work.
- Work one SC into each stitch until the central top stitch from the previous row.
- Insert three single crochet stitches into the central top stitch to continue creating the rounded shape of the cup.

- Continue SC across the opposite side.
- Repeat these steps for approximately 14 rows or until the cup reaches your desired size, ensuring symmetry by counting evenly on both sides.
- Tip: Use a stitch marker to identify the central stitch for ease.
- For the final row, ensure the central stitch has three SC (e.g., stitch number 31 for Row 14).

Make the Second Cup:
- Repeat the same steps to create a second cup. Ensure both cups are the same size and shape.
- Double check symmetry by holding the cups together and verifying stitch counts.
Step 2: Assemble the Cups and Begin the Band
Foundation for Band:
- Create a chain of 18 stitches for one side of the band. Measure this against your body to ensure it extends comfortably from the side of the cup toward your back.

Attaching Cups:
- Rotate the cups upside down and ensure the front (with the border stitches visible) is facing you.
- Attach the chain to the corner edge of the first cup using a single crochet stitch.
- Work evenly spaced single crochet stitches across the bottom edge of the first cup. Approximately 24 stitches may be added, depending on size.
- Tip: Count and remember the number of stitches for consistency when attaching the second cup.
Adding the Second Cup:
- At the end of the first cup, attach the second cup in the same manner, ensuring the same number of stitches are added across.
- Once the second cup is attached, create another chain of 18 stitches for the opposite side of the band.
Step 3: Create the Band
- Chain 1 to turn your work.
- Work one SC stitch into each chain and across the bottom edge of both cups.
- Continue adding rows of single crochet for the band, building up the desired width. A standard band will be approximately 18 rows for a snug fit.
- Optional: Use double crochet (DC) stitches for faster progress while ensuring uniformity.
- Finish with a neat row where the border stitches match the cups' top edge.

Step 4: Create Straps and Loops
Adding Loops to the Band:
- To add loops for strap lacing, after reaching the edge of the band with SC, chain 3 stitches and skip 3 stitches. Insert your hook into the fourth stitch and work a SC.
- Repeat this process to evenly space loops across the band edge.
- Perform the same loop creation on the opposite side of the band.

Creating Straps:
- Attach yarn to the top edge of the first cup, at the central point.
- Chain a long strap (approximately 150–200 stitches, depending on the desired length).
- Slip stitch back down the chain to create a sturdy strap.
- Anchor the strap back into the top edge of the cup with a single crochet.
- Repeat the process for the second cup to create the second strap.
Step 5: Finishing Touches
Weaving in Ends:
- Using a darning needle, weave in all loose yarn ends on the inside of the bra top.
- Securely pass the needle through multiple stitches in alternating directions to prevent unraveling.
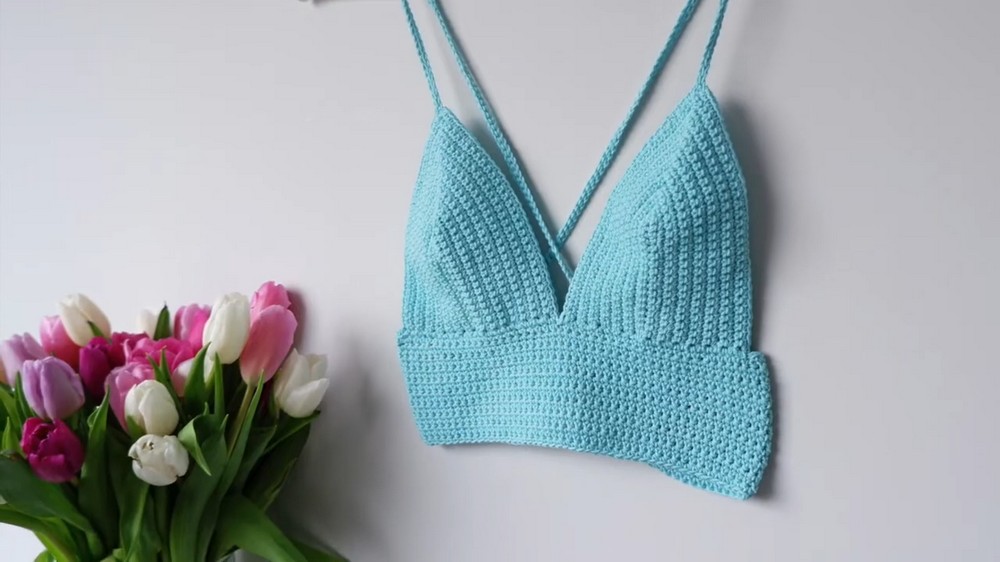
Lacing the Design:
- Turn the bra top over so the front is facing down.
- Thread the right strap through the top loop on the opposite side, then thread the left strap through the opposing top loop.
- Cross the straps into the bottom loops to create a neat crisscross design.
- Tie the remaining ends into a bow for closure.
Suggestions and Final Words
- Customization: Adjust rows for larger sizes or tighter fits. Straps can be made longer or thicker as desired.
- Finishing Touches: Add decorative elements such as beads or embroidery for a personalized design.
- Maintenance:
- Washing: Handwash gently to preserve the cotton texture.
- Storage: Fold neatly to avoid stretching or misshaping the straps.
- Durability: Reinforce straps and band loops for heavy use.
This crochet bra top design is perfect for summer wear, beach outings, or a special handmade gift. Celebrate your crocheting skills and share your creation proudly.