Free Crochet Halter Top Pattern For Any Summer Outing
Make your own beautiful and lightweight halter top with an easy crochet pattern that is perfect for sunny days, fun outings, and showing off your creativity.
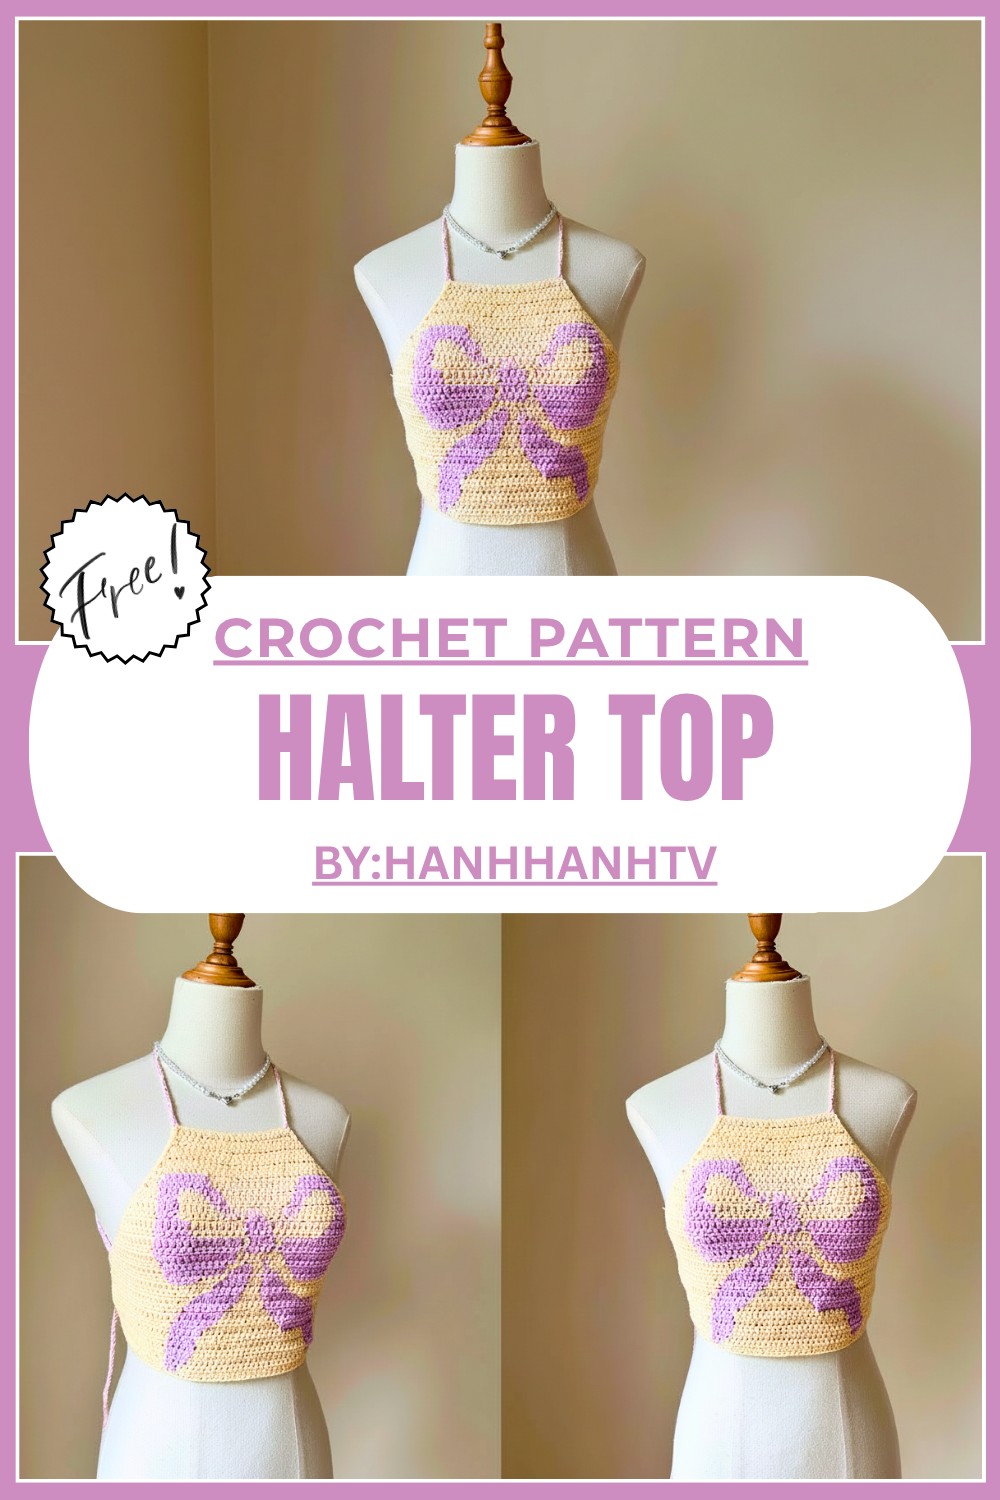
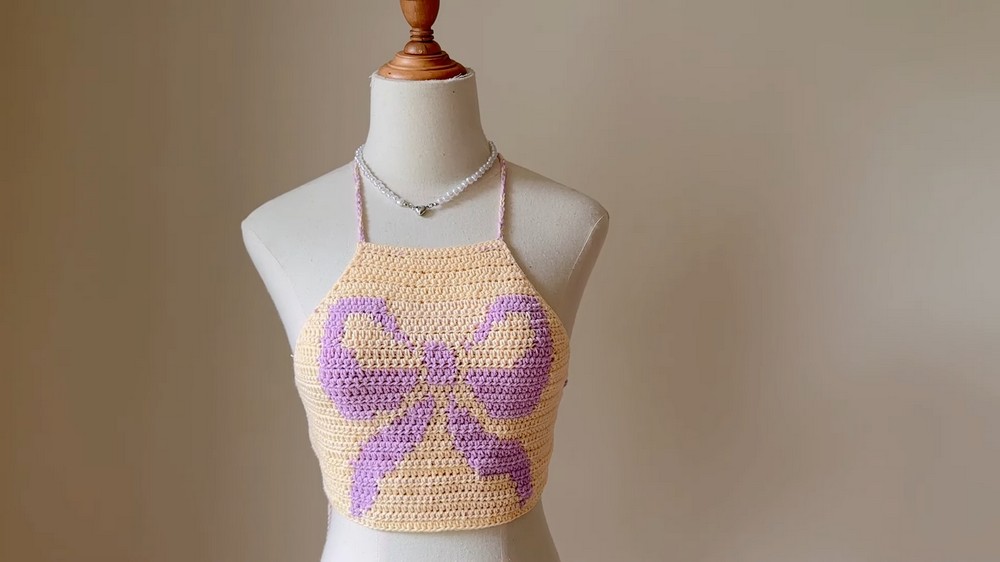
Stay cool and stylish with this free crochet halter top pattern
Light and stylish tops are always fun to wear, and the Free Crochet Halter Top Pattern is a great way to make your own beautiful outfit with yarn. This top is perfect for sunny days, whether you’re heading to the beach, a picnic, or just relaxing with friends. It is soft, lightweight, and super comfortable, making it ideal for warm weather. What makes it even more special is its simple yet beautiful design, featuring an adjustable tie at the back that ensures a perfect fit. You can use bright colors, soft pastels, or even mix shades to create a unique look. 
This pattern allows you to add your own creative spin, turning a simple project into something truly one of a kind. With the Free Crochet Halter Top Pattern, you can enjoy both the joy of crocheting and the pride of wearing something handmade and stylish.
Crochet Halter Top Pattern
Finished Size
- Bust Width: Approx. 51 cm (Adjustable)
- Length: Approx. 34 cm
The size can be customized for a better fit. Refer to the “Customization Ideas” for tips.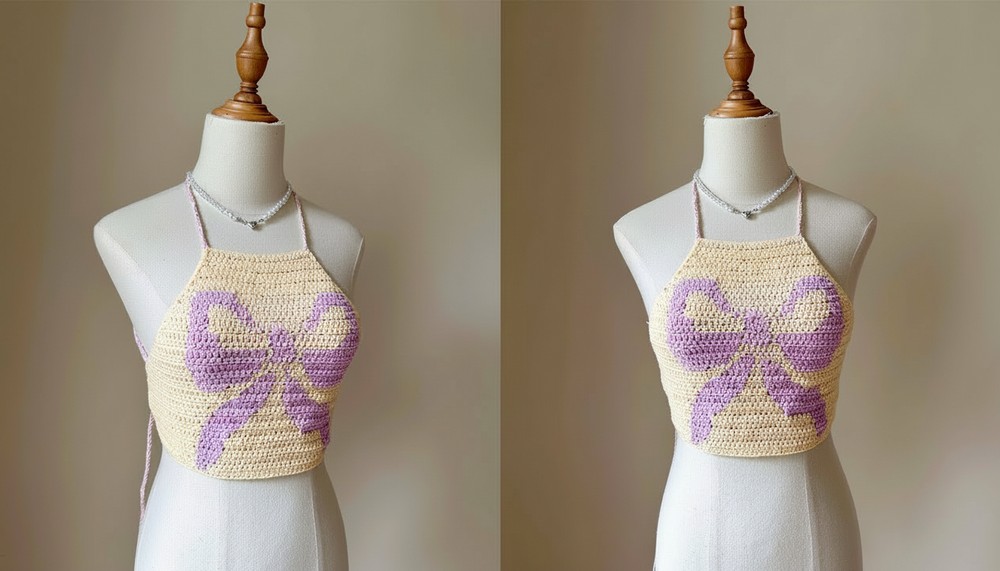
Materials Needed
- Yarn:
- Base Color (e.g., White) 100 g
- Accent Colors (e.g., Yellow and Purple)
- Yellow: 100 g
- Purple: 50 g
- Hook: 3.5 mm
- Notions:
- Stitch markers
- Tapestry needle
- Scissors
Gauge
- 1 row of half double crochet (HDC) = approximately 4 cm.
- Check your gauge to ensure the finished piece matches the measurements.
Special Techniques
- Increasing Stitches: Add stitches at the beginning and end of a row to create a trapezoid shape.
- Changing Colors: Securely change yarn colors without leaving gaps or holes, ensuring a clean finish.
- Tapestry Crochet: Carry the secondary yarn while crocheting.
Step by Step Instructions
1. Starting the Crop Top Body
- Create a slipknot and chain 25 stitches to form the initial foundation row.
- Skip the first chain and begin half double crochets (HDC) in the second chain from the hook. Work 23 HDCs in the row.
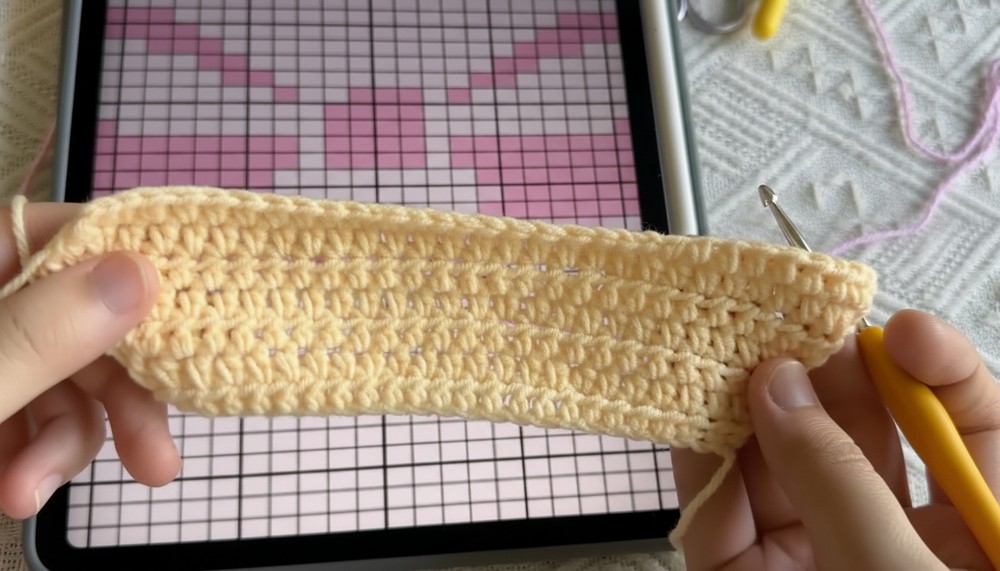
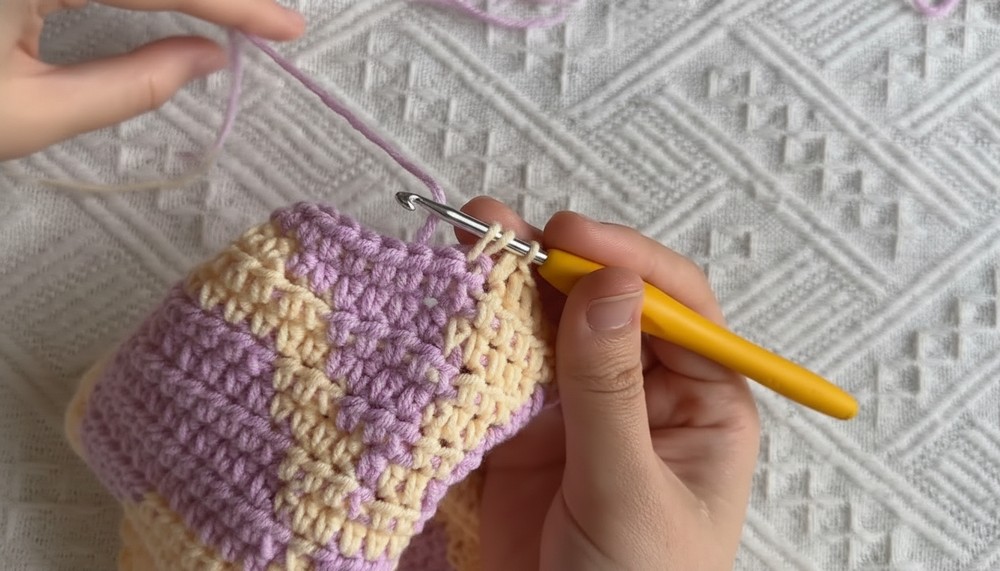
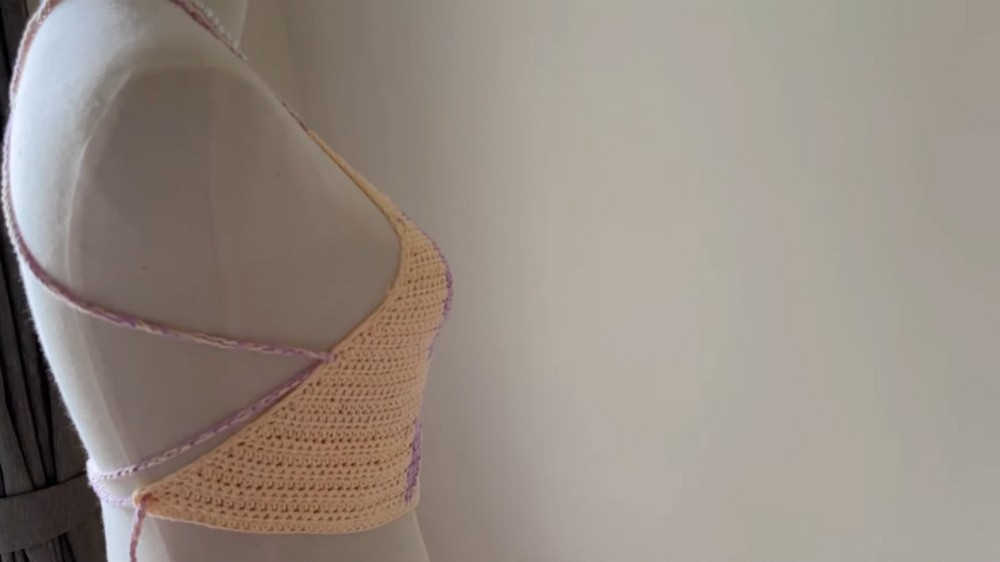
2. Shaping the Body
- Row 1: Chain 1, turn, and work HDC across (23 stitches).
- Row 2 and Beyond: Begin increasing as follows:
- Add 2 HDCs in the first stitch and 2 HDCs in the last stitch on each row. This will increase the row width by 2 stitches every time.
- Repeat for approximately 34 rows, stopping once the bottom edge of the trapezoid measures 51 cm in width.

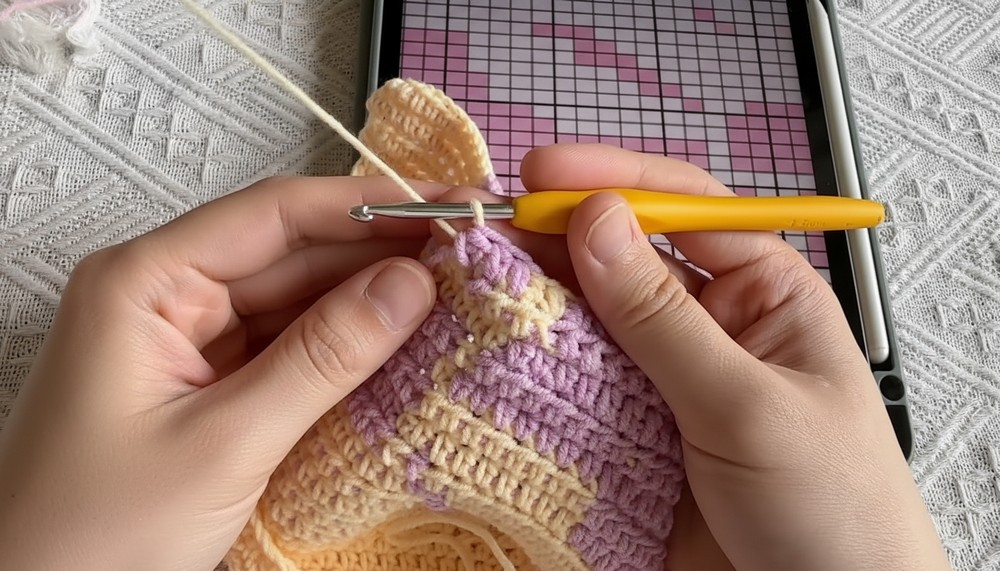
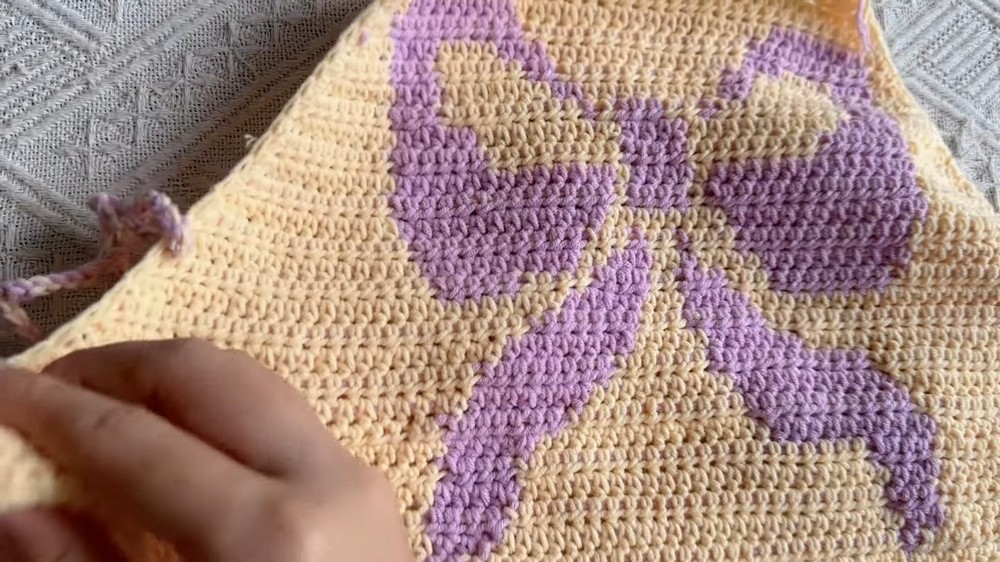
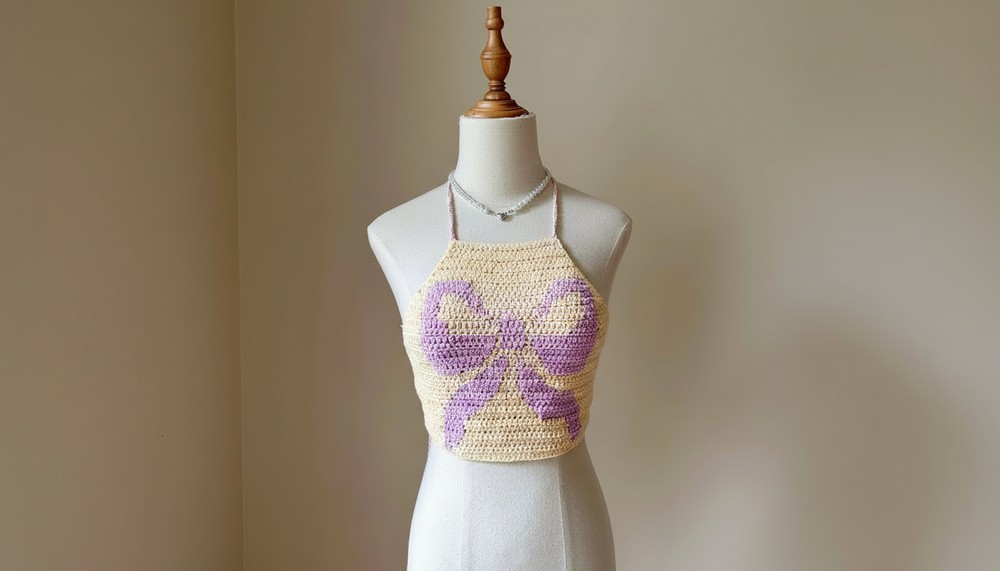
3. Adding the Bow Pattern
This section involves creating the bow design using tapestry crochet.
Steps:
- Identify the center of the trapezoid. Lay out the bow design’s chart.
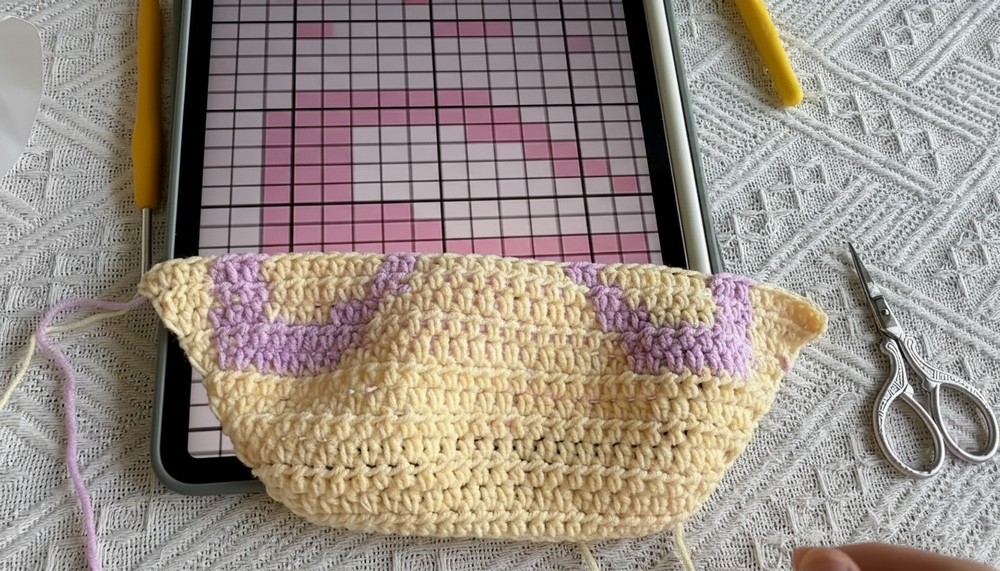
- Work row by row, transitioning between colors as per the bow design:
- Use Purple for the bow.
- Use Yellow or White for the background.
- Remember to carry the secondary color along the edge and hide it within the stitches to avoid loose strands.
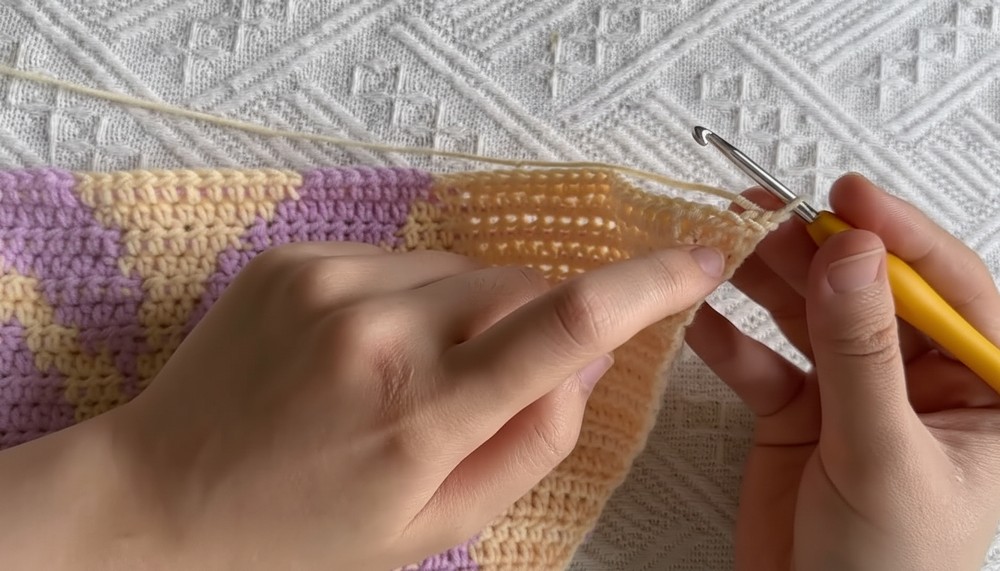
4. Completing the Main Body
- After finishing the bow design, continue working additional rows in the base color to add length as necessary.
- Ensure you add even edging for a polished finish (as explained in Step 5).
5. Adding Edging
- Work single crochet (SC) stitches evenly along all sides of the trapezoid, ensuring you add stitches along the side edges for a uniform look.
- Make rounded corners by adding 3 SCs in each corner stitch.
6. Creating the Straps
- Use dual strands of yarn (e.g., Purple and Yellow) for added structure.
- Work 200 chain stitches for each strap.
- Attach 2 straps at the top two corners of the trapezoid for the neck ties.
- Attach two straps at the bottom corners for horizontal crossover behind the back.
7. Assemble and Adjust
- Tie the straps at the back, allowing the two sets of ties to diagonal cross for an elegant look.
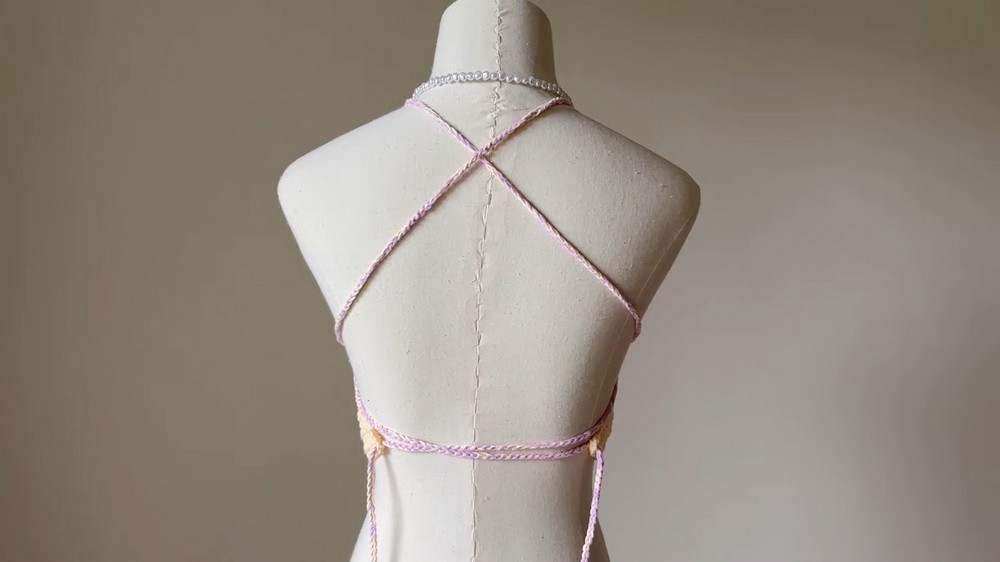
- Make sure the straps are evenly tightened and secure.

Customizations
- Size Adjustments:
- Increase or decrease the starting chain for a wider or narrower top.
- Add or reduce rows for length adjustments.
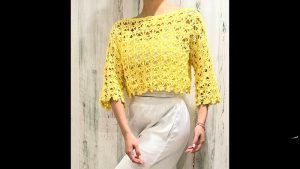
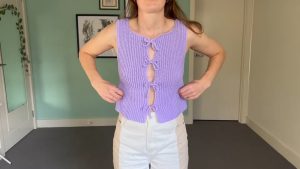
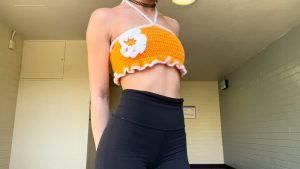
- Alternative Designs:
- Replace the bow design with hearts, stars, or cute animals. Use Pinterest for inspiration.
- Replace the bow design with hearts, stars, or cute animals. Use Pinterest for inspiration.
- Materials:
- Experiment with different yarn weights and colors for a distinct look.
Tips
- Use a stitch marker to mark increases and track rows.
- Keep your tension consistent, especially during color changes.
- Block the finished piece to give it a clean and professional finish.
Important Notes
- The crop top ties at the back, providing flexibility in size. Experiment with how it wraps to achieve the perfect fit.
- When wearing, pair the top with a fitted inner layer or bralette for added comfort and style.
Conclusion
This Free Crochet Helter Top Pattern is a charming and creative project that showcases your crochet skills while offering a versatile and stylish piece for your wardrobe. The unique bow design, vibrant colors, and adjustable ties make it perfect for various occasions. Customize your crop top with your favorite design motifs to make it uniquely yours.