Unique Crochet Tulip Bulb Pattern For Home Décor Magic
Bring life to your decor with a vibrant Crochet Tulip Bulb Pattern that's simple, fun, and perfect for adding a lasting touch of colorful charm to any space.
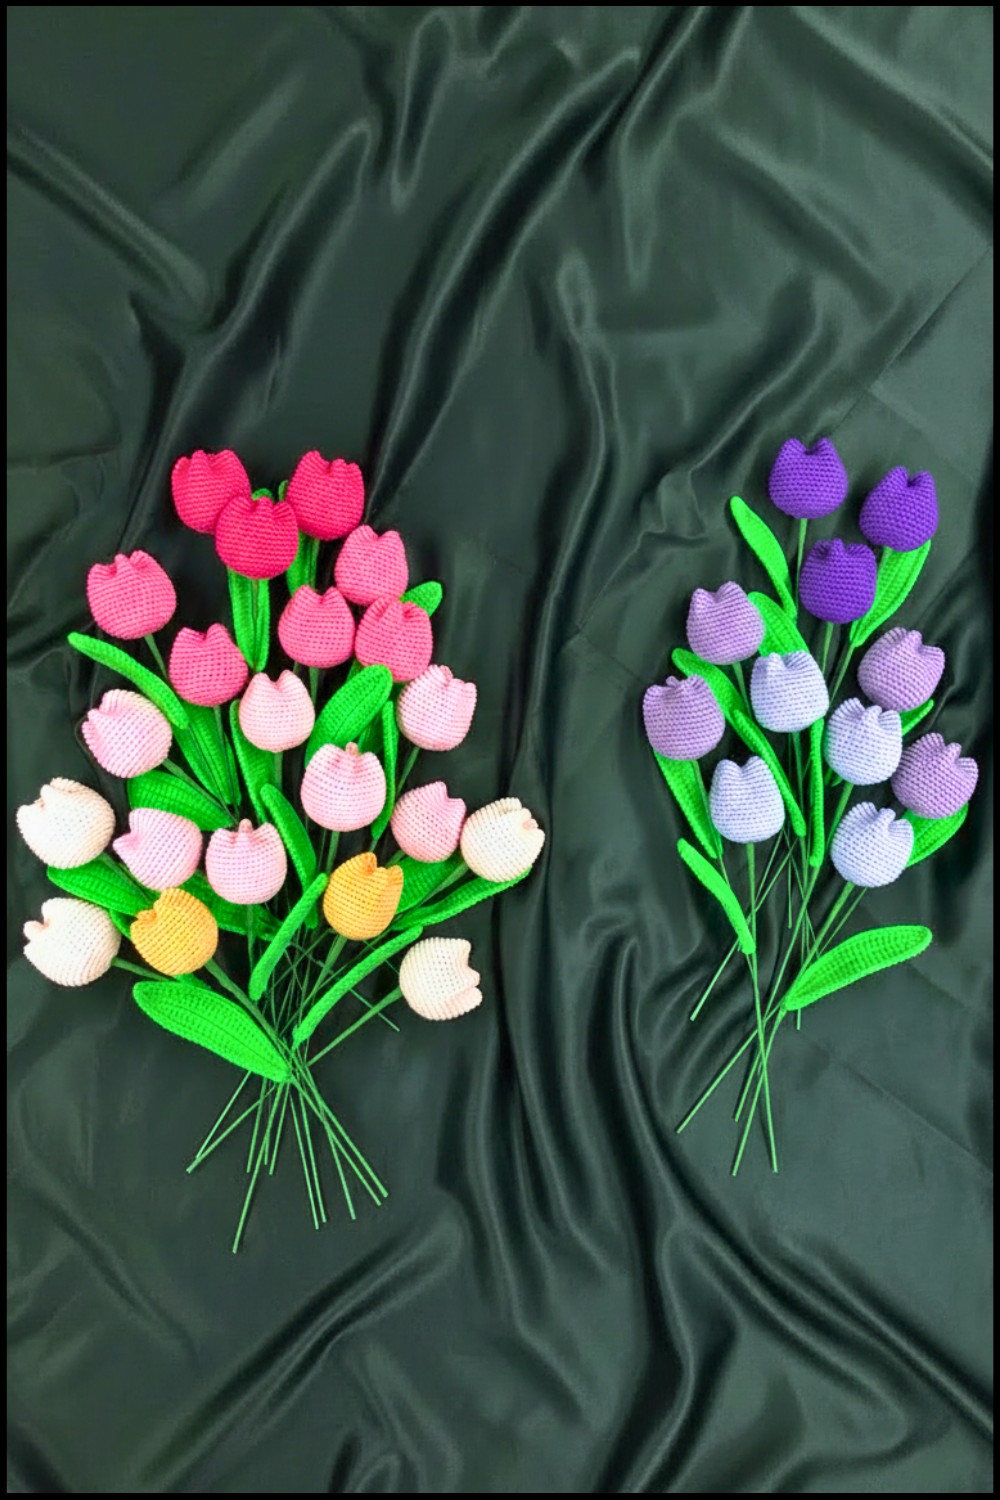
Brighten up any space with a touch of charm and elegance! These beautiful crochet tulip bulbs bring a splash of color and timeless beauty to your home, handmade gifts, or even as unique decorations for special occasions. The crochet tulip bulb pattern allows you to easily create realistic, soft, and vibrant tulips that look like they’ve just been picked from a garden.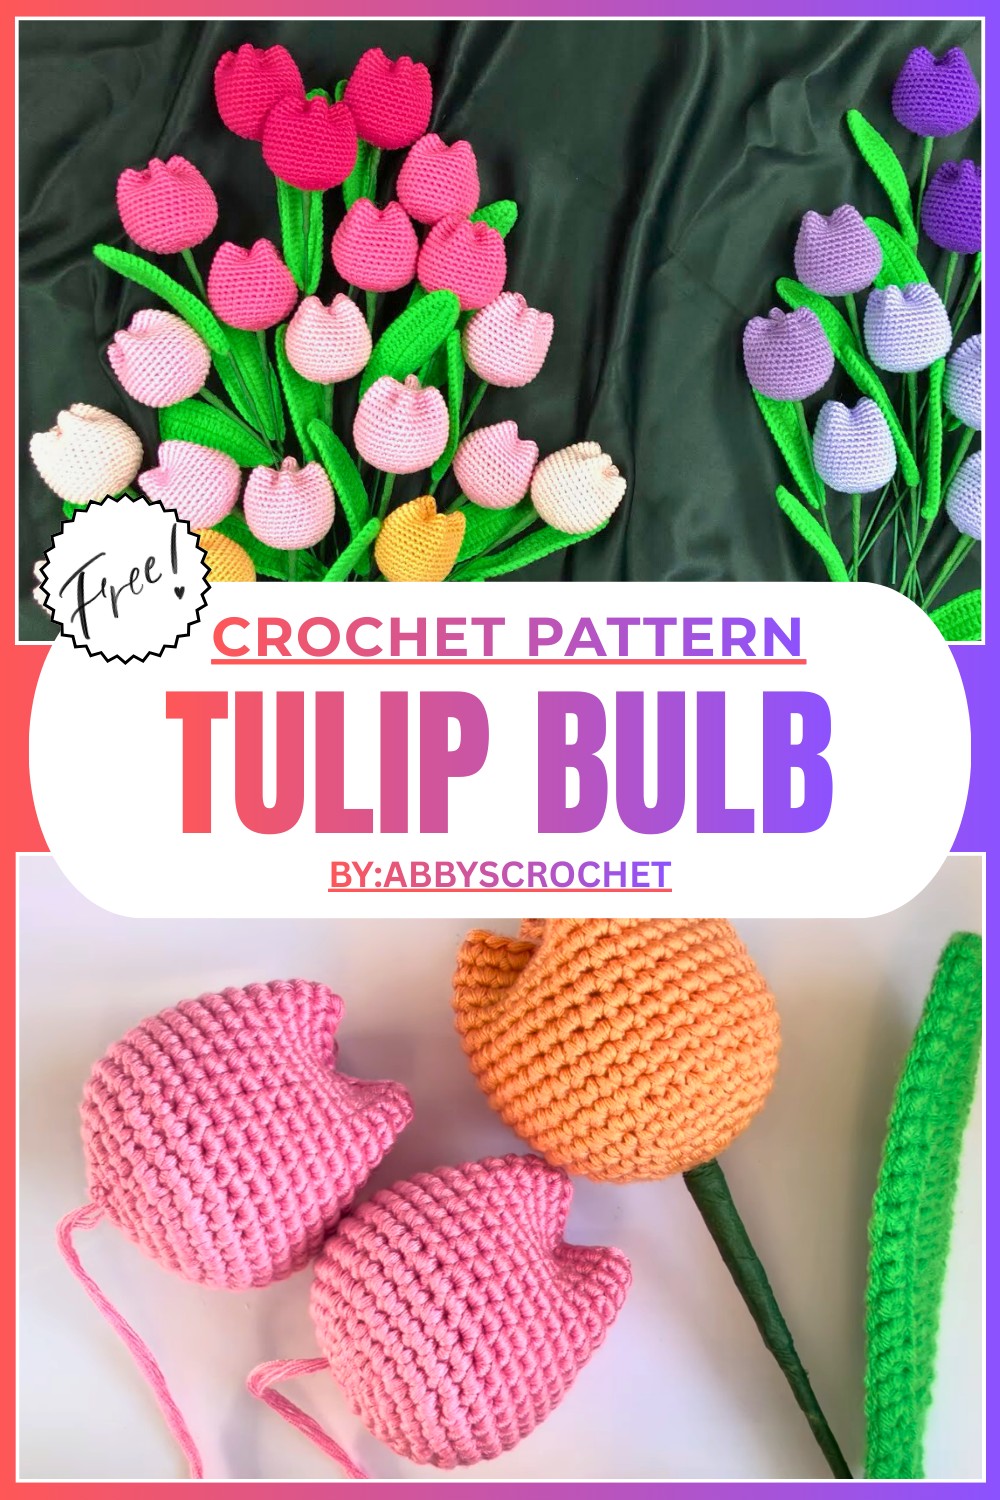
Fun Crochet Tulip Bulb Pattern to Add Cheer to Any Space
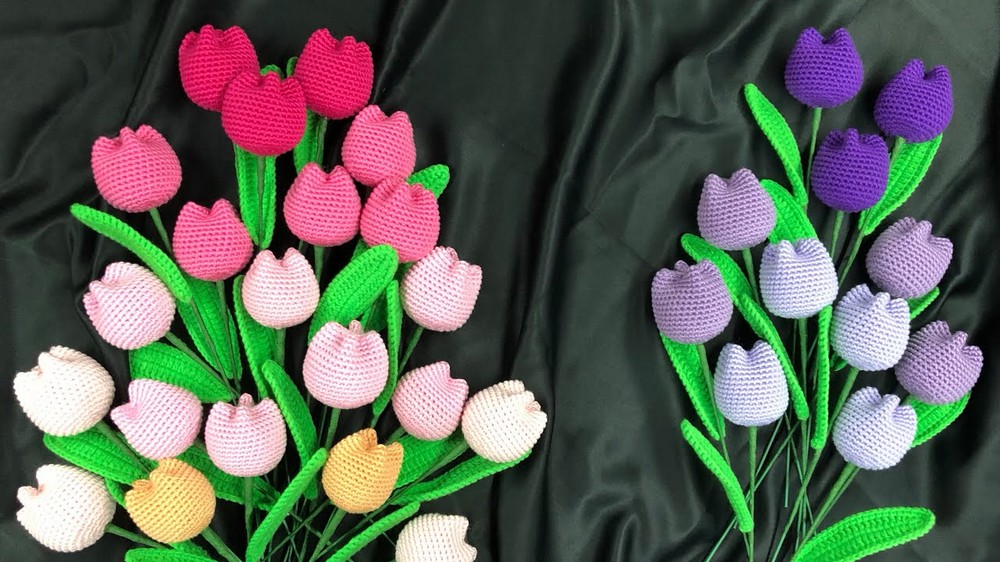
From their delicate petals to their sturdy stems, every detail has a natural and graceful appearance. Not only are they gorgeous, but they’re also super versatile – use them as home decor in vases, add them to bouquets, or surprise someone with a thoughtful, long-lasting handmade gift.
Whether displayed individually or bunched together in a colorful arrangement, they instantly add warmth and joy to any setting. Simple yet stunning, these beautiful blooms are a fun way to keep spring vibes alive all year round.
Crochet Tulip Bulb Pattern
Special Features
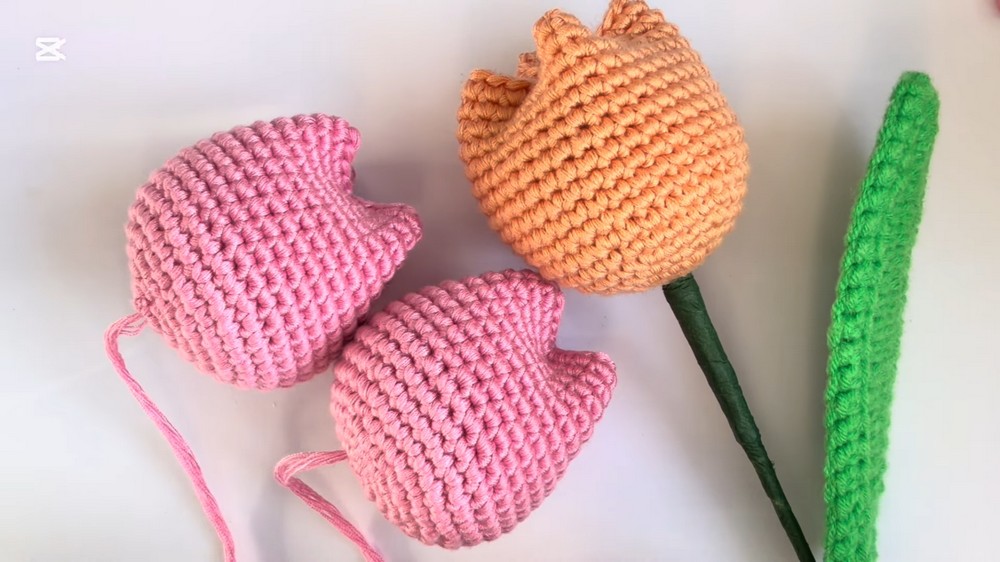
- Realistic Design: Includes a sturdy floral wire for the flower stem and a rounded tulip bulb base.
- Durable Yarn Choices: Recommends 12-ply polyester for a smooth finish or 5-ply milk cotton for flexibility.
- Customizable: Choose between two tulip sizes (18 rounds for compact, 19 rounds for taller versions).
- Great for Bouquets: Can be used for single stems or arranged into stunning floral bouquets.
Level of Difficulty
Beginner to Intermediate – This pattern is beginner-friendly, as it uses basic stitches like single crochet (sc) and increases. However, it incorporates some assembly techniques, making it slightly more challenging for first-time crocheters.
Materials Needed
- Yarn
- 12-ply polyester (20g) – recommended for the flower.
- 5-ply milk cotton (if polyester is unavailable).
- Hook Size
- 3.0 mm or 2.5 mm hook.
- Fiberfill Stuffing (6g) – To shape the flower bulb.
- Floral Wire (2 mm or 3 mm) – Better than a barbecue stick for reinforcing the stem.
- Galvanized Wire – Optional for additional durability.
- Floral Tape – Wraps the stem neatly.
- Glue Gun and Glue Stick – For attaching the floral wire securely.
- Needle – For sewing the tulip's top.
- Stitch Marker – To keep track of rounds.
Step-by-Step Crochet Tulip Bulb Pattern
Foundation and Round 1: The Base
- Create a Magic Ring:
- Wrap yarn around two fingers, twist it, and insert your crochet hook into the loop.
- Grab the yarn and chain 1 to secure the ring.
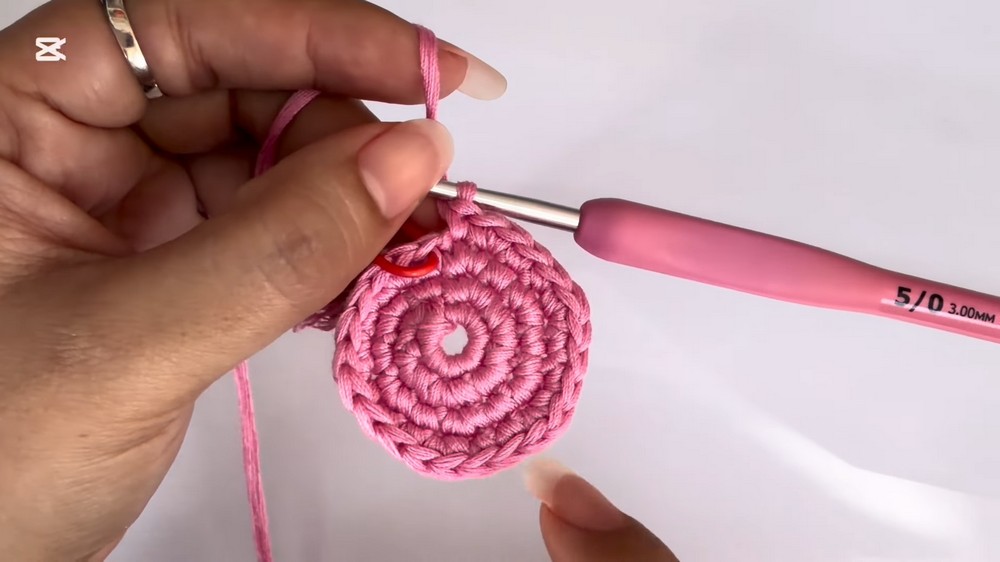
- Work 6 Single Crochets (sc):
- Inside the magic ring, crochet 6 sc.
- Pull the tail yarn to tighten the ring, leaving a small hole in the center for the floral wire.
Round 2: Increasing
- Work 2 single crochets (sc) in each stitch (an increase).
- Total stitches after this round: 12 sc.

Round 3: Alternating Single Crochets and Increases
- Pattern:
- 1 sc, 1 increase (2 sc in the same stitch). Repeat 6 times.
- Total stitches: 18 sc.
Round 4: Adjusted Start to Avoid Hexagon Shape
- Begin with 1 sc and 1 increase before starting the main pattern.
- Main Pattern:
- 2 sc, 1 increase. Repeat across the round.
- End with 1 sc to balance.
- Total stitches: 24 sc.
Why Adjust the Pattern?
This technique ensures the tulip base maintains a perfect round shape instead of taking on a hexagonal form. It’s an excellent trick for beginners looking to achieve smooth curves in round projects.
Round 5: Continue Increasing
- Pattern:
- 3 sc, 1 increase. Repeat across the round.
- Total stitches: 30 sc.
Round 6: Balanced Increase Pattern
- Split the 4-sc sequence for symmetry at the start and end of the round:
- Begin with 2 sc and 1 increase.
- Main Pattern: 4 sc, 1 increase.
- End the round with 2 sc.
- Total stitches: 36 sc.
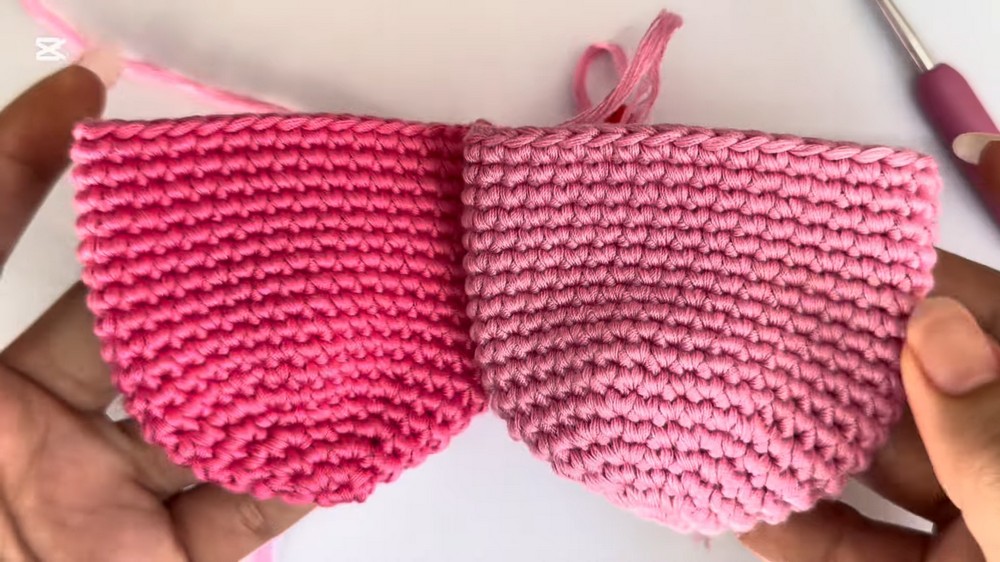
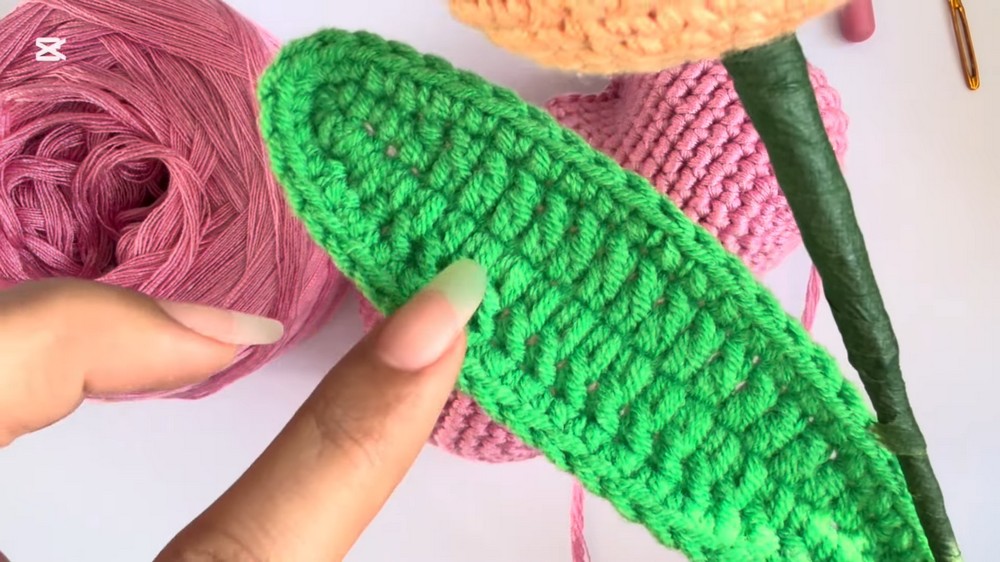
Rounds 7–18/19: Building the Height
- Work 1 single crochet into every stitch around for 18 rounds.
Customize the Height:
- 18 rounds: Compact, rounded tulip.
- 19 rounds: Taller tulip.
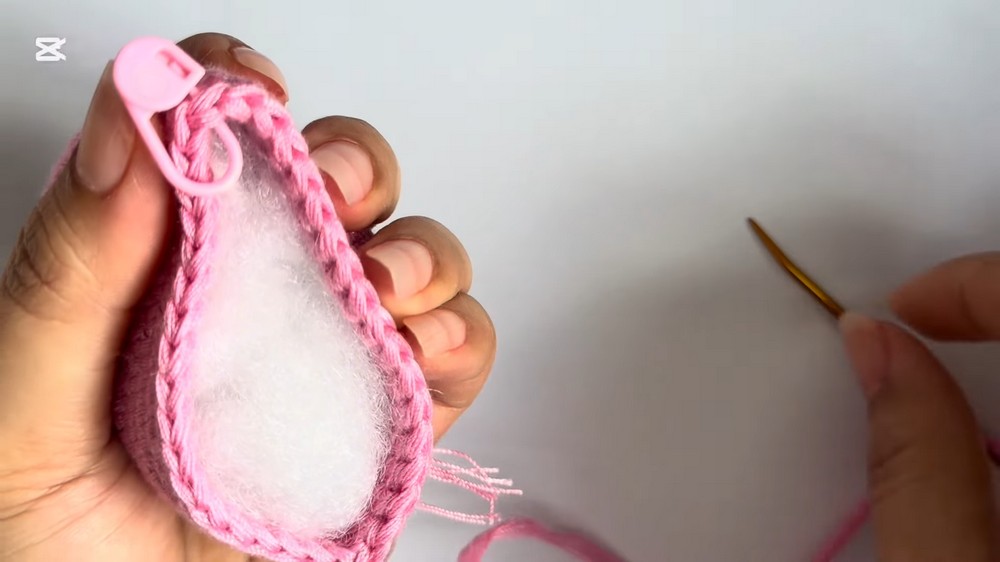
Stuffing and Shaping
- Fill the tulip bulb with fiberfill:
- Focus on firmly packing the bottom to maintain its round shape.
- Check if it's fully stuffed by pressing lightly; if gaps persist, add more fiberfill.
Closing the Tulip’s Top
- Cut a long strand of yarn after completing the last round.
- Using a needle, sew the opening closed:
- Use a secure method by aligning opposite stitches and pulling tightly.
- Adjust as you stitch to ensure the top is evenly shaped.
- Use a secure method by aligning opposite stitches and pulling tightly.
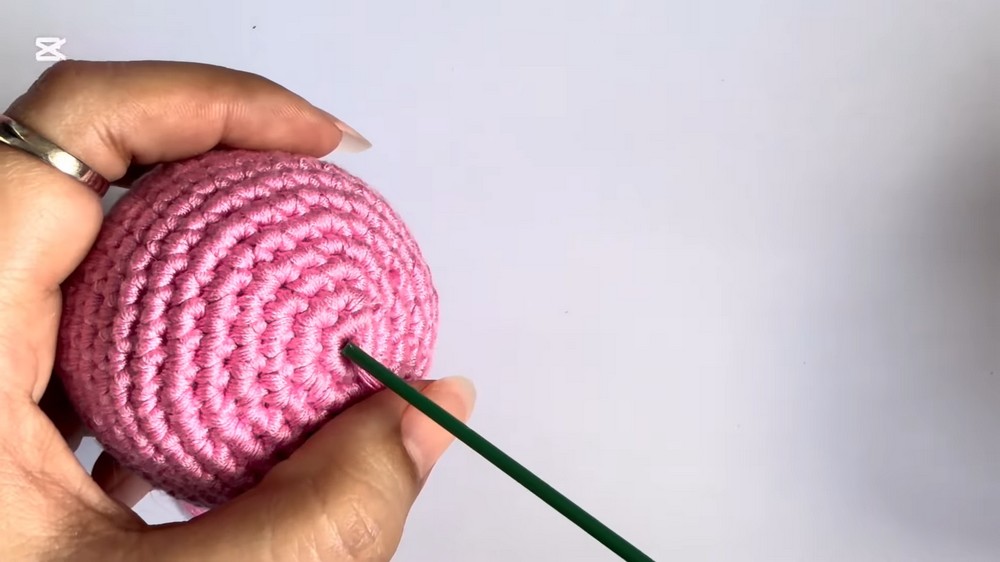
Attaching the Stem
- Insert the 2 mm floral wire through the small hole at the bottom of the tulip. Push it up gently until it’s secure inside.
- Apply glue around the base of the tulip where the wire meets the crochet.
- Wrap the stem area with glue for extra hold.
- Allow the glue to cool slightly and shape it with your fingers.
- Cover the wire with floral tape to give it a finished look.
Conclusion
Your crochet tulip bulb is now complete! This tulip is a perfect project to brighten your home, give as a gift, or use as a decoration for events. With practice, you can create variations in colors and even larger bouquets.
Quick Tip
If your hook gives a squeaky sound due to sweaty hands, wash your hands or apply powder to keep it dry. Clean the hook tip to prevent snagging.