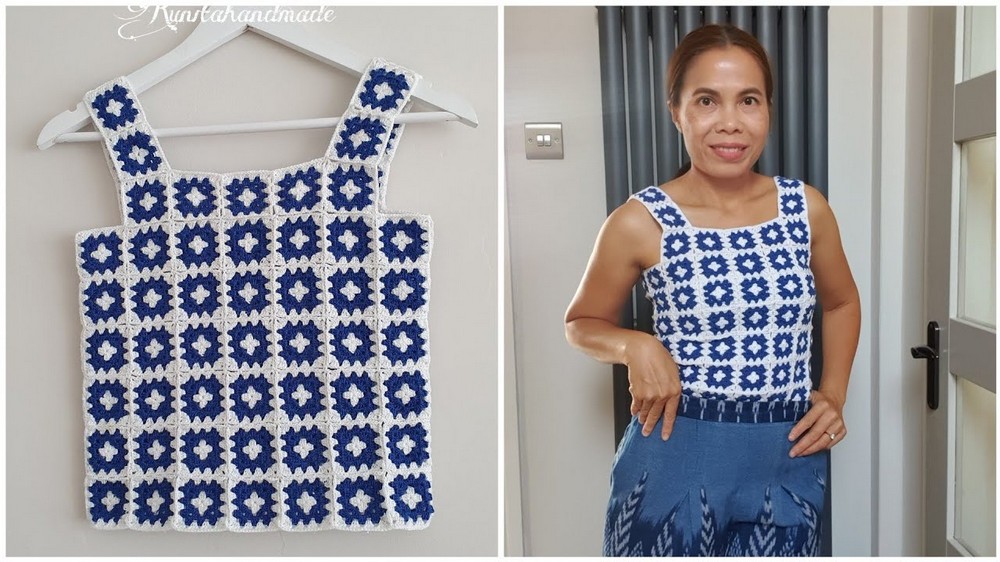
Unique Free Crochet Granny Square Top Pattern For Chic Style
Enjoy the fun of making this simple crochet granny square top, an easy and delightful project for all skill levels to bring a pop of color and comfort to your style.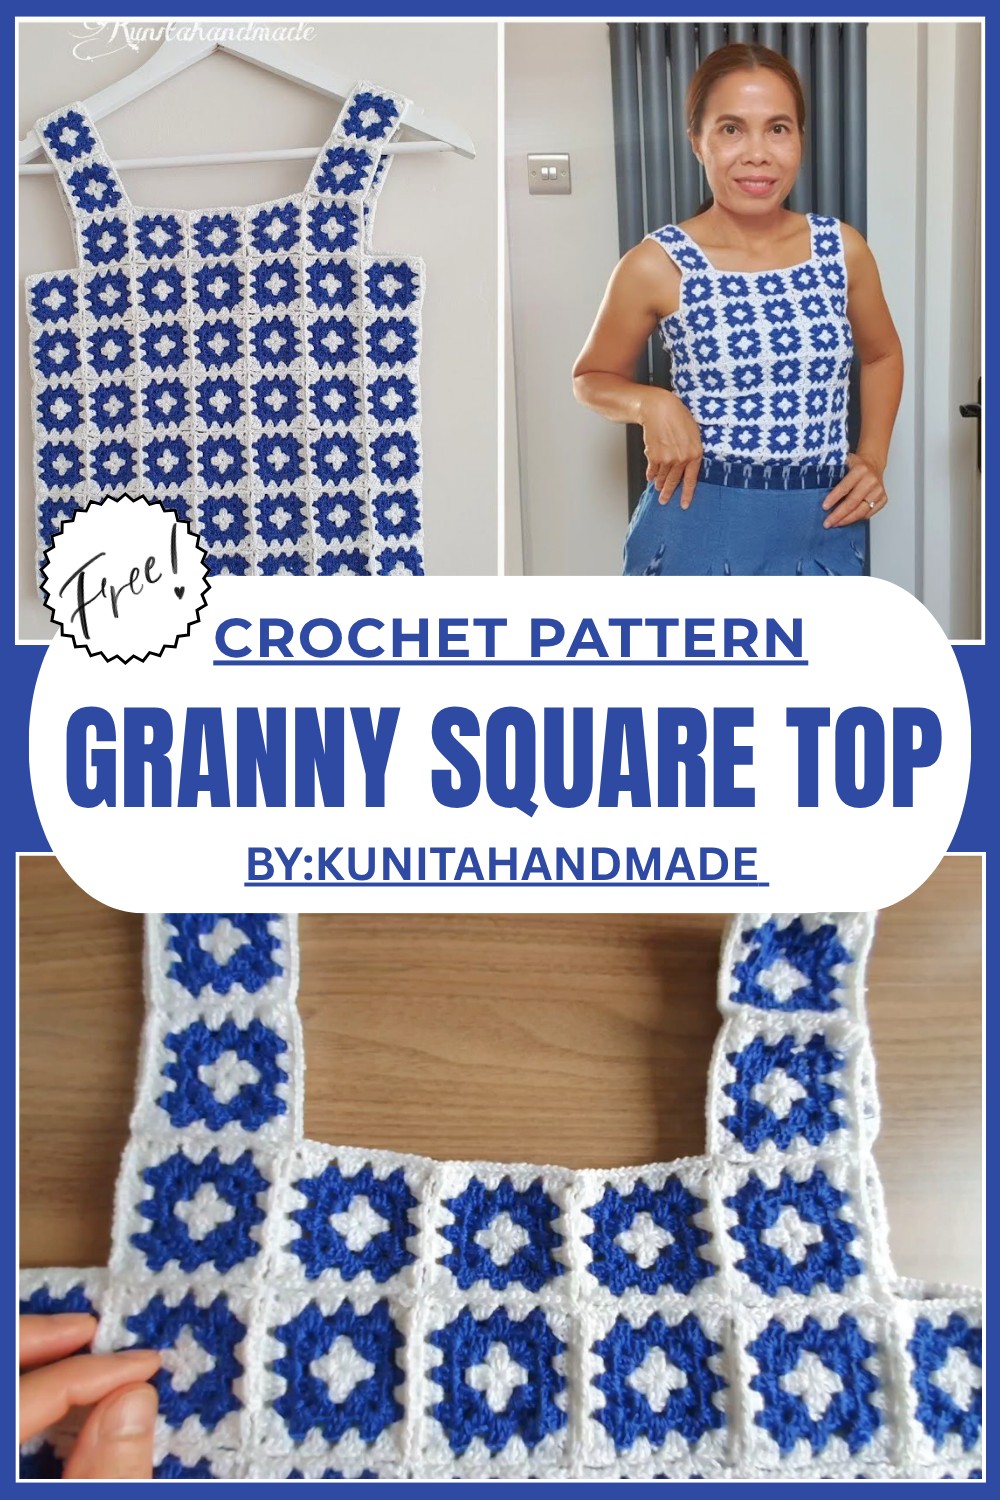
Transform Yarn Into Art With This Free Crochet Granny Square Top Pattern
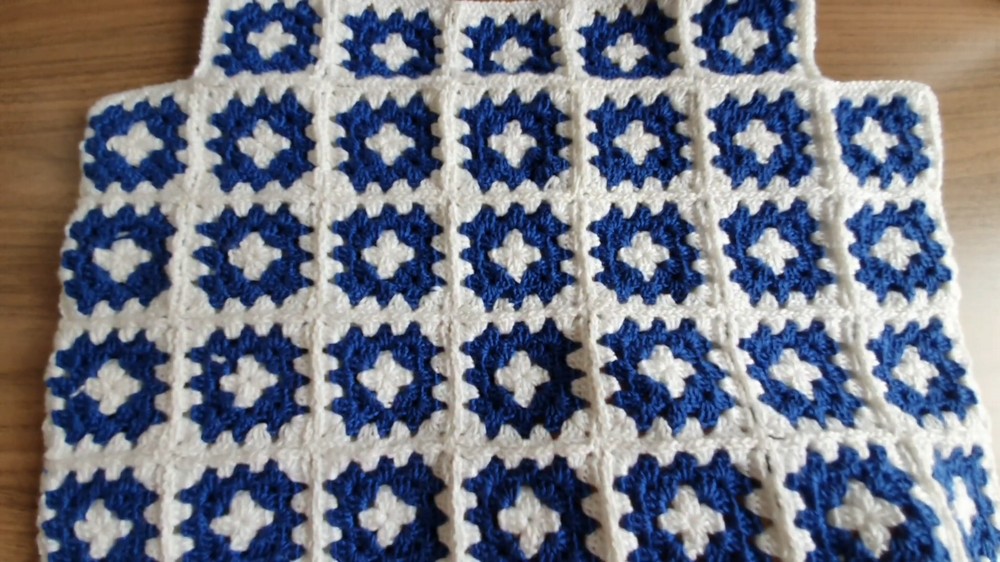
Unlock the secret to making your very own stylish shirt that you can wear with pride by following this Free Crochet Granny Square Top. This beautiful piece looks like a puzzle of colorful yarn flowers that come together for a very happy outfit on any sunny day.
The beauty of this project lies in how you can mix all your favorite colors to make a look that is as bright as a rainbow and totally unique to you. It features a very soft and breezy fit that keeps you feeling cool and comfortable while you play outside with your friends. Its lovely appearance comes from the classic square shapes and the pretty edges that make the top look very fancy and professional.
 You can wear this handmade treasure to a fun summer party or give it as a special gift to your sister. Even though you are just starting to learn the simple steps make it very fast and easy to finish. Completing this fun project is a great way to show your talent and have a unique outfit that looks amazing.
Crochet Granny Square Top Pattern
Materials Needed
- Yarn: 200 grams of yarn in two colors (cotton yarn is recommended for a lightweight and comfortable finish).
- Hook Size: 1.5mm crochet hook (adjust based on your yarn thickness).
- Scissors
- Tapestry Needle
- Measuring Tape
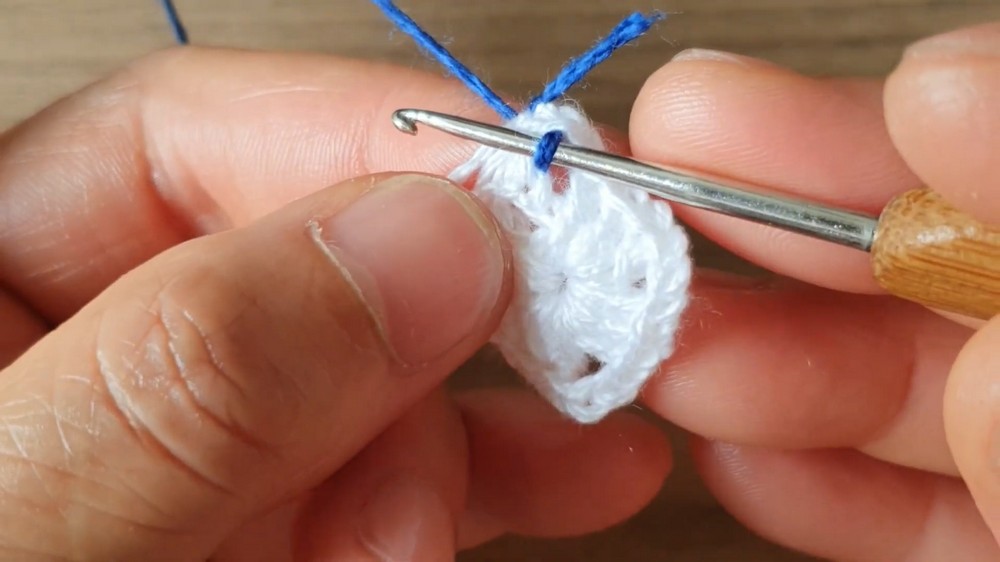
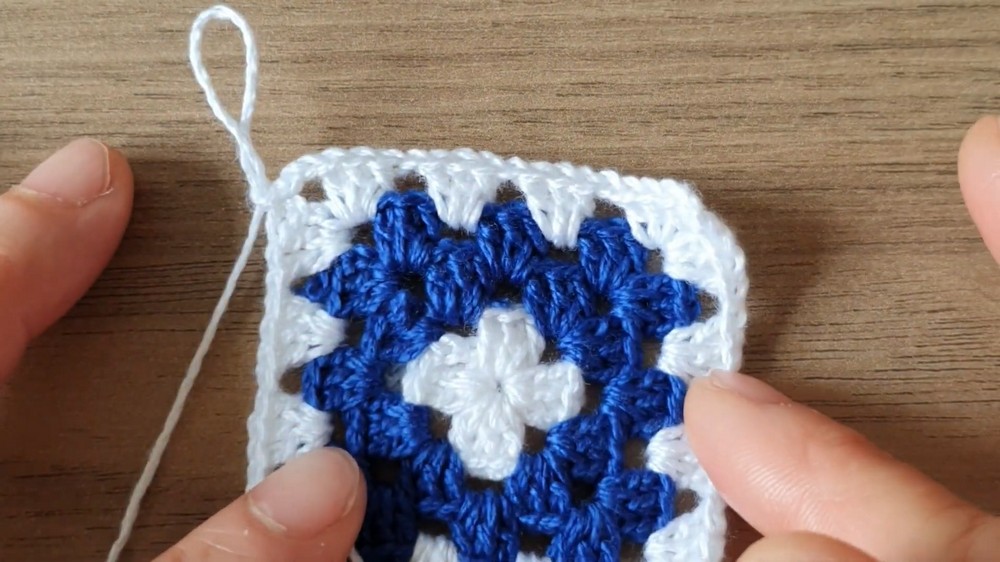
Step 1: Making the Granny Squares
- Start with a slip knot on your hook.
- Chain 5 and join the first chain with a slip stitch to form a ring.
- Round 1:
- Chain 3 (counts as the first double crochet in this row).
- Work 2 double crochets into the ring.
- Chain 3, then work another group of 3 double crochets into the ring.
- Repeat this pattern (3 double crochets followed by a chain of 3) two more times into the ring, making a total of four groups of 3 double crochets.
- Finish the round with a slip stitch into the top of the starting chain 3. Fasten off if changing colors.
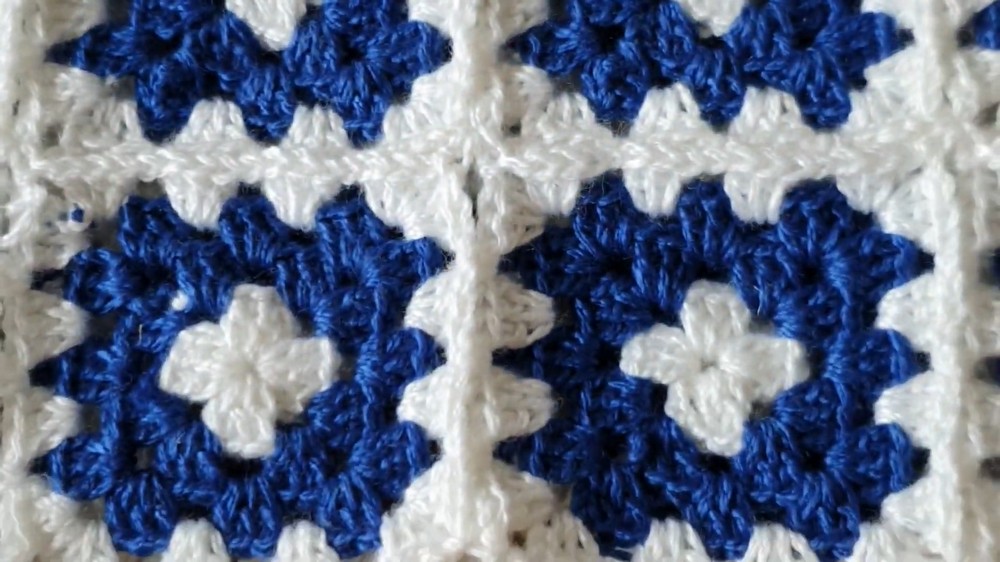
- Round 2:
- Attach the second color yarn.
- Chain 3 (counts as the first double crochet).
- Work 2 more double crochets into the same space.
- Chain 1, then work 3 double crochets into the next chain 3 corner space, followed by a chain of 3 and another 3 double crochets in the same corner.
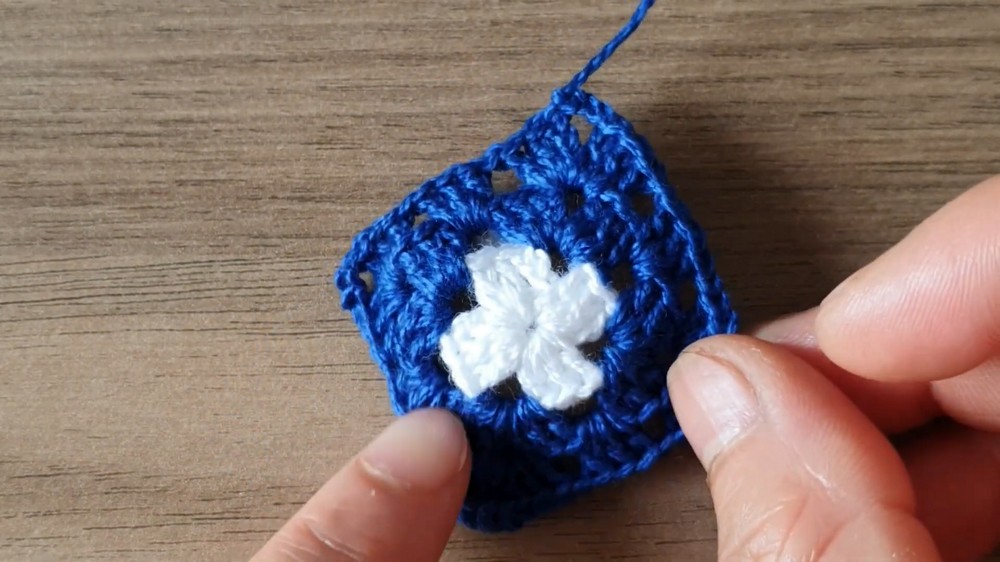
- Continue working into each corner with the pattern: 3 double crochets, chain 3, another 3 double crochets, and chain 1 to move to the next corner.
- Finish the round with a slip stitch into the top of the starting chain 3. Fasten off.
- Repeat the rounds as required: Follow the same pattern to add more rounds to your square until each square reaches your desired size (approximately 2 inches square for a small size). More rounds may be added for larger sizes.
Step 2: Making Enough Squares
- Measure your chest size with the measuring tape and calculate the number of squares needed.
- Ensure you have an even number of squares:
- Example: For a chest measurement of 32 inches, you'll need approximately 2 inch squares. You can make a total of 14 squares (7 for the front and 7 for the back).
- Make additional squares as needed to adjust for larger or smaller sizes.
Step 3: Joining the Granny Squares
- Lay the squares flat in your desired arrangement (front and back panels).
- Turn two squares wrong side facing up before joining.
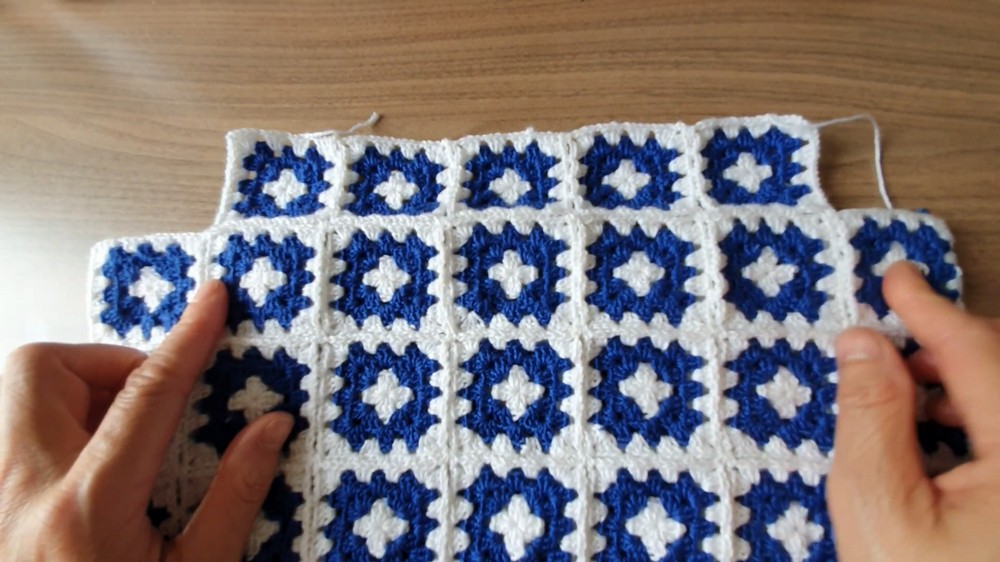
- Use the single crochet method to join:
- Insert your hook into the corner of the first square, then into the matching corner of the second square.
- Work single crochets to join the edges of both squares.
- For each corner, crochet 3 double crochets, followed by a chain of 1, and then move to the next square.
- Continue joining all squares edge by edge to form two rectangular panels (front and back).
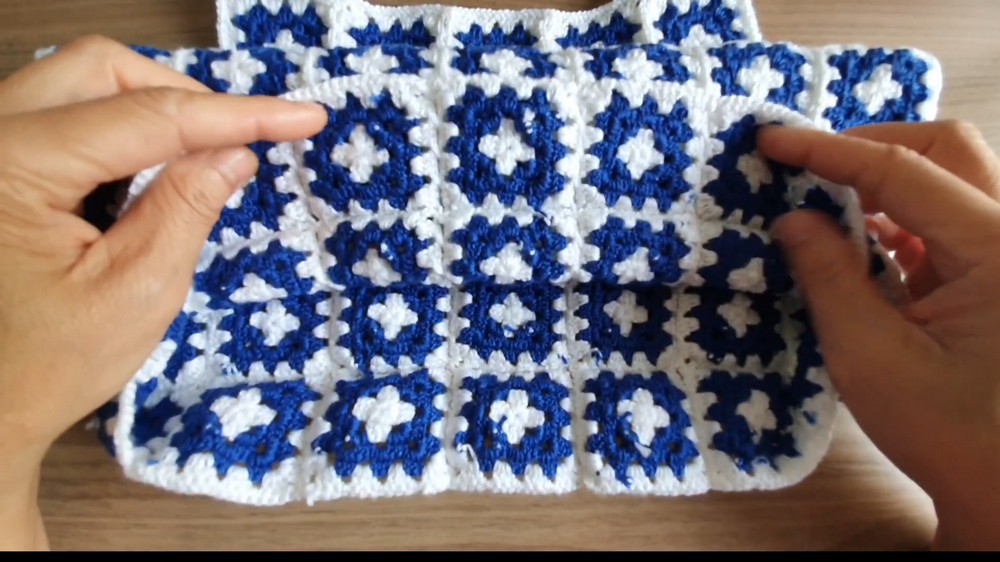
Step 4: Assembling the Top
- Join the front and back panels using a single crochet seam, leaving enough space at the top for the neckline.
- For the sides, leave openings for the armholes. You can adjust the size of the armholes according to preference.
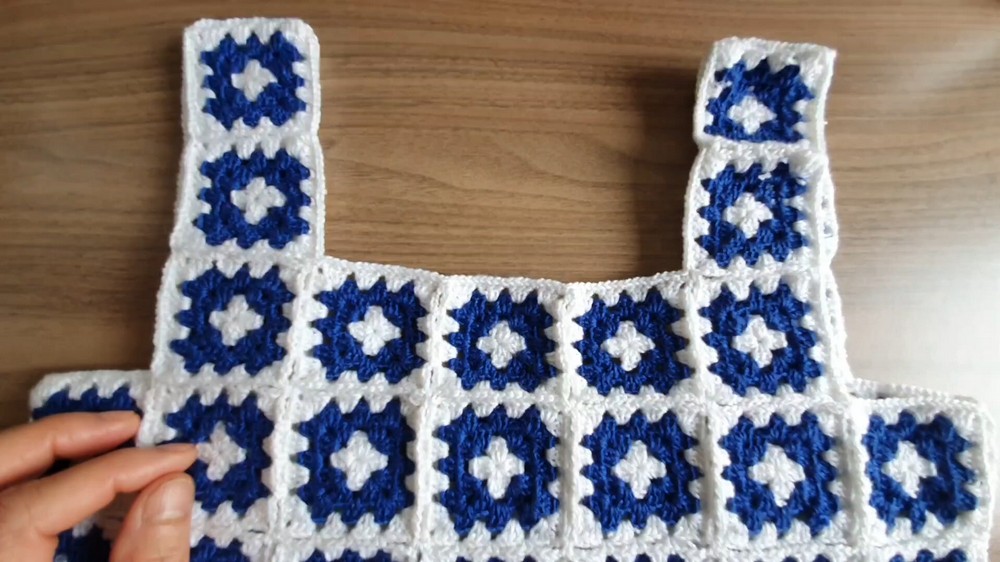
Step 5: Adding Straps and Front/Back Shape
- Front Panel: Extend 1 2 additional granny squares on each side of the chest area for the neckline to elevate the front section slightly.
- Lower Back Panel: Make the back panel slightly lower than the front for a stylish design.
- For the straps, create 5 granny squares in a straight line for each shoulder strap.
- Attach the straps to the appropriate corners of the front and back panels by sewing or using single crochet joins.
Step 6: Finishing Touches
- Edge Trimming:
- Use single crochet along the edges of the neckline, armholes, and bottom hem for a neat finish.
- Add an extra border using one or both colors for a decorative touch.
- Tidy Loose Ends: Use a tapestry needle to weave in any yarn tails neatly on the wrong side of the garment. Trim any excess yarn.
Final Words and Tips
- Wash Before Wear: Wash the completed top gently by hand or using a washing machine's delicate cycle, especially if you used cotton yarn.
- Customize Your Size: Adjust the number of granny squares or add rows to make it fit your dimensions perfectly.
- Change Colors for Style: Experiment with different color combinations to create vibrant, eye catching patterns.
- Practice Joining Techniques: If you’re new to joining squares, practice on a small sample first to ensure consistency.
- Avoid Tight Stitches: Ensure your stitches are not too tight, as this could make the top uncomfortable to wear.
This granny square crochet top is ideal for summer or layering over a tank top. It's lightweight, stylish, and easy to customize.