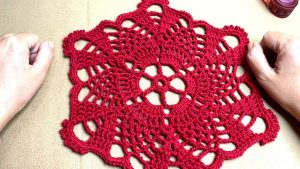
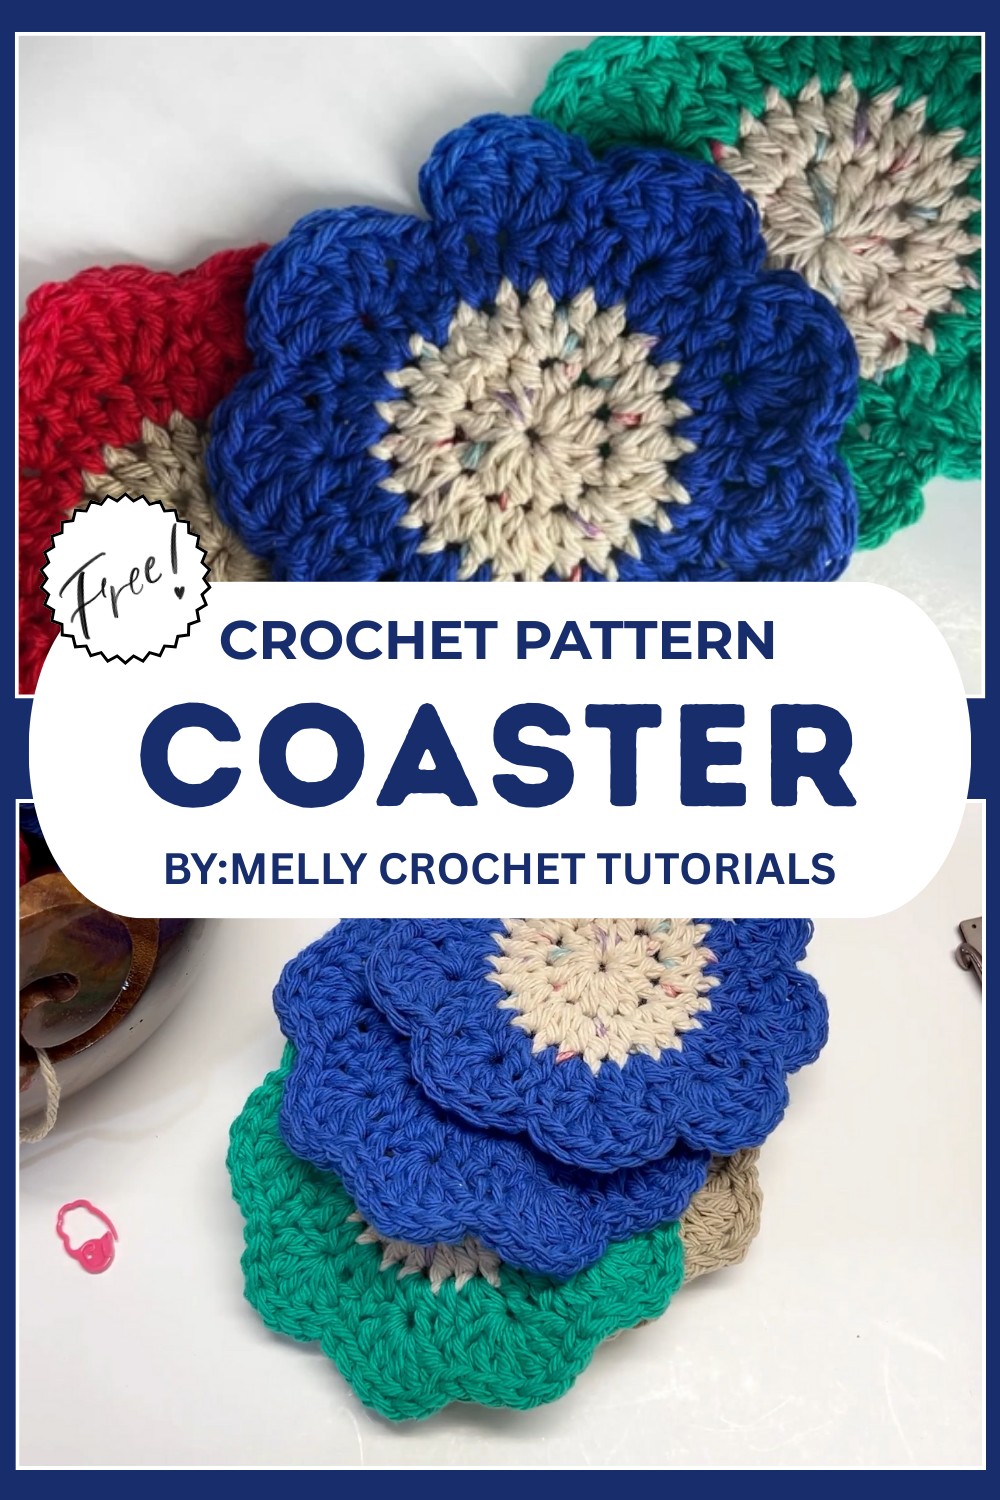
Lovely Crochet Coaster Pattern With Fun Appeal
Protect your surfaces with the Crochet Coaster Pattern for charming handmade coasters that add color and style while keeping tables safe from spills and stains.
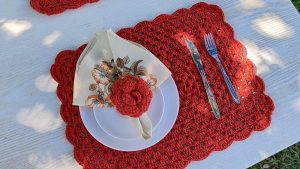
Bring a touch of handmade elegance to your home with this free crochet coaster pattern, blending style and practicality seamlessly. Protect your tables from spills and scratches while showcasing your creativity with unique, personal designs. This coaster offers endless possibilities to customize colors, shapes, and textures to complement your décor or brighten up any space.
Adorable Crochet Coaster Pattern Everyone Will Love
Perfect for daily use or as heartfelt, handmade gifts, these coasters are simple yet satisfying to create. Suitable for beginners and seasoned crocheters, they offer a quick yet rewarding project that highlights your skills while bringing warmth and charm to your living space.
Materials
- Yarn
- Cotton yarn (worsted-weight, 100% cotton recommended for its durability and heat resistance).
- Optional: Cotton blends are acceptable, but acrylic yarn is not recommended due to its inability to handle heat well.
- Hook Size
- 5 mm crochet hook
- Additional Supplies
- Stitch markers (optional; helpful for beginners).
- Scissors.
- Yarn needle (for weaving in ends).
- Blocking tools (optional): Pins, spray bottle with water, or handheld steamer.
Skill Level
Beginner-friendly. Requires basic knowledge of crochet stitches and working in rounds.
Abbreviations (US Terms)
- ch: Chain
- sl st: Slip stitch
- sc: Single crochet
- dc: Double crochet
- hdc: Half double crochet
- yo: Yarn over
- st(s): Stitch(es)
Special Notes
- The coaster is worked seamlessly in a magic ring and rounds.
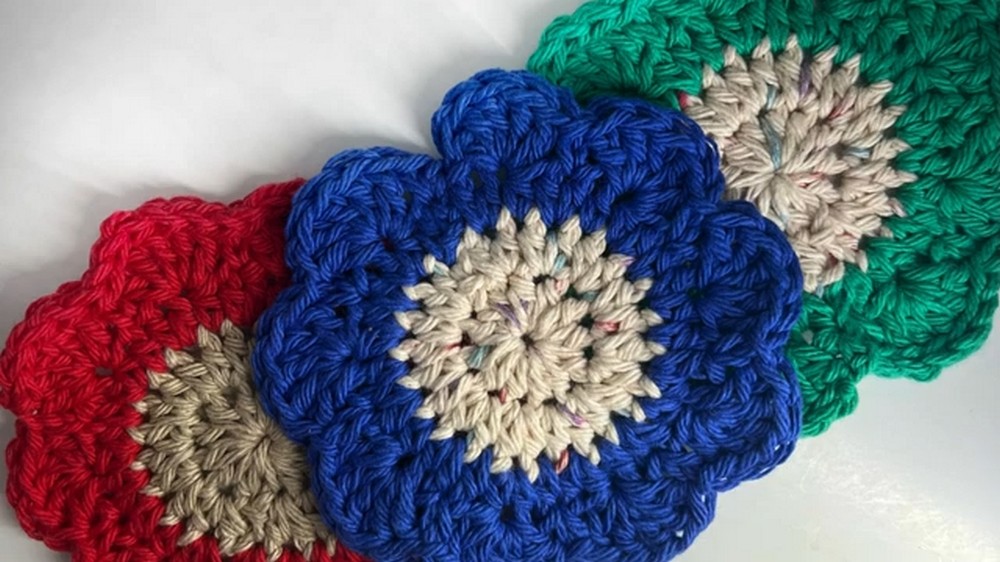
- For a flower-like effect, petals are created with clusters of 5 dc stitches, separated by single crochets.
- Optional: You can change colors after Round 2 for added visual dimension.
Gauge
Gauge is not critical for this pattern. However, maintaining even tension ensures uniformity, especially for the petals.
Pattern Instructions
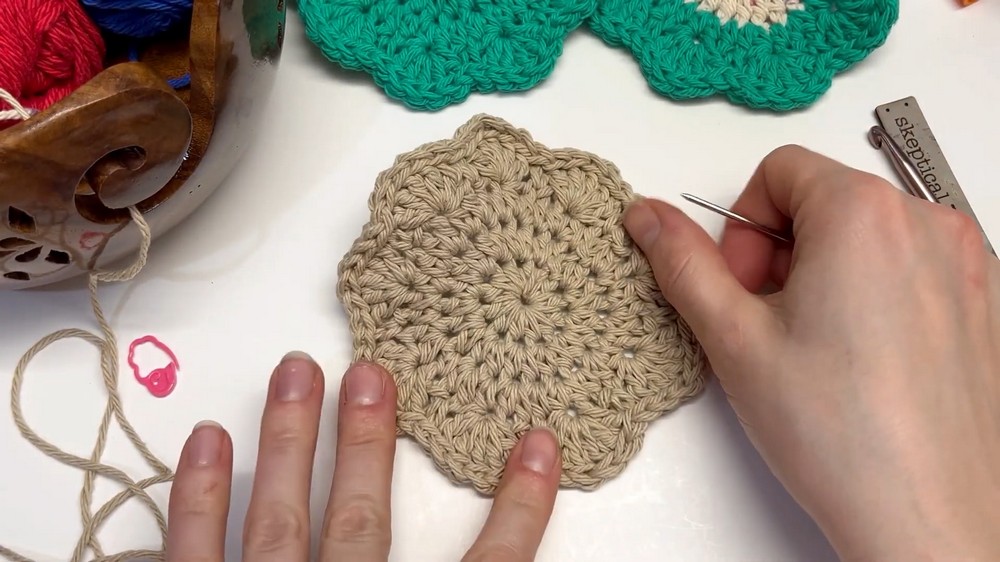
Round 1: Magic Ring Foundation
- Create a magic ring:
- Wrap the working yarn around your middle finger, insert the hook under both loops, grab the yarn, and pull it through.
- Secure the magic ring with ch 1 (this chain does NOT count as a stitch).
- Work 12 hdc into the magic ring:
- Yo, insert hook into the ring, yo, pull up a loop (3 loops on the hook).
- Yo, pull through all 3 loops.
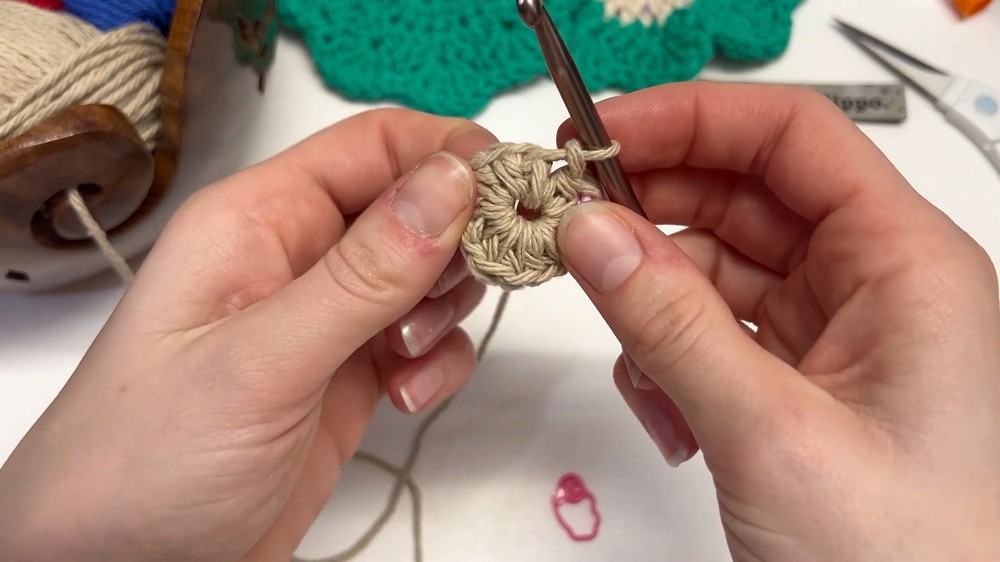
- Mark the first hdc with a stitch marker (optional).
- Pull the tail of the magic ring tightly to close.
- Join Round 1: Sl st into the marked first hdc. (12 hdc)
Round 2: Increasing
- Ch 1 (does not count).
- Work 2 hdc into each stitch:
- In the first st: yo, insert hook, yo, pull up a loop (3 loops on the hook). Yo, pull through all 3 loops (1 hdc).
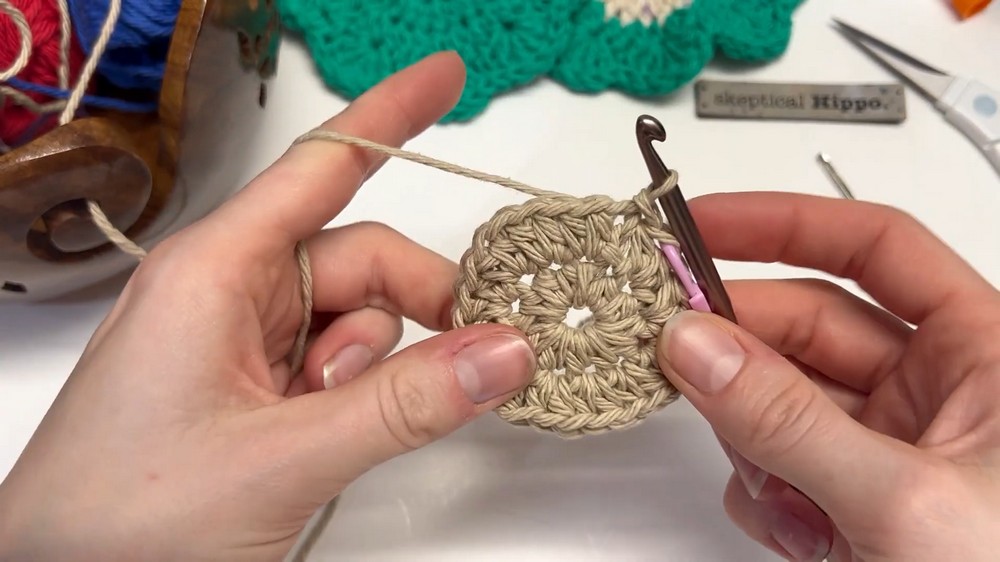
- In the same stitch, work another hdc.
- Repeat for all stitches around.
- In the first st: yo, insert hook, yo, pull up a loop (3 loops on the hook). Yo, pull through all 3 loops (1 hdc).
- Place a stitch marker on the first hdc of the round.
- Join Round 2: Sl st into the marked first hdc. (24 hdc)
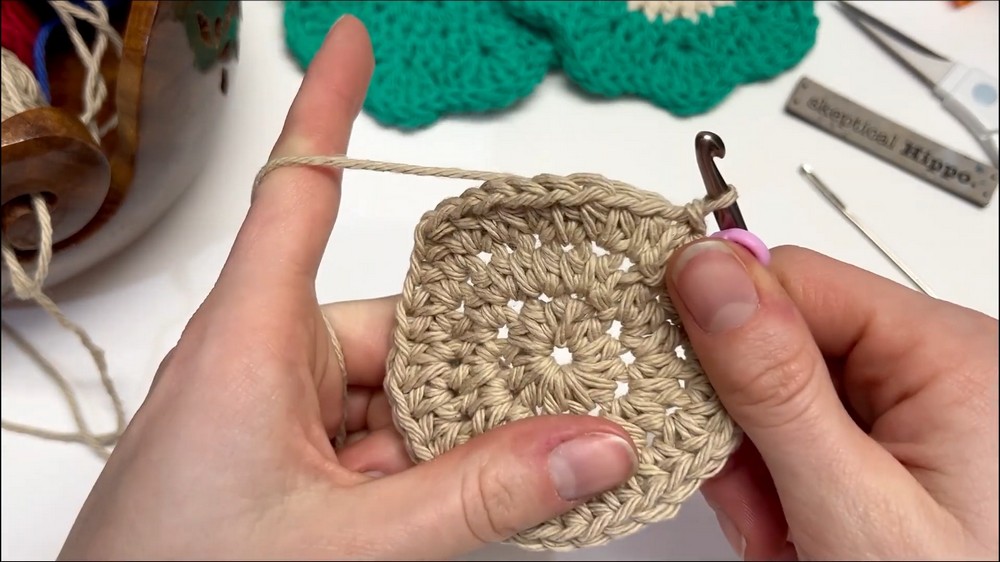
Round 3: Petals and Transition
- Ch 1 (does not count).
- Work 1 hdc in the first st. Mark this first stitch.
- Work a hdc increase (2 hdc) in the next st. Repeat across the round: 1 hdc, 2 hdc. (36 hdc)
- Join Round 3: Sl st into the marked first hdc.
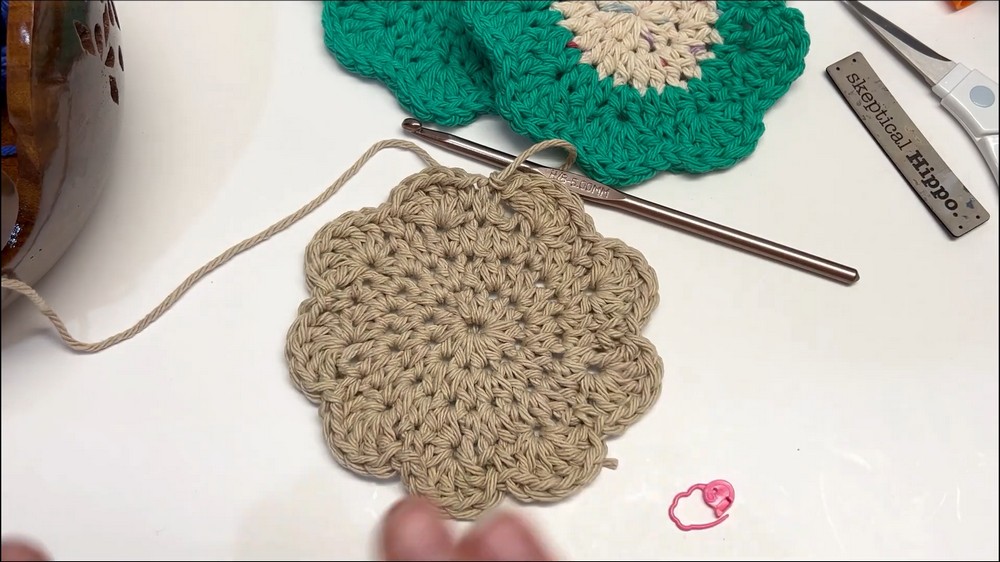
Round 4: Petals
- Ch 1 (does not count).
- Work 1 sc in the first st. Mark this stitch.
- Skip the next stitch, in the following stitch work 5 dc (this forms a petal):
- Yo, insert hook, yo, pull up a loop (3 loops on hook). Yo, pull through 2 loops, yo, pull through remaining 2 loops. Repeat for 5 dc in the same stitch.
- Skip the next stitch, then work 1 sc into the following stitch.
- Repeat across the round:
- Skip 1 st, 5 dc, skip 1 st, 1 sc.
- Join Round 4: Sl st into the marked first sc. (6 petals)
Round 5 (Optional Border): Slip Stitch Edge
- Ch 1 (does not count).
- Work 1 sl st into each stitch (sc, dc, and skipped stitches from Round 4). This creates a sturdy and defined edge.
- Join Round 5: Sl st into the first sl st.
Finishing
- Cut the yarn, leaving a 6-inch tail.
- Weave in the ends:
- Use the yarn needle to secure the center of the magic ring.
- Weave remaining tails into the back of the coaster.
- Blocking (Optional):
- Pin the coaster at each petal edge onto a blocking mat or soft surface.
- Spray lightly with water or use steam to flatten and shape the coaster.
Tips for Success
- Magic Ring Trick: Pull your ring tight at the end of Round 1; this keeps the center clean and closed.
- Loose Tension: Avoid working stitches too tightly to maintain a smooth and even shape.
- Count Your Stitches: Each round builds off the previous round, so check your total stitch count after each step to avoid mistakes.
- Blocking for Perfection: Block your coasters to shape the petals and achieve a neat, polished result.
Customization
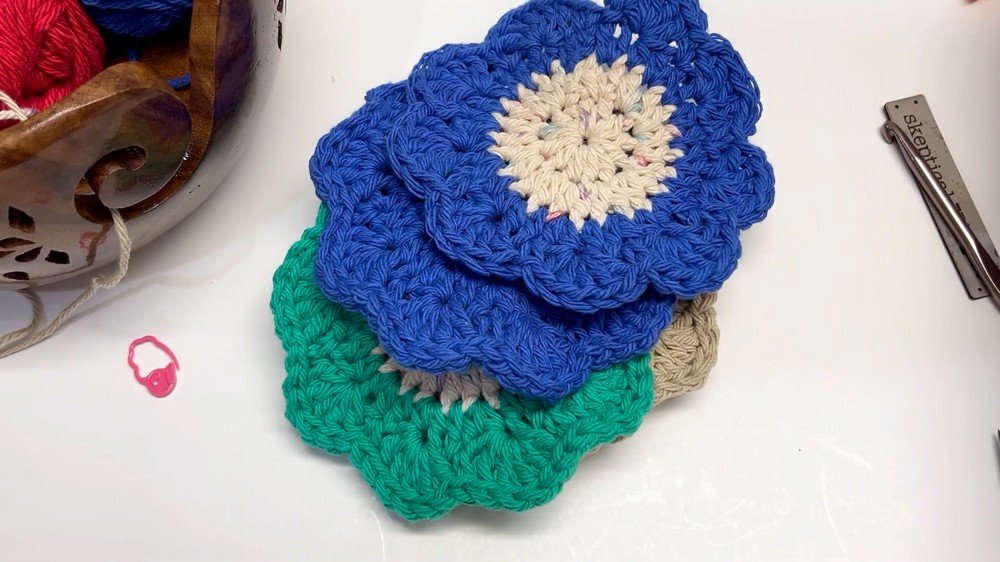
Color Variations
- Two-tone Coaster: Change colors after Round 2 to define the petals with a contrasting shade.
- Gradient Flower: Use gradient yarn to create an ombré effect throughout the coaster.
Size Adjustments
- For a larger coaster: Add an extra round after Round 2, working 1 hdc, 2 hdc increases in each repetition.
- For a smaller coaster: Begin with fewer stitches in the magic ring (e.g., 10 hdc in Round 1).
Conclusion
Your flower coaster is now complete! This quick and beginner-friendly project adds a burst of charm and practicality to any table setting. Whether you create colorful coasters for your kitchen or stick to classic solid hues, these handmade creations will add warmth to your space.
Final Remarks
This pattern is versatile and can be used for coasters, appliqués, or decorations. Experiment with colors, yarns, and sizes to make personalized sets for gifts or special occasions.