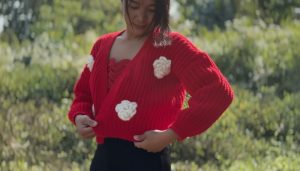
Cozy Free Crochet Cardigan Pattern with Handy Pockets
Feel cozy with a Crochet Cardigan Pattern and make a warm soft cardigan that is easy to wear and also makes a lovely gift for friends.
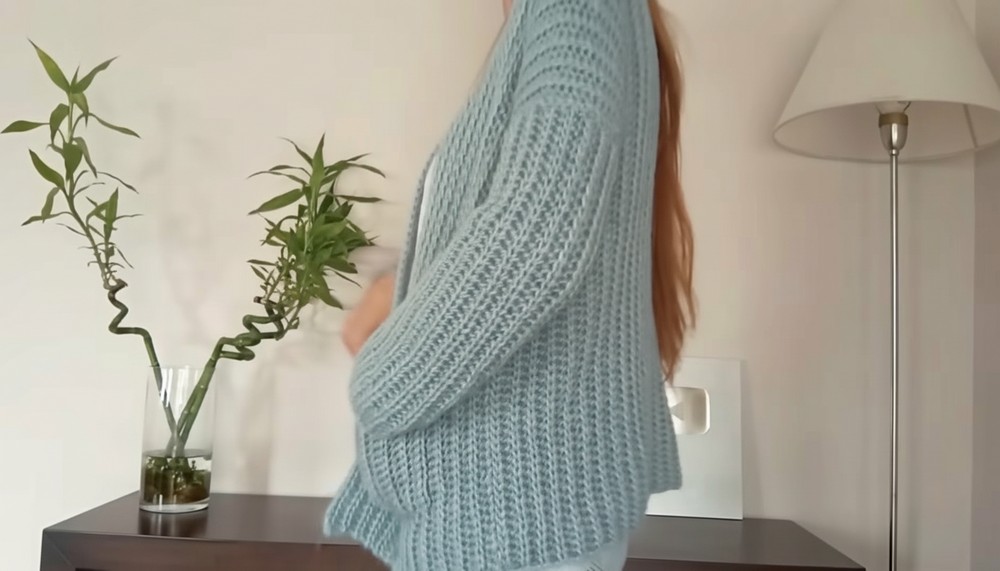
This crochet cardigan is a perfect blend of comfort and practicality, featuring a soft texture, cozy fit, and handy pockets that make it ideal for daily wear. Its minimalist yet stylish design ensures it pairs well with any outfit, offering both warmth and functionality. It’s not just a wardrobe staple—it’s also a thoughtful handmade gift for loved ones.
Made in one piece, this cardigan pattern is created with lightweight yet durable yarn, ensuring a soft touch and an enjoyable crochet experience. The handy pockets add a touch of practicality, giving you space to carry small items or simply keep your hands warm.
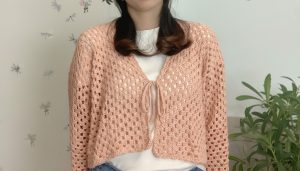
Free Crochet Cardigan Pattern with Pockets Perfect For Fall

This pattern adapts easily to any body size, making it suitable for everyone. Whether you’re staying home or heading out, this cardigan guarantees comfort, style, and functionality in every stitch.

Crochet Cardigan Pattern with Pockets
Materials Needed:
- Yarn: 450 grams of synthetic angorite yarn or similar, approximately 2 mm thickness.
- Crochet Hook: 10 mm hook.
- Stitch Markers (optional): For fixing sections during sewing.
- Tapestry Needle: For joining pieces and sewing seams.
Gauge:
- 10 stitches x 10 rows = 10 cm using the specified yarn and hook.
Finished Size:
This jacket is adjustable to any size. It is made in one continuous piece with later additions for sleeves and pockets. The final size depends on customization according to body dimensions.
Pattern Instructions
Step 1: Starting the Body
- Chains for Measurement:
- Measure the desired length of the jacket by combining the back and front sections.
- For example, if you want the jacket to fall at a certain height, make chains accordingly (e.g., for the video, 130 chains were used with the 10 mm crochet hook).
- It’s not required to use an even number of chains; odd numbers work as well.

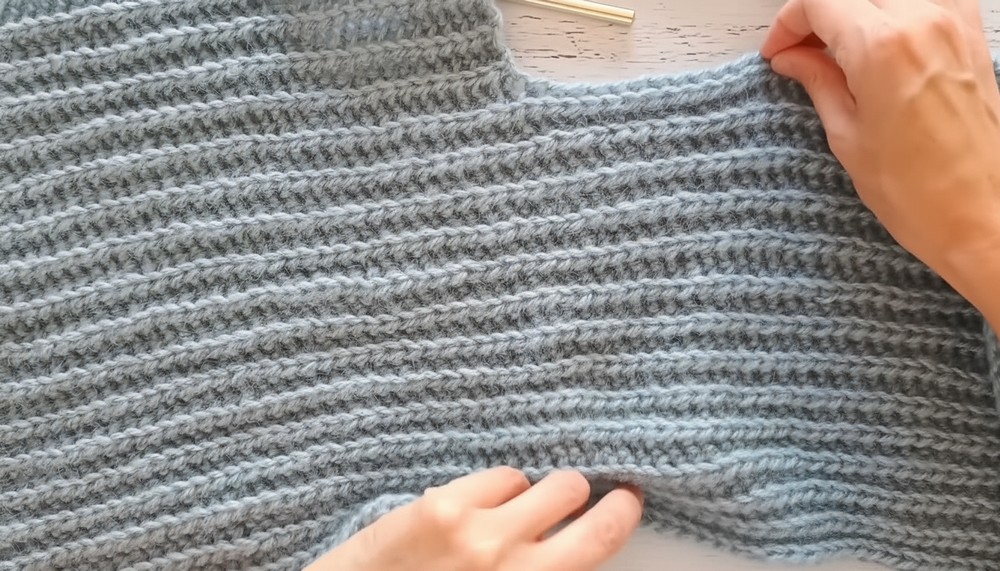
- Row 1: Simple Loop Stitch
- Add 1 climbing chain that does not count as a stitch.
- Yarn over the hook, pull the yarn through the two loops on the hook, and close the loop.
- Repeat this across the chain.

- Row 2:
- Turn the fabric and work into the back thread of the previous row’s stitches.
- Repeat the loop stitch, always pulling through the back strand.
- Edge Tip:
- For a neater finish, always grab both strands of the last stitch at the end of the row.
- Continue this pattern until the fabric reaches the width of the front panel. Use body measurements to verify (e.g., for the video, approximately 28 cm wide).

Step 2: Creating Neckline Adjustment
- Divide the Stitches:
- Once the fabric reaches the appropriate width for the front panel, divide the total stitches in half for the neckline.
- Example: For 130 stitches, work and finish 65 stitches for one side of the neck.
- Rows for Neckline:
- Work 10 cm (or approximately 8–10 rows) of just one side of stitches, turning after each row.
- Ensure symmetry by measuring the rows.
- Rejoining Stitches:
- After completing the neckline section, work a series of air chains to match the stitches of the unworked half row.
- Example: If 65 stitches were skipped, crochet 65 chains loosely to avoid tightness.
- Resume normal stitching across the chains and remaining panel stitches to complete the entire body.

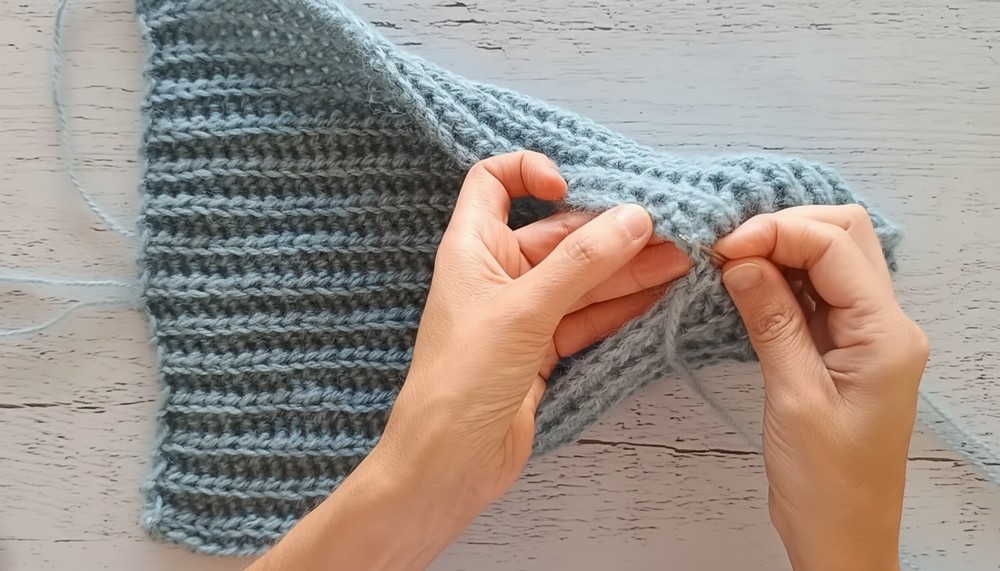
Step 3: Sewing and Joining
- Seam the Body:
- Fold the fabric into a jacket shape and sew the sides, leaving about 15 to18 cm for armholes (adjust based on individual measurements).
- Use invisible seam techniques by picking matching stitches on both ends.

- Sleeve Measurement:
- Measure from the end of the jacket’s shoulder fall to the wrist for sleeve length. Estimate arm circumference for width.
- Crochet Sleeves:
- Create rectangle pieces for sleeves based on measurements.
- Example in the video: 45 chains for length (approximately 44 cm) and 30 cm wide to wrap the arm comfortably.
- Use the same loop stitch for consistency.
- Seam Sleeves:
- Sew sleeve pieces into a tube, and using markers, attach the sleeve to the body with invisible seams.

Step 4: Adding Pockets
- Lift Stitches for the Pocket:
- Decide pocket placement and start lifting stitches at desired height (e.g., fourth row from the bottom in the video).
- Pocket Width and Height:
- Example in the video: Lift 15 stitches for width and crochet rows until the pocket is approximately 16–17 cm tall.

- Sew Pocket:
- Match edges with spikes on the garment.
- Sew the pocket using invisible seams, ensuring symmetry between pockets.
Tips for Customization:
- Adjust Colors: Choose vibrant or neutral yarn colors to match personal style.
- Length Variation: Modify chain count to change the overall jacket length.
- Oversized Fit: Add extra rows for width and loosen sleeves for a flowier design.

Special Techniques:
- Invisible Seam: Use inside row sewing by picking matching stitches on both sides to hide seams.
- Neckline Adjustment: Carefully work air chains loosely to match skipped stitches and ensure uniform shoulder fit.

Conclusion and Final Look
Upon completion, this crochet jacket offers a versatile, lightweight garment. The body falls elegantly to give a casual vest like effect, while added sleeves provide a polished appearance. Pockets enhance functionality for everyday use. The result is a simple, trendy jacket adaptable to all sizes – perfect for layering and seasonal wear.
Important Remarks:
- Take measurements carefully to ensure custom fit.
- Loosen air chains to avoid pulling and distortion.
- Regularly check symmetry between the panels, sleeves, and pockets during sewing.
- Wash and block the garment after completing to smooth and finalize stitches.
This jacket is perfect for crocheters of all levels and a wonderful addition to any wardrobe. Let this pattern guide you to a cozy yet stylish finished product.