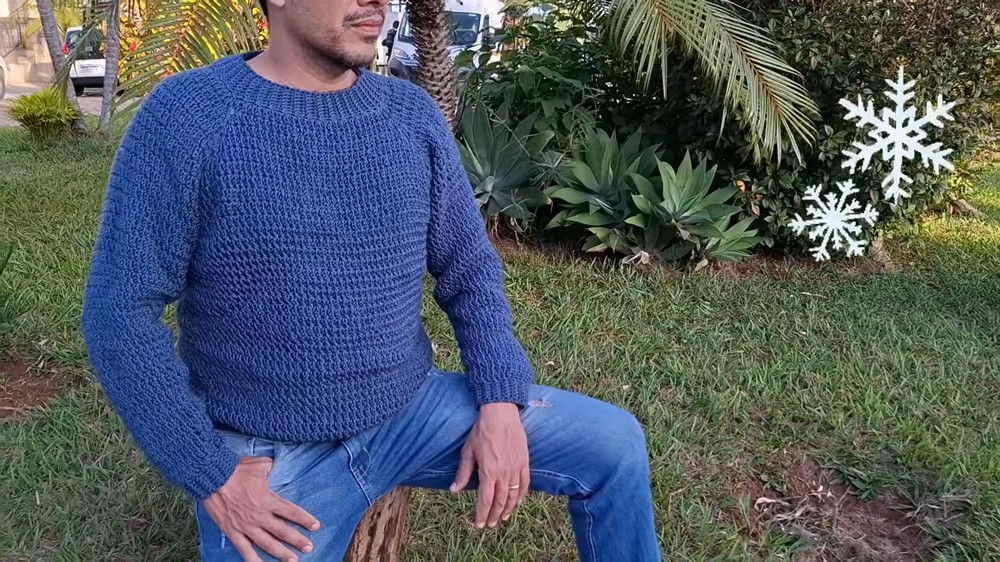
Cozy Up with This Free Crochet Men's Sweater Pattern
Enjoy a warm and stylish vibe with this free crochet men's sweater pattern that is ideal for staying comfy and trendy in chilly weather.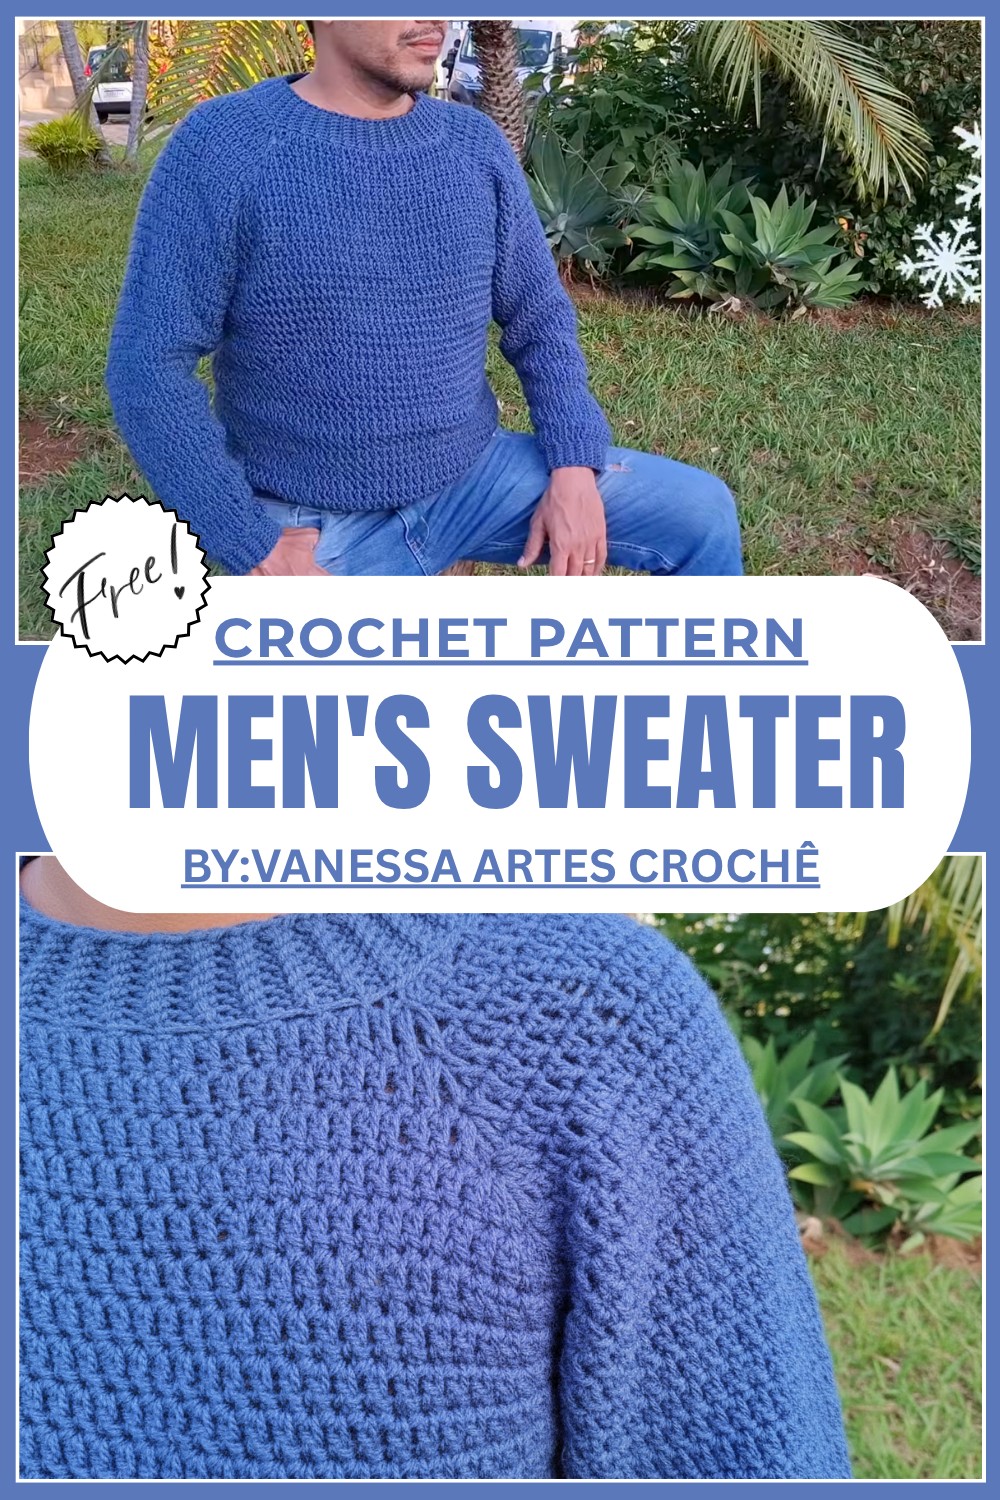
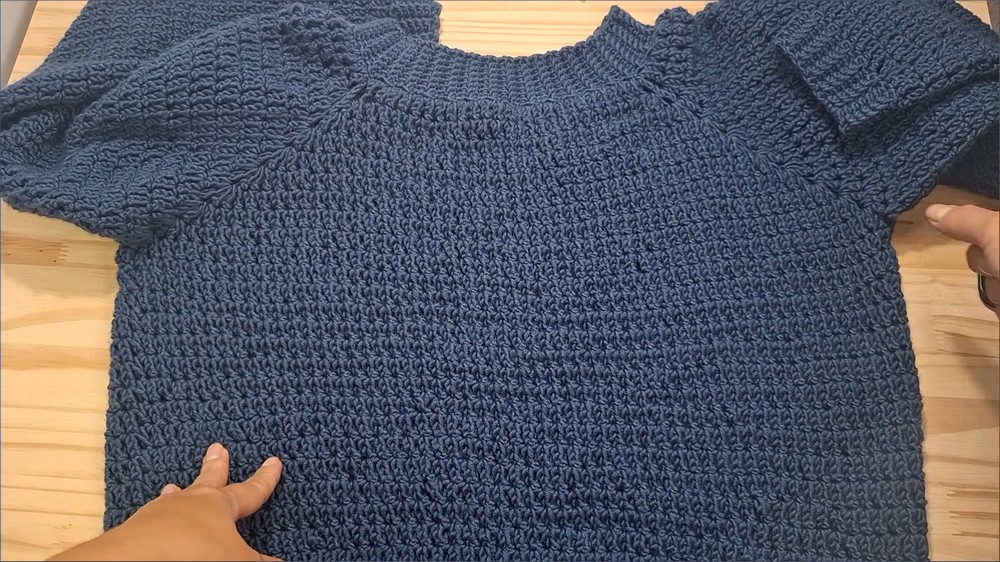
Achieve Timeless Style with This Free Crochet Men's Sweater Pattern
Crochet is a wonderful and relaxing craft, and making a men’s sweater can be an exciting project. This free crochet men's sweater pattern is simple and perfect for everyone. It creates a warm, soft, and stylish sweater that’s perfect for cold days. The sweater is designed with a “top down” style, meaning you start from the neck and work your way down, making the process easy to follow. Its unique stitch adds texture and charm to the design, making it stand out beautifully. This pattern can be customized to fit different sizes, making it a great gift idea. 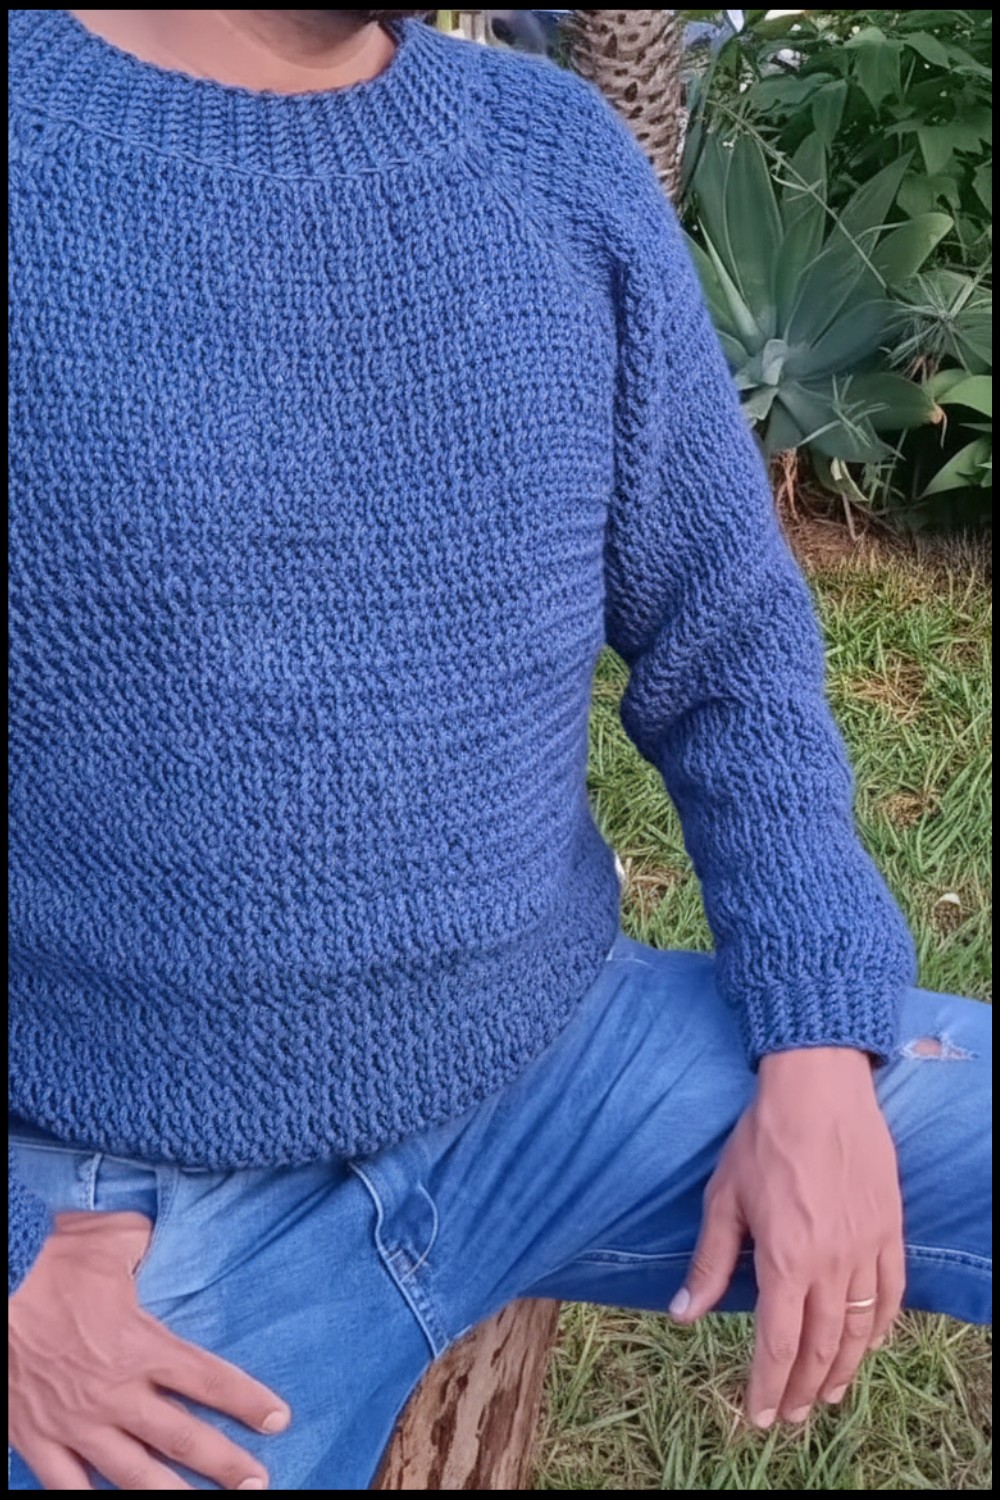 The sweater has a cozy yet fashionable look, making it ideal for casual wear or layering during winter. This pattern is not only easy to make but also uses quality yarn that resists pilling, making the sweater long lasting and perfect for everyday use.
Classy Free Crochet Men's Sweater Pattern
Materials Required
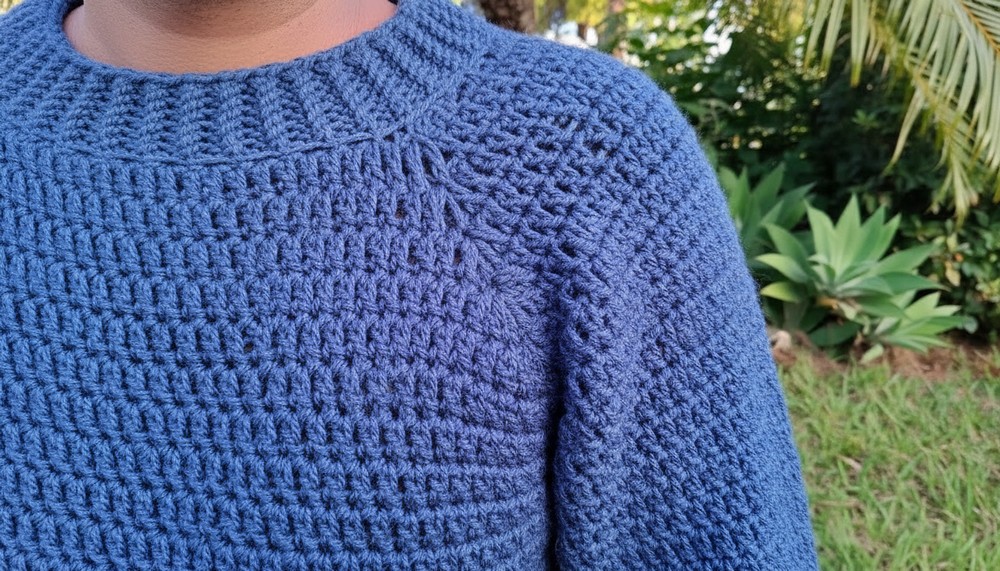
- Yarn: Hobby by Círculo (Anti pilling, 100% acrylic, Tex 625). Use approximately seven skeins for a size GG.
- Sample Color Used: Celeste Blue (Color #560).
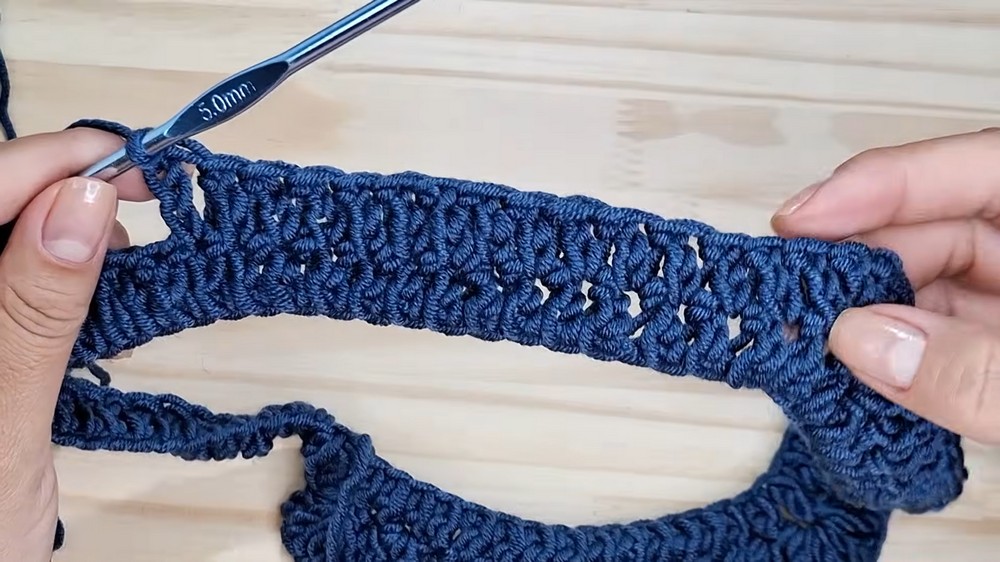
- Crochet Hook: Sizes 5 mm (for the main body) and 4 mm (for finishing and tighter sections).
- Tapestry Needle: For finishing and weaving in ends.
- Scissors: For cutting yarn.
- Measuring Tape: To ensure proper sizing.
Special Techniques
- Unique Crochet Stitch (Ponto Alto Sem Laçada a.k.a. High Stitch Without Yarn Over):
- Insert the hook into the next stitch without yarn over.
- Pull the yarn up.
- Make two chains and pull through the loop on the hook.
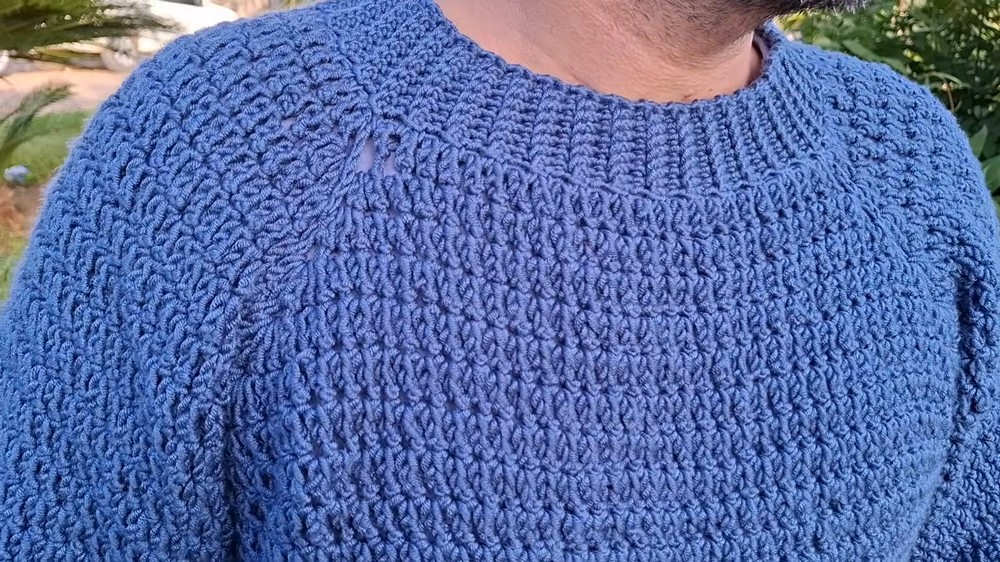
- Top Down Construction:
- Begin at the neckline and work downward, creating a seamless sweater with no bulky seams.
- Joining in the Round Without Twist:
- Use a slip stitch to connect the bottom chain of your foundation into a circle while ensuring there is no twist.
Pattern Details
Step 1: Foundation Chain
- Create a foundation chain of 80 stitches (ensure the chain is not too tight for ease of subsequent stitches).
- Divide the stitches as follows:
- Front: 24 stitches.
- Back: 24 stitches.
- Each Sleeve: 14 stitches.
Step 2: Starting the Yoke (Top Down Construction)
- Join the chain into a circle using a slip stitch.
- Work the first round with the unique crochet stitch described above for 80 stitches.
- Complete the round by slip stitching into the top of the first stitch. Do not fasten off.
Step 3: Dividing the Yoke
- Create Four Leagues (Corners) for shaping (like a rectangle):
- At each corner, add a "leque" (fan shaped cluster stitch) [2 stitches, 1 chain, 2 stitches] within a single stitch space.
- Ensure each side now contains the following sequence:
- Front: Straight crochet across.
- Each Sleeve: Create 14 stitches.
- Back: Straight crochet across.
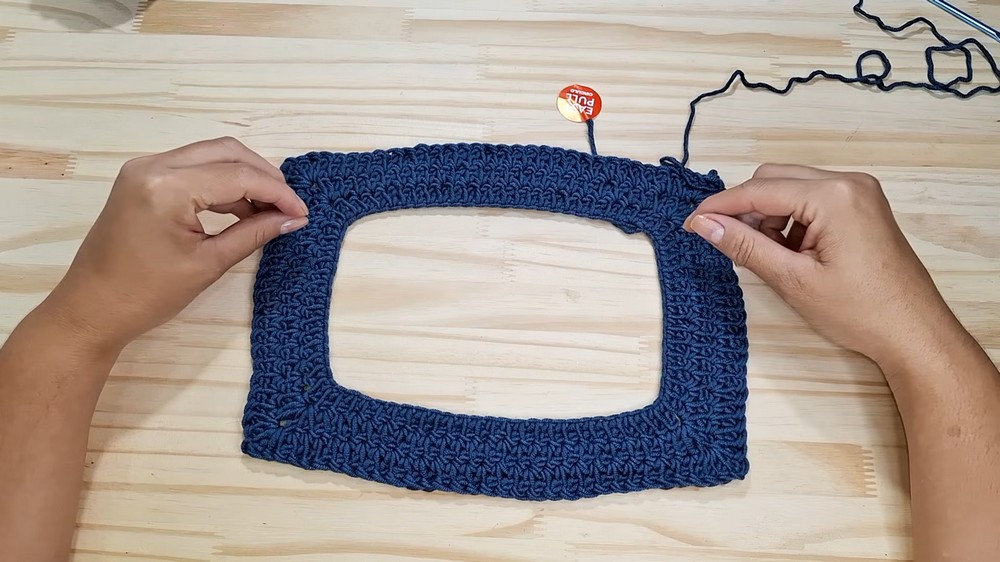
Step 4: Work Down the Yoke
- Continue working in rounds.
- Always create "leque" clusters at the corners.
- Increase 4 stitches per round (due to the corner increases).
Repeat this process until you achieve a yoke length of approximately 24 cm from the neckline to under the arms.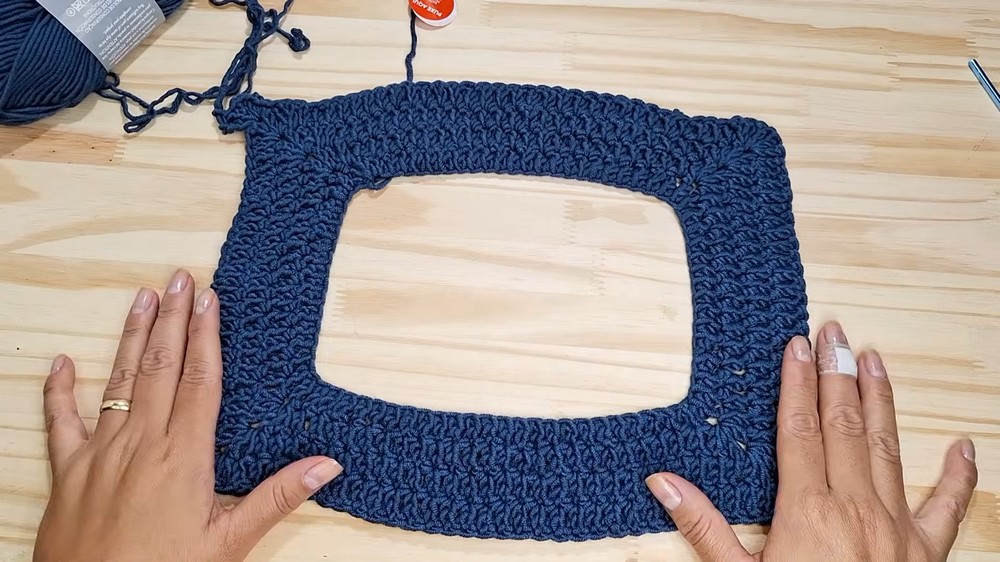
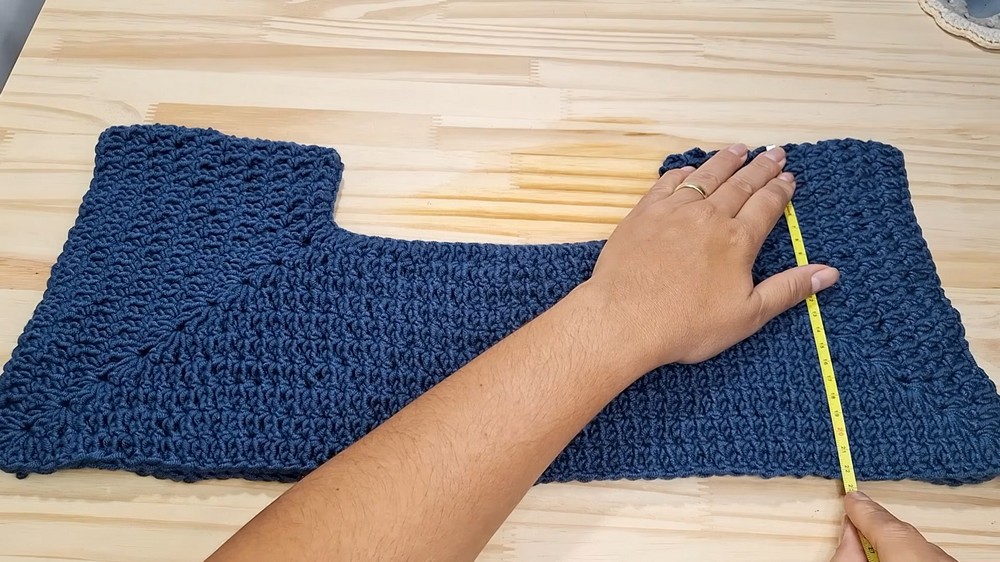
Step 5: Joining the Yoke to Create the Body
- Once the yoke has reached the desired length, fold it in half. Use the existing "leque" clusters as markers for armholes.
- Use a slip stitch to join the front and back panels, leaving the sleeve openings. This creates the armholes.
Step 6: Working the Body
- Continue working in rounds for the main body of the sweater, using the unique crochet stitch.
- Work until the body measures approximately 40 cm (or your desired length) from the underarm.
- Optional: Adjust for desired length, ensuring symmetry throughout.
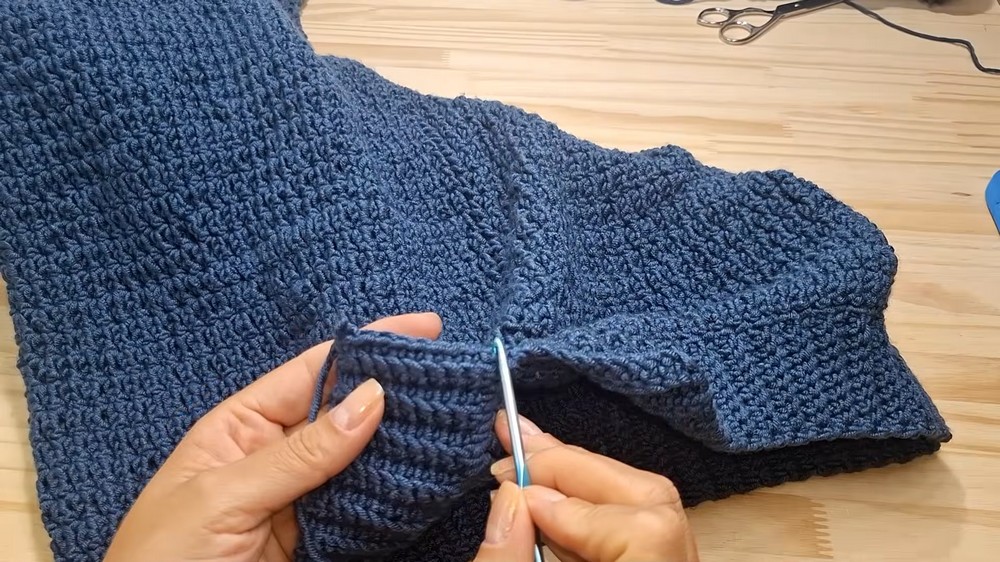
Step 7: Adding the Ribbed Hemline
- Using a 4 mm crochet hook, attach yarn to the bottom edge of the body.
- Create a foundation chain of 10 stitches.
- Work 8 single crochet stitches, leaving 2 unworked at the start.
- Secure the strip to the base of the body using slip stitches across two stitches.
- Continue this ribbing pattern (working back and forth) until the hemline is complete.
- Tip: Ensure consistency in tension for a neat finish.
Step 8: Sleeves
- Reattach yarn to one of the sleeve openings.
- Work in continuous rounds using the same stitch pattern.
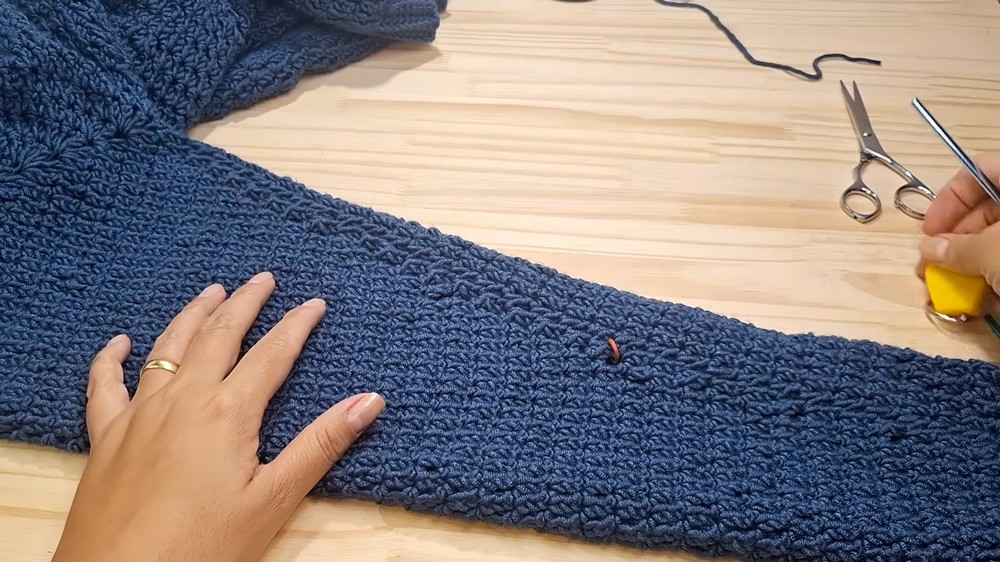
- Create 1 decrease per round (in the last two stitches) to gradually taper the sleeve.
- Continue until the sleeve measures approximately 50 cm (or your desired length).
- Finish with a ribbed cuff:
- Create a foundation chain of 6 stitches.
- Work 5 single crochet stitches, securing them to the edge of the sleeve with slip stitches.
Step 9: Neckline Finish
- Use a 4 mm hook.
- Create a ribbed collar around the neckline using a method similar to the hemline or cuffs.
- Work in continuous rounds until the collar sits snugly and comfortably.
Finishing Touches
- Seamless Join: Use a reverse slip stitch method for a hidden join. This ensures the seam blends with the surrounding stitches.
- Secure Loose Ends: Use a tapestry needle to weave in all loose ends carefully.
- Block the Sweater: Gently block the sweater by wetting it slightly and pinning it to the desired shape. Allow it to dry completely.
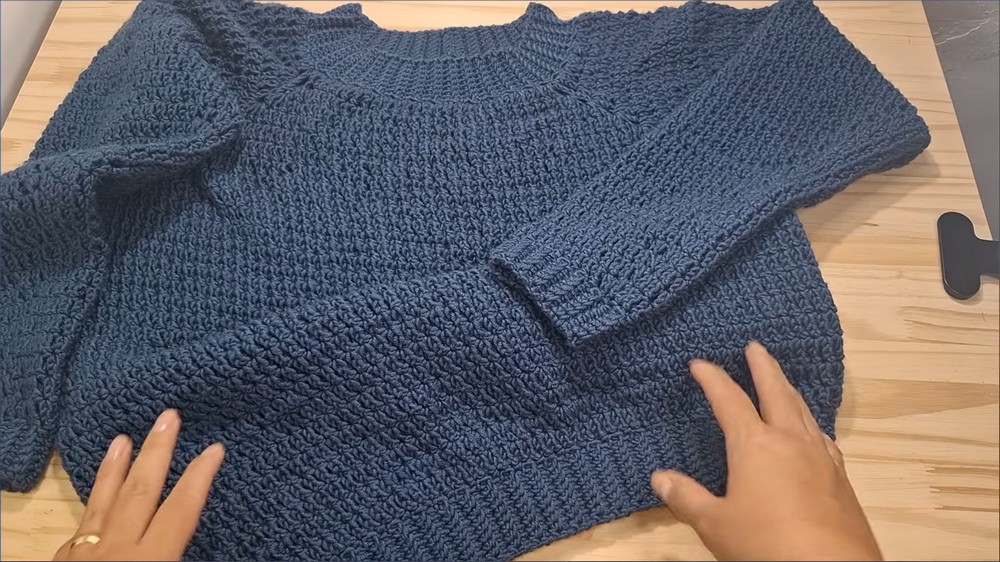
Final Words
Congratulations on completing your stunning crochet sweater with a modern "top down" technique! The result is a cozy, customizable, unisex design suitable for all occasions.
Tips for Maintaining the Pattern
- Washing: Machine washable due to the anti pilling yarn, but use a gentle cycle and low heat for drying.
- Stretching: Store flat to prevent overstretching.
- Adjustments: For tighter sleeves or body, use a smaller hook size.