
Sweet Free Crochet Pineapple Bag Pattern Perfect For Comfy Style
Glowing with summer spirit this crochet pineapple bag pattern is simple to make fun to use and perfect for carrying all your small and special items.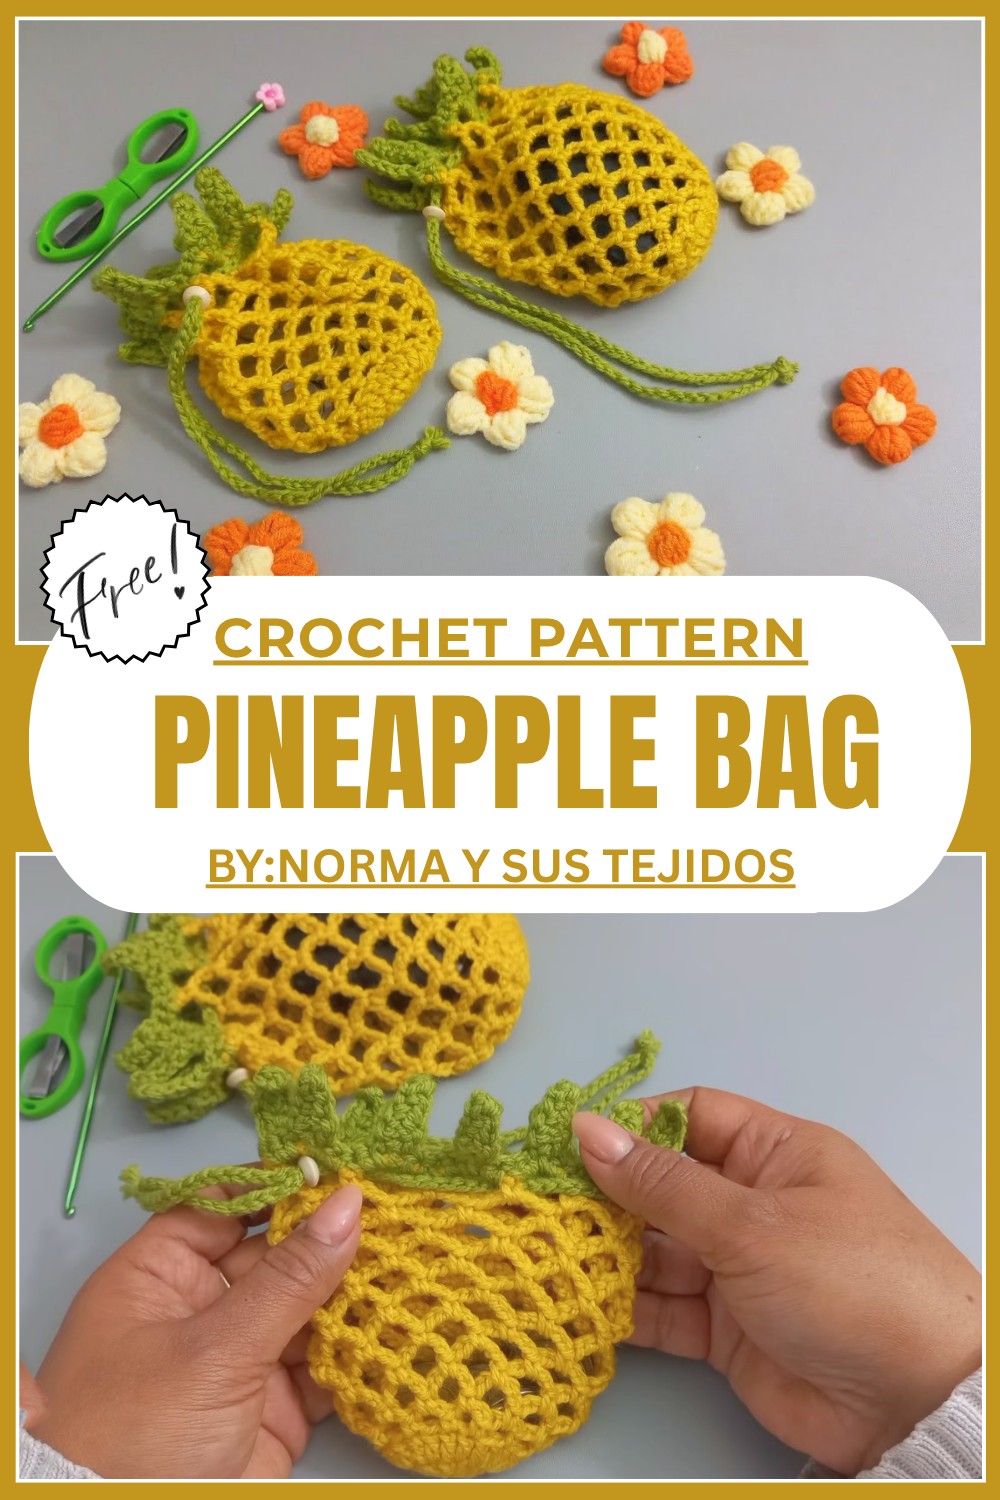
Amazing Free Crochet Pineapple Bag Pattern to hook a Trendy Accessory
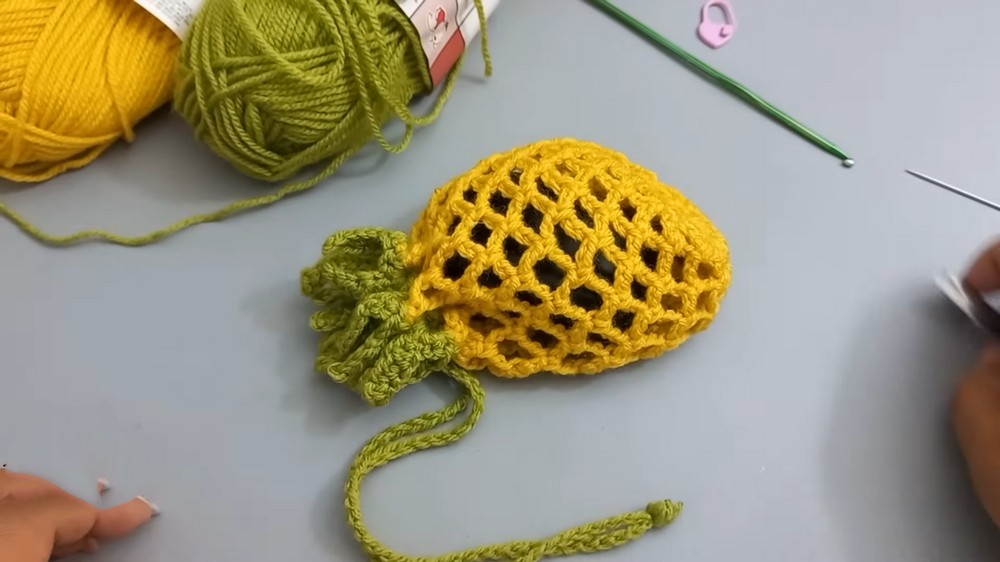
Take your bright yellow yarn and make a fun and fruity bag that looks just like a pineapple. This adorable bag has a beautiful bumpy texture for the fruit and soft green leaves at the top, which cleverly keep the bag closed. You’ll love how easy it is to follow the Free Crochet Pineapple Bag Pattern to create this sunny accessory. Its charm comes from the shell stitches that make the bag look stylish and fancy, but it’s simple enough for anyone to try. 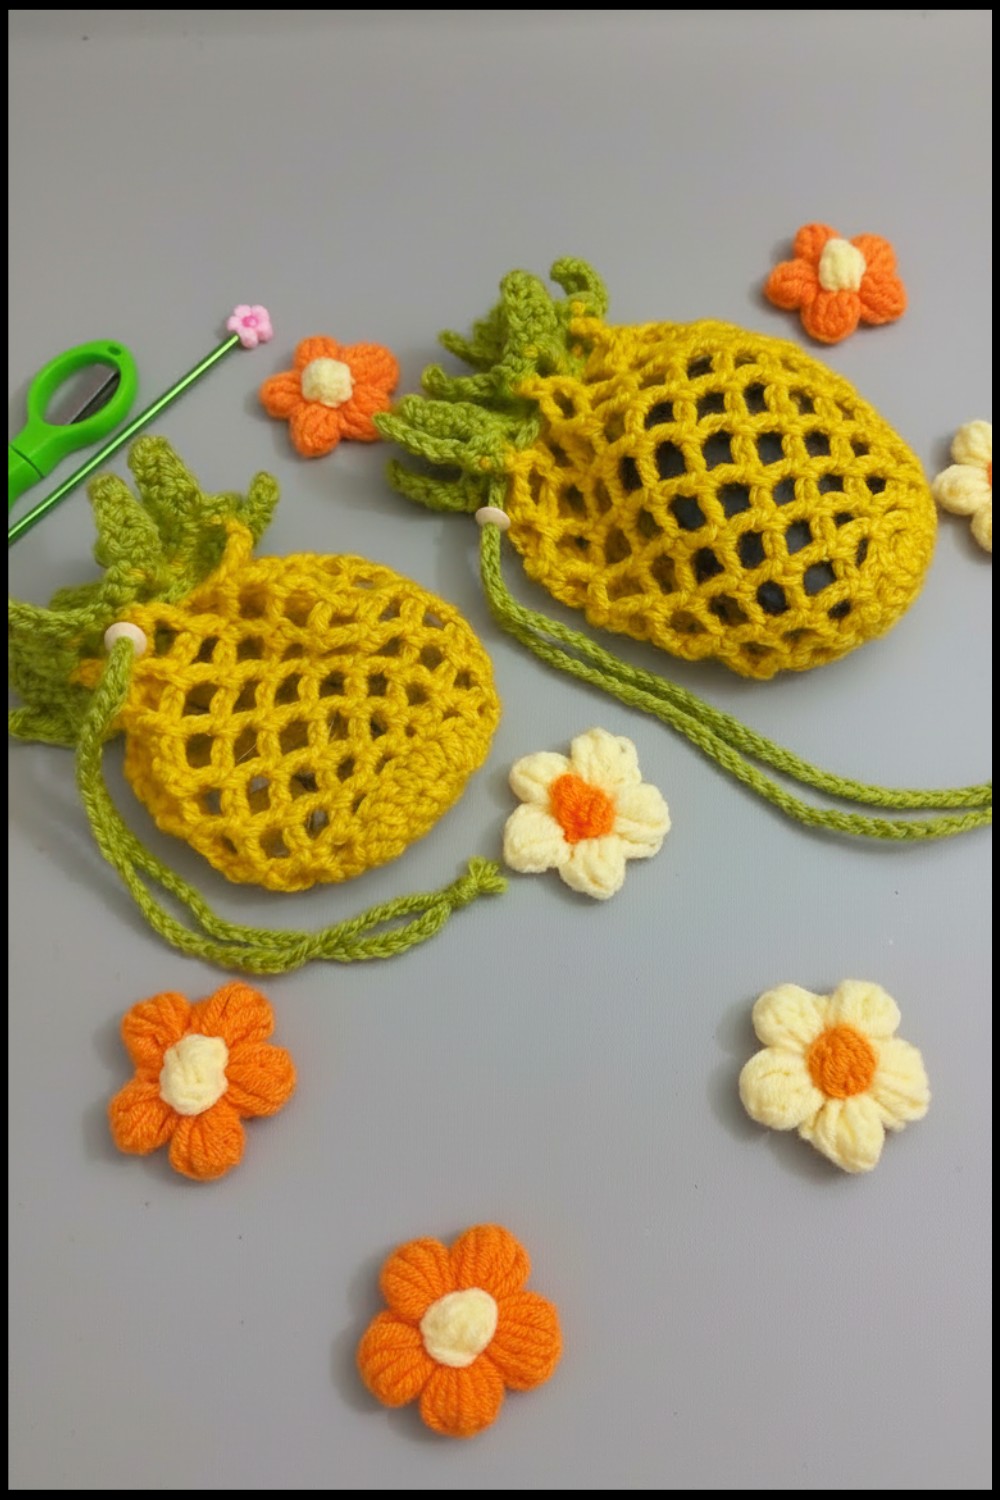 With a sturdy round bottom and plenty of room inside, this bag is perfect for carrying your phone, coins, or even candy to school. Whether you use it as a lucky charm or gift it to someone who loves tropical vibes, this bag is sure to become a favorite.
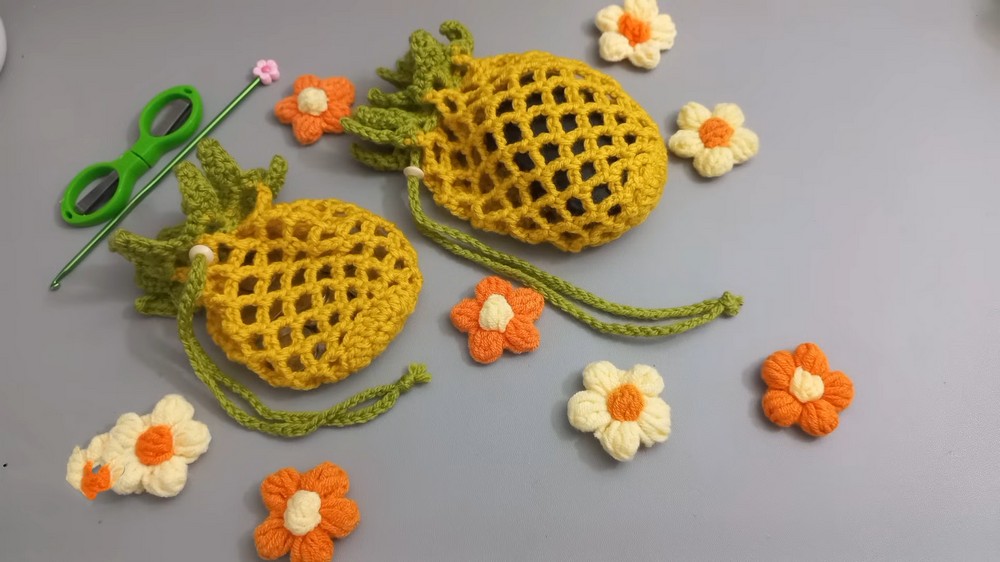
Turning soft yarn into a playful fruit shape makes this project so special, and finishing it will leave you with a durable, eye catching bag that spreads smiles wherever you go.
Crochet Pineapple Bag Pattern
Materials Required:
- Yarn:
- Main Color: Pumpkin yellow yarn.
- Accent Color: Green leaf yarn.
- Ensure the yarn thickness complements hook size #3.
- Crochet Hook:
- Hook size #3 (or smaller for tighter stitches).
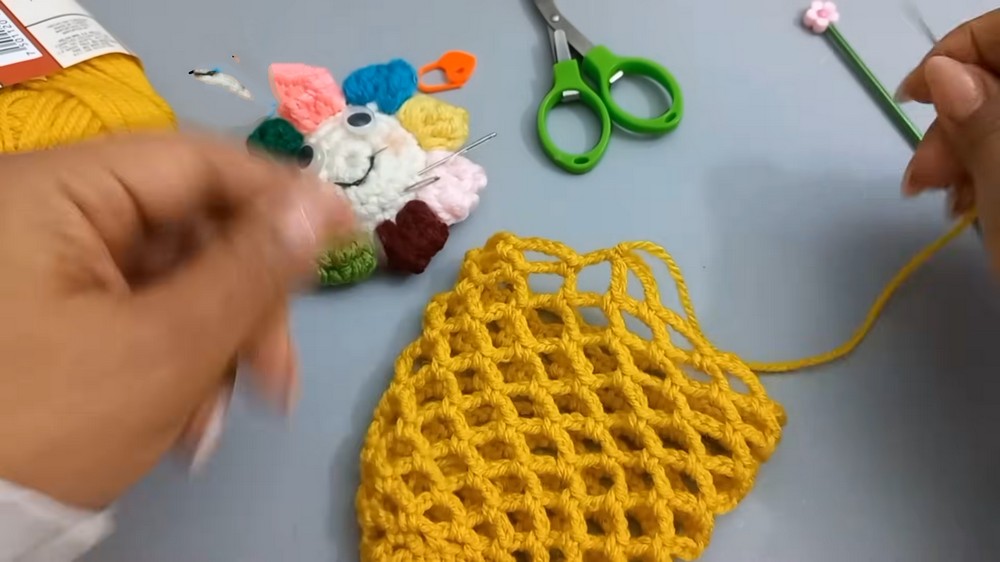
- Additional Tools:
- Scissors.
- Tapestry needle.
- Stitch markers.
- Optional:
- Fabric lining (for added durability).
- Beads or decorative elements for closure.
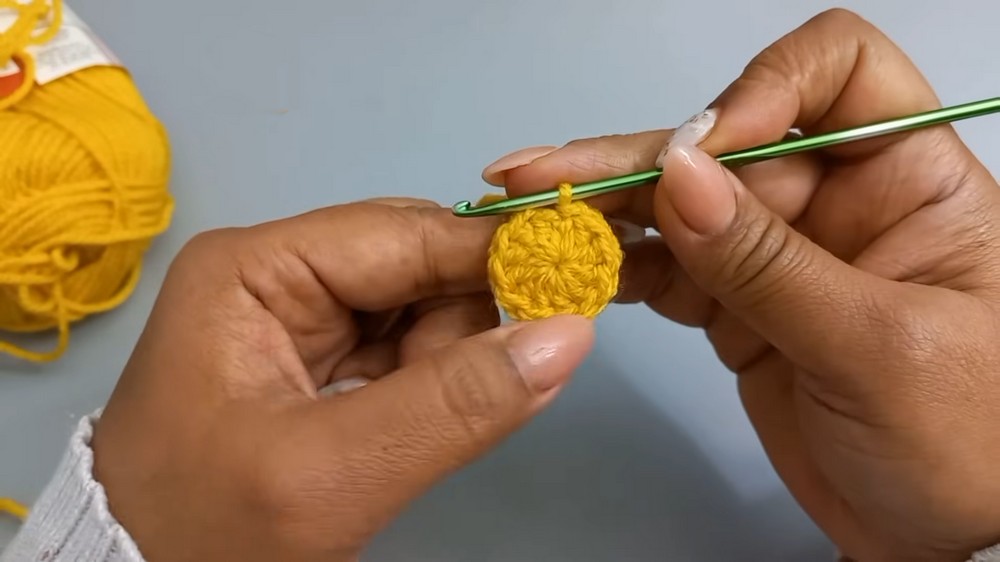
Step 1: Begin With the Magic Circle
- Make a magic circle. Leave a short tail for later weaving.
- Chain two to start the first stitch.
- Create 12 pillars using the “2 sacaditas” technique (double crochet with two pulls to reduce looseness).
- If using a thinner yarn, extend to 14 pillars.
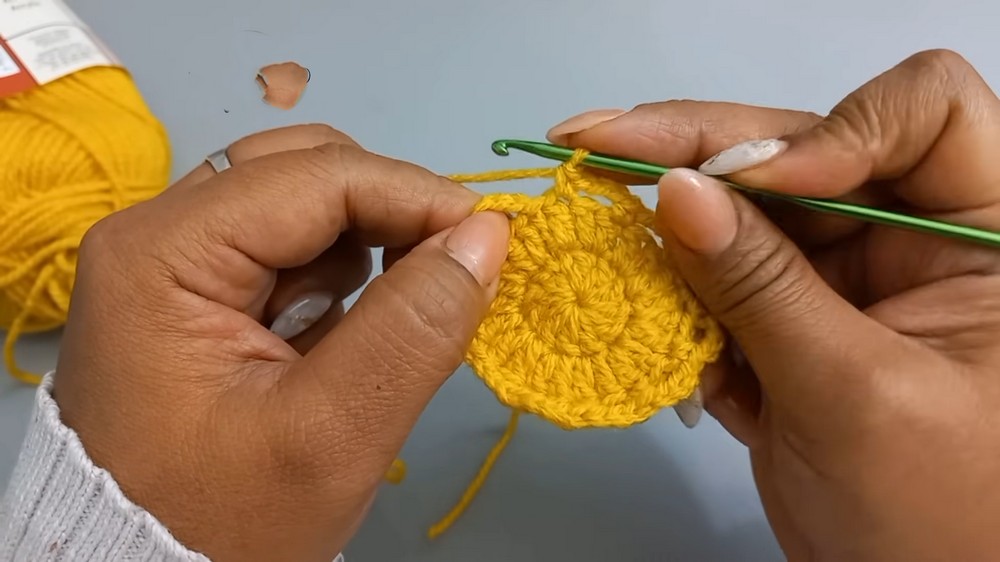
Step 2: Close the Circle and Add Increases
- Pull the loop to close the circle tightly. Slip stitch into the second chain to close the round.
- Begin the next round with two chains, then double the number of stitches by creating two pillars per stitch.
- For example, going from 12 to 24 stitches (or 14 to 28 stitches).
- Work evenly in rounds, maintaining symmetry.
Step 3: Start the Spiral Waves
- Begin with three chains to form small waves.
- Skip two spaces and make another wave using three chains.
- If the stitches pull tightly, move into the next space instead of skipping two.
- Repeat this technique around the base. This helps avoid the cone shaped distortion at the bottom.

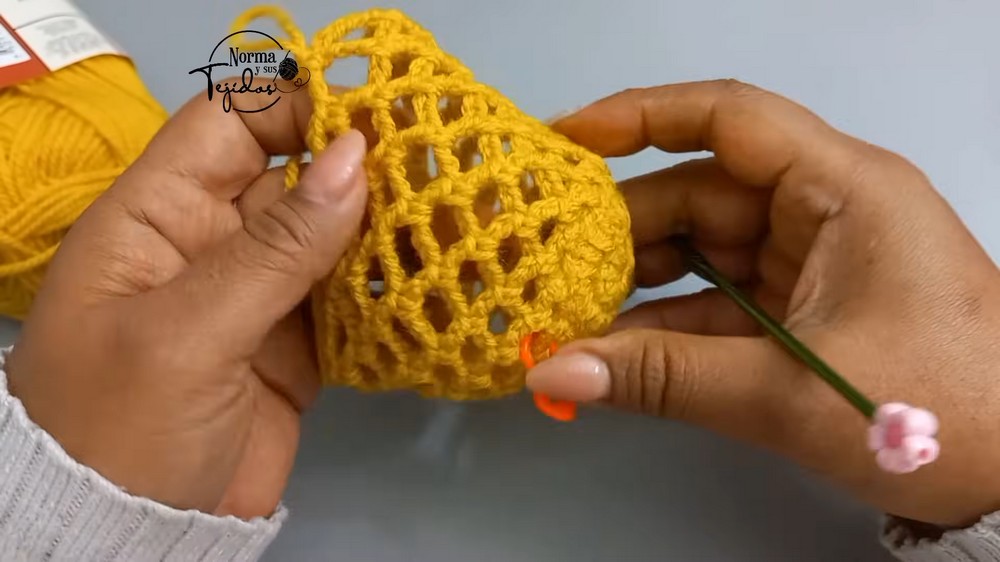
Step 4: Build the Body of the Bag
- Continue creating waves by chaining five chains per stitch, skipping a single space instead of two.
- Waves become more prominent as you alternate skipping one space.
- Work upward in spirals, ensuring the waves don’t close too tightly.
- Adjust chain length and wave size if necessary.
- Use stitch markers to keep track of the start and end points as you build height.
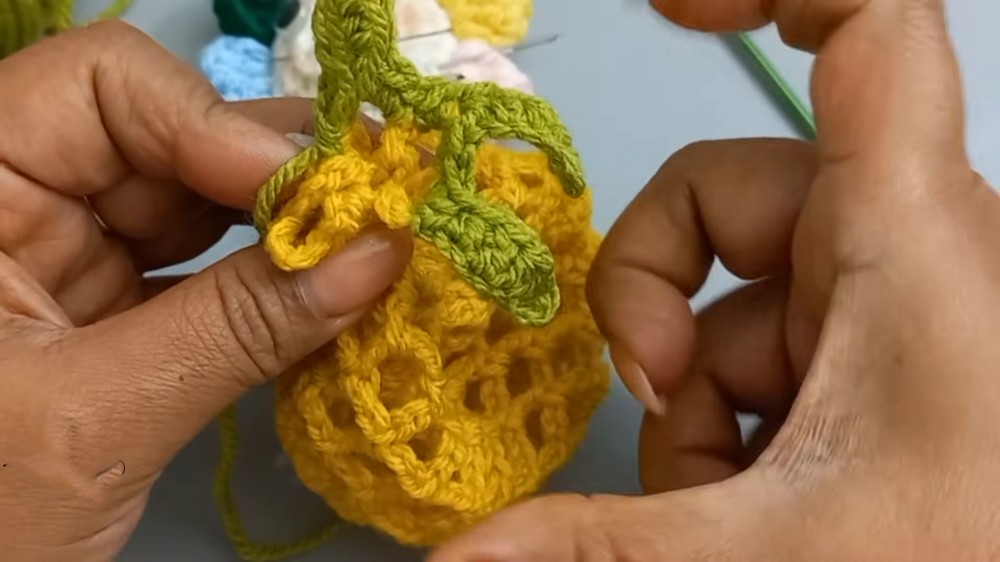
Step 5: Leaf Details Around the Edge
- Connect the green yarn at the bag’s top edge. Make sure to leave a long tail for weaving later.
- For each leaf:
- Chain five.
- Work back into the chain:
- First single crochet stitch.
- Second single crochet stitch.
- Half double crochet stitch.
- Double crochet stitch.
- Finish with a half double crochet to return height gradually.
- Connect back to the base with two single crochets.
- Repeat for each leaf around the bag.
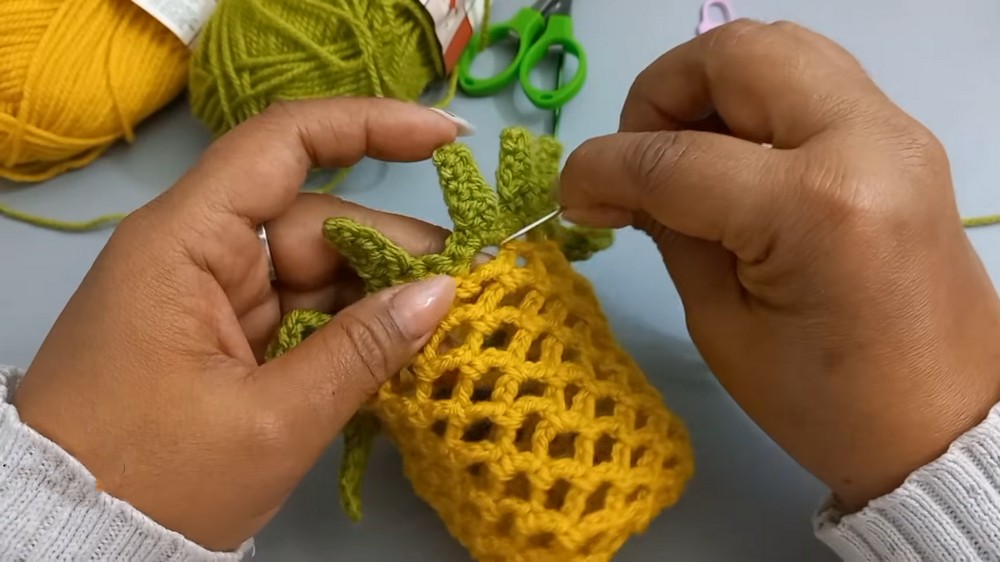
Step 6: Finishing Touches
- Cut excess yarn and weave in ends securely with a tapestry needle.
- Focus on hiding the green tail from the leaves discreetly.
- Add steam or light ironing to shape the leaves better:
- Apply light steam and use your hand to bend leaves downward.
- Alternatively, spray lightly with water and manually adjust.
- Apply light steam and use your hand to bend leaves downward.
Optional Closure:
- Create a Cord:
- Using the pumpkin yellow yarn, crochet 100 chains for the drawstring cord. For added strength, use double strands of yarn.
- Insert the cord:
- Use a tapestry needle to thread the cord through the top waves.
- Ensure the cord moves smoothly without snagging.
- Use a tapestry needle to thread the cord through the top waves.
- Add beads at the cord ends for functionality and decoration. Tie a knot below each bead.
Final Words:
Your crochet bag is complete! This piña inspired design is both functional and visually appealing, perfect for storing headphones, coins, wipes, or even as a small accessory pouch. The leaf detail gives it a tropical charm, while the spiraling waves create a sturdy yet elegant shape.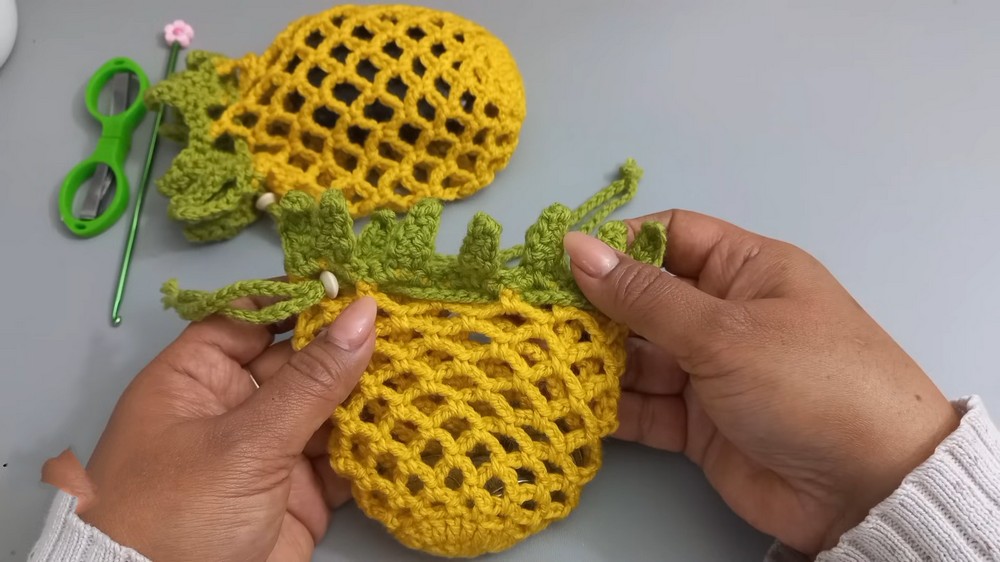
Tips for Maintaining the Pattern:
- Material Choice:
- Use durable yarn for items that will undergo heavy use.
- Consider adding a fabric lining for better support.
- Shaping:
- After washing, reshape manually for consistency.
- Regular steaming keeps the leaves neat and defined.
- Cord Adjustment:
- If the cord becomes loose, replace with a thicker yarn.
- Customization:
- Add extra rounds or embellishments for personal flair.