
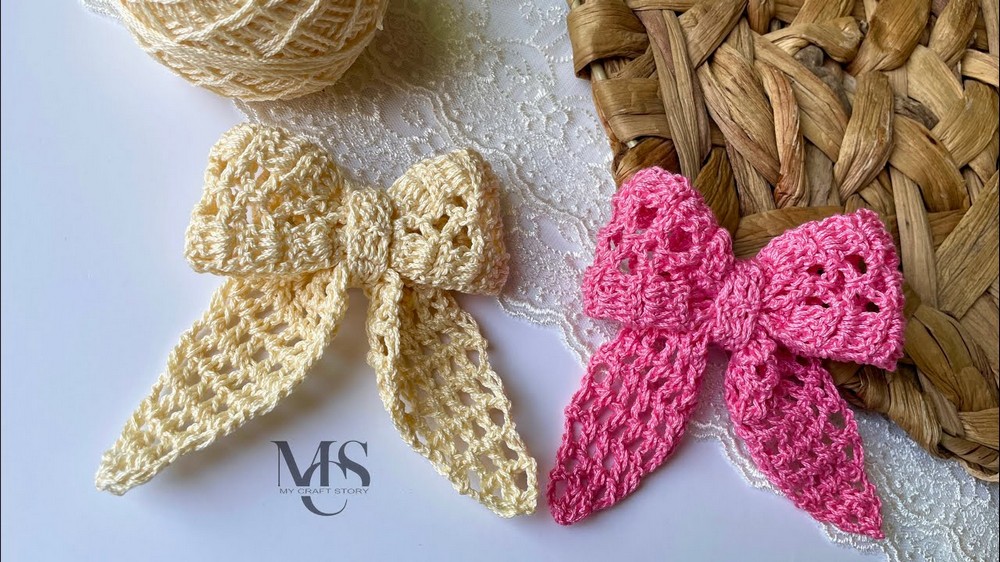
Cute Crochet Lace Bow Hair Clip Pattern For A Sweet Hair Upgrade
Enchant your style effortlessly with this delightful crochet lace bow hair clip pattern, perfect for adding a graceful, handmade touch to any look.
This delicate hair clip is a perfect mix of charm and elegance. Featuring a beautiful lace bow design, it adds a soft, feminine touch to any hairstyle. Its intricate lace patterns make it look lovely and graceful, catching the eye without being too flashy. Whether you’re dressing up for a special occasion or simply want to add a pretty detail to your everyday look, this clip is a great choice.

Quick Crochet Lace Bow Hair Clip Pattern That’s Super Cute
It is lightweight and comfortable to wear, holding hair gently without slipping. The versatile size fits easily on different hair types, from thick to fine strands, and works well for both children and adults. Not only does it brighten your hairstyle, but it also makes a sweet gift for friends and family who appreciate handmade style. This lace bow hair clip brings together beauty and function in a simple, charming way that anyone can enjoy.
Lazy Bow Hair Clip Crochet Pattern
Skill Level: Beginner
Materials:
Any yarn with suitable hook size (Here: Anchor Brand shade, 2 mm hook)
Special Features
- Uses common basic stitches: chain (ch), single crochet (sc), double crochet (dc)
- Composed of three parts: Bow body, tail, and strap
- Fast to make and highly customizable
- Suitable for hair clips or brooch attachments
- Lightweight and perfect for toddlers and adults
Step-by-Step Detailed Pattern
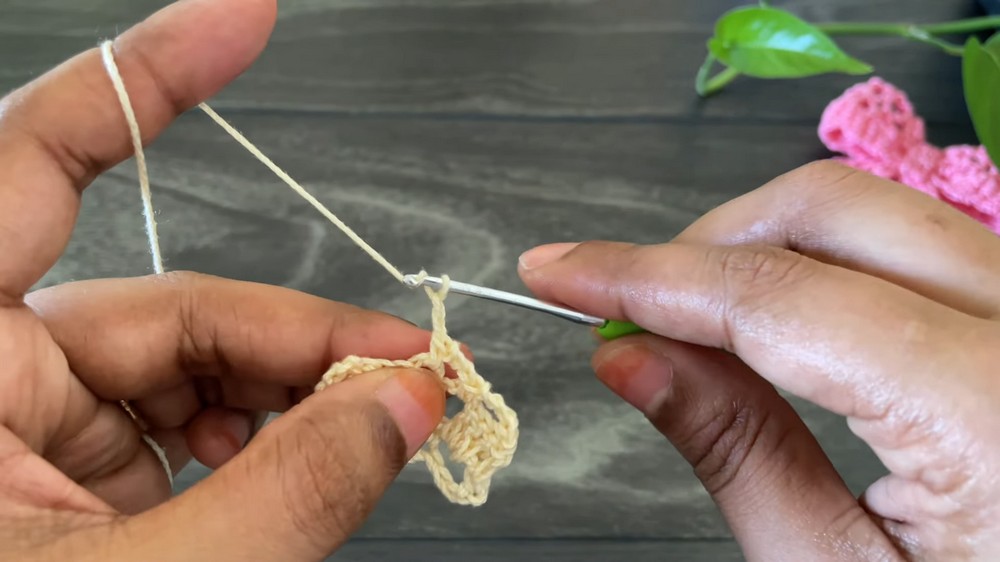
Step 1: Bow Body – Foundation Chain
- Make a slip knot.
- Chain 13. (You can adjust this number depending on the desired bow size.)
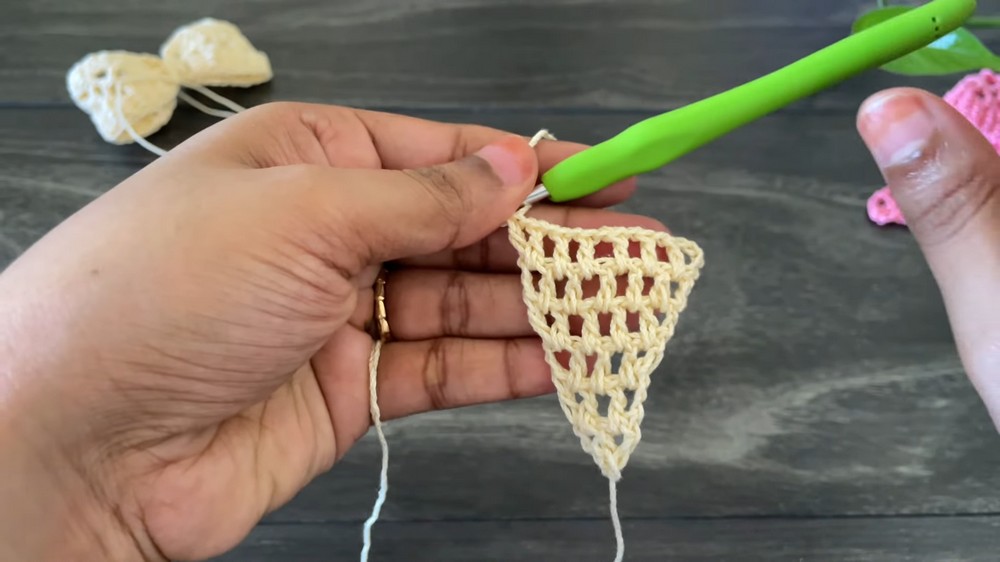
Step 2: Bow Body – Row 1 (Sc & Chain)
- Skip the first chain from the hook.
- Work 1 single crochet (sc) into the second chain.
- Chain 3.
- Skip 3 chains.
- Work 1 sc into the 4th chain.
- Repeat: Chain 3, skip 3 chains, 1 sc into 4th chain — three times total.
- End with 1 sc in the last chain.
- You should have the pattern: sc, ch3, sc, ch3, sc, ch3, sc, sc.
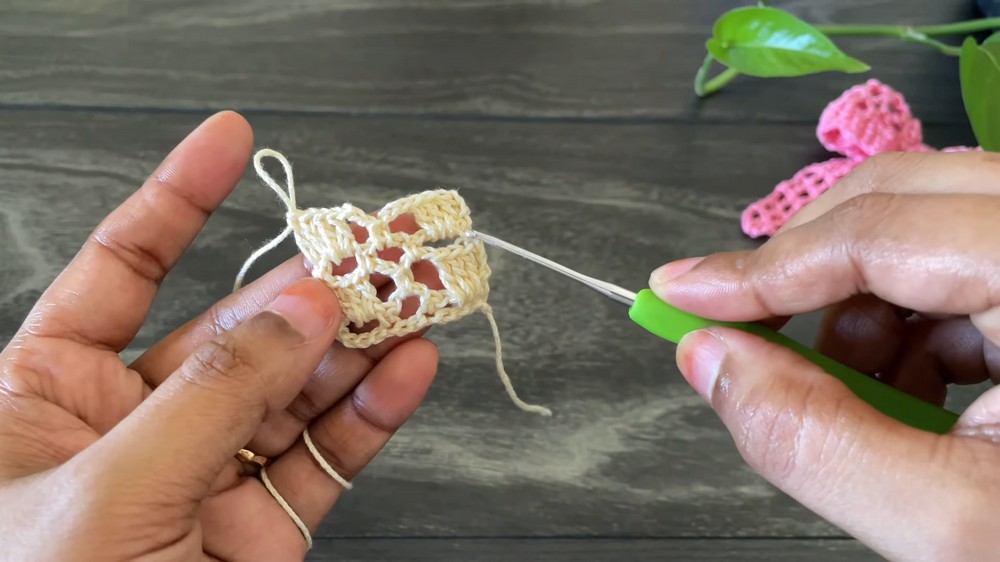
Step 3: Bow Body – Row 2 (Double Crochet Clusters)
- Chain 3 and turn (counts as 1 dc).
- Work 3 double crochets (dc) in the first chain-3 space.
- Chain 3.
- Work 1 sc in the next chain-3 space.
- Chain 3.
- Work 3 dc in the next chain-3 space.
- Work 1 dc in the top of the last sc from previous row.
Step 4: Bow Body – Row 3 (Single Crochet Rows)
- Turn work.
- Work 1 sc in the first chain space.
- Chain 3, skip next chain-3 space, 1 sc in next chain-3 space. Repeat twice.
- Chain 3,
- Work 1 sc in the top of the last dc of previous row (skip 3 dc).
- Work 1 sc in the chain-3 space after these 3 dc.
Step 5: Repeat Rows 2 & 3
- Continue alternating between the double crochet cluster row and the single crochet scallop row until you reach your desired bow length.
- Example length here is 13 sets of these two rows.

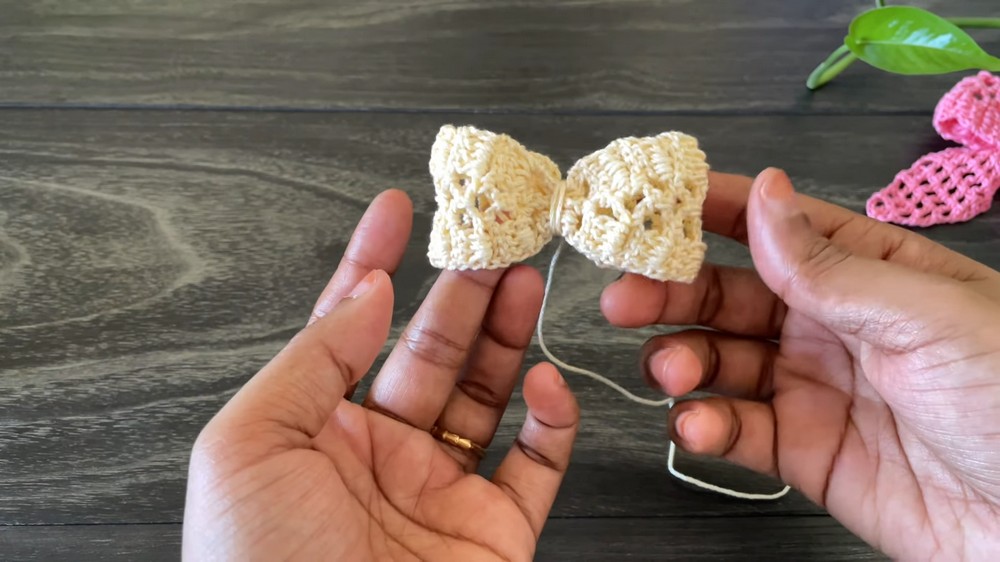
Step 6: Join Bow Ends
- On the last scallop row, start joining both ends of the bow by working single crochets and chain 1, then slip stitch and chain 2 on the opposite side, continuing this across to join until the two ends meet completely.
- Finish by chaining 1, leaving a tail to sew the bow.
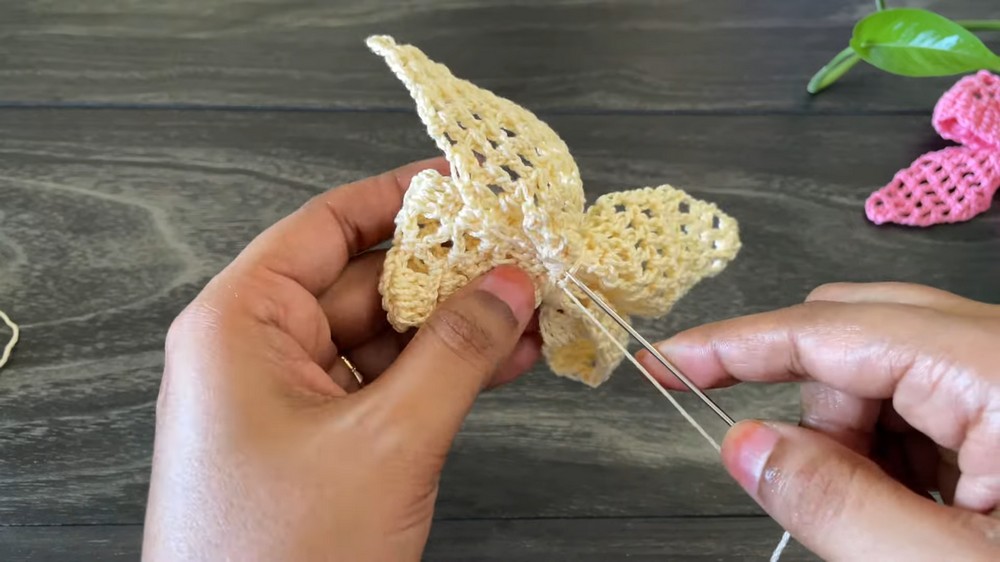
Step 7: Form Bow
- Pinch the jointed piece in the middle to form the bow shape.
- Use yarn and needle to sew through the middle tightly making the signature bow cinch.
Step 8: Tail Part – Foundation & Beginning
- Make a slip knot.
- Chain 5 (counts as first double crochet + chain 1 space).
- In the first chain space, work 1 double crochet (dc), chain 1, 1 dc in the same space.
Step 9: Tail Part – Next Rows
- Chain 4 (counts as 1 dc + ch 1), turn.
- Work 1 dc into each chain-1 space across, chaining 1 between each dc.
- Continue for a total of 6 rows increasing in length as shown, and then 8 more rows without increasing.
Step 10: Tail Part – Decreasing
- Chain 4, turn.
- Skip first chain-1 space, dc in next chain-1 space, chain 1, continue this pattern stopping one chain space before the end.
- Work decrease by skipping a chain-1 space at the end and working dc in the chain-4 space.
- Repeat until only 3 chain-1 spaces remain.

Step 11: Final Row Tail
- Work 3 double crochets together (dc3tog) into last 3 chain spaces to finish tail.
- Chain 1 and fasten off.
Step 12: Join Tail to Bow
- Gather middle of the bow and wrap the tail in the center.
- Sew the tail securely onto the bow by stitching through center all sides firmly.
Step 13: Strap to Hide Bow Center & Attach Clip
- Make a slip knot and chain 5.
- Skip 3 chain spaces, dc in 4th chain.
- Work 3 dc in total across row.
- Next row: turn, work a special alternative turning chain consisting of 1 single crochet in the first chain space (working into the 2nd loop of the sc), then 2 dc in remaining chain spaces.

- Repeat the last row until you get 7 rows total.
- Fasten off with a long tail for sewing.
Step 14: Attach Bow Clip
- Glue the hair clip to the back center of the bow.
- Place the strap over the glued area and sew the strap tightly to the bow, wrapping it snugly to hide join and secure the clip.

Tutor's Suggestions
- Use stitch markers to keep track of rows if needed.
- Adjust chain length and number of rows to customize bow size for toddlers or adults.
- For a sturdier clip, consider adding interfacing or stiff yarn.
- Glue clip and then sew strap to ensure strong, lasting attachment.
Tip
Keep your tension even throughout rows; a tight tension for the middle strap ensures the bow keeps its shape and the clip stays securely fastened.
Conclusion
You've just crocheted a lovely Lazy Bow Hair Clip that's great as a gift or for personal use! Customize it with your favorite yarn colors and enjoy adding a handmade flair to your hairstyles.