
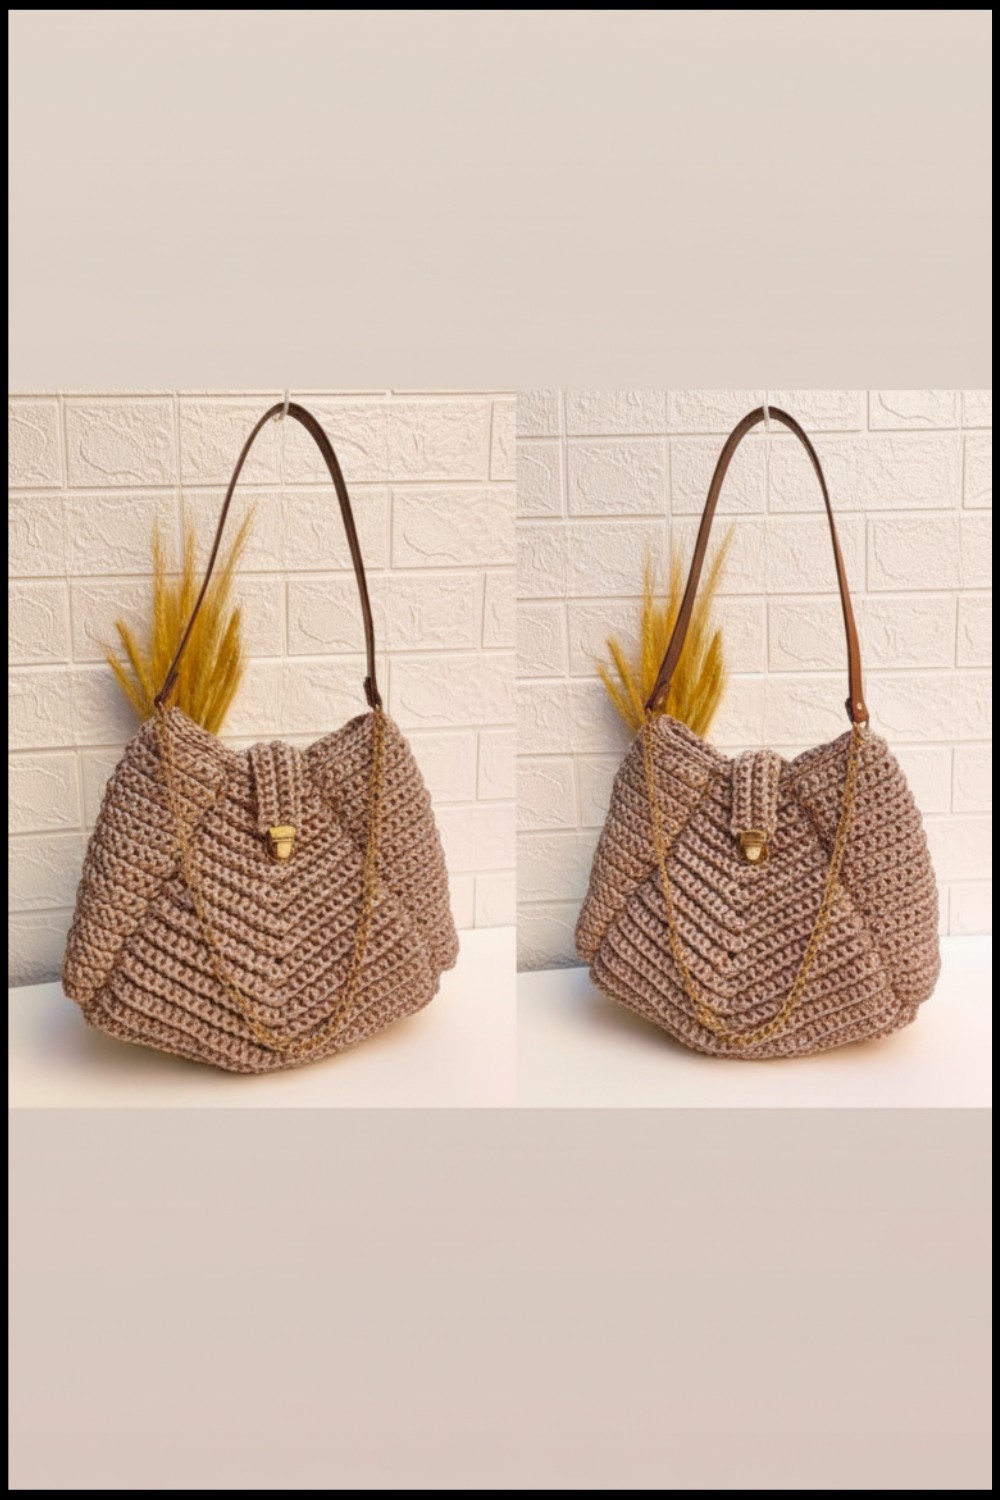
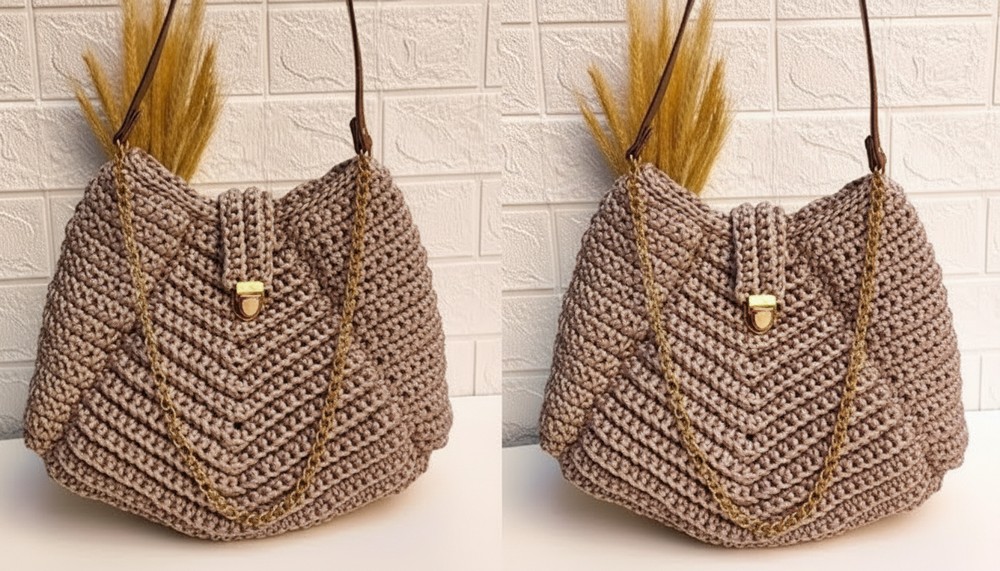
Free Crochet Bag Pattern For Market Totes
Create stylish and practical accessories with a free crochet bag pattern that’s perfect for adding a handmade touch to your everyday essentials.
Making a handmade bag with yarn is a fun and creative activity that anyone can enjoy. This simple pattern lets you create a lovely bag that can hold your toys, books, or snacks. With small changes, the same pattern can be used to make a purse, a beach bag, or even a gift bag that looks extra special.
Trendy Free Crochet Bag Pattern to Try
The bag has a charming and friendly look. It can be made in many different colors, from bright and bold to soft and gentle shades. The size of the bag is easy to adjust by choosing thicker or thinner yarn or using a bigger or smaller hook. When finished, the bag measures around 10 to 12 inches wide, perfect for daily use. Its shape is strong and roomy, making it great for carrying many things while staying soft and cozy.
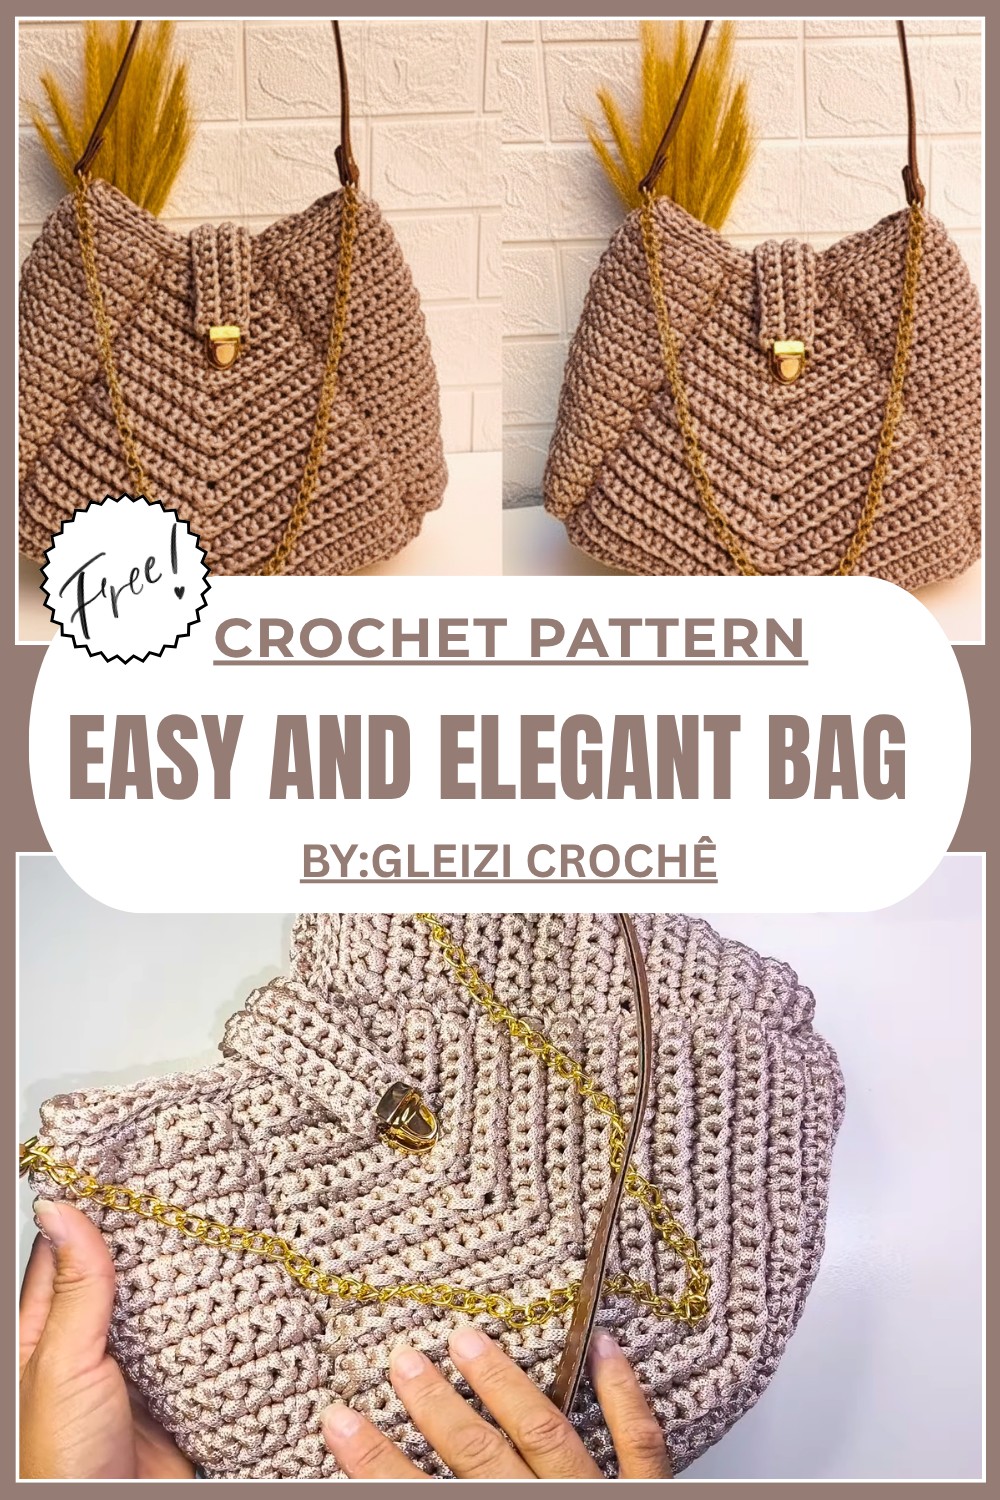
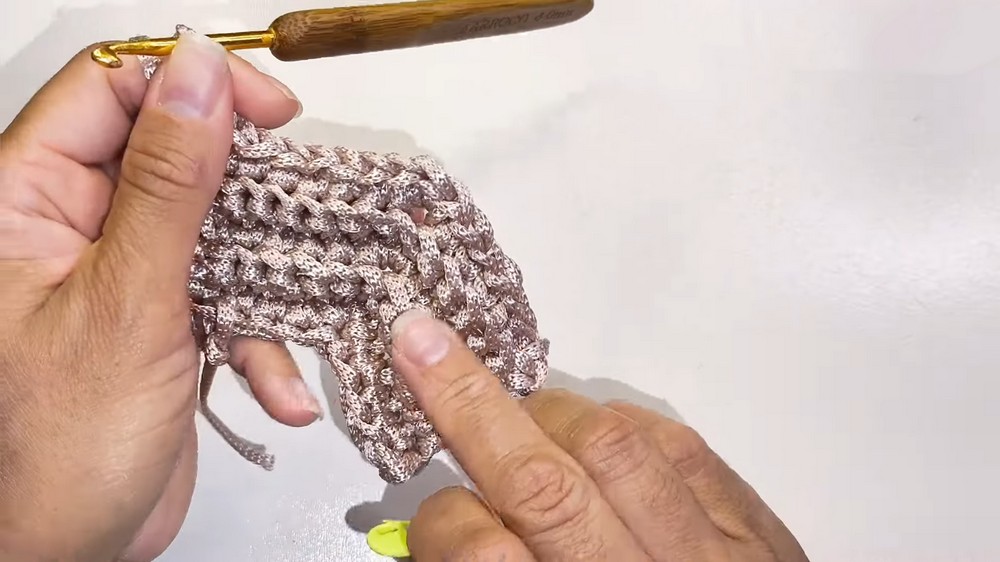
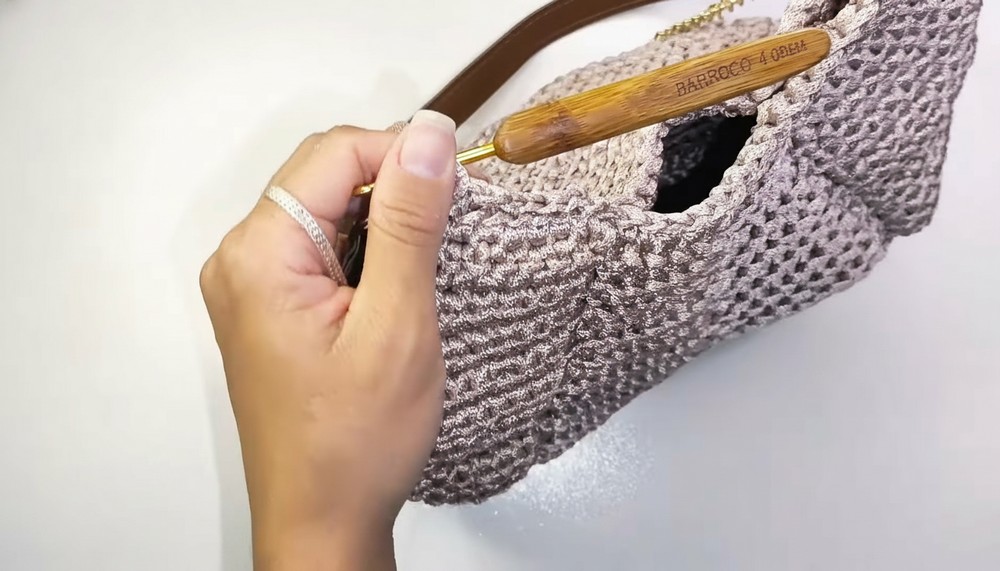
The main stitch used to make this bag is the single crochet stitch, which is very easy and fun to learn. Sometimes, a shell stitch is added for decoration, giving the bag a unique and pretty texture. The recommended tools include a crochet hook and medium-weight (worsted) yarn. These materials help the bag keep its shape and look neat when finished.
This project works well for beginners and kids, offering a chance to create a useful and beautiful handmade bag. It also makes a thoughtful gift or a special item to keep and use every day. A colorful, soft, and sturdy bag created from this pattern will bring joy and pride to anyone who makes it. Enjoy making something wonderful and bright that fits your style perfectly!
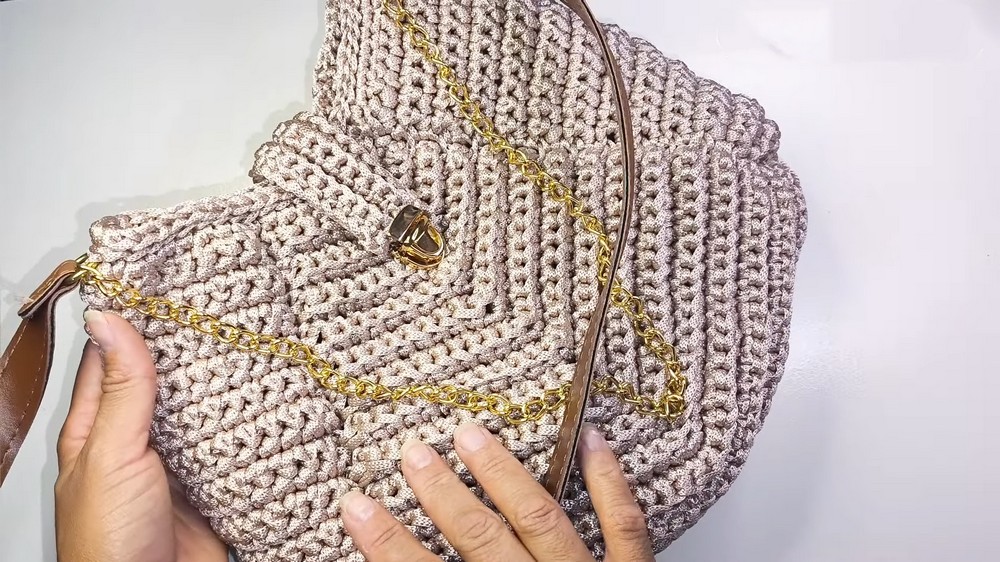
Free Crochet Rectangular Purse Pttern
Before You Start
- This pattern creates a sturdy, spacious rectangular bag with side panels and a practical closure tab.
- All steps are beginner-friendly and customizable for your ideal size.
- Main techniques are single crochet rows, worked flat, and simple decreases/increases.
- Handles and closure can be adjusted to your preference or with available bag hardware.
Pattern Notes
- All rows are worked in single crochet (sc), crocheted through the back loop only (BLO) for texture and strength.
- The pattern starts from the bag base, with increases at each end and three stitches at the corners for gentle shaping.
- The side panels are made separately and then seamed to the base panel.
- Decreases at top and bottom of side panels create a gentle curve for a tailored finish.
- Finished dimensions and strap style are easily adjusted by changing initial chains or row counts.
- Every “career” is a row.
How I Made the Crochet Pattern (Summary)
- Started with a small central chain, then worked back and forth for the base, increasing at corners.
- Alternated between increase and plain rows until achieving width, then straight rows for depth.
- Shaped the top and bottom edges of the side panels via paired decreases.
- Sewed the sides to the base, turned the bag, and created the top edge and handle attachments.
- Completed with a small tab for a snap or decorative button clasp.
Skill Level
- Beginner to Advanced Beginner
- Knowledge of the single crochet stitch, basic increases/decreases, and basic seaming.
Finished Size
- Sample size: 32 cm width x 22 cm height (excluding handle).
- Fully customizable: add chains for width, rows for height or depth.
Materials
- 5 mm crochet yarn (or yarn of similar thickness; adjust hook as needed for your yarn weight).
- 4 mm crochet hook (or adjust size to fit gauge/yarn).
- Tapestry needle for sewing parts together and weaving ends.
- Scissors & lighter for finishing yarn ends.
- Stitch markers (optional, for increases and corners).
- Ready-made or self-crocheted bag handles or rings (as preferred).
- Magnetic or traditional snap/button for closure.
Measurements / Sizing (Schematic)
- Bag base: Rectangle, the long sides are the opening, the short are the bag depth.
- Side panels: Match bag side height; width governs the bag’s depth.
- Tab: Enough length for fold-over from one edge to about the middle of the bag.
Gauge
- Not critical; sample: approx. 16 sts = 10 cm in sc through BLO.
Stitch Abbreviations
- ch – chain
- sc – single crochet
- sl st – slip stitch
- BLO – back loop only
- inc – increase (2 sc in same st)
- dec – decrease (sc2tog)
- st(s) – stitch(es)
- [ ] – repeat sequence in brackets
Special Stitches
- Single Crochet Decrease (sc2tog): Insert hook in next st, yarn over, pull up loop, insert in following st, yarn over, pull up loop, yarn over, pull through all 3 loops.
- Three-Sc Decrease (sc3tog): Insert hook in each of 3 consecutive sts, pulling up one loop at each (do not yarn over between), then yarn over and pull through all 4 loops.
THE PATTERN
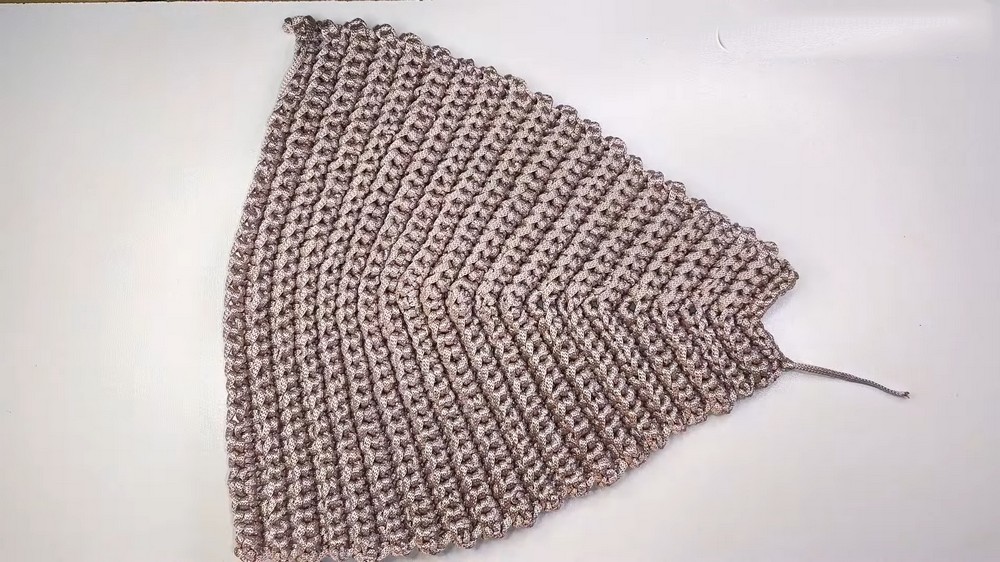
Bag Base (Main Panel)
Foundation:
- With 4 mm hook, ch 10.
Row 1:
- Starting in second ch from hook, work 4 sc.
- In next ch (corner): work 3 sc (place marker in 2nd of 3 if desired—this is your “turn”).
- Work 4 sc to end. (Total: 11 sts)
Row 2 (no inc):
- Ch 1, turn. Sc in BLO in each st across. (11 sts)

Row 3:
- Ch 1, turn. Sc BLO in first 5 sts, 3 sc in marked st, sc BLO in last 5 sts. (13 sts)
Row 4:
- Ch 1, turn. Sc BLO in each st (13 sts).
Row 5:
- Ch 1, turn. Sc BLO in first 6, 3 sc in center, sc BLO in last 6 sts. (15 sts)
Continue:
- Alternate increase rows (each time adding more sc before and after the 3-sc corner group) and plain rows.
- Always work “3 sc in one st” at the center for increases.

- Work increases and non-increases alternately until you have 25 rows and 37 sts across (last increase: sc 17, 3 sc in center, sc 17).
Bag depth:
- Work 15 more rows with no increases (plain sc BLO rows).
If you do not read patterns:
Start with a small chain, do single crochets back and forth, increasing by 2 every other row at the “corners” for a long time. Then make 15 rows normal without increasing for sides.
Top Shaping (Decreases)
Decrease Row 1:
- Ch 1, turn, sc BLO in first 17 sts, sc3tog across next 3 sts, sc BLO in last 17 sts (total: 35 sts).
Next Row:
- Ch 1, turn, work even (no decrease).
Continue:
- Alternate decrease row (sc N, sc3tog, sc N) and even row, reducing “N” by 1 each time (from 17 down to 4).
- Continue until you have 9 sts (4 + 1 center + 4).
- Fasten off, weave the ends.
Summary for non-pattern readers:
On each alternate row, start and finish the row with fewer regular stitches, then decrease 3 stitches together in the middle. Repeat until only 9 stitches are left.
Side Panels (Make 2)
Foundation:
- Ch 20.
Row 1:
- Starting in second ch from hook, sc in BLO in each st (19 sts).
Rows 2–24:
- Ch 1, turn, sc BLO across (19 sts per row).
- At end of final row, do not fasten off.
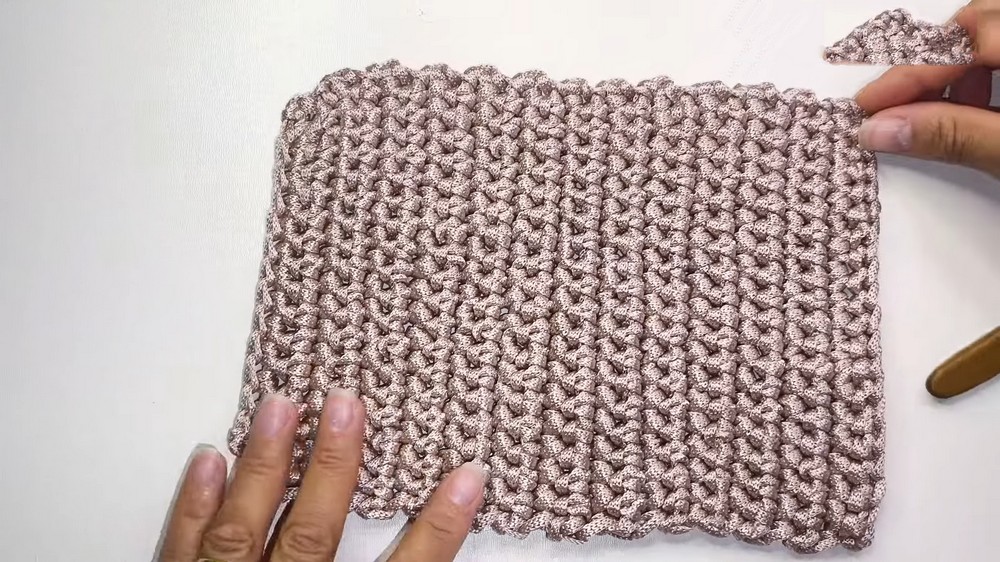
Decreases: (top and bottom shaping)
- Ch 1, turn.
- Work dec over first 2 sts, sc across to last 2, dec, (17 sts).
- Next row: sc BLO in each st.
- Repeat the paired dec row & even row, until you have 13 sts remaining.
- Fasten off and make a second side panel.
In plain language:
Make two rectangles. Along two edges, decrease the first and last few stitches until the piece narrows (like gently slanting ends).
Closure Tab
With 4mm hook:
- Ch 15.
- Starting in second ch from hook, sc BLO across (14 sts).
- Work 4 rows total in sc BLO (or as wide as desired).
- Fasten off, weave in end.
If you don’t usually follow written instructions:
Make a long rectangle for the base. Add straight rows, then narrow each end for the slanted top/bottom. Make two rectangles for sides and shape their ends. Sew everything together, add a short strap for a snap, and decorate as preferred.
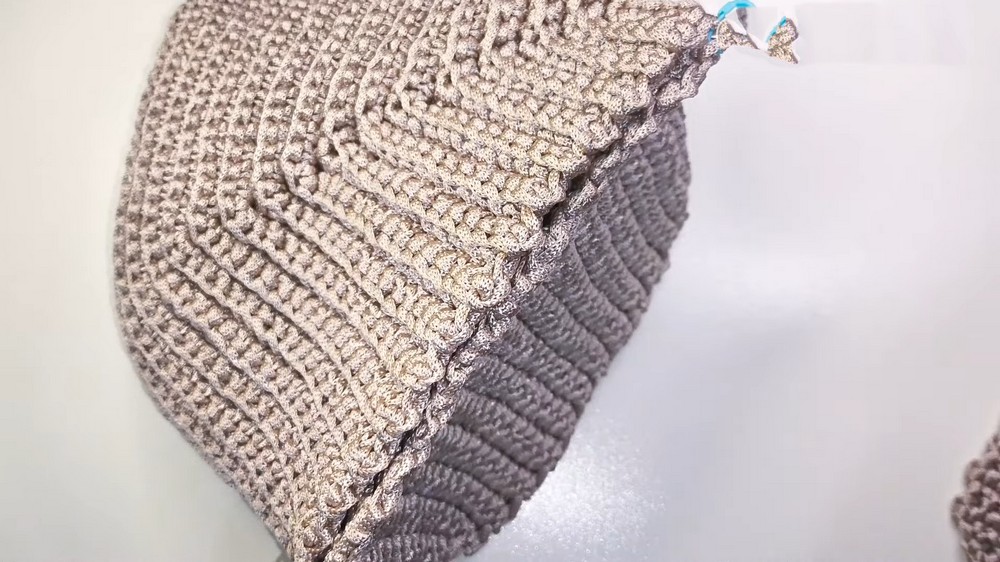
Assembly & Finishing
- Sew sides to main panel with right sides together, using a tapestry needle and mattress stitch (or whipstitch through outer loops only).
- Hide all yarn ends inside the bag, burning the tip with caution for added security.
- Turn bag right side out after sewing.
- With chosen yarn, sc evenly around the opening, inserting handle hardware at desired points.
- Secure handles by crocheting sc around/through the rings for several stitches.
- Work a round of sl st around the top edge for a neat finish.
- Attach tab to the inside-center of bag opening and sew on magnetic snap or button/closure as preferred.
- Weave in all remaining ends.
Solution of problem
Problem: Bag edge rolling/curling or sides not sitting flat
Solution: Steam-block panels before assembly, and do a final sl st row around the top for stability.
What you can make by using these stitches
- Simple rectangular bags/purses with different sizes
- Tablet/laptop sleeves
- Flat pouches or zippered cases
- Cushions or home décor accessories
Congratulations! You’ve made a beautiful, sturdy bag—perfect for everyday use, gifting, or as a learning project. Adjust the size, colors, or add embellishments as you wish. If you have any questions, leave a comment or try different handle/button combinations for a unique finish. Enjoy your new handmade accessory!