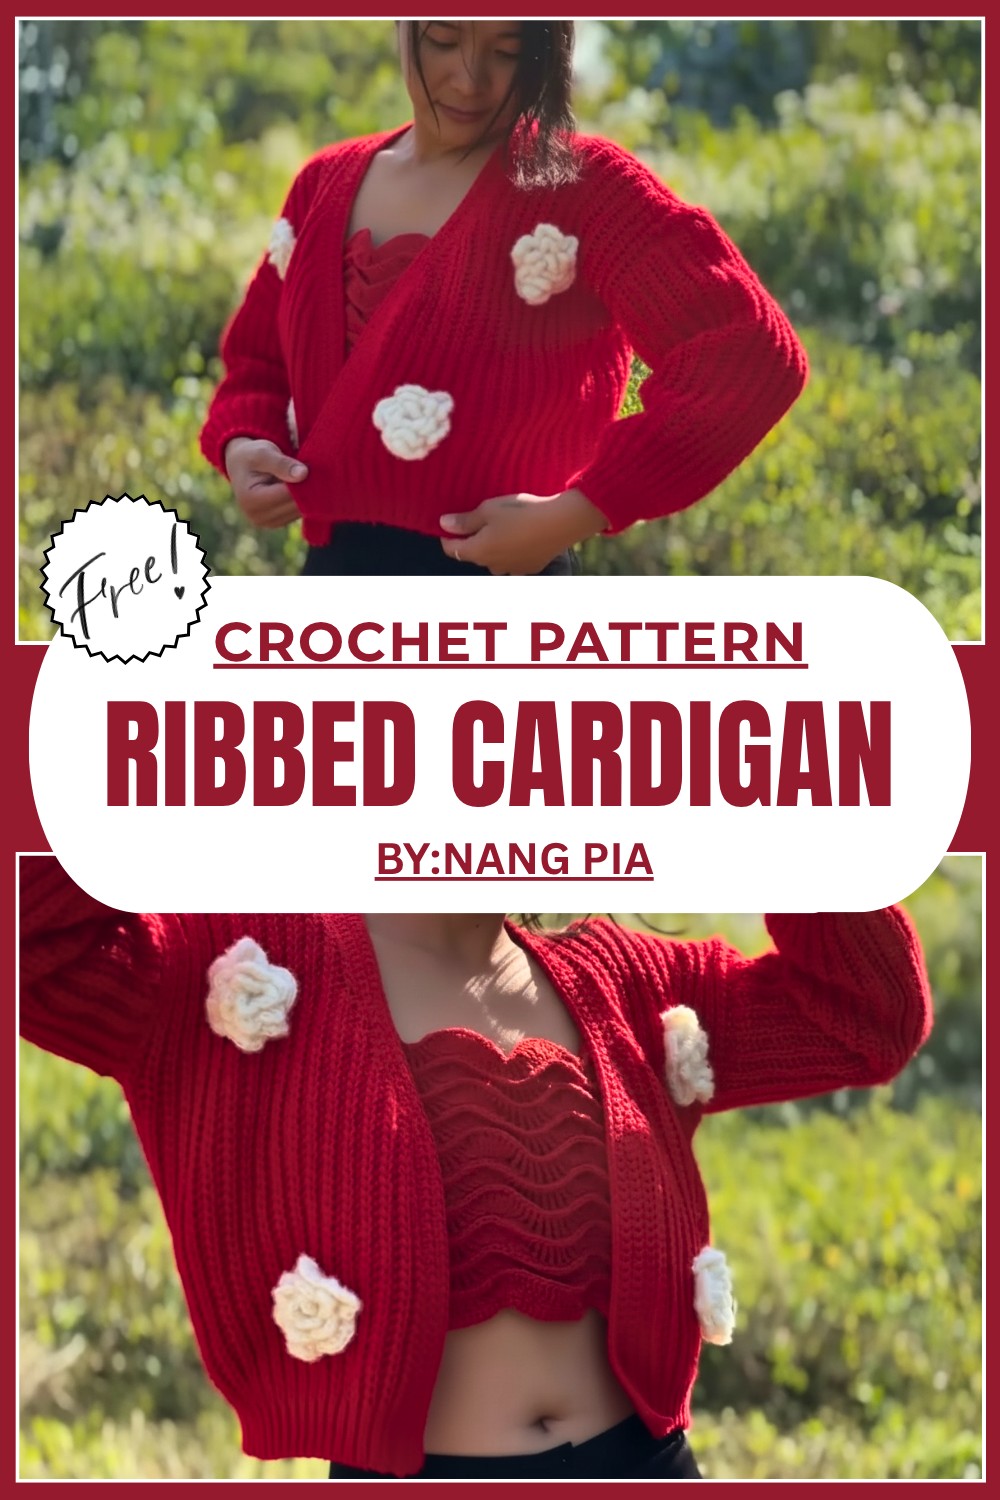
Outstanding Free Crochet Ribbed Cardigan Pattern For A Stylish Wardrobe
Layer up in style with this cozy crochet ribbed cardigan and enjoy making your own trendy and comfortable outfit with this simple and free guide.
Cheerful Free Crochet Ribbed Cardigan Pattern That’s Fun to Wear
Looking for something cozy, stylish, and oh so fun to make? This free crochet ribbed cardigan pattern is just what you need. Imagine wrapping yourself in a soft, snug cardigan that you stitched with love—all while learning a super simple and beginner friendly design.
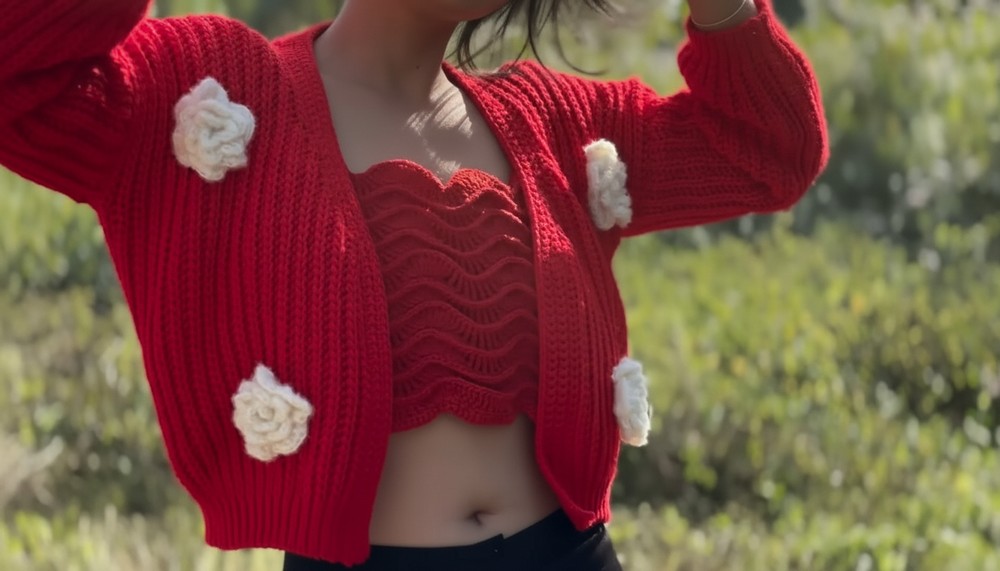
The ribbed texture gives it a trendy, modern vibe, while the lightweight yet warm feel makes it perfect for any season. You can make it in any size and color, so it’s totally unique to you. The pattern is super easy to follow, using basic stitches that even first timers can master.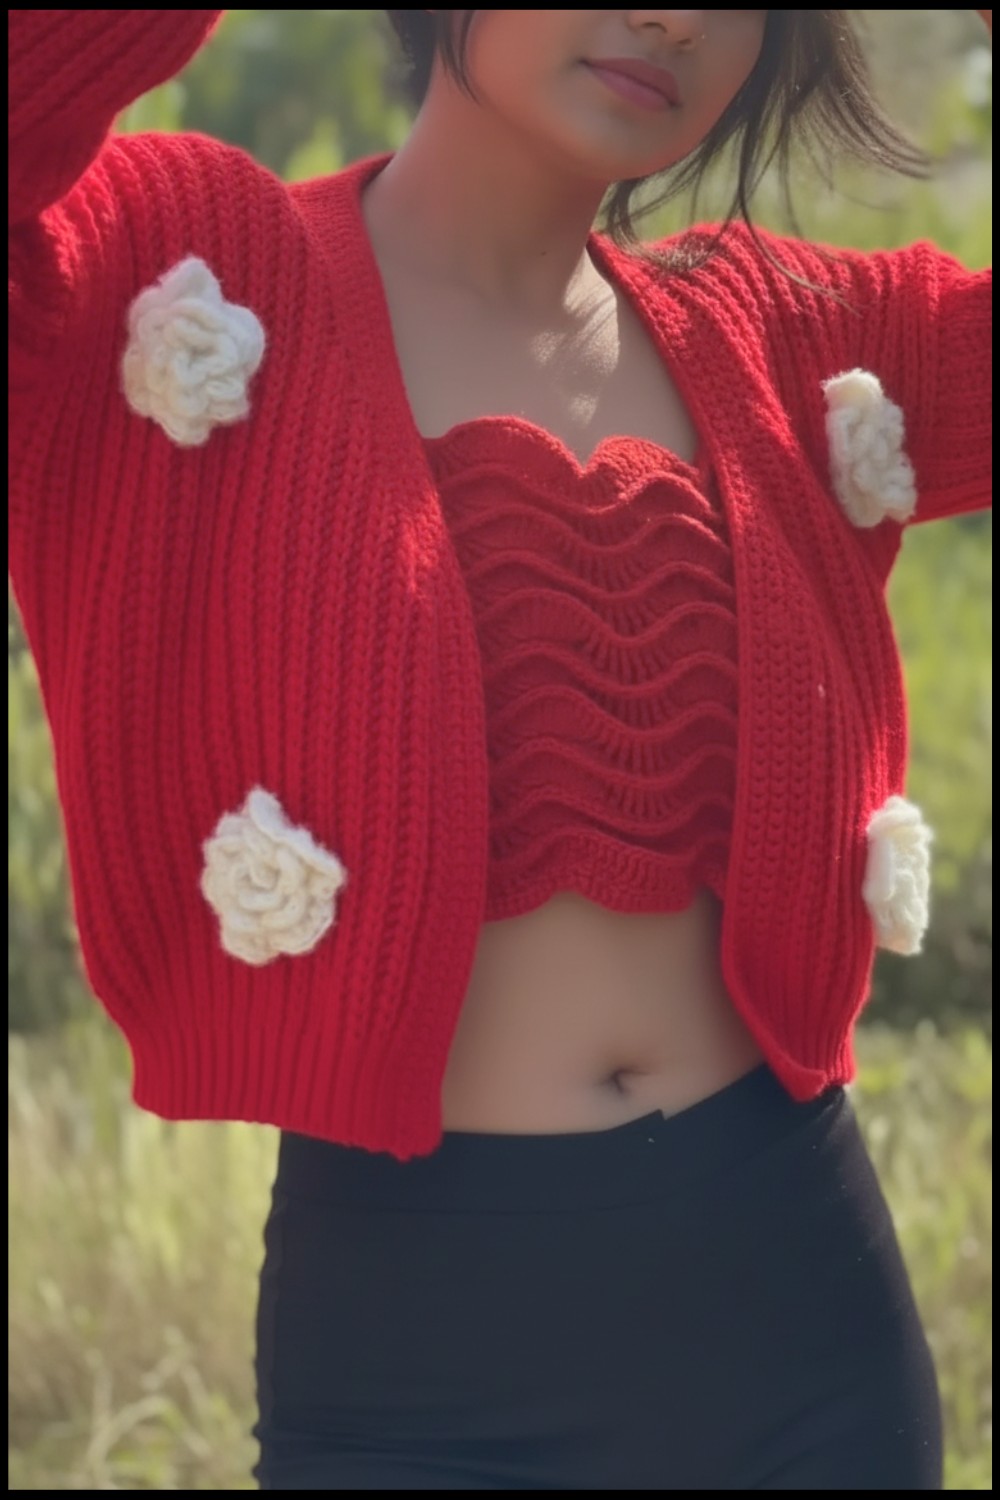
Whether you’re lounging at home or heading out, this cardigan is your new go to. So ready to wow everyone with your crochet skills and create something you’ll be proud to wear or gift.
Crochet Ribbed Cardigan Pattern
Materials Required
- Yarn: 100% acrylic medium weight (Category 4).
- Hooks:
- 4.5mm crochet hook (H hook) for intricate sections (foundation chain and edges).
- 6mm crochet hook for the main body of the cardigan.
- Additional Tools:
- Stitch markers (to mark key points, especially for beginners).
- Yarn needle (for weaving in yarn ends after finishing).
- Scissors.
Special Technique Used
- Foundation Chain: Used for the base length of the cardigan.
- Half Double Crochet Slip Stitch: A special stitch combining the elegance of slip stitch and the depth of half double crochet. This adds texture and stability to the cardigan.
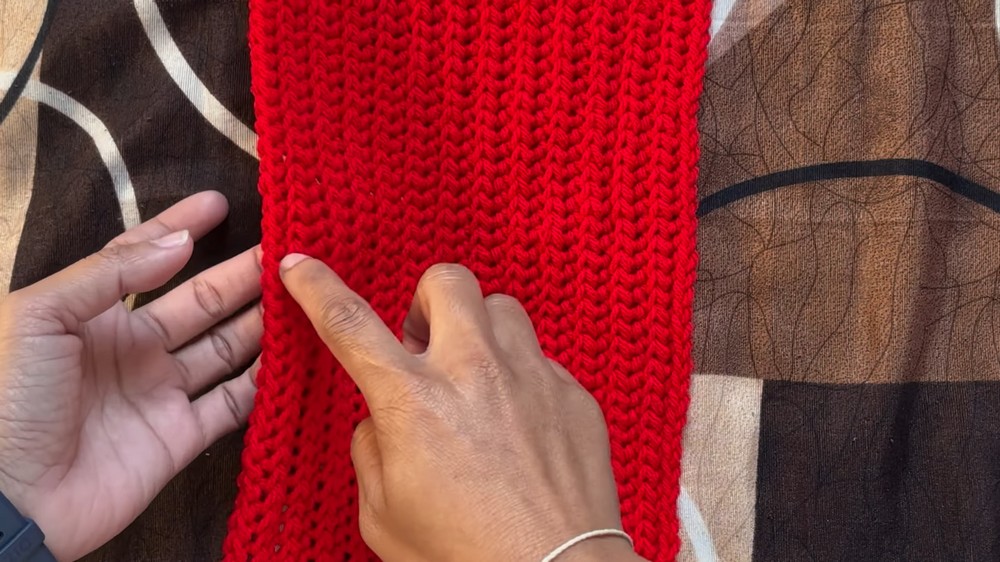
- Back Loop Only Slip Stitch: Creates a ribbed and subtle design.
- Decreasing Stitches: To shape the front panels and sleeves for a snug fit.
Pattern Instructions
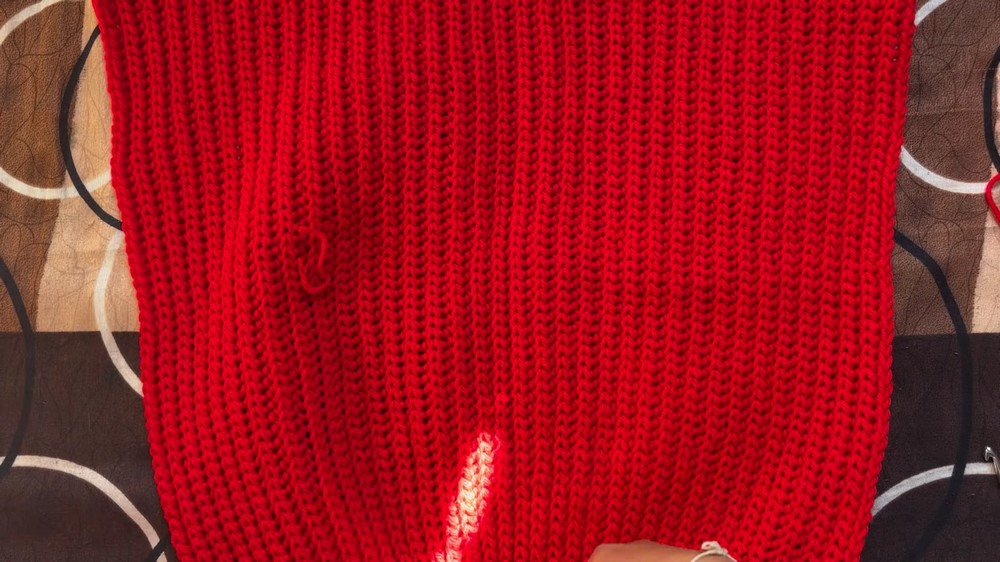
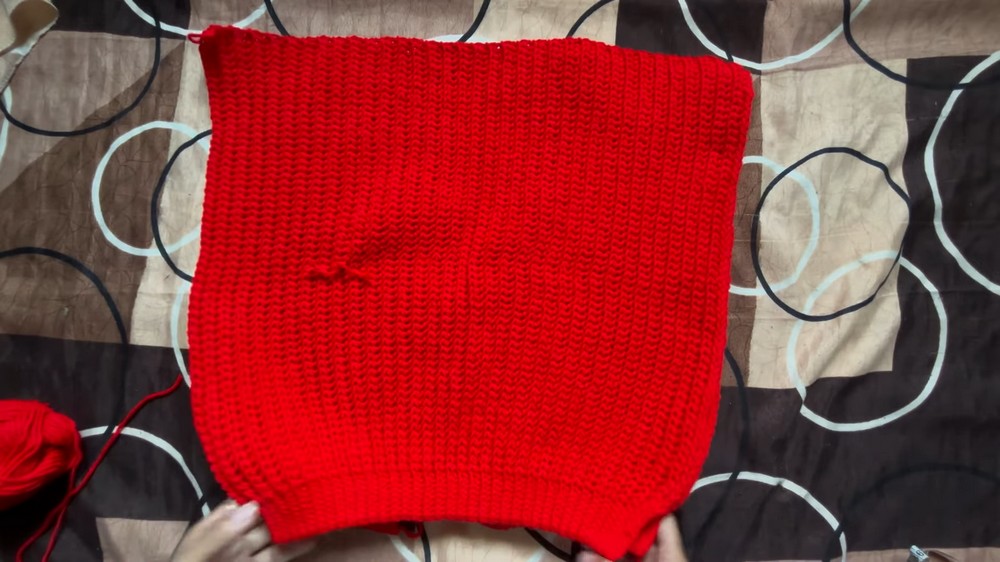
1. Back Panel
The back panel is worked in rows along the length of the cardigan.
Step 1: Create the foundation chain for your back panel based on your desired length. For this example:
- Chain 70 using the 4.5mm hook for the first 8 chains.
- Switch to the 6mm hook and continue chaining until the desired length (add or reduce chains depending on your size).
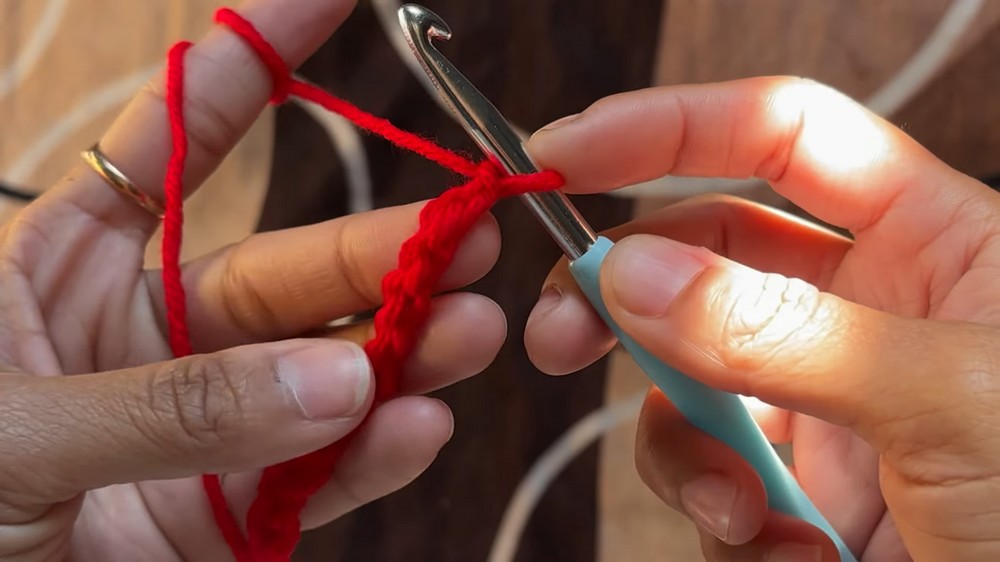
Step 2: Begin the body of the back panel:
- Yarn over and insert the hook into the back loop of the second chain from your hook.
- Follow the half double crochet slip stitch pattern:
- Yarn over.
- Pull through to create three loops on the hook.
- Yarn over again and slip through all three loops.
- Repeat this across the row until eight stitches are left.
Step 3: Switch back to the 4.5mm hook for the last 8 stitches and work regular slip stitches.
Step 4: Turn your work and repeat the following for 70 rows:
- Work half double crochet slip stitch in the back loop until 8 stitches remain.
- Work slip stitch in the back loop only for the final stitches.
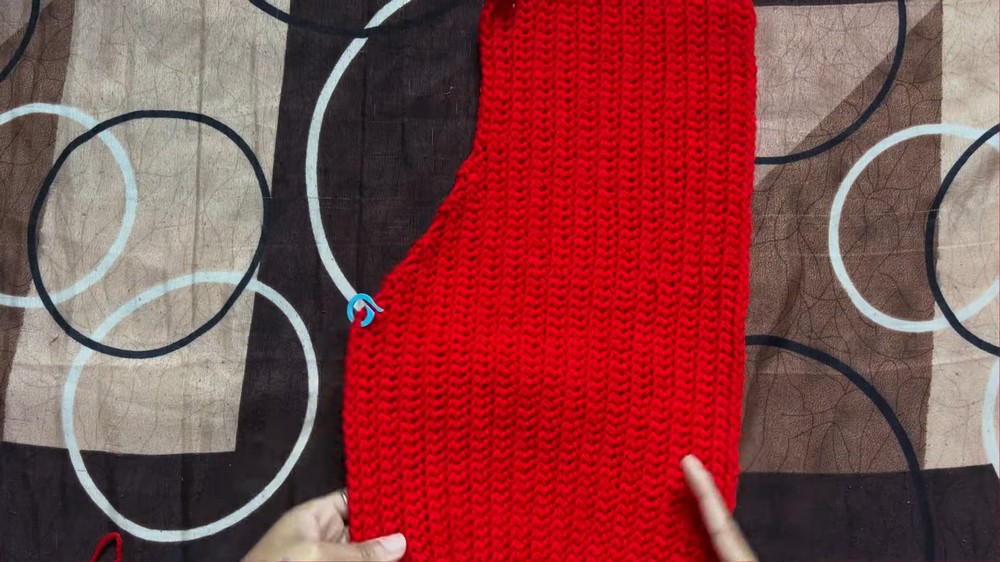
2. Front Panels
The cardigan has two front panels, each consisting of 35 rows before decreasing begins.
Step 1: Start with the foundation chain for one panel. For this example:
- Chain 70 for size (split evenly for two panels: 35 rows each).
Step 2: Follow the same stitch pattern used in the back panel (half double crochet slip stitch + slip stitch) until you complete 35 rows for one panel.
Step 3: Begin decreasing rows:
- Mark eight stitches for slip stitches (use stitch markers for clarity).
- Work half double crochet slip stitch as usual but skip the first or last few stitches to shape the panel gradually.
- Repeat decreasing stitches until you complete row 35.
Step 4: Create the second front panel using the same method. Ensure symmetry when joining both panels.
3. Sleeves
Step 1: Create a foundation chain for the sleeves:
- Chain 55 for your sleeves (adjust length depending on arm size).
Step 2: Work rows exactly the same way as the back and front panels using the half double crochet slip stitch.
Step 3: Make two identical sleeves. Once completed, set them aside for assembly.
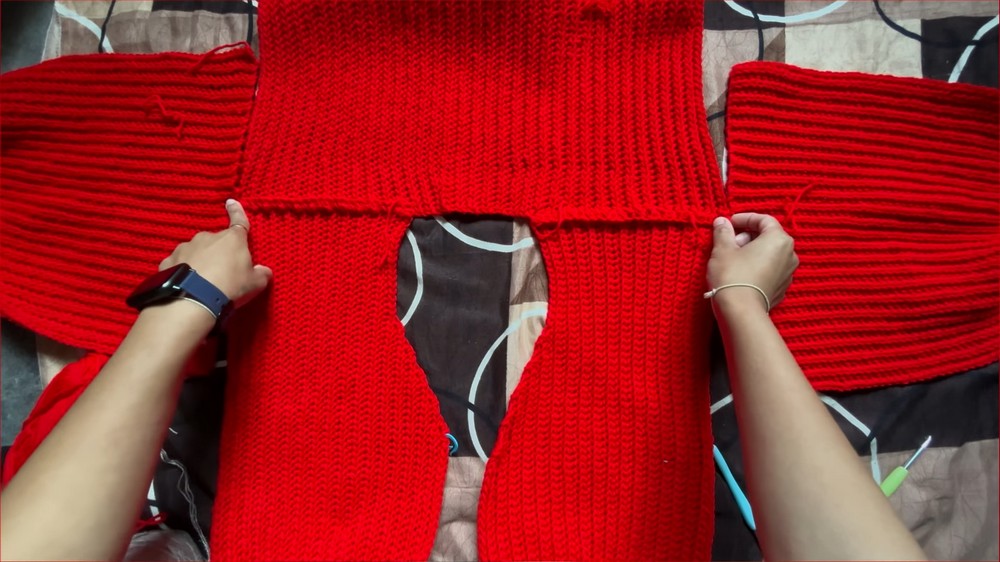
Assembly
Joining the Panels
Step 1: Take the back panel and line it up with both front panels. Use stitch markers to align the shoulder and side seams properly.
Step 2: Count 25 rows on the back panel from the bottom and mark with stitch markers. Match these with the corresponding rows on the front panel for consistency.
Step 3: Use single crochet to join the panels.
- Starting at one corner, work single crochet through the loops of both panels.
- Continue stitching until the front and back panels are securely attached.
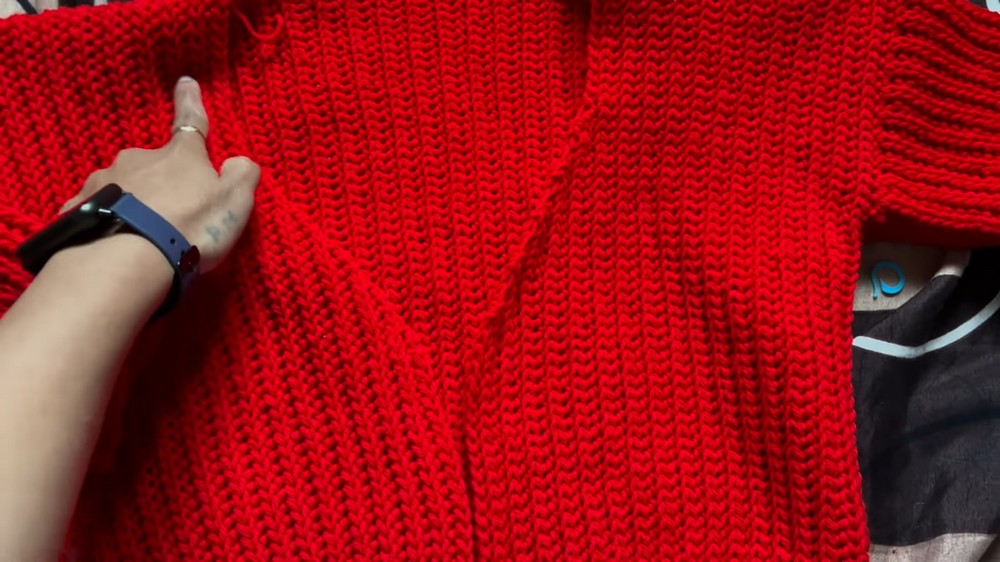
Attaching Sleeves
Step 1: Find the center of each sleeve using stitch markers. Line up the center point with the shoulder seam of the joined panels.
Step 2: Attach the sleeve to the armhole using single crochet.
- Again, work through the loops of both pieces.
- Ensure smooth seams without any gaps.
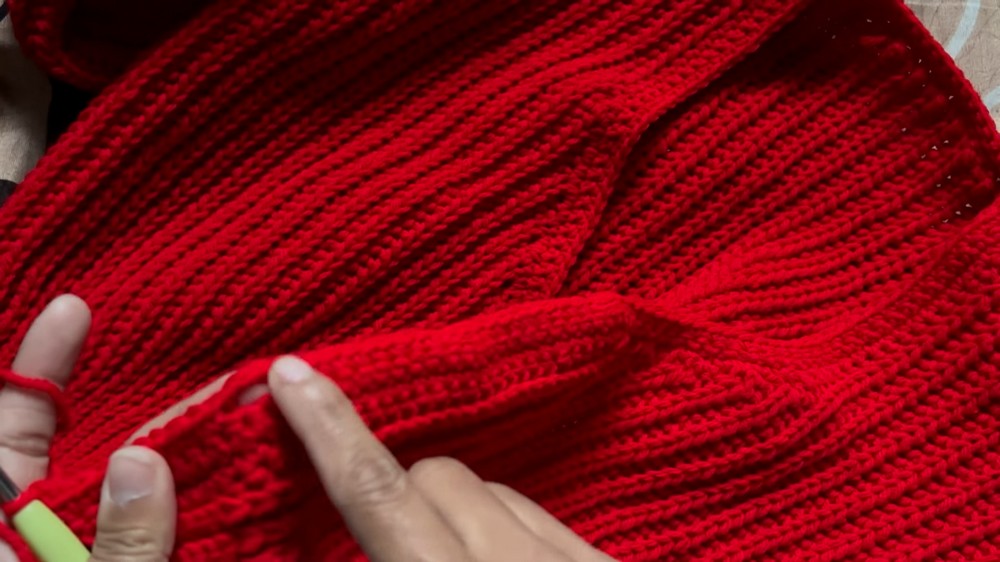
Ribbing Edges
Step 1: Bottom Ribbing
- Attach yarn to the bottom corners of the cardigan with 4.5mm hook.
- Work single crochet evenly across the bottom edge.
- Add two single crochet stitches at corner points for a smoother finish.
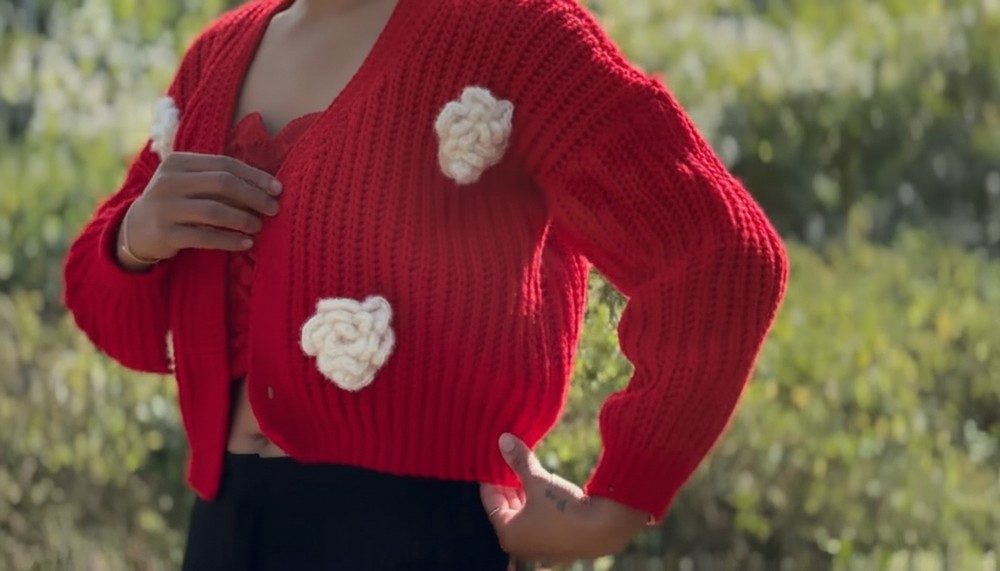
Step 2: Buttonholes on Ribbing
- To create buttonholes:
- Chain 2 where you want the buttonhole and skip 2 stitches below.
- Continue single crochet across the row.
- Repeat this process for multiple rows to establish ribbing.
Step 3: Finishing Buttonholes
- On subsequent rows, crochet into chain spaces to secure buttonholes.
Finishing and Final Touches
- Weave in all loose ends.
Use a yarn needle to hide remaining threads for a clean finish. - Blocking:
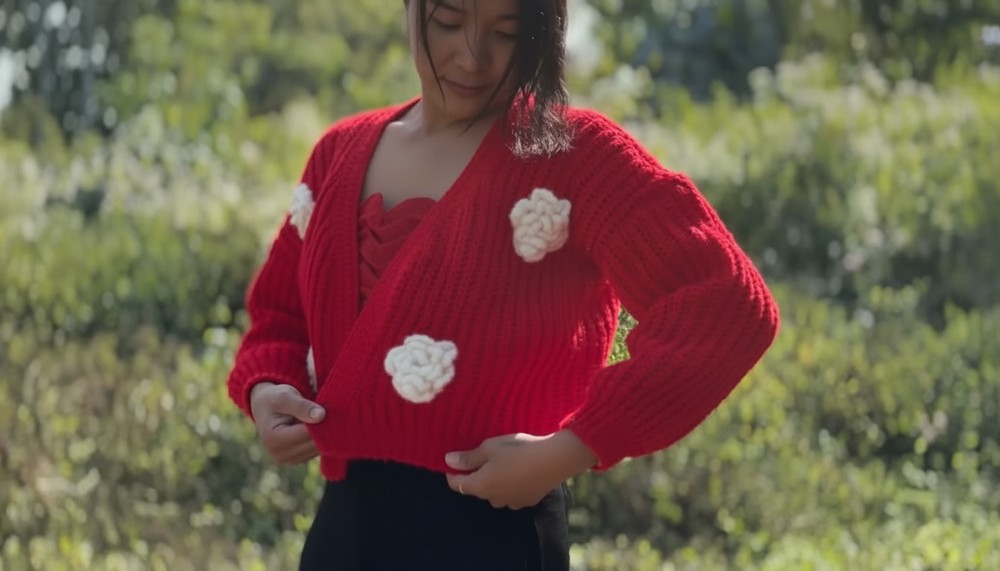
Stretch and set the cardigan flat using blocking techniques to achieve a professional look. - Add Decorative Elements:
Optional flowers or embellishments can be sewn onto the cardigan for added flair.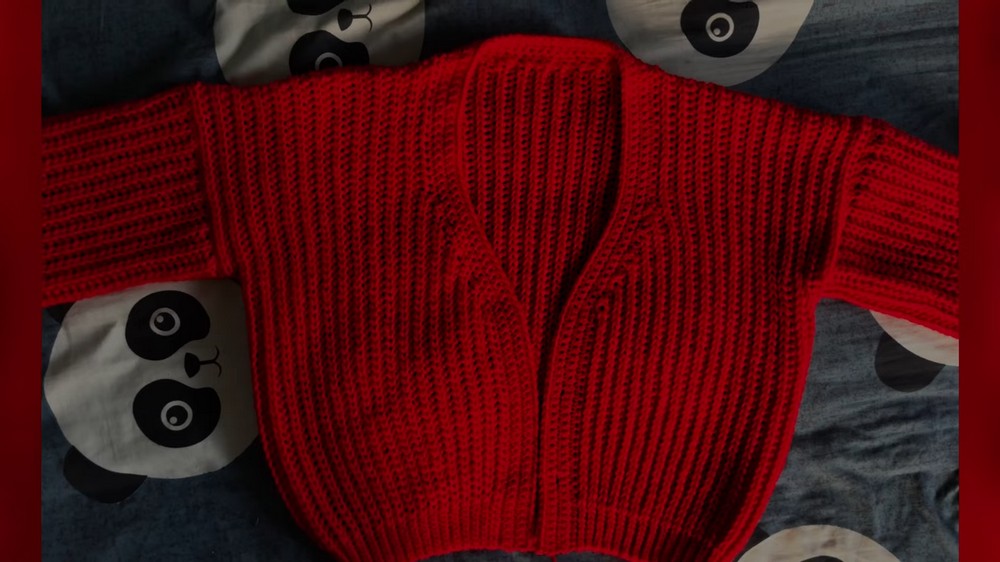
Final Words and Tips
Congratulations on completing your beautiful handmade crochet cardigan, Here are some tips to maintain it:
- Washing: Handwash with cold water and mild detergent to preserve its texture.
- Drying: Lay flat to dry instead of hanging to prevent stretching.
- Storing: Fold neatly away from sharp objects to avoid snags.
This pattern is perfect for beginners and provides a timeless addition to your wardrobe. Feel free to experiment with colors, embellishments, and textures to make it truly unique.