
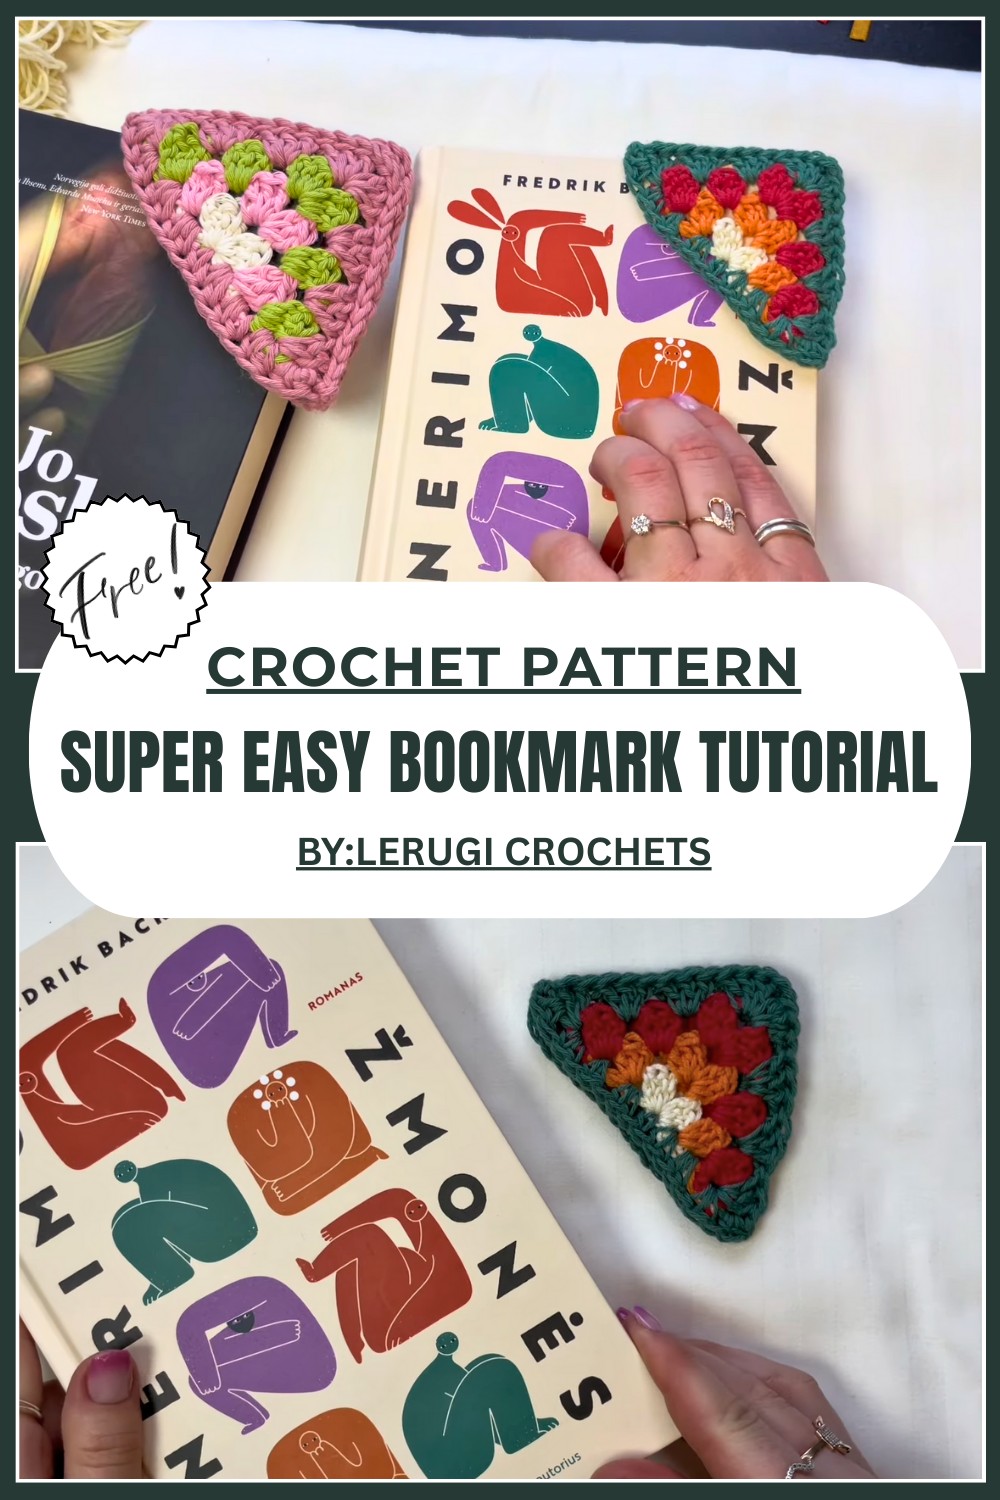
Unique Crochet Bookmark Pattern To Personalize Your Books
Unlock vibrant reading moments with a delightful crochet bookmark pattern that’s quick to whip up and adds charm to every page you turn.
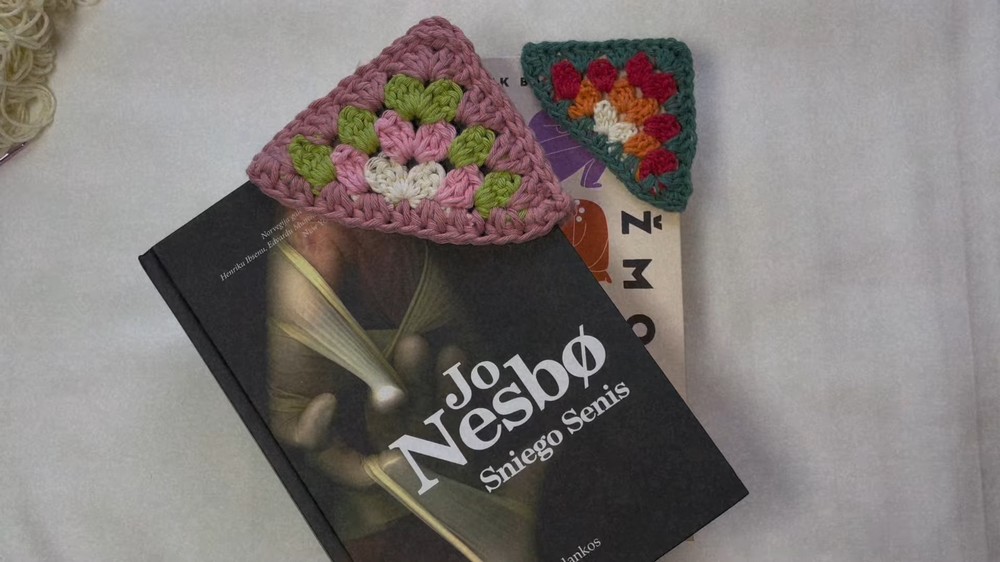
A splash of color and a touch of softness can turn an ordinary book into something truly special. A crochet bookmark gently slips between pages, keeping your place safe while adding charm and warmth to your reading. Lightweight and delicate, it won’t damage your books but will brighten every moment you spend with them.
Delightful Crochet Bookmark Pattern for Readers
Often shaped like flowers, hearts, or simple, lovely forms, these little treasures make reading more enjoyable for all ages. Easy to carry and full of personality, they work perfectly as thoughtful gifts or personal keepsakes. Each bookmark adds a cozy, friendly feeling to your favorite stories, making every page you turn a little brighter and more inviting. It’s a small, meaningful way to bring joy and comfort to the simple act of reading.
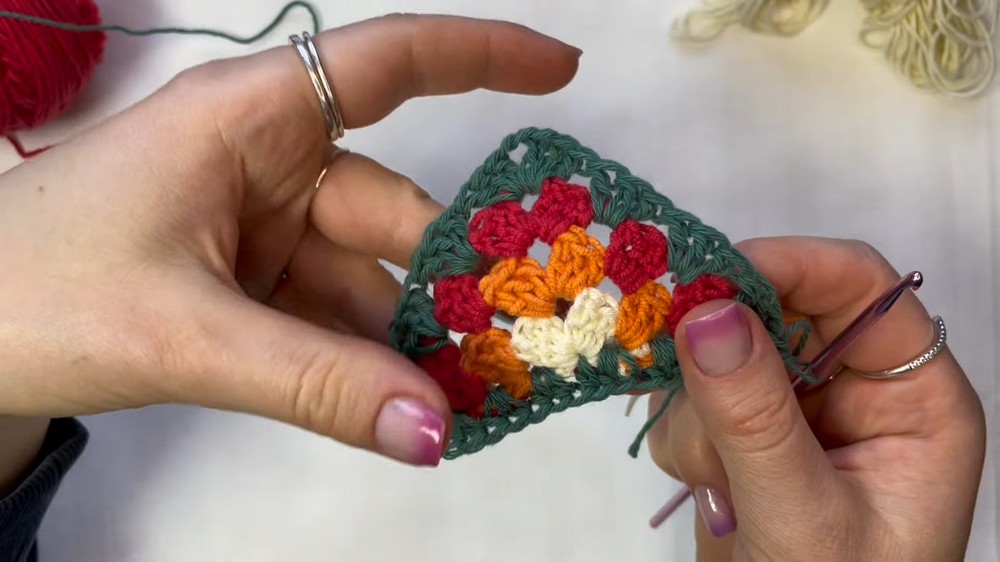
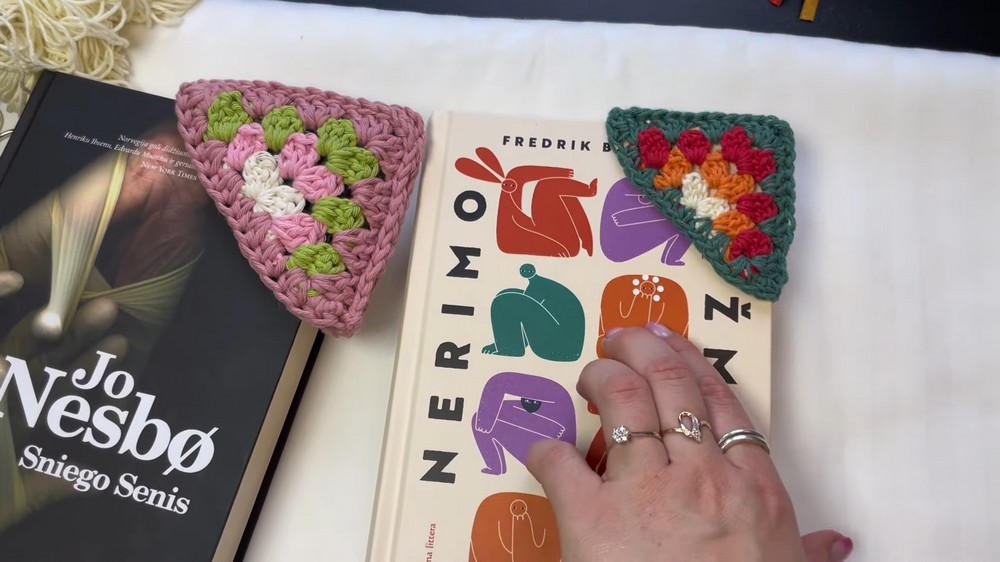
Granny Square Triangle Crochet Bookmark
Special Features
- Uses basic stitches suitable for beginners
- Fast and fun project to complete in under 30 minutes
- Can be customized with any yarn colors or scraps
- Forms a pocket to safely hold book pages
- Seamless color changes for a neat finish
Difficulty Level
Beginner — Perfect if you know how to chain, double crochet, and slip stitch!
Detailed Step-by-Step Pattern
Materials Needed
- Fine 4 ply cotton yarn (or any yarn you like) in 4 colors or fewer
- Crochet hook size 3.5 mm (or as appropriate for your yarn)
- Scissors
- Darning needle (for finishing)
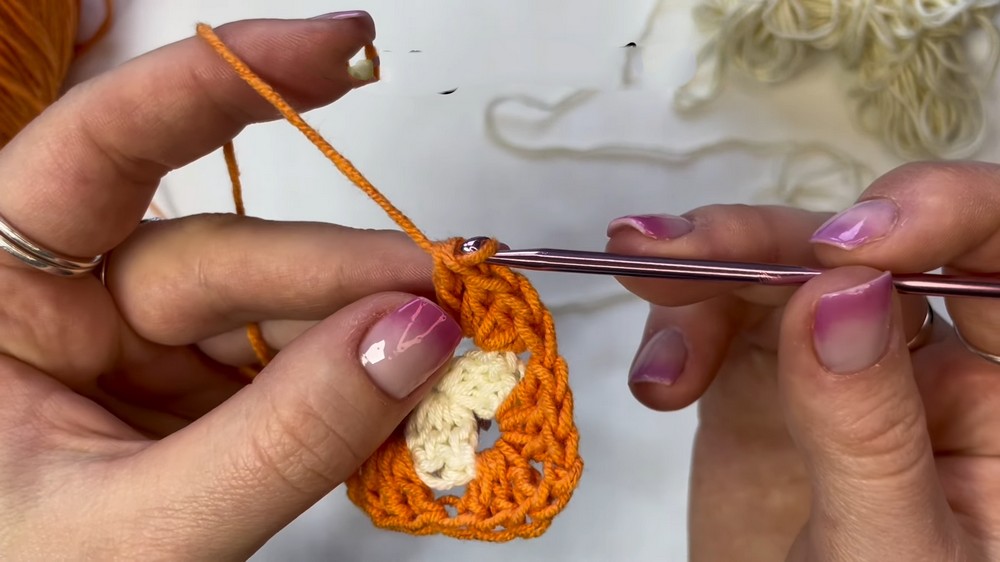
Step 1: Make the First Granny Square Triangle
1.1 Create a Magic Ring
- Wrap yarn around your fingers in an "X" position
- Go under the first strand, grab the second strand and pull a loop
- Go under the second strand and pull through the loop to secure the ring
- Tighten the ring so it looks neat
1.2 Round 1 – Foundation
- Chain 3 (counts as first dc)
- Make 3 double crochets (dc) into the magic ring
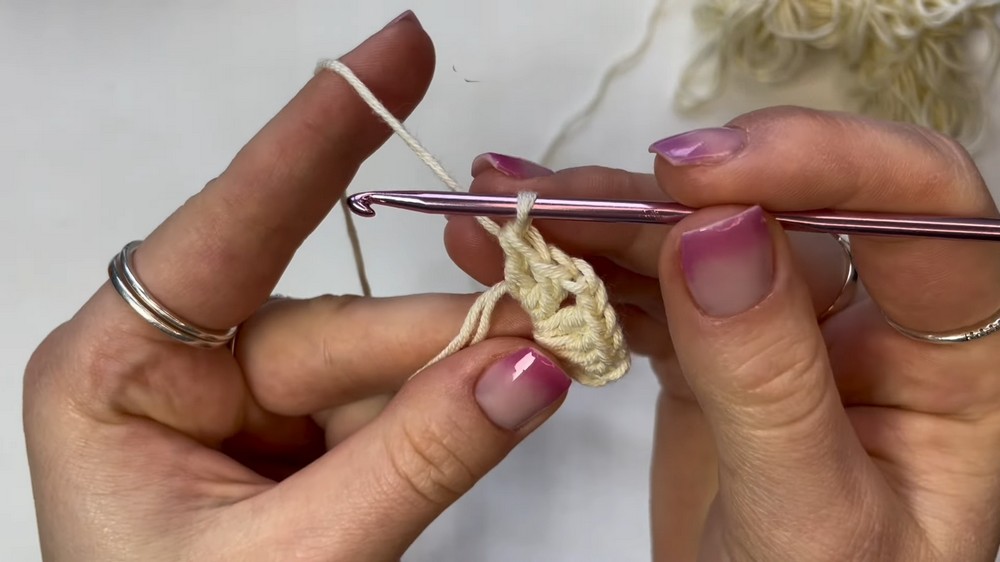
- Chain 2 (creates the corner)
- Make 4 dc into the magic ring again
- Pull the yarn tail tightly to close the ring
1.3 Color Change (Optional)
- Undo one loop on the hook to have two loops
- Attach new yarn color by pulling through these two loops to finish the last dc seamlessly
- Secure yarn ends by tying a few knots
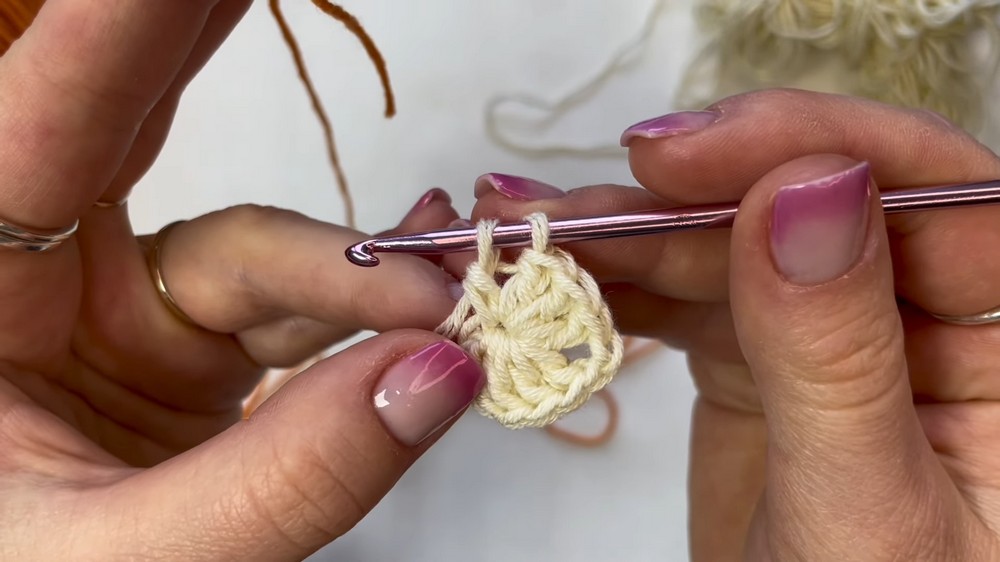
Step 2: Round 2
2.1 Begin Round 2
- Chain 3 (counts as first dc), turn your work
- Place 3 dc in the space between the first and second dc of the previous round
2.2 Make the Corner
- Make 3 dc, chain 2, 3 dc in the chain-2 corner space
2.3 Continue the Round
- Place 4 dc in the space between the last dc and the chain 3 space of previous round
2.4 Finish Round 2
- Change color if desired (same seamless method)
- Knot yarn ends to secure
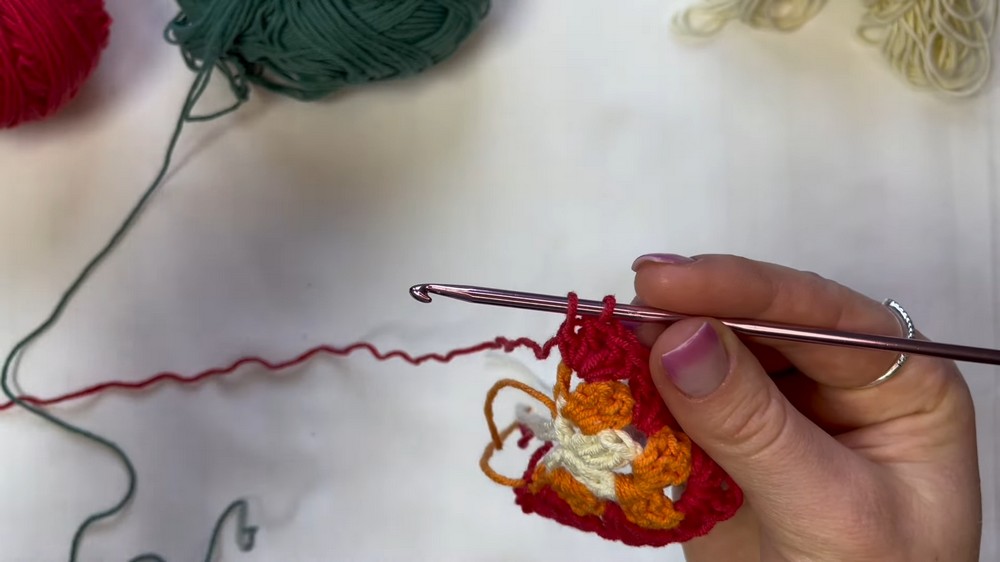
Step 3: Round 3
3.1 Start Round 3
- Chain 3, turn the work
- Knot to secure yarn ends if needed and trim loose ends
3.2 Clusters and Corners
- Place 3 dc between first and second dc of previous round
- Place 3 dc cluster in the space below the last round’s cluster
- Corner: 3 dc, chain 2, 3 dc in the chain-2 space
3.3 Continue the Round
- Repeat clusters of 3 dc between clusters and
- Place 4 dc in chain 3 space before ending the round
3.4 Color Change
- Finish last dc with new color (same method)
- Knot yarn ends for security
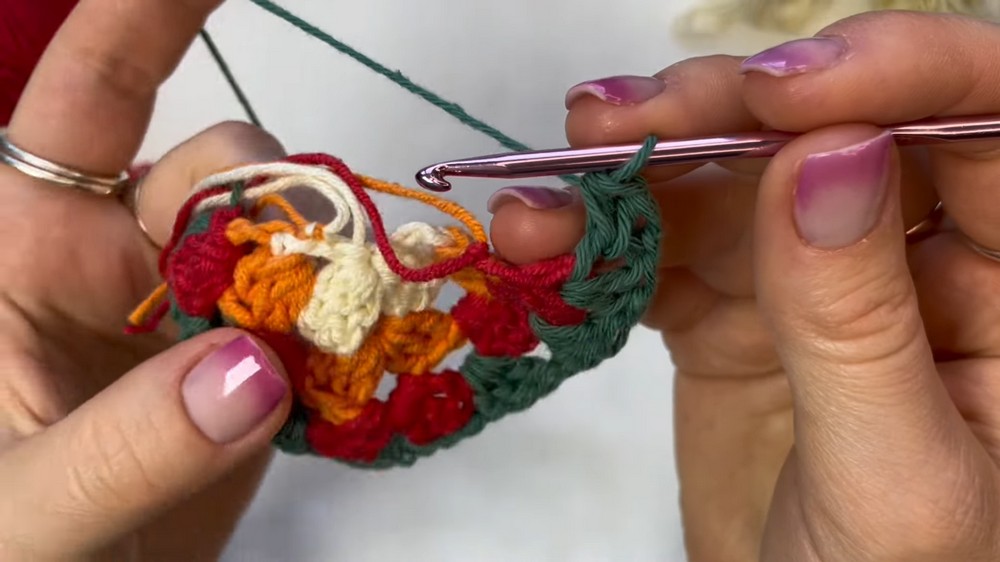
Step 4: Round 4 (Final Round for Bookmark Size)
4.1 Beginning of Round 4
- Chain 3, turn work
- Place 2 dc between first and second dc of previous round
4.2 Place Clusters and Corner
- Place two sets of 3 dc clusters,
- Corner: 3 dc, chain 2, 3 dc in chain-2 space
- Place another two sets of 3 dc clusters
4.3 Finish Clusters
- End with 3 dc cluster
Step 5: Edge Finishing
5.1 Half Double Crochet Edging
- Make 2 half double crochets (hdc) around each dc along edges
- In color change spots with small stitches, place only 1 hdc
- Pick up loose yarn ends while crocheting around edges
5.2 Final Edge Touch
- Place 1 hdc inside the magic ring space at the starting corner to complete edge
5.3 Invisible Join
- Pull loop out to make a longer tail, cut yarn, remove loop
- Thread tail into darning needle
- Insert needle through the stitch before the first dc, go through both loops
- Come back to last loop, insert and pull needle through both loops creating a "fake" stitch
- Knot and weave in tails securely without pulling too tight
Step 6: Repeat for the Second Triangle
- Follow Steps 1 through 5 to complete the second identical granny square triangle
Step 7: Assemble the Bookmark (Make Pocket)
7.1 Align Triangles
- Place both triangles with wrong sides facing inward, right sides out
7.2 Join Two Triangles
- Attach yarn at corner stitches on both triangles
- Chain 1, use slip stitches to join the top two sides stitch by stitch
- Leave bottom (the open edge) free to form pocket
7.3 Finish Joining
- Make last slip stitch, then chain 1
- Cut yarn, pull loop out, knot well
- Weave ends securely
Usage
Slip your book's corner into the pocket created by the two joined triangles — your page is safely marked and protected without damage!
Tutor's Suggestions
- Use scrap or leftover yarns for a colorful bookmark
- Adjust rounds to make the bookmark bigger or smaller
- Match yarn colors to your favorite books or as gifts for loved ones
- Join the community (like Telegram or Patreon) for support and more patterns
Tip
When changing colors, always pull through the final two loops of your stitch with the new color to create a seamless look and reduce yarn bulk.
Conclusion
You now have a charming, practical, and customizable Granny Square Triangle Bookmark! This quick and simple pattern is ideal for beginners looking to add a personal touch to their reading or to gift handmade love to friends and family.