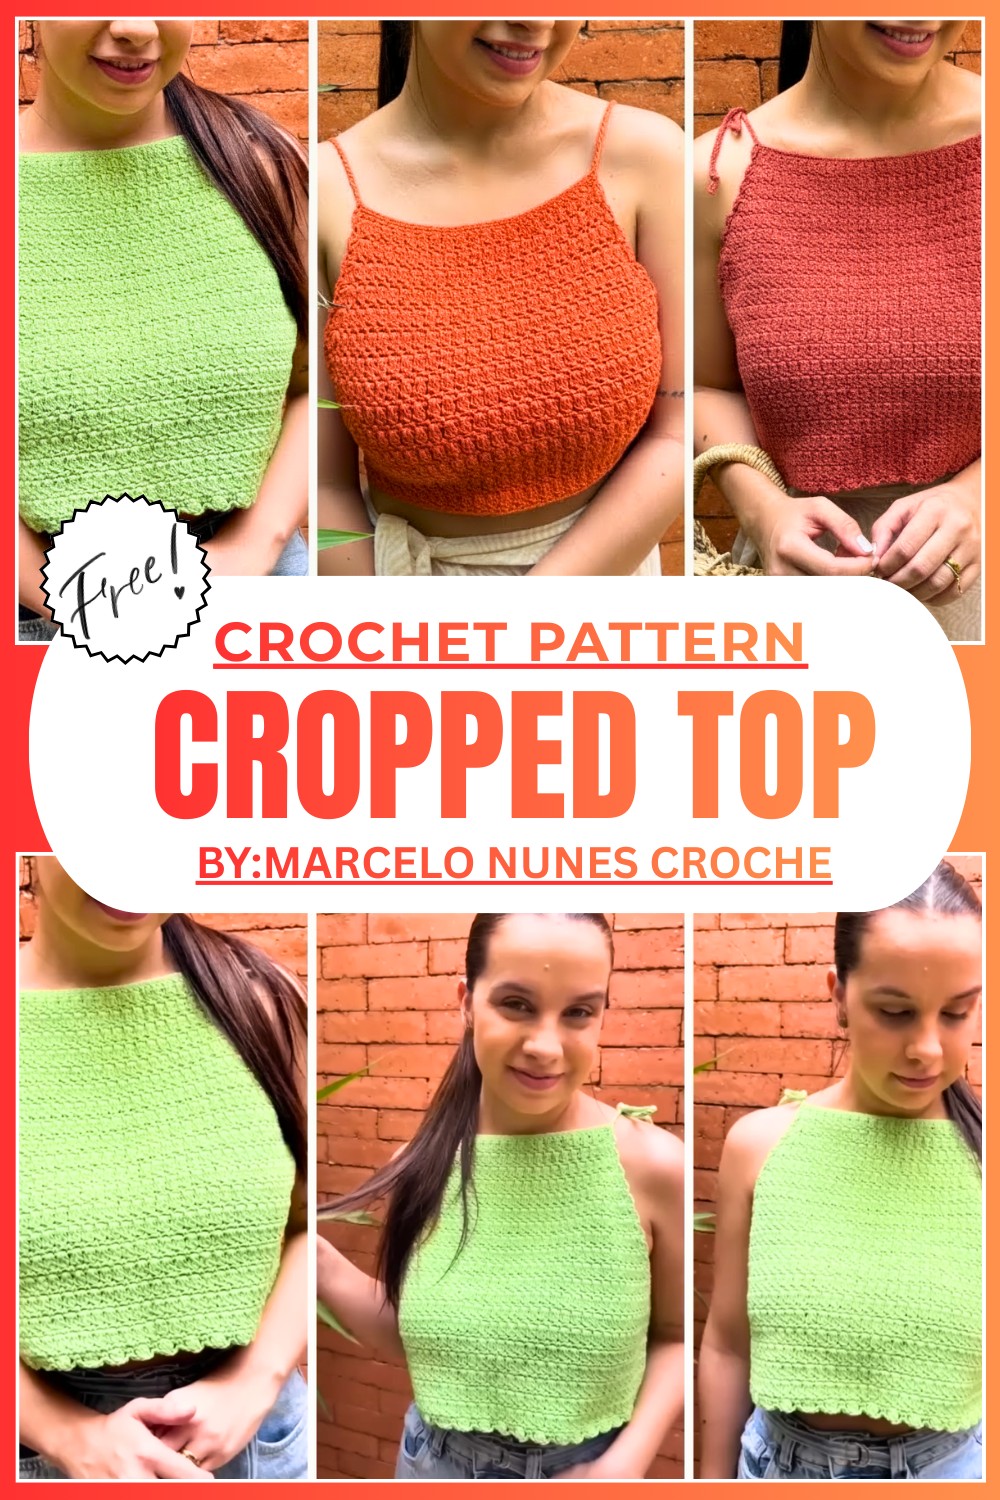
Unique Free Crochet Crop Top Pattern For Casual Outfits
With a Free Crochet Cropped Top Pattern you can turn yarn into a cute short top that fits nicely for warm weather and relaxed daily wear.
 Modern Free Crochet Crop Top That’s Perfect for Brunch
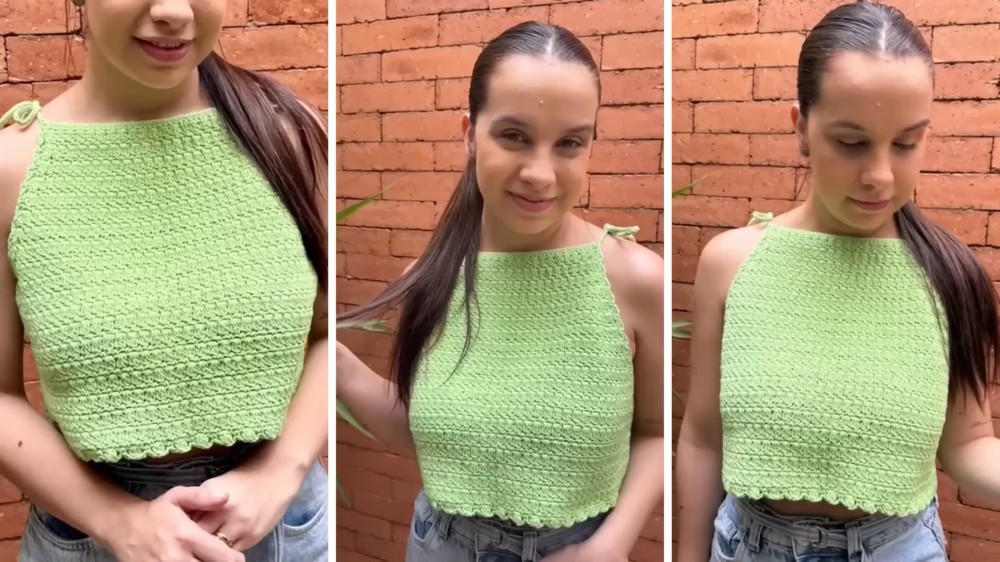
Turn heads this summer with a gorgeous crochet cropped top that you can make yourself. The “Free Crochet Cropped Top Pattern” is super easy to follow and creates a stunning piece that’s both trendy and versatile. This unique top features a beautiful almond stitch design, giving it a stylish and modern look that pairs perfectly with jeans, skirts, or beachwear. It’s lightweight, comfortable, and perfect for sunny days, vacations, or casual outings.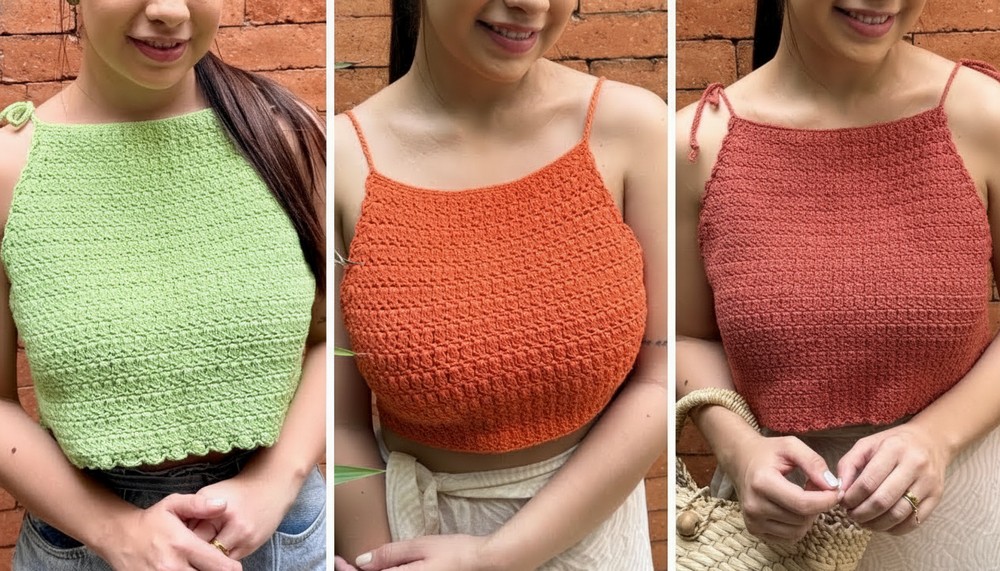 The delicate details and adjustable ties give it an extra touch of elegance. Whether you’re a beginner or a pro, this pattern is a fun way to create something amazing and fashionable. Start crocheting today and show off your handmade masterpiece.
Crochet Crop Top Pattern
Materials Needed
Required Supplies:
- Yarn: 2 skeins of Euroroma Eco Amigurumi (current design uses “lime green” color).
- Crochet Hook: 3.5 mm (sizing adjusted based on yarn tension—Marcelo suggests using a hook larger than the recommended size for elasticity).
- Measuring Tape
- Scissors
- Marker (to highlight specific stitches and ensure precision)
Optional for Customization:
- Lightweight yarn for delicate designs (Euroroma Fiore for size 2, Euroroma Special for size 3).
- Mini tags or labels to personalize your crochet masterpiece.
Gauge
- Tension: For 21 cm width (top measurement), start with 42 chain stitches. Adjust based on individual crochet tension.
- Tip: Always create a gauge swatch, ensuring the initial chain length matches your desired width.
Finished Measurements
- Top Width (Superior Portion): 22 cm
- Lower Width (Inferior Portion): 50 cm
- Height: 33 cm
- Weight: Approximately 300 g
These dimensions can be adjusted based on preference or body size. Marcelo encourages users to personalize by increasing or decreasing chains and rows.
Pattern Sections
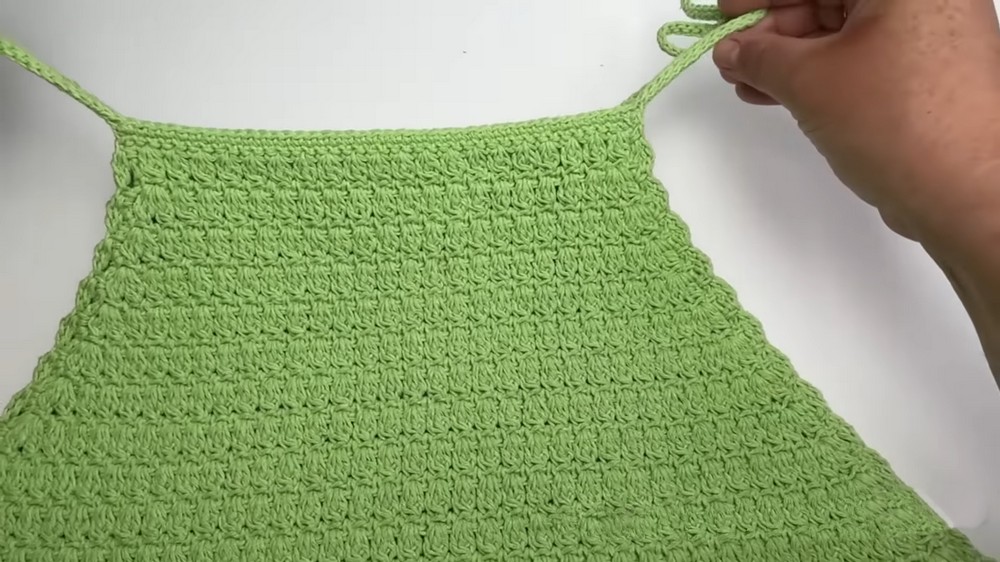
Part One: Creating the Front Panel
Step 1: Taking Measurements
Measurement Tips:
- Place two fingers below the neck base on either side and measure horizontally.
- Desired measurement matches the crop area width (approx. 21 cm standard).
Step 2: Creating the Foundation Chain
- Crochet the required number of chain stitches for your width measurement. (Example: For 21 cm width, create 42 chain stitches.) Note: Always use even numbered chains for uniformity.
- Begin working single crochet into each chain stitch (starting from the second chain) while working on the reverse bump of the chain.

Step 3: Working the Amêndoa (Almond/Cluster) Stitch
- Start by creating the first cluster:
- Skip the first stitch, then yarn over, insert hook into the next, and pull up a loop.
- Work 3 incomplete double crochets into the same space.
- After creating 4 loops on the hook, yarn over and pull through all loops.
- Add 1 chain stitch to close.
- Repeat process for subsequent spaces, with 1 skipped stitch between clusters.

Step 4: Alternating Rows
- Odd Rows: Work amêndoa clusters, allowing for slight increases at the start and end.
- Even Rows: Crochet a row of single crochets separated by 1 chain, working into the almond gaps from the previous row.

Step 5: Repeat Until Desired Length
- Create 14 rows of amêndoa clusters (or as indicated by your measurements).
- Fasten off when the panel reaches underarm length.

Part Two: Creating the Back Panel
- Procedure: Identical to front panel creation.
Joining the Front and Back Panels
- Align both panels, ensuring right sides are facing toward you.
- Use a single crochet technique to secure the bottom edges together, working over individual gaps in almond clusters.

Circular Finishing with Alternating Rows
Step 1: Circular Rows
- Continue alternating amêndoa patterns with base rows (single crochets separated by chains).
- Marcelo recommends creating 5 circular cluster rows for an elegant look.

Step 2: Bottom Border
- Optional Almond Trim: Add almond stitches with 2 chain separations, securing each almond cluster with single crochets.
- Work this trim around the circular base edge for neatness.

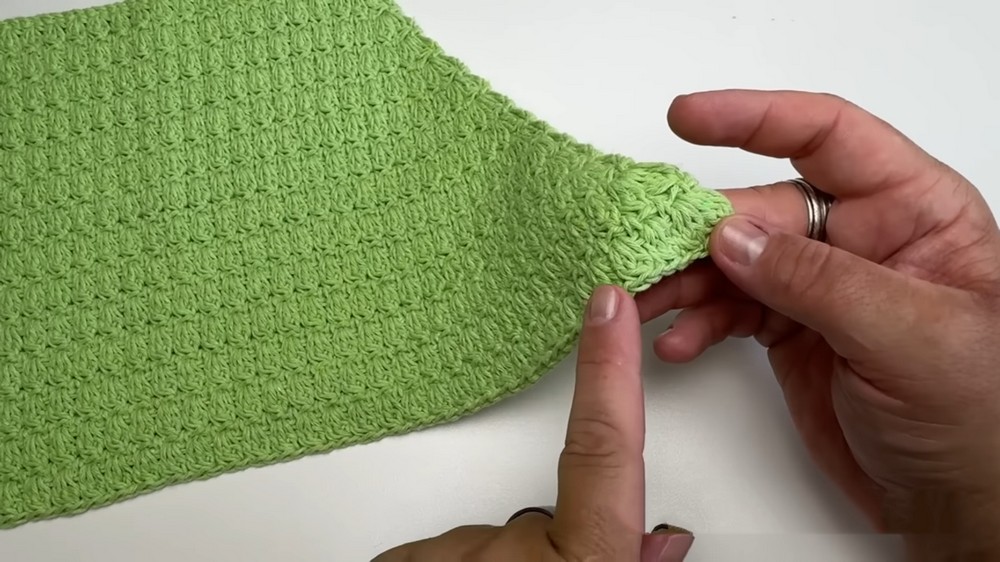
Creating Shoulder Ties
- At the top corners of the crop, crochet 60 chain stitches (or desired length) for straps.
- Secure straps using slip stitches worked across the reverse loop in each chain space.
Customization Ideas
Design Variations
- Strap Placement:
- Option 1: Behind the neck (halter style).
- Option 2: Adjustable tie near the shoulders or upper back.
Yarn Adjustments:
- For delicate results, consider finer yarn like Euroroma Fiore.
- For cozier designs, thicker yarns (size 4 or above) ensure warmth and structure.

Creative Uses:
- Alternative as a bikini top or beach cover up.
- Add embellishments such as beads, appliques, or ribbons.

Tips to Enhance the Process
- Gauge First: Always test a small portion to determine sizing.
- Stitch Markers: Keep track of increases/decreases in circular rows.
- Final Details: Marcelo emphasizes details such as lightweight yarn for airflow and neat edges for beauty.
Conclusion
This stunning lemon inspired crochet crop top can be customized for any season and occasion. Marcelo’s brilliant almond stitch design adds elegance while keeping the pattern accessible for crocheters of all skill levels. By following this guide, you’ll create a timeless, personal piece of clothing, whether as a gift or wardrobe staple.
Important Remarks
- Yardage: Ensure enough yarn is on hand for slight overages due to different tension settings.
- Arremate: Properly secure weave ends to prevent unraveling.