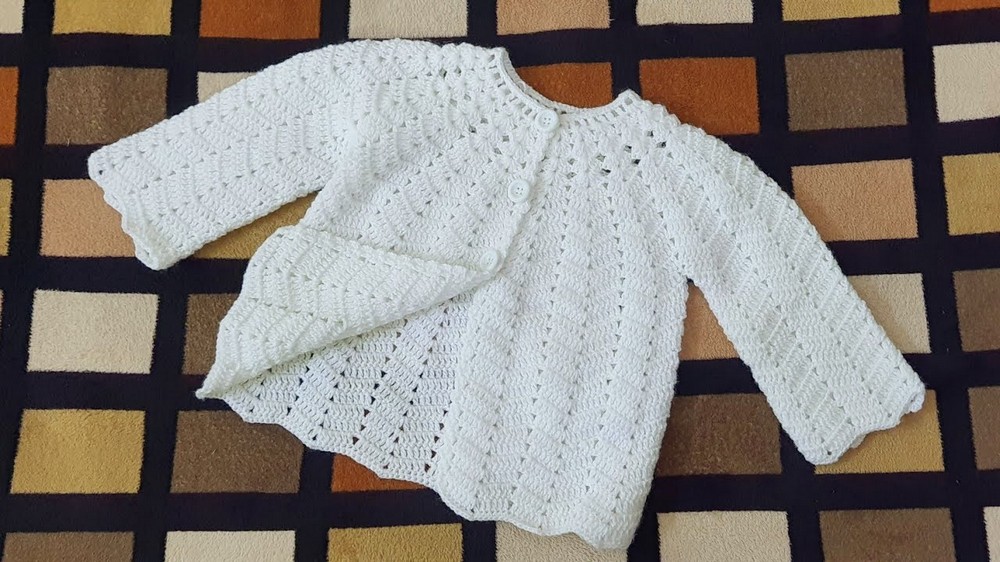
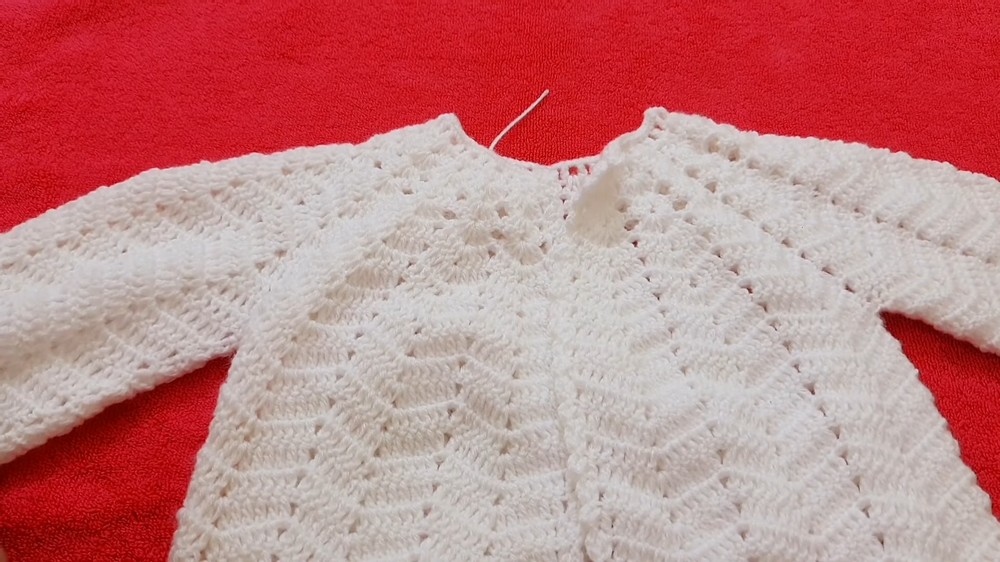
Effortless Free Crochet Sweater/Jacket Pattern To Add To Your Closet
Look cute and stay cozy with this free crochet jacket and sweater pattern that is fun to make, and perfect for adding a handmade touch to your wardrobe.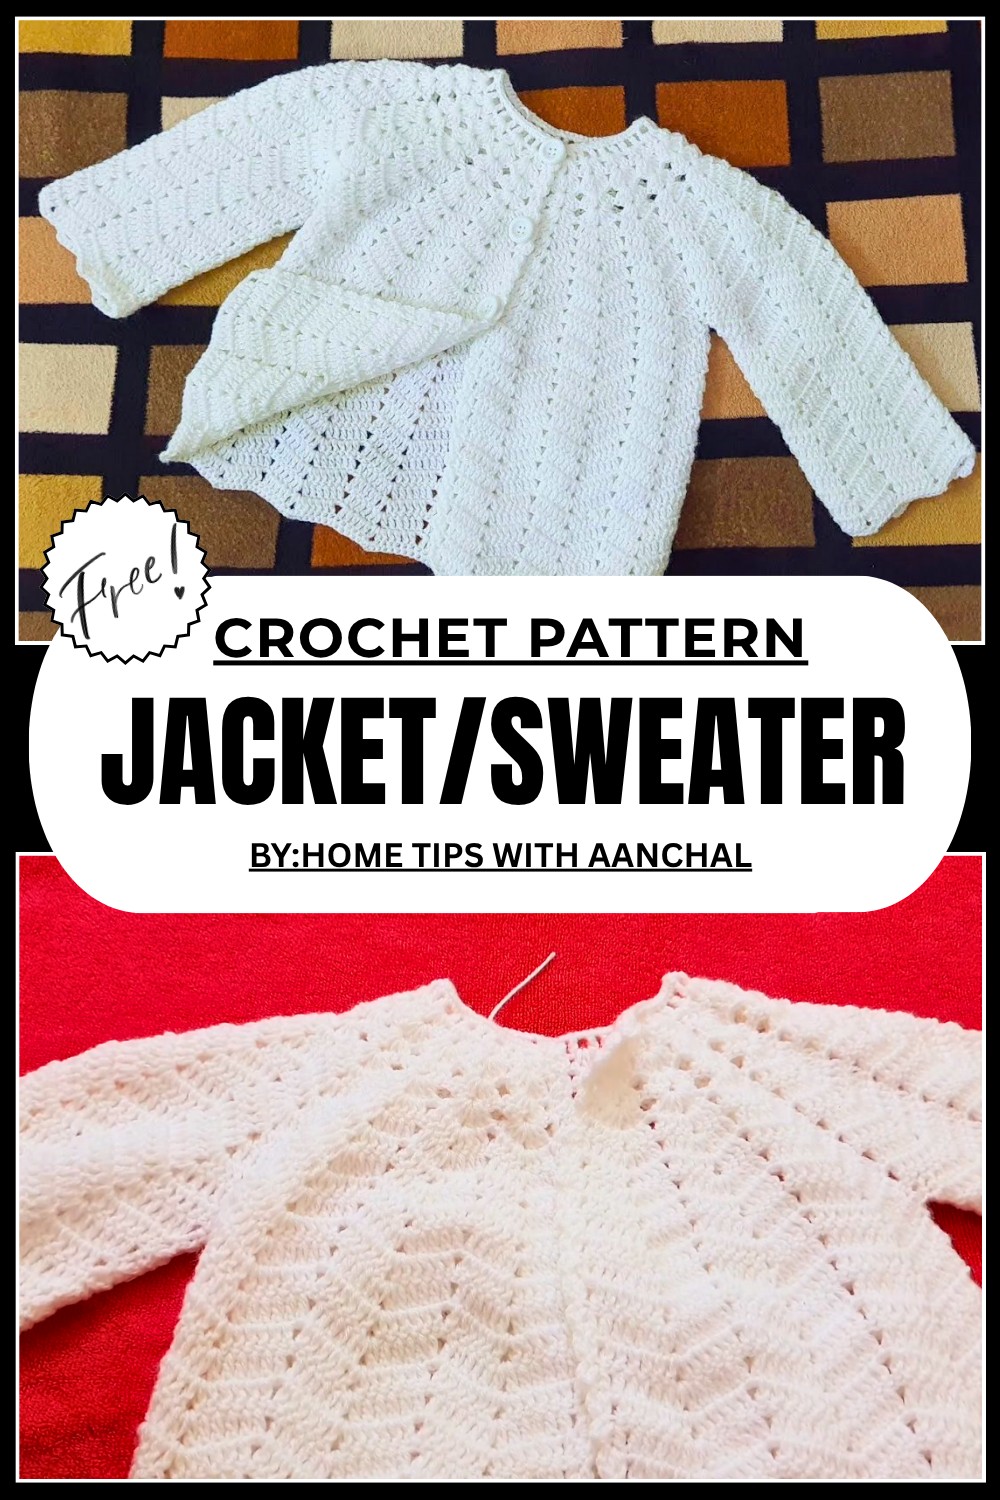
Warm Up with This Adorable Free Crochet Sweater/Jacket Pattern
Snuggle into comfort with this free crochet sweater and jacket pattern that’s as fun to make as it is to wear. Imagine wrapping yourself in a cozy design that’s soft, stylish, and perfect for chilly days or casual outings. The delicate crochet details add charm and elegance, while the lightweight and breathable pattern ensures maximum comfort.
Want to make it your own? You can play around with colors, add personalized borders or tweak the size to fit like a dream. Whether you’re crocheting for yourself or surprising someone special with a handmade gift, this project is full of creativity and love. 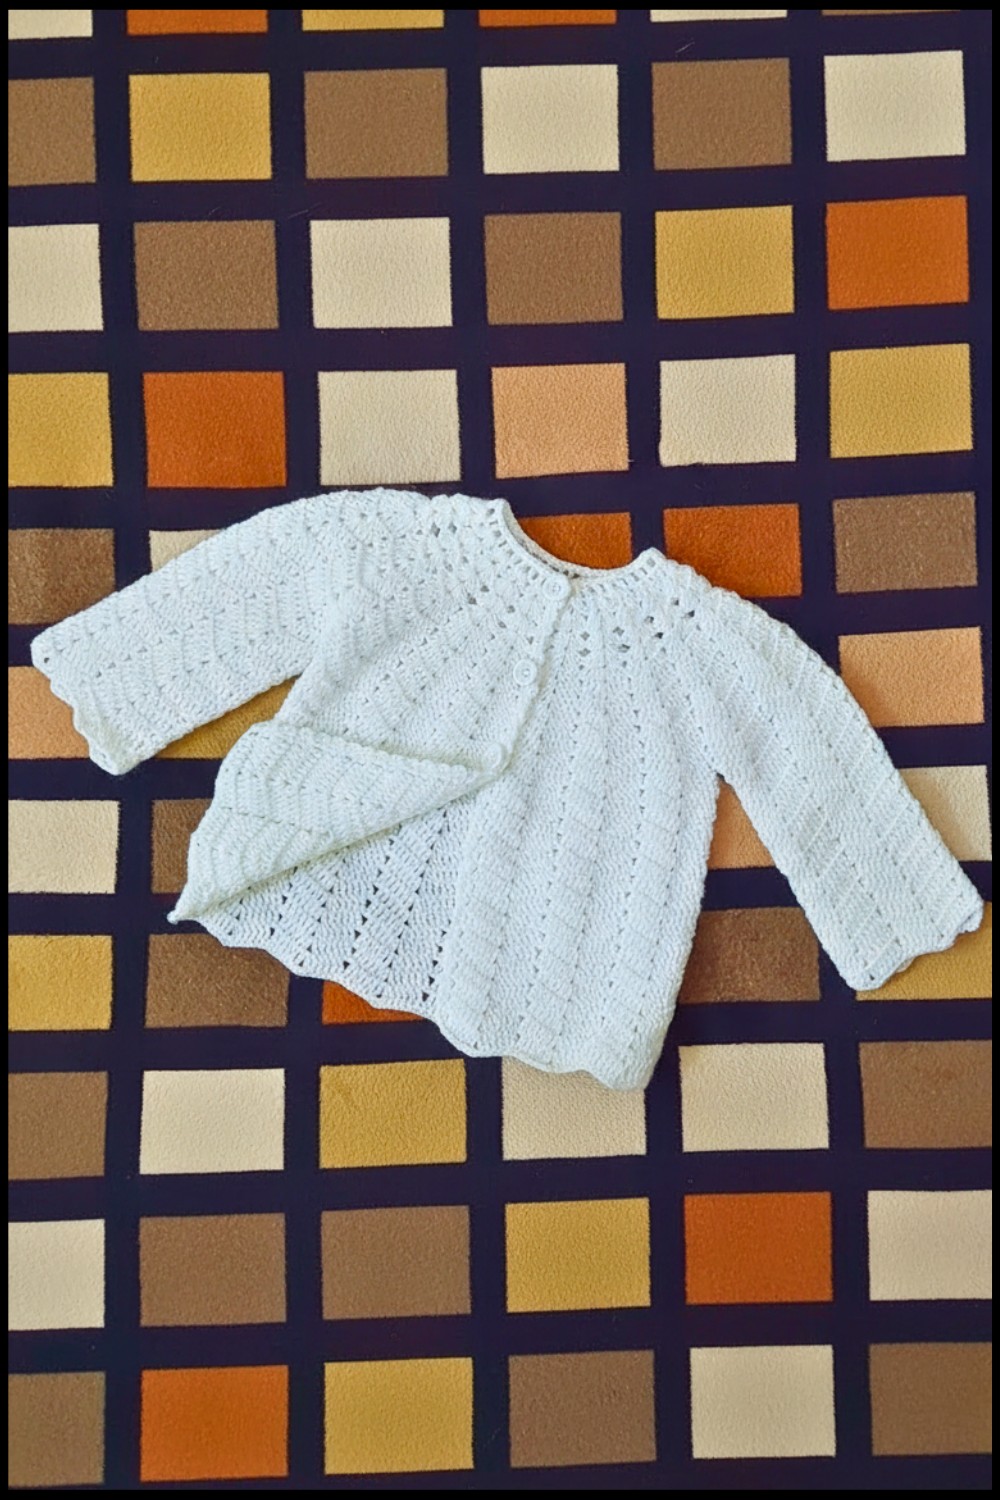 It’s more than just a jacket—it’s a beautiful way to express yourself and stay warm while looking fabulous. Follow this easy pattern and bring your crochet skills to life.
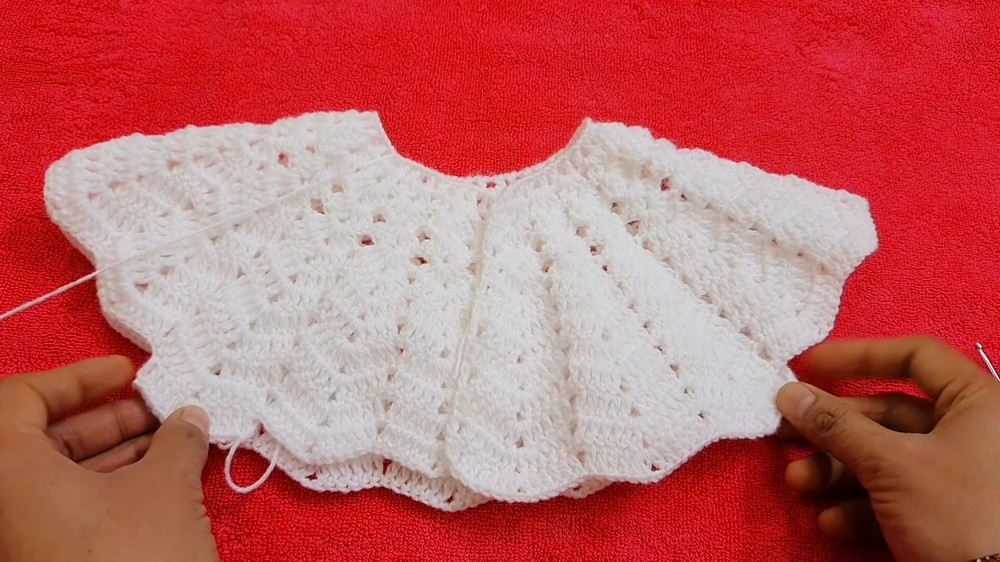
Crochet Sweater/Jacket Pattern
Materials Required
- Yarn: Choose a soft, lightweight yarn suitable for children. The yarn used in the video is not mentioned explicitly, but opt for one that isn’t too bulky.
- Recommendation: Acrylic or cotton yarn in a medium weight (DK or Light worsted).
- Crochet Hook: 3 mm crochet hook.
- For a larger size, use 3.5 mm or 4 mm depending on the desired size increase.
- Additional Tools:
- Scissors
- Measuring tape
- Stitch markers (optional)
- Yarn needle for weaving in ends
Special Techniques Used
- Double Crochet (DC): Yarn over, insert the crochet hook into the stitch, yarn over, pull through the stitch, yarn over, pull through two loops, yarn over, and pull through the last two loops.
- Single Crochet (SC): Insert the crochet hook into the stitch, yarn over, pull through the stitch, yarn over, pull through both loops on the hook.
- Skipping Chains: Skip the required number of chains and proceed with the next stitch as instructed.
Step by Step Instructions
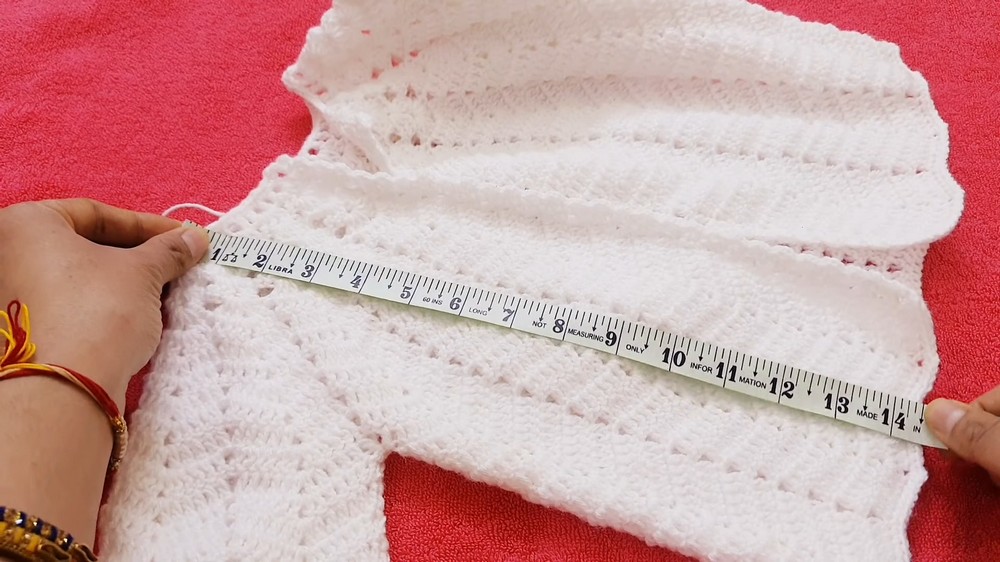
Step 1: Foundation Chains
- Create a slipknot and chain 86 chains for the foundation. (Modify the chain count according to desired size. Add multiples of 2.)
- Double check the chain length to ensure it matches your measurement for the width of the jacket.
- Complete the chain row.
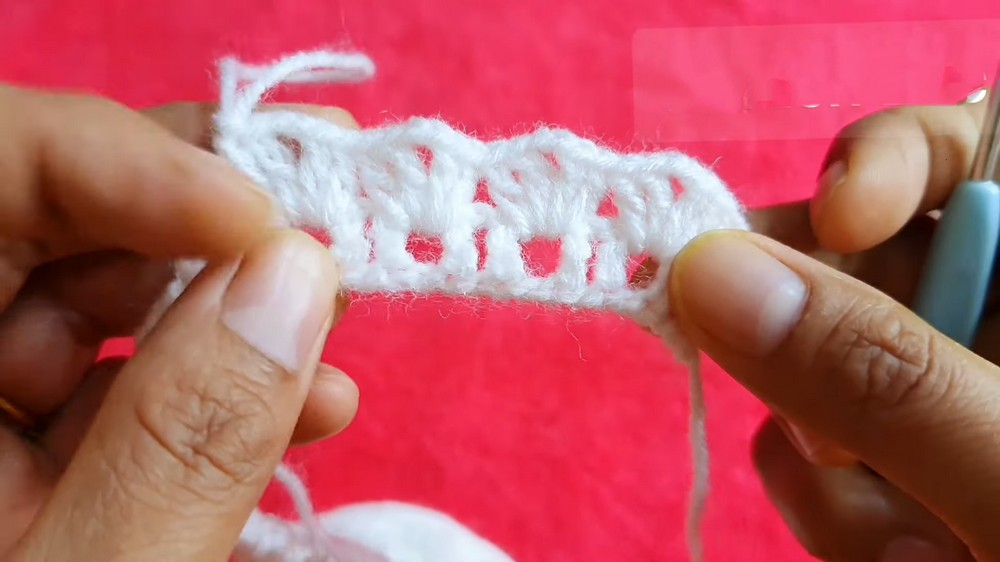
Step 2: Starting the First Row
- Skip 4 chains from the foundation chain.
- Begin working double crochet (DC) stitches in the 5th chain.
- After one DC, chain 1.
- Skip 1 chain from the foundation row and continue with another DC in the next chain.
- Repeat this sequence until there are 41 mesh spaces created (41 chained spaces) in total.
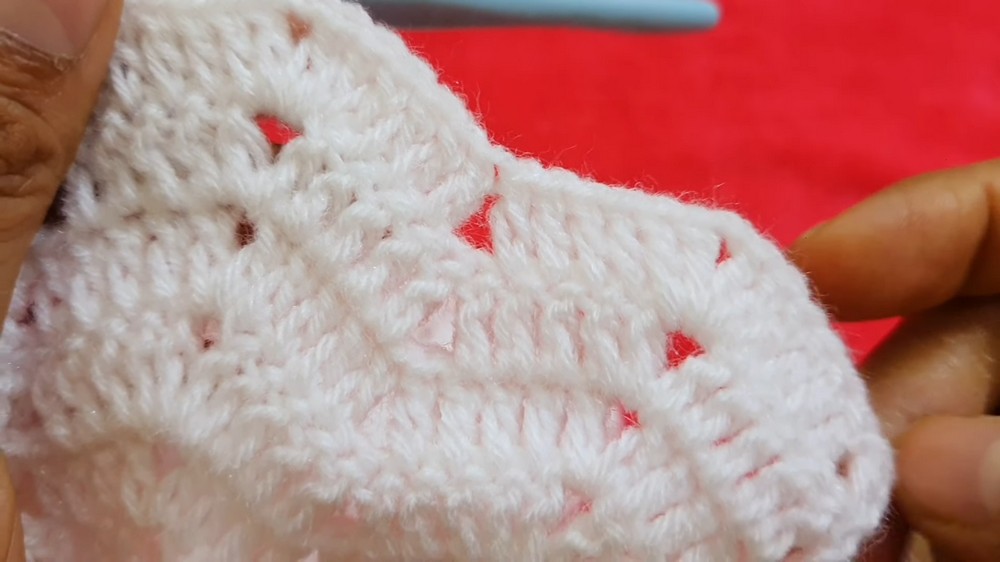
Step 3: Building the Pattern
- Second Row: Begin by chaining 3 and turning the work.
- Skip one mesh space and complete 4 double crochets (DCs) in the next mesh space:
- Two DCs, chain 2, and two more DCs in the same mesh space.
- Work the mesh pattern across the row as designated.
- Skip one mesh space and complete 4 double crochets (DCs) in the next mesh space:
- Keep repeating rows in the same pattern with combinations of double crochets, chained spaces, and skipped mesh spaces.
Step 4: Creating the Design
- Use the formula of 3 DCs, chain 2, skip spaces, and repeat.
- Build the jacket body row by row until reaching a longer length or until 16 rows are completed.
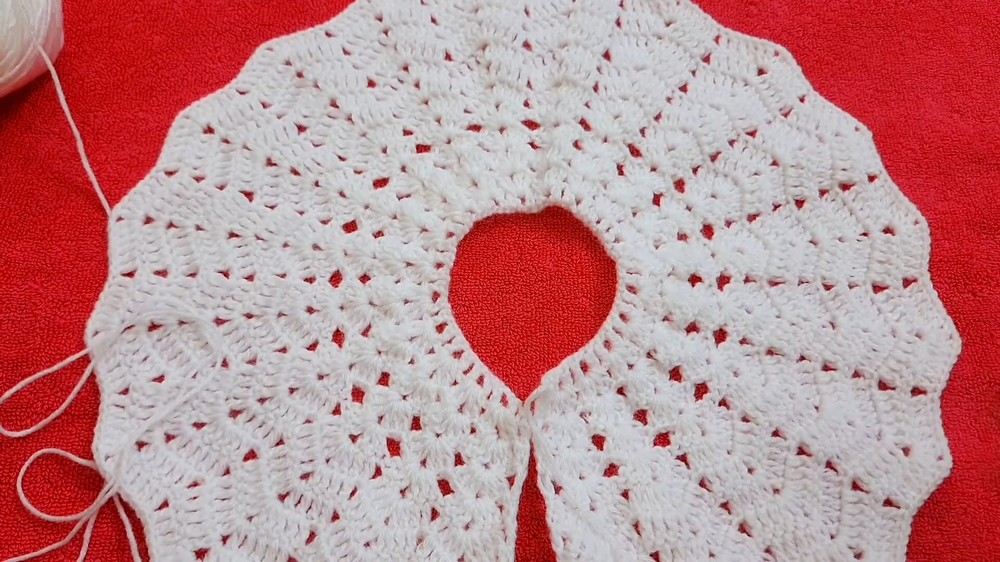
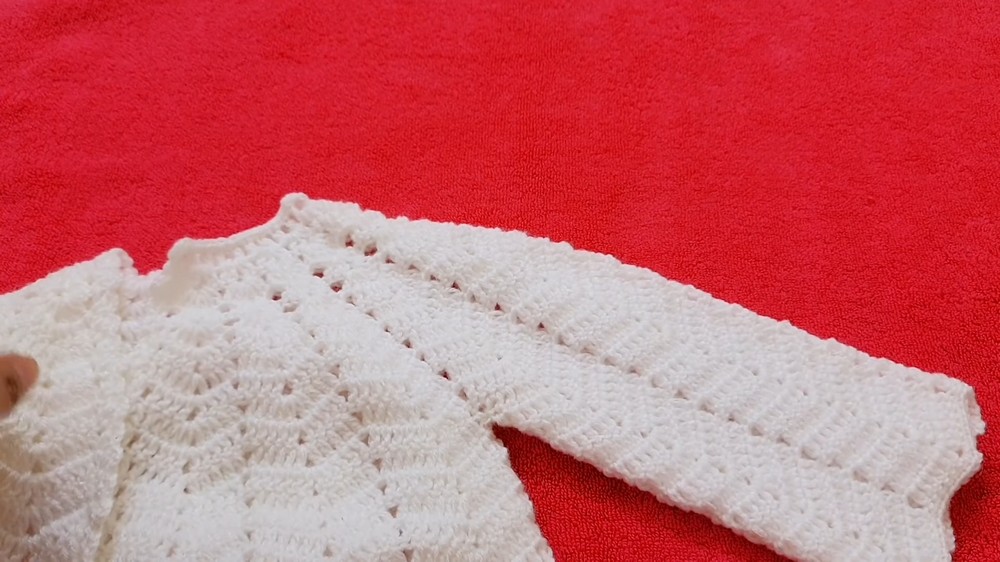
Step 5: Shaping Sleeves
- Divide the design area:
- Allocate 4 mesh spaces for the sleeves.
- Dedicate 3 mesh spaces for the front.
- Leave 6 mesh spaces for the back.
- Create independent sections by skipping chains for sleeve openings.
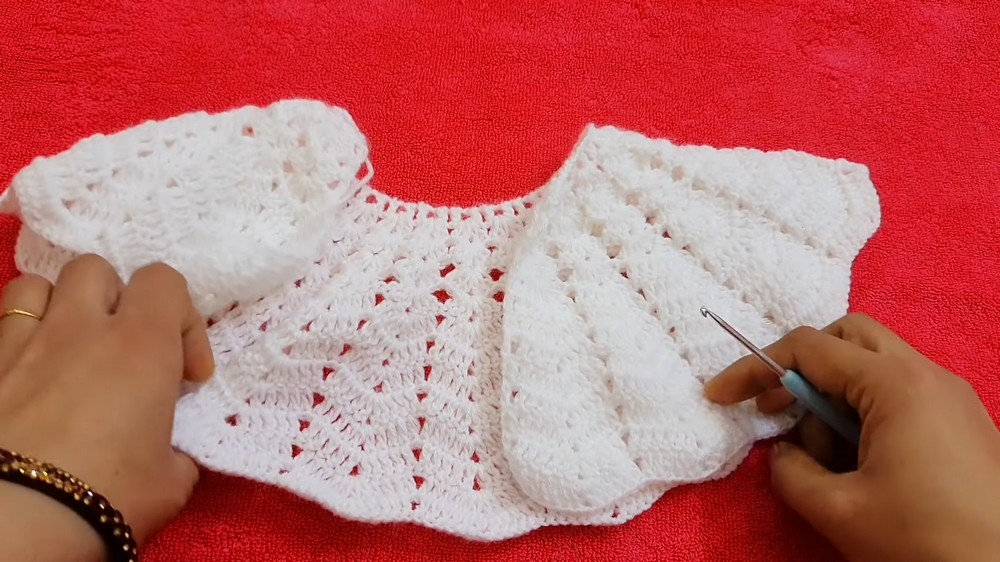
Step 6: Working the Sleeves
- Use the same pattern to crochet the sleeves.
- Start by attaching the yarn.
- Work the mesh or other patterns for approximately 15 rows or adjust to desired sleeve length.
- Add a border to the sleeve using single crochet stitches (SC) to smoothen the edges.
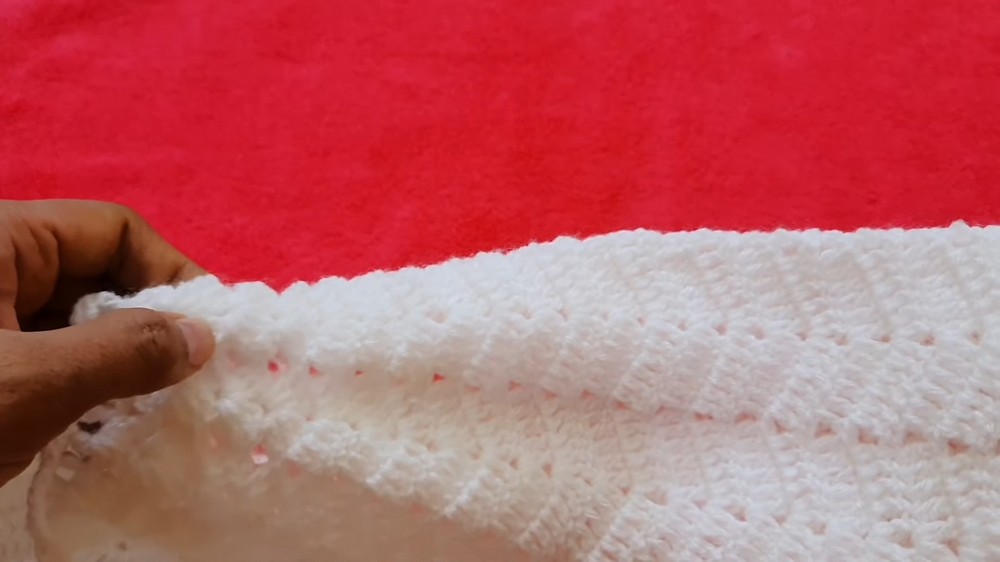
Step 7: Adding Borders
- Create neat borders for the front, back, and the lower edges of the jacket using single crochet stitches (SC):
- Add two SC stitches per mesh space to create a smooth and even finish.
- For decorative purposes, you may choose another border stitch like crab stitch or scallop stitch.
Finishing Touches
- Weave in all loose ends using the yarn needle.
- Check all edges for neatness.
- If desired, sew buttons or add a zipper to the front of the jacket using an appropriate sewing technique.
Final Words
This jacket combines functionality with design, making it ideal for toddlers during cooler seasons. The pattern is beginner friendly yet adaptable to personal preferences such as size adjustments or decorative additions.
Tips for Maintaining the Pattern
- Yarn Care: Use machine washable yarn for easy maintenance of the jacket.
- Blocking: Block the finished jacket to even out stitches and enhance its structure.
- Custom Size: To adjust the size, increase/decrease foundation chains and use larger hooks.
- Experiment with Colors: Choose bright or pastel colors to suit the child’s preferences or seasonal themes.