Breezy Free Crochet Tank Top Pattern To Boost Your Look
Make your free time exciting and productive with this free crochet tank top pattern that helps you create a lightweight and stylish top you’ll enjoy wearing.
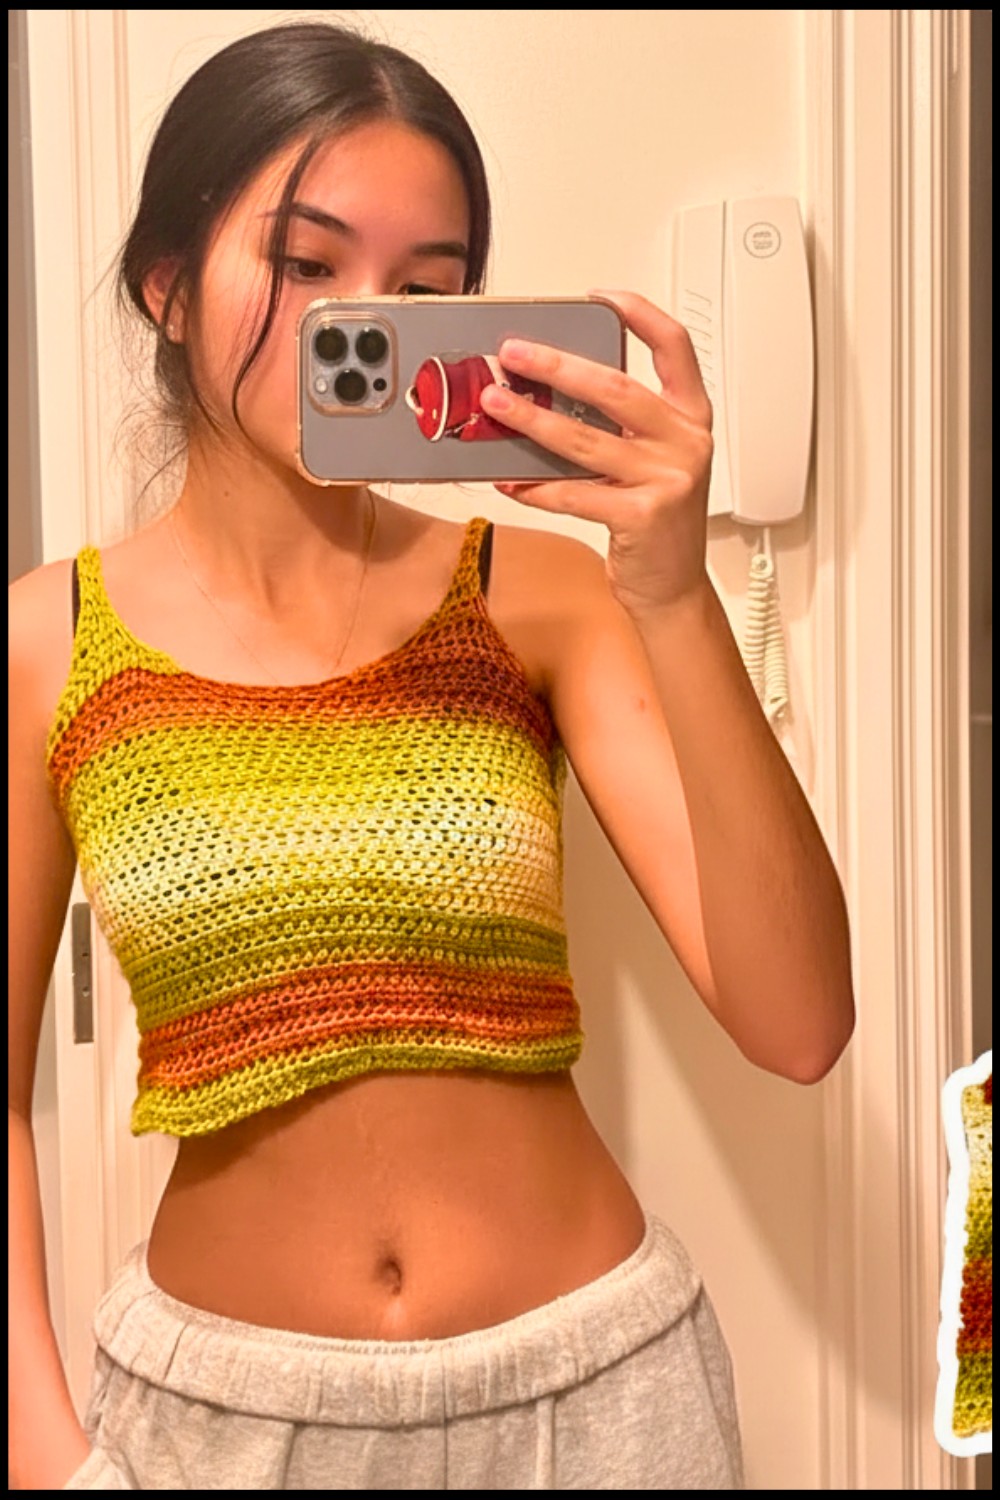
Simplify your summer wardrobe with this Free Crochet Tank Top Pattern
This free crochet tank top pattern is both simple and stunning, perfect for anyone looking to make a comfortable and stylish top. The design is unique because it avoids lace details and instead features a clean and solid look, making it a true basic tank top.
It works beautifully with gradient yarn, giving it a smooth and colorful appearance, but you can use any yarn you like. The pattern is practical for warm days, as the tank top is lightweight, breathable, and easy to wear. It includes simple stitches like half double crochet, making it beginner friendly and fun for anyone to try.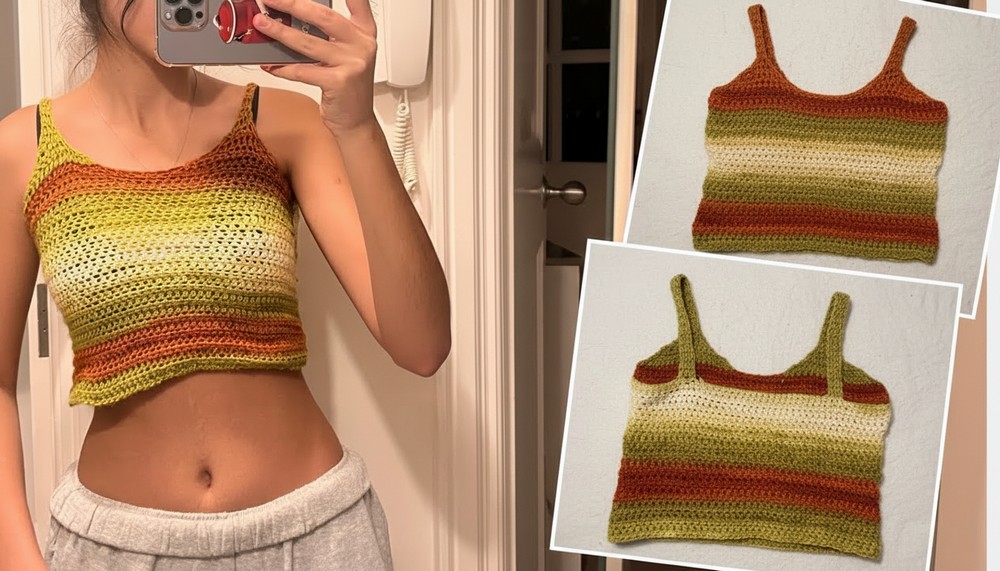
This tank top is versatile and can be dressed up or down for different occasions. Whether you’re crocheting for summer or just want to make something beautiful, this crochet tank top will be a rewarding and useful project.
Lovely Crochet Tank Top Pattern
Materials Needed:
- Yarn: Size 4 or 5 (approximately 100 grams). A gradient yarn or any yarn of your choice.
- Crochet Hook: Size 4 mm.
- Yarn Needle: For sewing and weaving in ends.
- Measuring Tape: To take your measurements for a perfect custom fit.
- Stitch Markers (or paper clips): To mark specific areas during the process.
- Scissors
Abbreviations (US Terms):
- ch: Chain
- HDC: Half Double Crochet
- sl st: Slip Stitch
- st: Stitch
- sk: Skip
Pattern Overview:
- Top Panel: Includes creating the tank’s main body with measurements based on your bust size.
- Triangle Shape for Straps: Decreasing rows for the triangular portions transitioning into the straps.
- Straps: Simple rows for creating even straps that connect to the back.
- Back Panel: A straight piece connecting seamlessly to the straps and body.
- Assembly: Stitching all panels together.
Steps to Create the Crochet Tank Top
Step 1: Take Measurements
- Measure around your bust for the circumference.
- Divide this measurement by 2 and add 0.5 cm as a seam allowance.
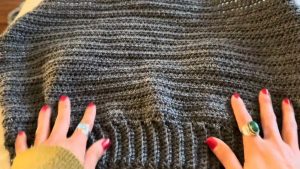
Step 2: Top Panel
- Start by making a slip knot.
- Chain a length equivalent to half of your bust measurement + 0.5 cm.
- Example: If the measurement is 36.5 cm, chain until the length reaches 36.5 cm.
- Add 2 additional chains for the rising chain.
- Starting from the third chain from the hook, work HDCs across the entire chain.

Step 3: Rows for Full Length
- Continue crocheting rows of HDCs, chaining 2 at the start of each row as the turning chain.
- Complete rows evenly until you reach the desired length for your top minus about 3 rows (approximately 24 rows or 19 cm, as in the example).
- Measure periodically to ensure it fits your size and adjust the length as needed.
Step 4: Creating Decreases for Triangles
- Place a stitch marker or paper clip at the center of your work to split the piece evenly.
- Work decreases as follows:
- Row 1:
- Chain 2, sk 2 sts, and HDC into the 3rd st.
- Continue working HDCs across until there are 2 sts left before the marker. Stop and turn.
- Row 2 and onward:
- Chain 2, sk 2 sts, and HDC into the 3rd st.
- Work until 2 sts remain before the end, stopping before the marker.
- Row 1:
- Repeat until you form a triangle, leaving about 3 stitches for the top corner.

Step 5: Building the Straps
- With the 3 remaining stitches at the top of the triangle:
- Chain 2 and work HDCs across all stitches.
- Continue this pattern (without increases or decreases) until the strap length matches your desired measurement. Use a measuring tape to ensure proper length.
- Example: Straps should be proportional to the top’s size.
- Snip off the yarn and weave in the ends.

Step 6: Repeat for the Other Side
- Repeat the same process on the other side of the top to create the second triangle and strap.
- Ensure the straps are even and symmetrical on both sides.
Step 7: Back Panel
- Measure the width between the straps on the front panel.
- Chain a length equal to this measurement.
- Add 2 additional chains for the starting chain.
- Work rows of HDCs until the back panel reaches the same height as the front panel (approximately 27 rows, or based on your custom size).
- Snip off the yarn and weave in the ends.

Step 8: Attach the Panels
- Align the front and back panels so the edges are even.
- Use a yarn needle to sew the sides together with a whip stitch or any simple sewing method of your choice.
- Repeat on both sides.
- Secure and weave in the ends.
Finishing the Tank Top
- Check all seams and panels to ensure they are securely stitched.
- Block the tank top (optional) to smooth out stitches and improve the overall appearance.
- Trim any stray ends of yarn.
Tips for Maintaining the Top
- Washing: Hand wash in cold water with a mild detergent. Avoid wringing the fabric to maintain its shape.
- Drying: Lay flat to air dry to prevent stretching or distortion.
- Storage: Fold neatly or roll the top to avoid creases.
Final Words
Congratulations, You’ve just created your own crochet tank top. This project is ideal for honing your crochet skills and personalizing your wardrobe with handmade items. Experiment with different yarn colors or textures to make each piece truly unique. If you enjoyed this project, consider customizing the design further with lace edging, patterns, or lightweight yarns for a summery twist.