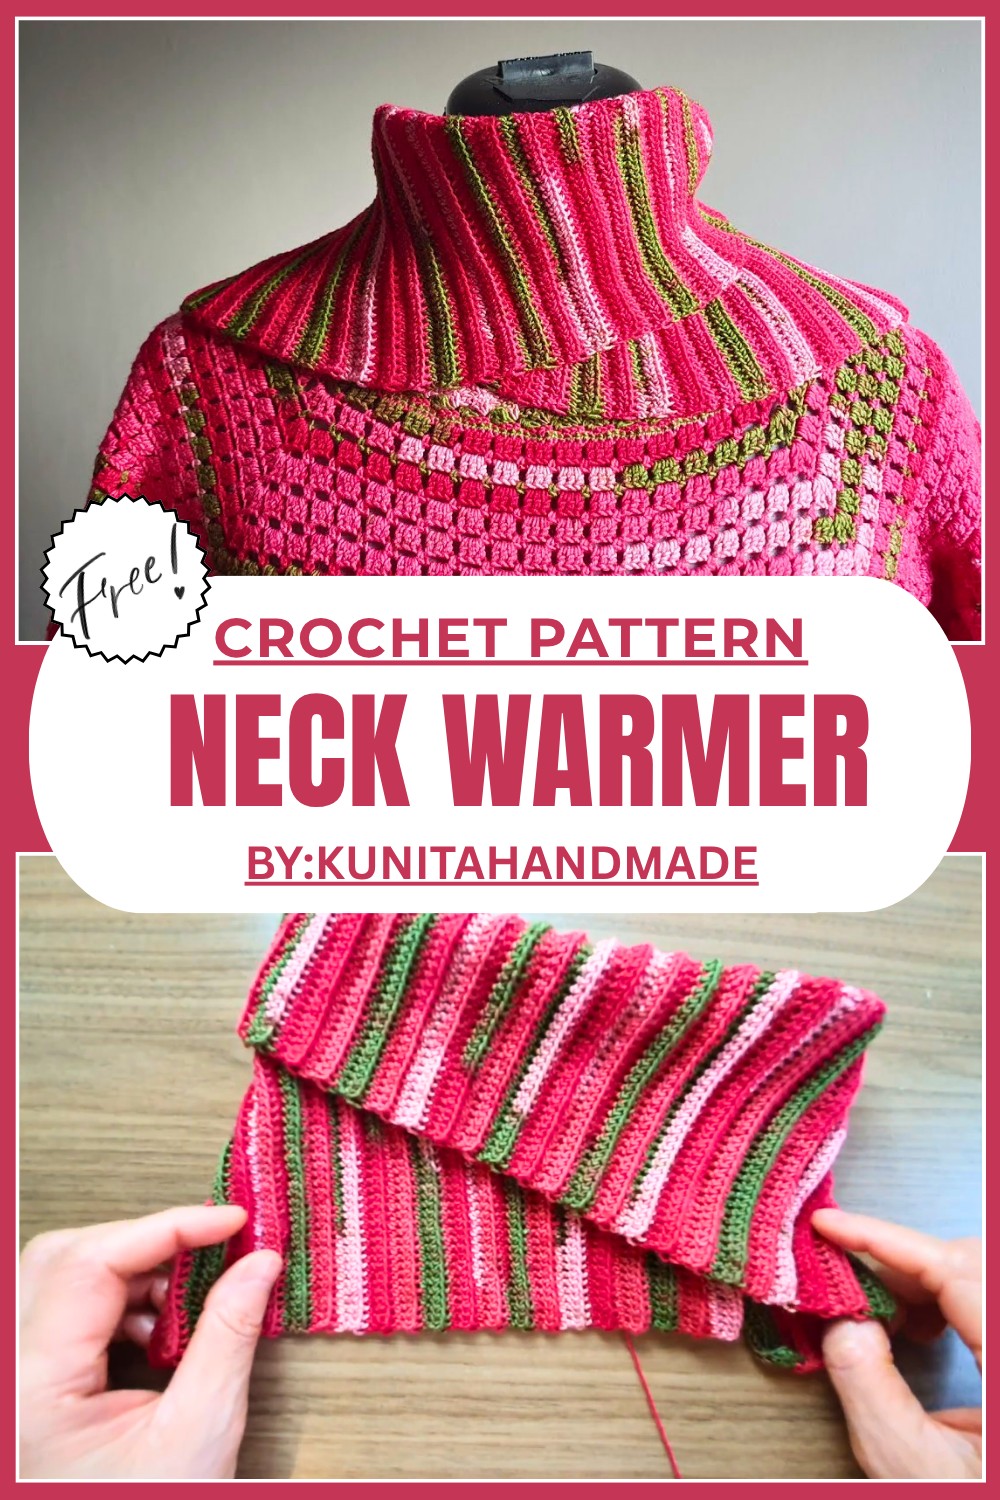
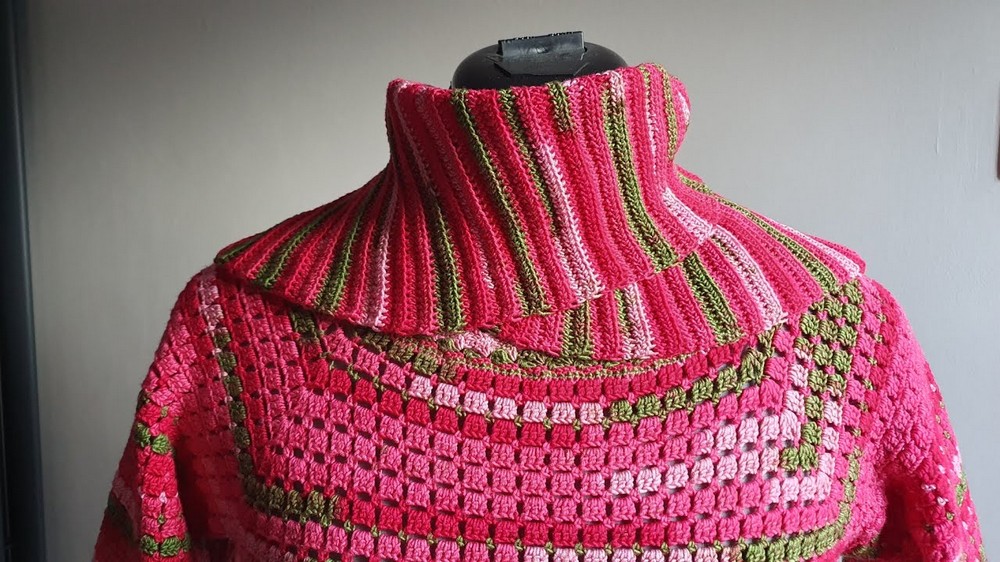
Comfortable Free Crochet Neck Warmer Pattern For Cozy Winters
See your yarn transform into a beautifully soft and warm neck warmer with this free crochet pattern that is a perfect accessory for staying cozy on cold and breezy days.
Stay Comfy with This Fun & Free Crochet Neck Warmer Pattern
Cold days feel better with something warm and soft, and the Free Crochet Neck Warmer Pattern is a simple way to make that comfort. This easy to make neck warmer wraps snugly around your neck, keeping you cozy and stylish all day.
The ribbed texture, created by using basic half double crochet stitches in the back loop, not only looks elegant but also adds extra warmth. You can customize the size, color, or yarn to match your personal style, making it a fun project even for beginners. It’s lightweight, folds perfectly, and uses very little yarn, making it budget friendly and quick to complete. 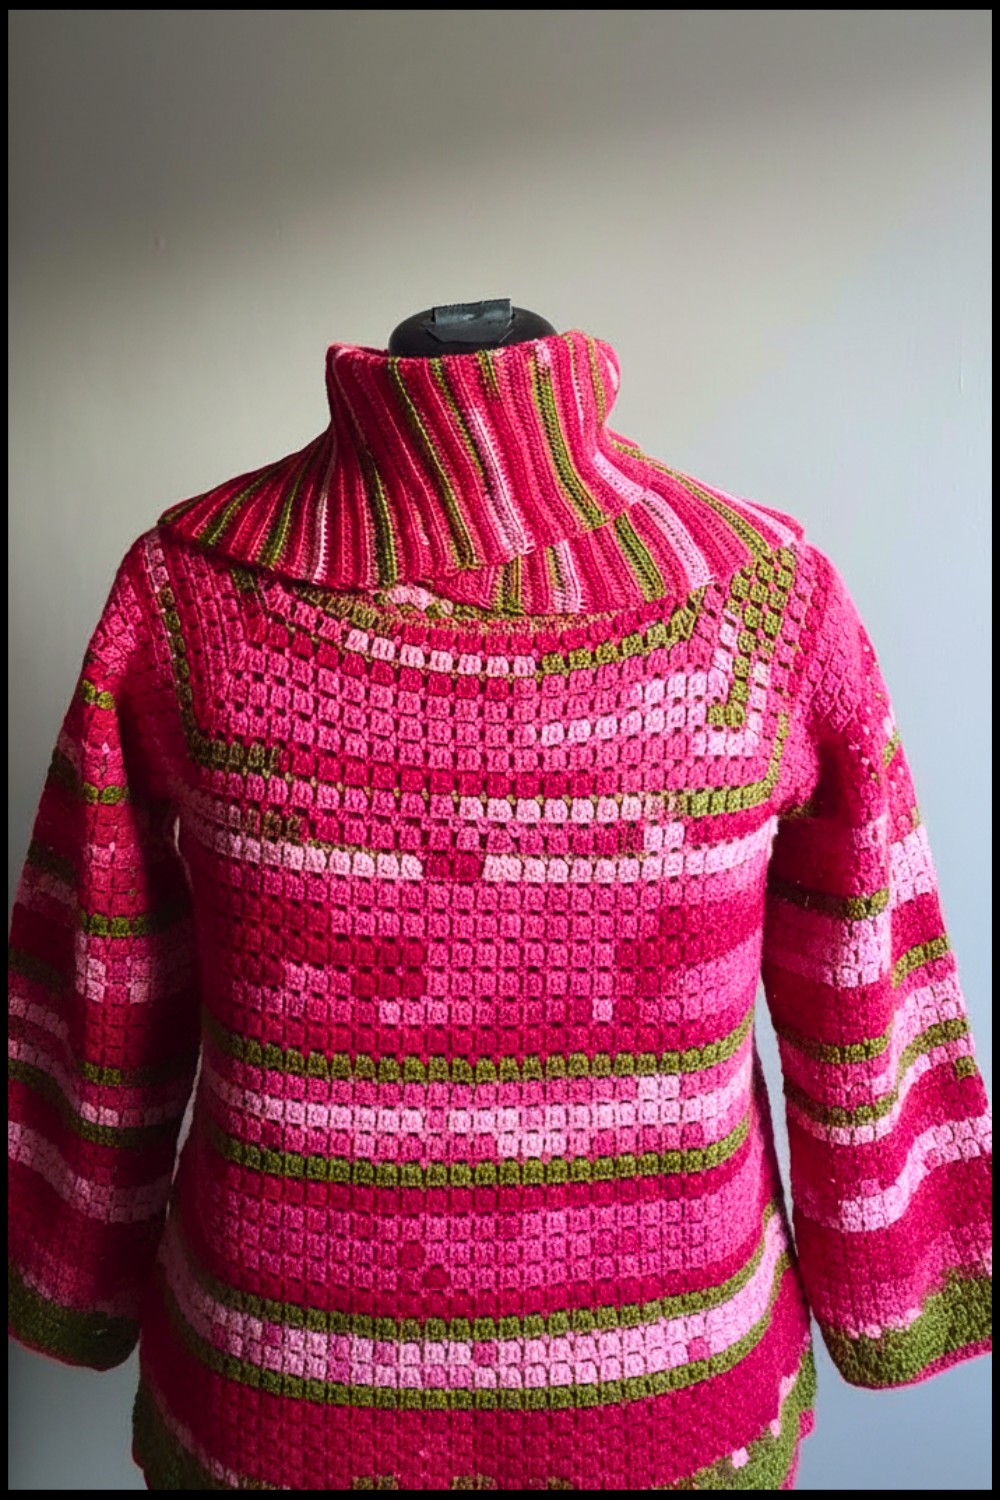
Whether you make it for yourself or gift it to someone special, this neck warmer adds a handmade touch of love to chilly days. It’s a practical, cozy, and creative way to stay warm.
Crochet Neck Warmer Pattern
Materials Needed:
- Yarn: Approximately 100g of yarn (you can use leftover yarn from previous projects). In the video, a similar yarn was used to make a matching top.
- Hook Size: 3.75 mm crochet hook.
- Scissors: To trim the excess yarn.
- Darning Needle: For weaving in the ends.
Techniques Used:
- Chain Stitch (ch): Foundation stitch to begin.
- Half Double Crochet (hdc): Key stitch used to create the fabric.
- Back Loop Only (blo): A technique to work stitches into the back loop for a ribbed texture.
- Single Crochet (sc): Used for joining edges neatly.
- Slip Stitch (sl st): For finishing off the pattern cleanly.
Pattern Instructions:
Step 1: Creating the Foundation Chain
- Start with a foundation chain that matches the desired height of your neck warmer. In the video, it’s suggested to work a chain approximately 10–12 inches long.
- Note: Exact chain count is not specified because tension (how tightly or loosely you crochet) can vary. For reference, about 72 chains were used in the video.
- Once you’ve made the chain to your preferred length, ensure it’s even and consistent.
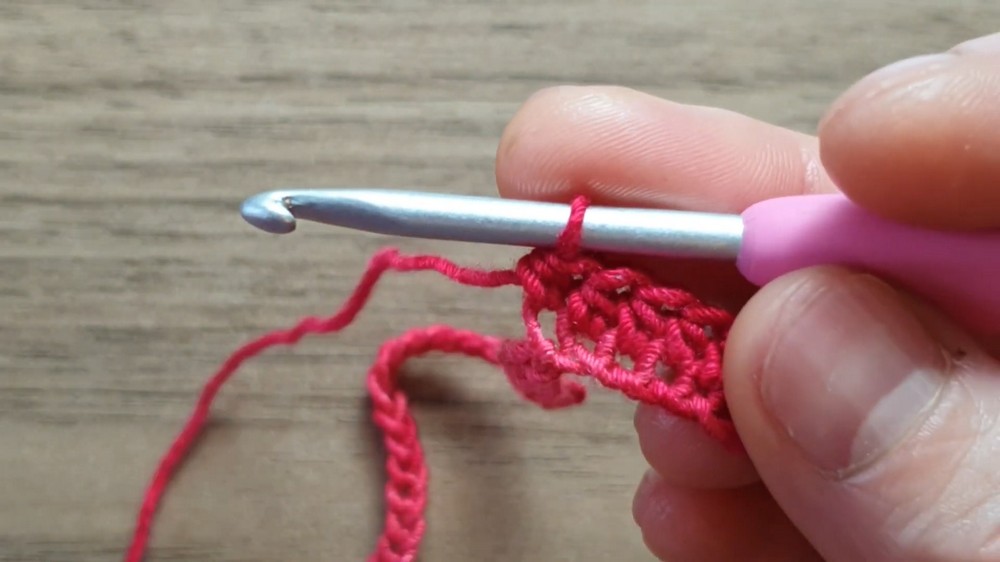
Step 2: First Row – Half Double Crochet
- Chain 1 to start the row (does not count as a stitch).
- Begin working half double crochet (hdc) into the 2nd chain from the hook.
- Continue working hdc in each chain along the entire row.
- When you reach the end of the row, chain 1 and turn your work.
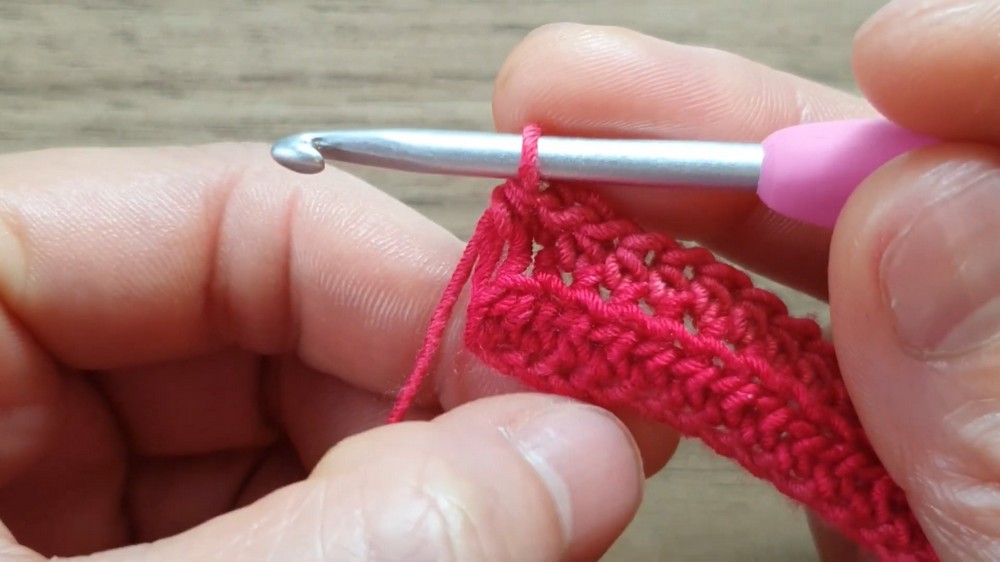
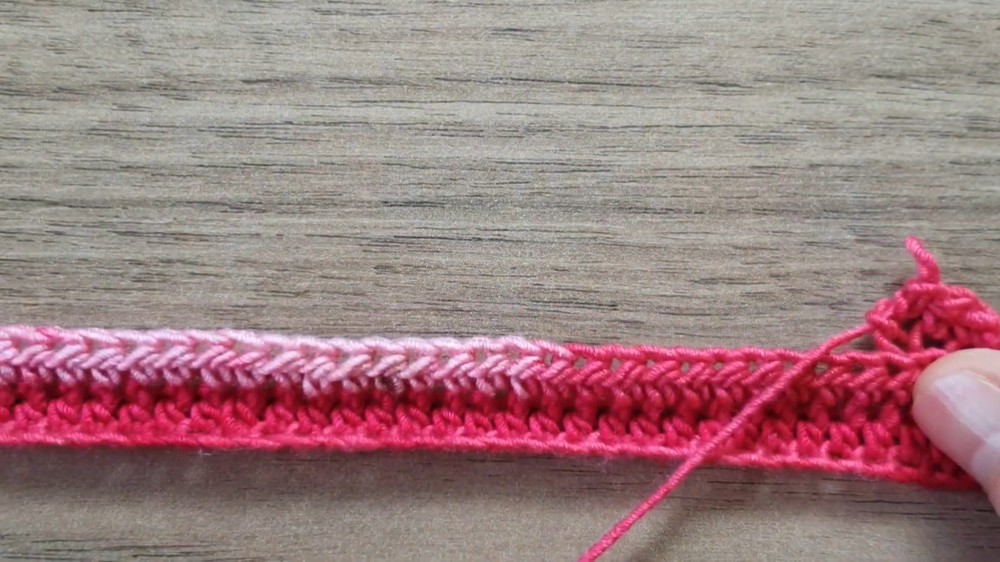
Step 3: Second Row – Back Loop Half Double Crochet
- Chain 1 (does not count as a stitch).
- For the second row, begin working half double crochet (hdc) into the back loop only (blo) of each stitch.
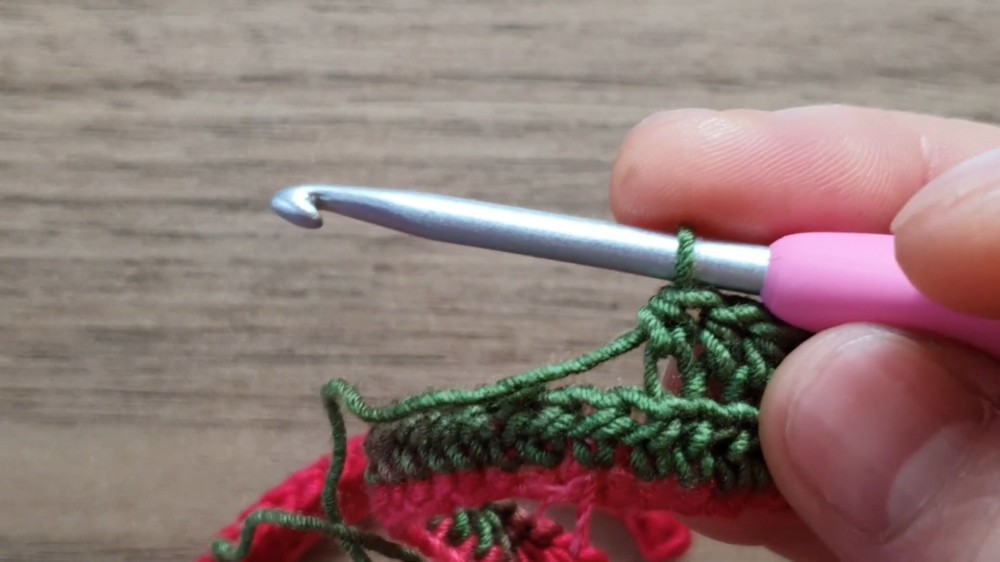
- Back Loop Only: Insert your hook into the top back loop of the stitch instead of the entire stitch. This creates a ribbed texture.
- Continue working blo hdc across the entire row.
- Once you finish, chain 1 and turn your work.
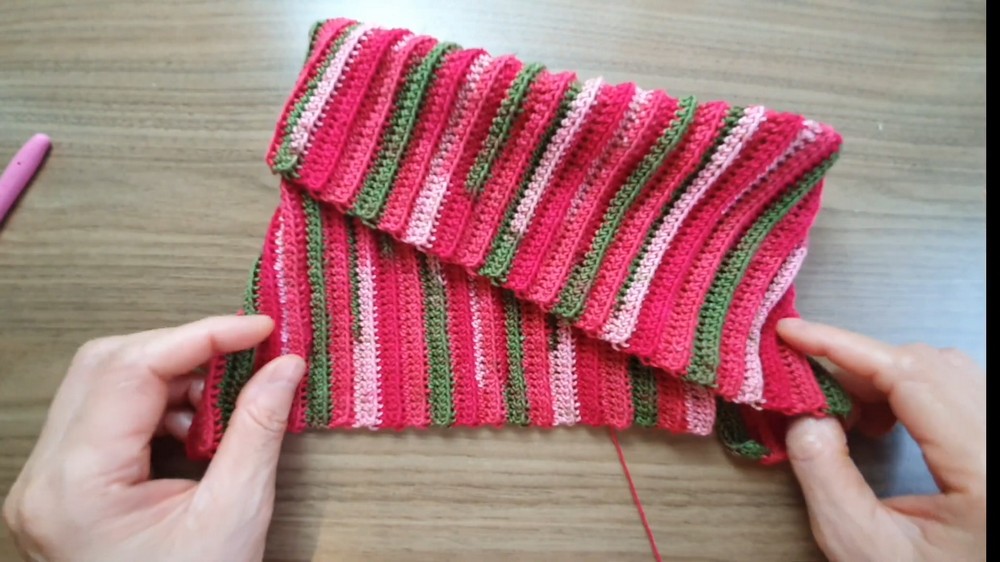
Step 4: Repeat Rows
- Repeat the second row pattern (blo hdc) for all subsequent rows.
- Continue crocheting until your rectangle measures the desired length to wrap around your neck.
- In the video, the neck warmer was approximately 15 inches long (unstretched). You can customize this length by adding or reducing rows.
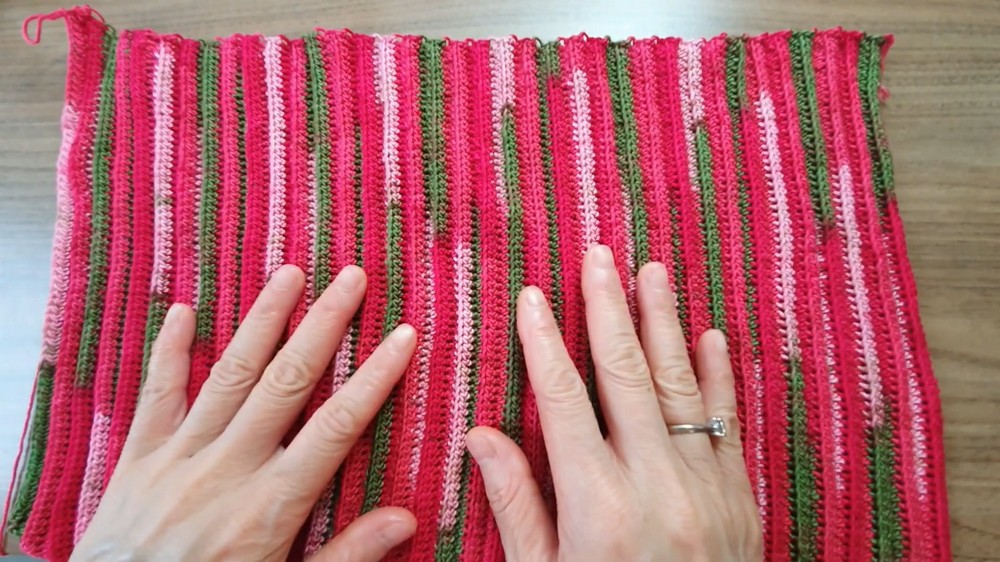
- In the video, the neck warmer was approximately 15 inches long (unstretched). You can customize this length by adding or reducing rows.
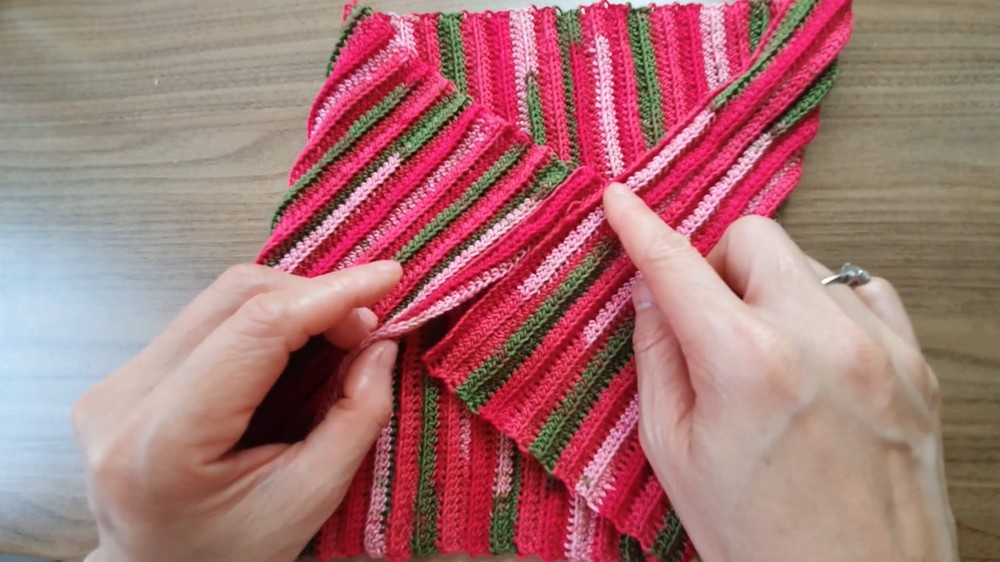
Step 5: Joining the Edges
- Once your rectangle reaches your desired dimensions, fold it in half lengthwise.
- Position the edges so that they align neatly.
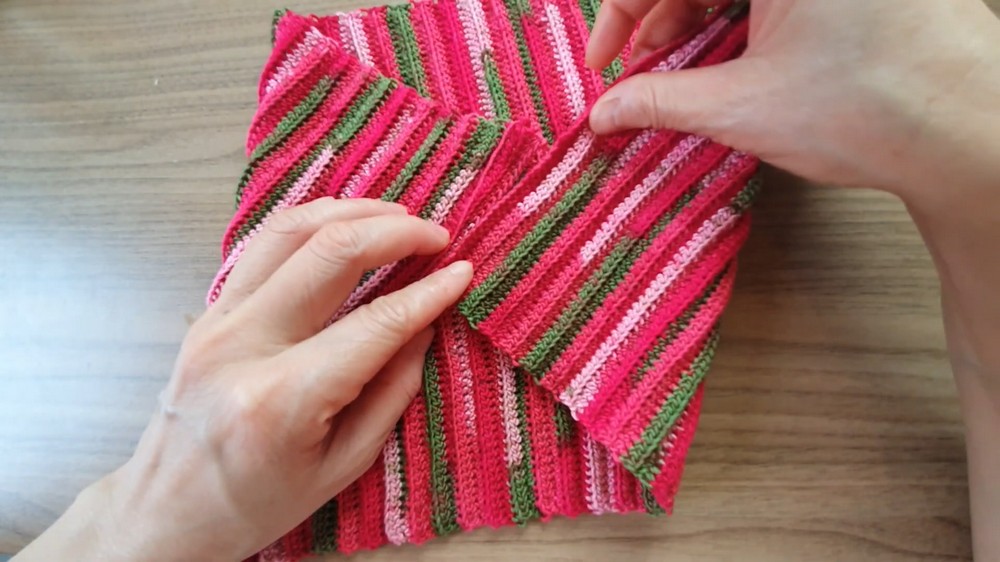
- Use a single crochet (sc) stitch to join the edges:
- Insert the hook into the first stitch on one edge.
- Then insert the hook into the corresponding stitch on the opposite edge.
- Work a single crochet stitch to join them.
- Repeat for all stitches along the edge until the seam is fully closed.
Step 6: Finish Off
- After completing the seam, work a slip stitch (sl st) to secure the yarn.
- Cut the yarn, leaving a short tail.
- Use a darning needle to weave in the loose ends.
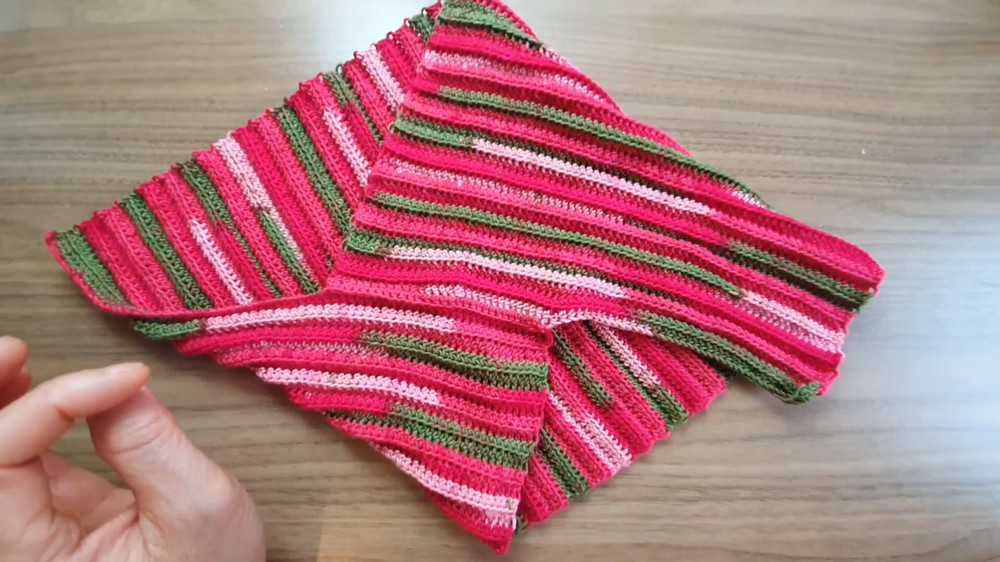
Final Adjustments
- Fold the neck warmer down to its final wearable position.
- Ensure that the seam is smooth and does not feel bulky at the neck.
- You can adjust the size or stretch depending on your preference.
Tips and Suggestions:
- Customize the Size: The pattern is adjustable. You can change the width of the scarf by adding or reducing the foundation chains. Add more rows for a longer neck warmer.
- Use Soft Yarn: Since this accessory is worn close to the skin, choose a soft and non irritating yarn for comfort.
- Experiment with Colors: Use leftover yarn or different colors to make the neck warmer unique and vibrant.
- Block the Piece: After crocheting, gently block the neck warmer for an even and polished look.
- Match Your Style: This pattern pairs great with other handmade winter items, such as hats or gloves, for a complete set.
Final Words:
This neck warmer is simple to crochet, quick to complete, and perfect for staying cozy in winter. The ribbed design adds a stylish touch, and the project is flexible for customization. It’s beginner friendly and a wonderful way to use up leftover yarn. With basic stitches and neat finishing, you’ll create a wearable piece that looks professional and feels great. Try experimenting with different yarns or hook sizes to suit your preferences.