Lightweight Free Crochet Summer Cardigan Pattern For warm Days
Have fun making a light crochet summer cardigan with this simple pattern that is great for warm days and cool evenings.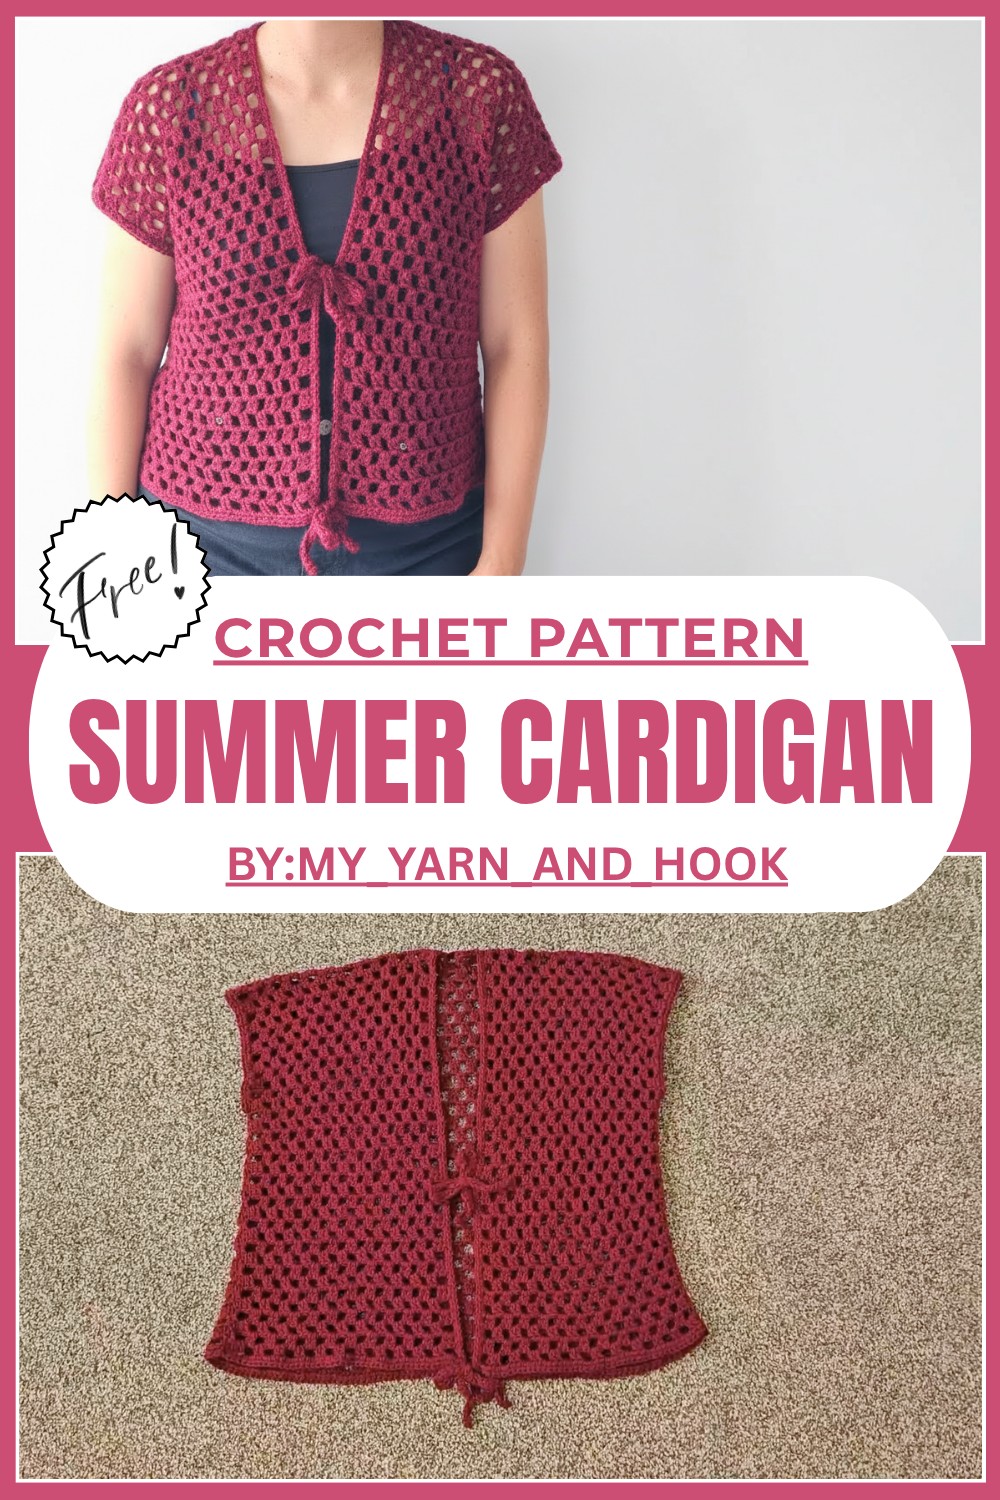
Beat the Heat in Style with This Free Crochet Cardigan Pattern
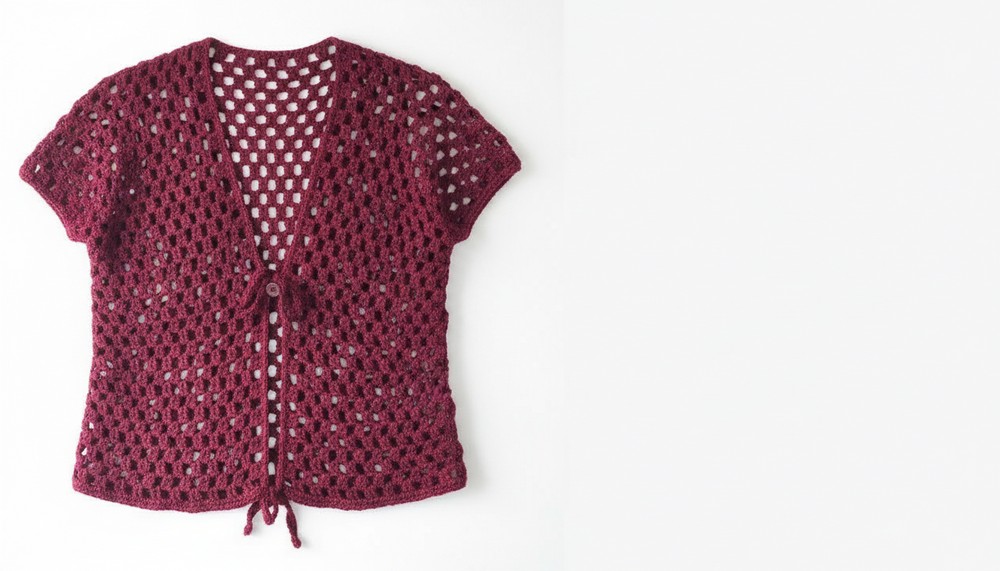
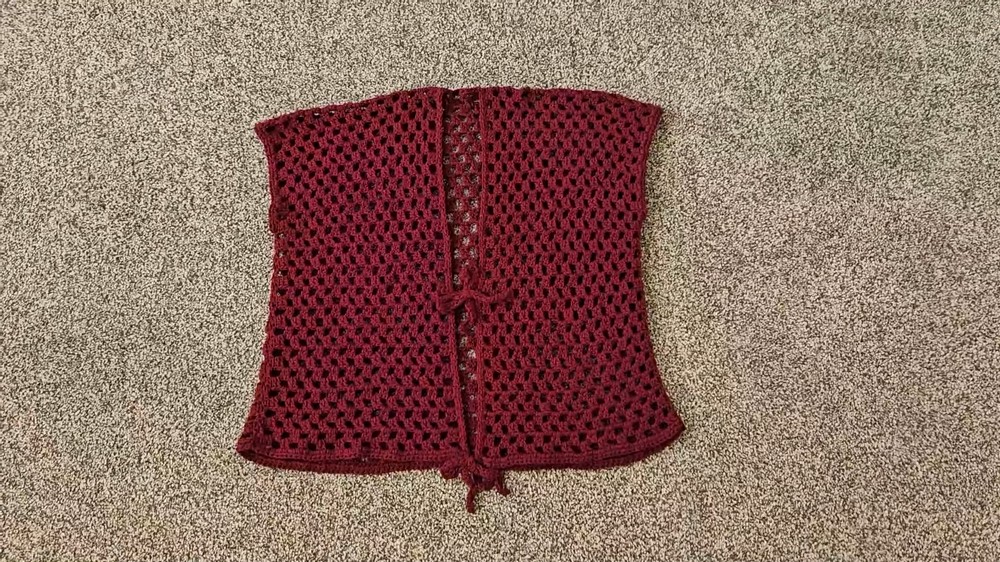
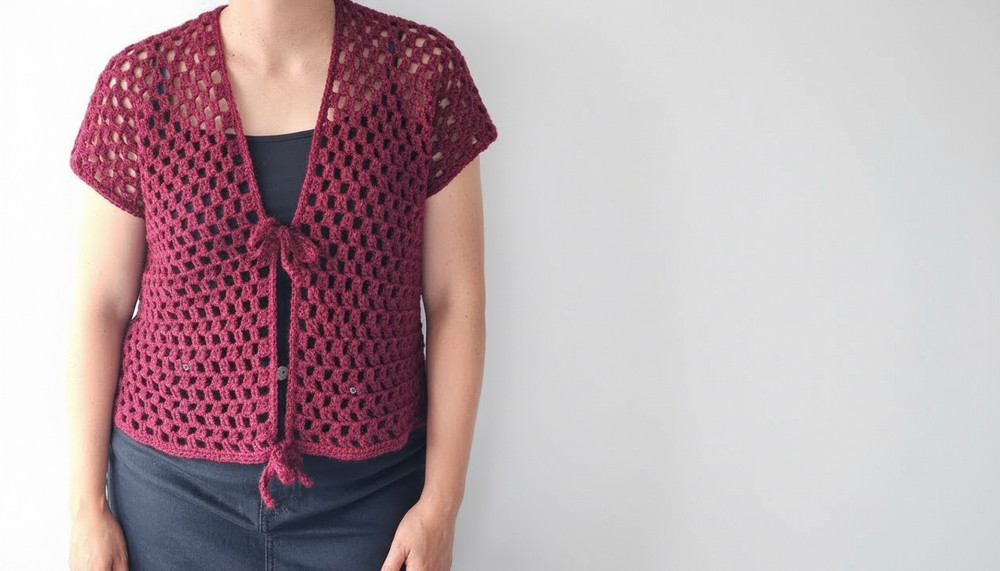
Stay cool and look lovely in the sunshine by making your very own light sweater with this Crochet Summer Cardigan Pattern. This easy and fun project is perfect for beginners, using only simple stitches like double crochet, half double crochet, and single crochet.
The cardigan is lightweight and breezy, making it ideal for warm summer days or as a stylish layer on cooler evenings. Its unique front ties can be customized with one, two, or three ties, giving you the freedom to make it your own. The elegant design, neat edges, and comfortable fit make this cardigan both trendy and practical. 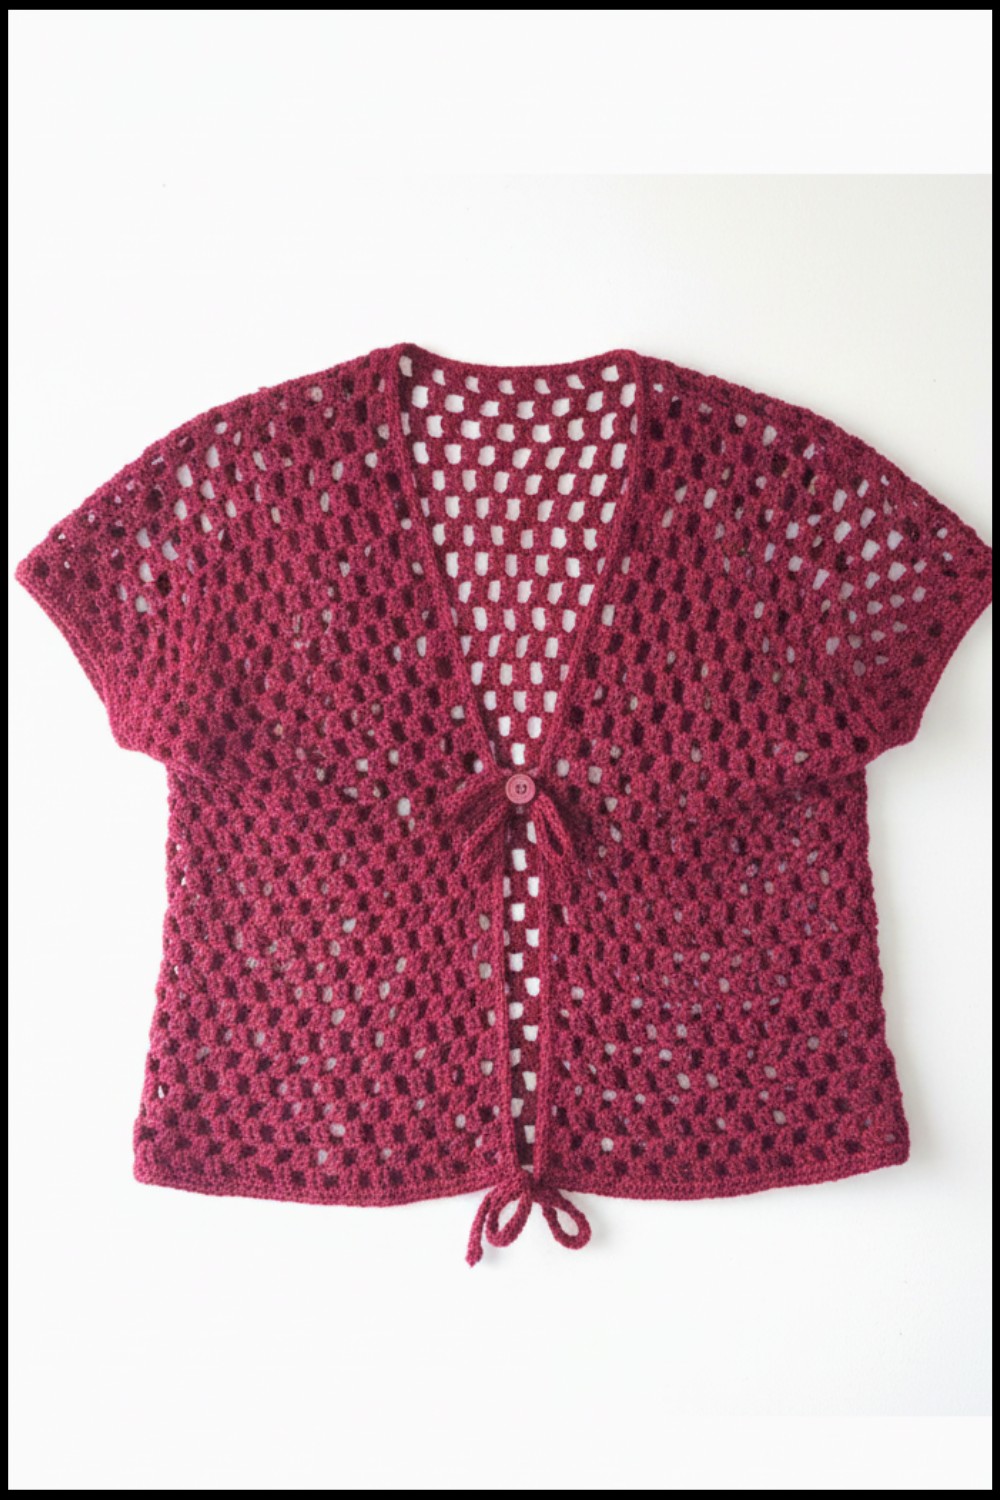 Whether you’re crocheting it for yourself or as a thoughtful gift, this pattern is a delightful way to add charm and flair to any summer outfit.
Crochet Summer Cardigan Pattern
Materials Needed:
- Yarn: Choose a lightweight or medium weight yarn suitable for summer wear.
- Crochet Hook: Use a hook size appropriate for your chosen yarn. The video demonstrates a hook compatible with lightweight summer yarn.
- Stitch Markers: For marking key points like the center of panels and armholes.
- Scissors: To cut the yarn.
- Tapestry Needle: For weaving in the loose ends.
Special Techniques Used:
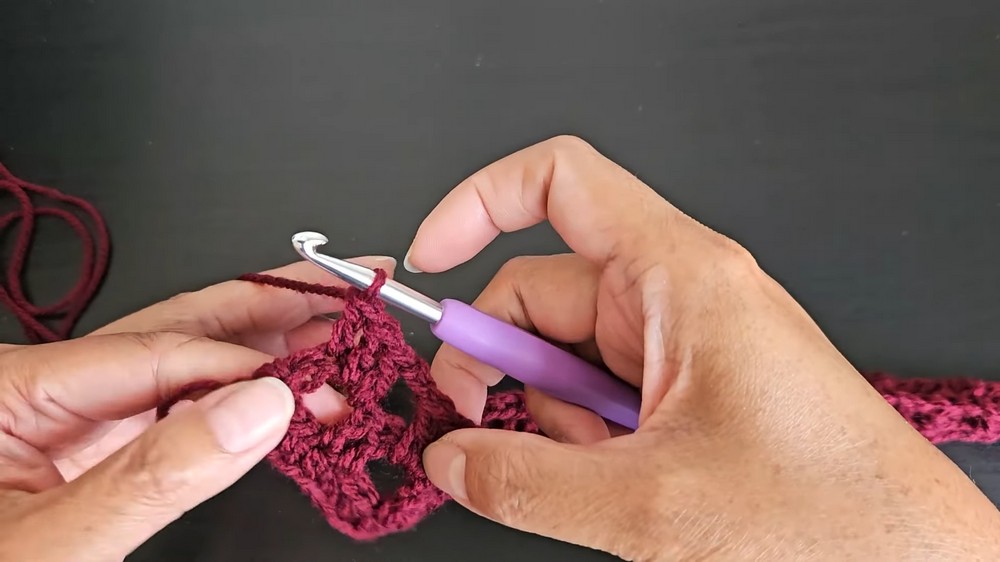
- Half Double Crochet (hdc): Yarn over, insert the hook, pull through a loop (3 loops on the hook), yarn over, and pull through all 3 loops.
- Double Crochet (dc): Yarn over, insert the hook, pull through a loop (3 loops on the hook), yarn over, pull through 2 loops, yarn over, pull through the remaining 2 loops.
- Single Crochet (sc): Insert the hook, pull through a loop (2 loops on hook), yarn over, and pull through both loops.
- Stacked Single Crochet (SSC): Begin with a single crochet and then work into the left leg of the stitch to mimic the height of a double crochet.
Pattern Instructions:
Step 1: Foundation Chain (Back Panel)
- Begin by chaining a multiple of four based on your desired width. The video demonstrates 100 foundation chains for a medium size cardigan.
- Add 2 extra chains to mark the turning point.
Step 2: Row 1 (Half Double Crochet)
- Turn your work and locate the back bumps of the foundation chain.
- Work a half double crochet (hdc) in the third chain from the hook. Continue working hdc stitches into the back bumps for the entire row.
- Once you’ve reached the end of the row, turn your work.
Step 3: Row 2 (Pattern with Double Crochet and Chain Spaces)
- Begin with a stacked single crochet (SSC) or a chain 3 if preferred. This replaces the first double crochet.
- Chain 2, skip 2 stitches, then work 2 double crochets (dc) into the next two stitches.
- Repeat the pattern: Chain 2, skip 2 stitches, work 2 double crochets.
- At the end of the row, finish with a single double crochet in the last stitch. Turn your work.
Step 4: Row 3
- Start with a stacked single crochet and work 2 double crochets into the chain spaces, followed by chain 2.
- Continue working this pattern of 2 double crochets in chain spaces, chain 2 until the end of the row.
- Finish the row with a single double crochet in the last stitch and turn your work.
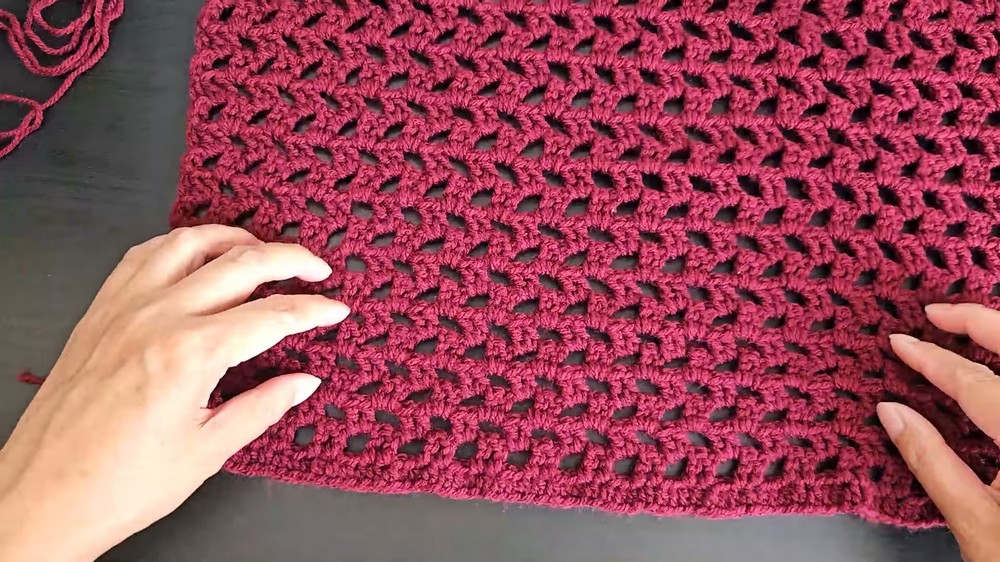
Step 5: Continue the Pattern
- Repeat Rows 2 and 3 alternately until you achieve your desired back panel length.
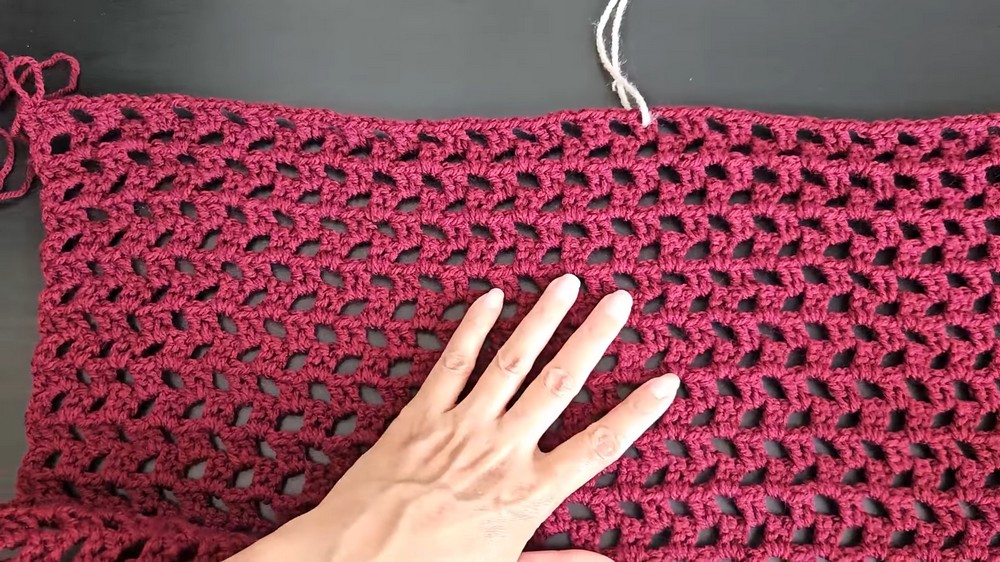
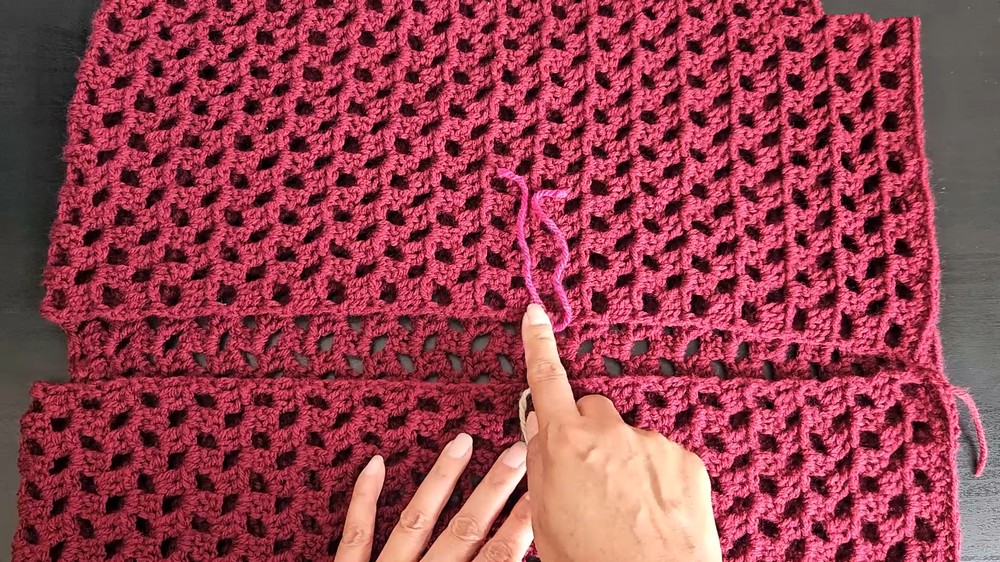
- Fold the panel in half to locate the center and mark it with a stitch marker.
Step 6: Front Panels
- For the right front panel, continue the same pattern as the back panel but only work up to half the width, leaving 5 cm of space for the front ties.
- Repeat the process for the left front panel. Ensure both front panels are symmetrical and match the length of the back panel.
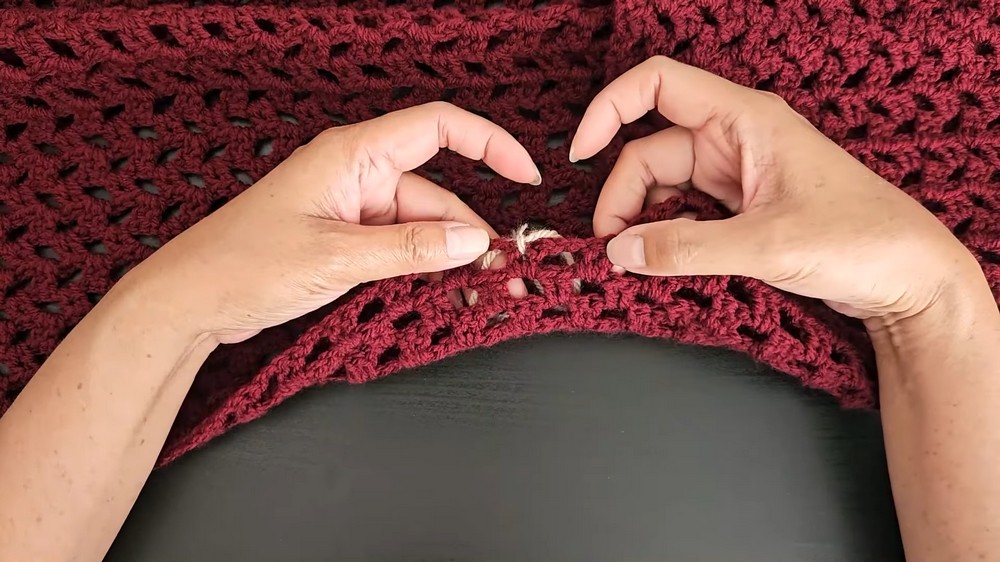
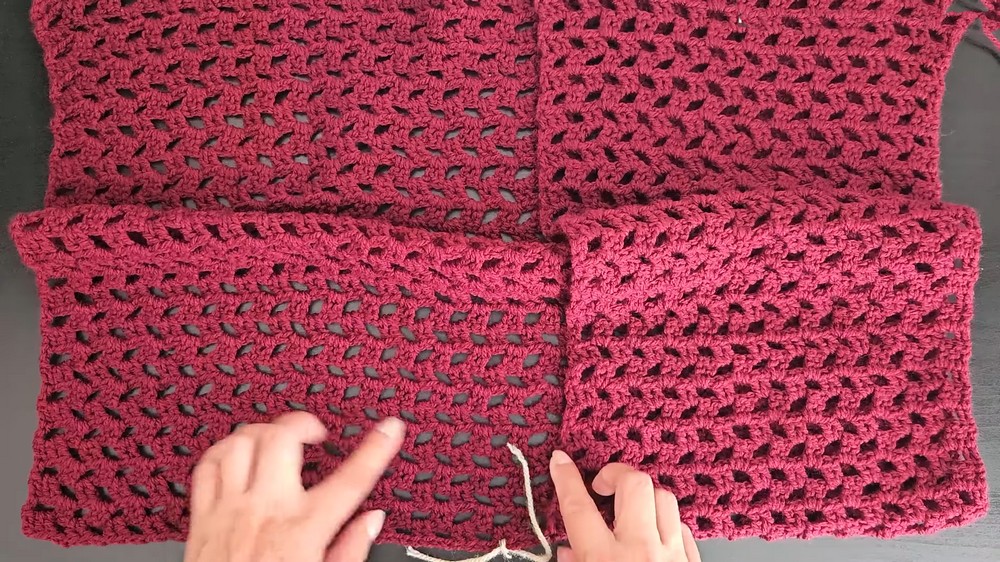
Step 7: Joining and Seaming
- Align the front and back panels. Seam the sides using single crochet or slip stitches, leaving a gap for the armholes (approximately 5 cm).
- Try the cardigan on to ensure the armholes fit comfortably.
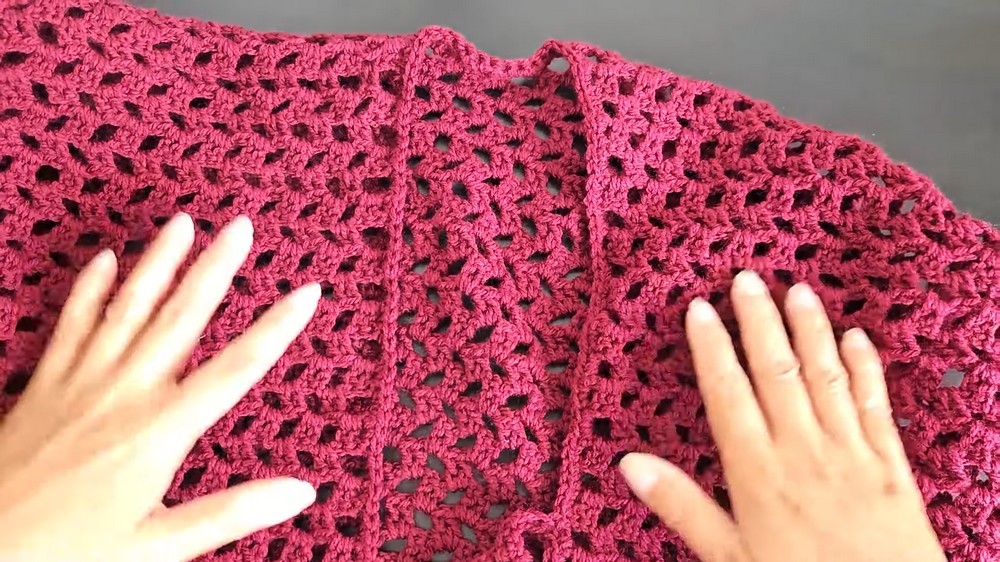
Step 8: Armhole Edging
- Turn the cardigan inside out to identify the armholes’ wrong sides.
- Work 2 half double crochets in each chain space along the armhole edge.
- Join the last stitch with the first stitch using a slip stitch. Finish off by chaining 1 and cutting the yarn.
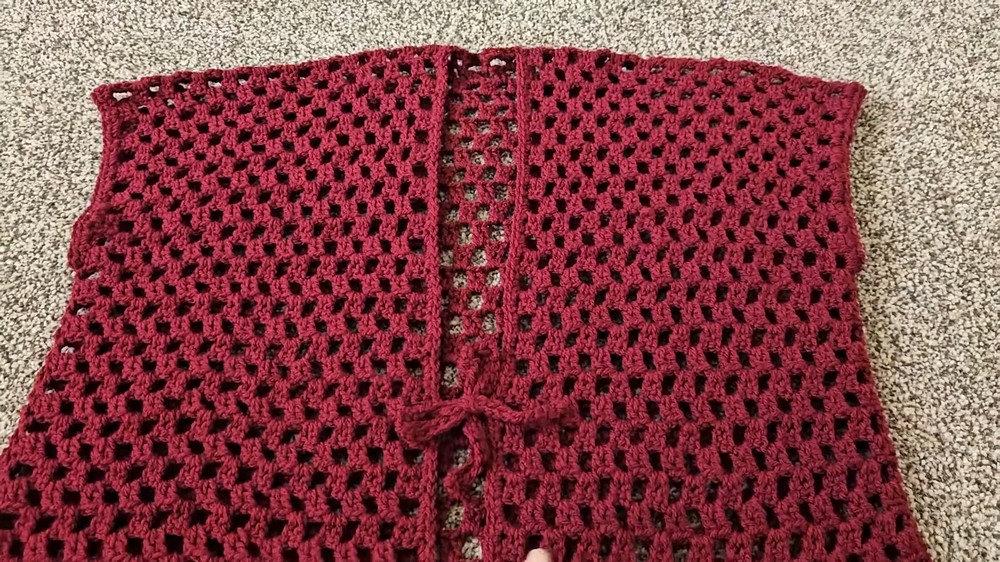
Step 9: Front Edging and Ties
- Begin at the bottom of the cardigan’s front opening.
- Work a single crochet edging around the opening for a neat finish.
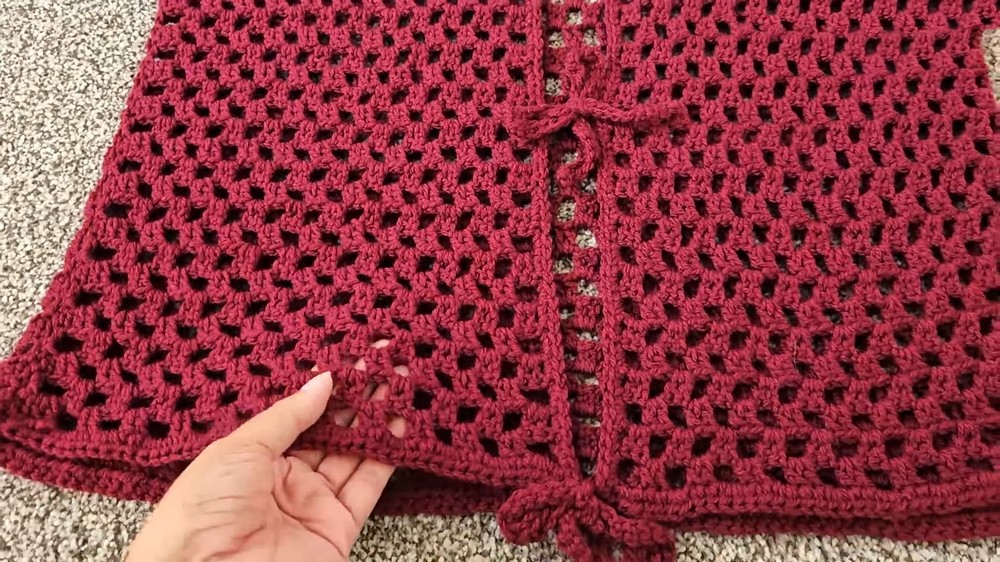
- For the ties, chain 30, then single crochet in the second chain from the hook and continue until the end of the chain. Attach the tie to the cardigan with a single crochet and repeat for the second tie. Adjust the number of ties and placement as per personal preference.
Finishing the Pattern:
- Tidy up all loose ends by weaving them in using a tapestry needle.
- Try on the cardigan, ensuring all seams are secure and edges are smooth.
Tips to Maintain the Pattern:
- Block the Garment: Lightly block or steam the cardigan to achieve a polished look and even out the stitches.
- Washing Care: Wash gently by hand with mild detergent to maintain the yarn quality. Avoid wringing or machine washing.
- Custom Sizing and Colors: Experiment with different yarn colors, textures, and hook sizes to customize the cardigan to your liking.
Final Words:
Congratulations on completing this summer cardigan with front ties. It’s lightweight, stylish, and perfect for warm weather. With a beginner friendly pattern and simple stitches, this project is ideal for honing your crochet skills while creating a usable and fashionable garment. Enjoy wearing your cozy yet airy cardigan or gift it to someone special—homemade gifts always carry love and care.