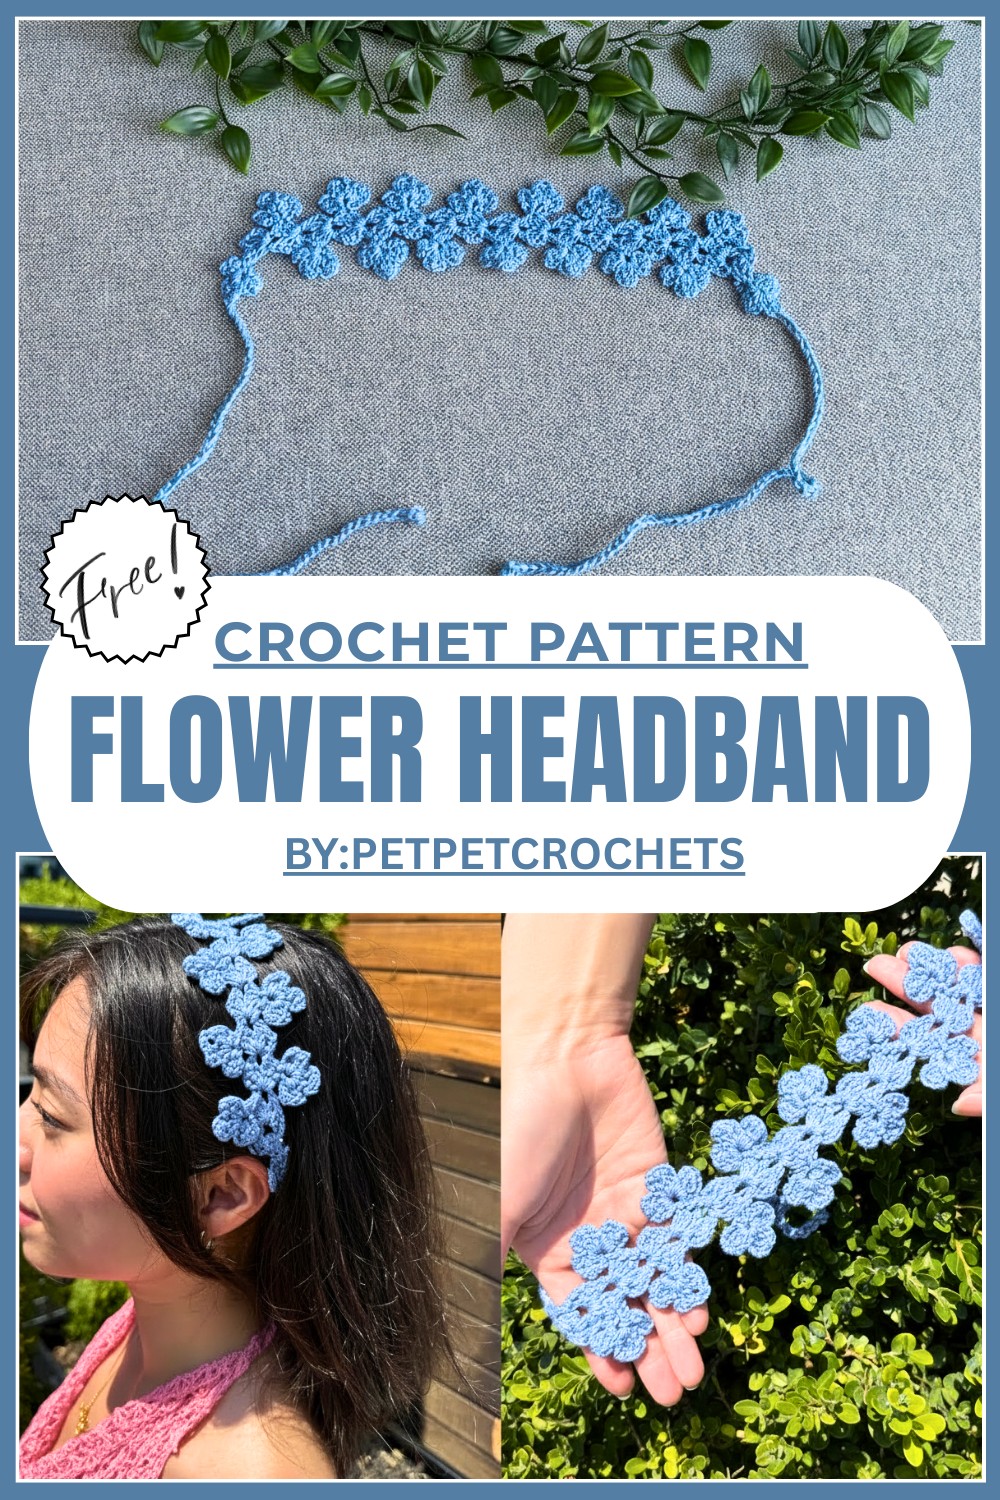
Pretty Free Crochet Flower Headband Pattern For Festivals
Hook this Free Crochet Flower Headband Pattern right now to assemble a soft, blooming hair piece that brings a beautiful floral charm to your style.
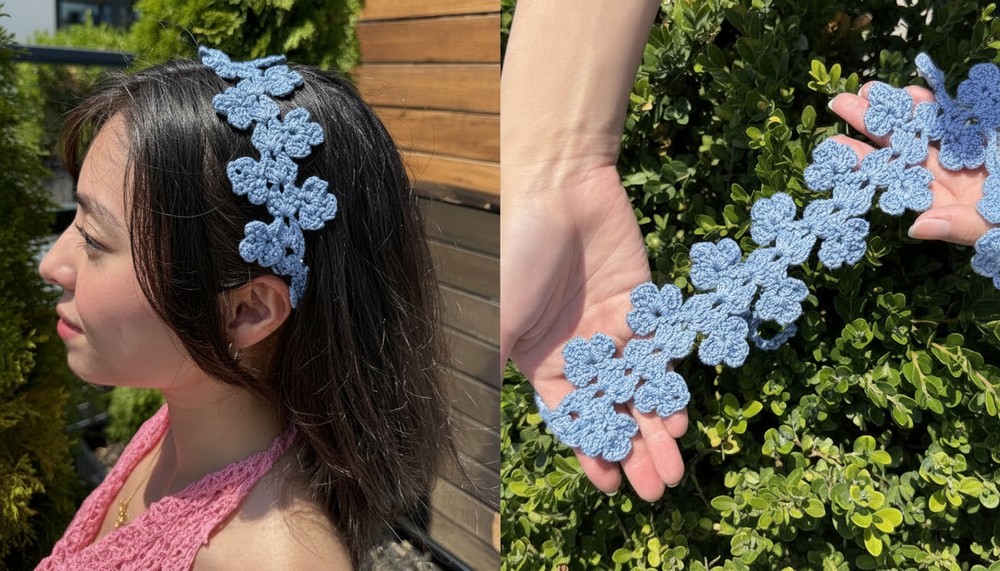
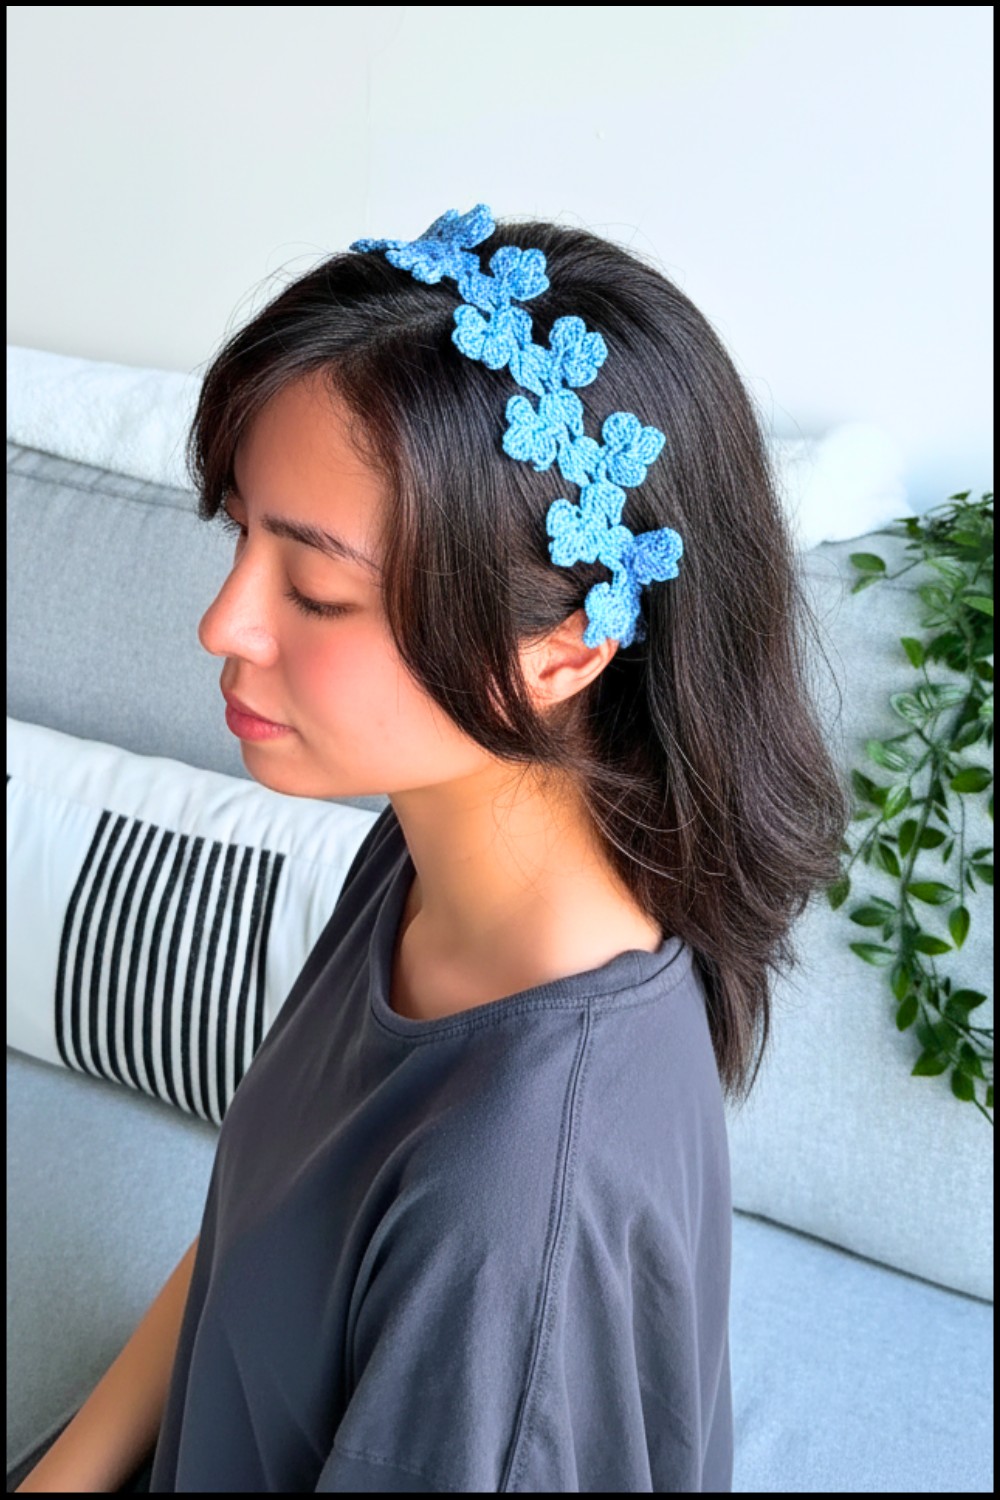
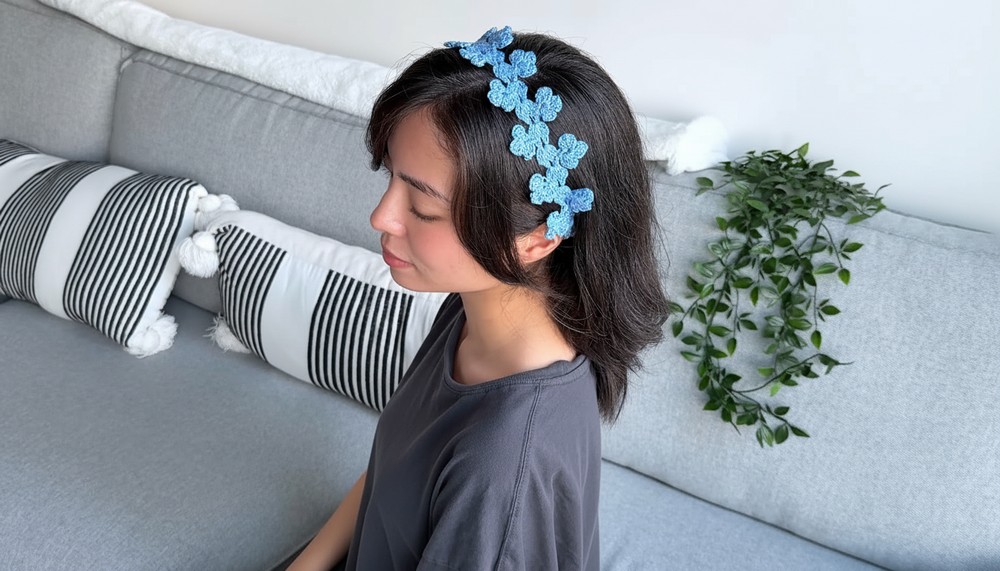
Easy Free Crochet Flower Headband for Summer Vacations
Making a pretty Crochet flower headband with free pattern is easy and fun. This pattern helps you create a beautiful and simple headband that looks like a delicate crown. It is perfect for summer, parties, or everyday style. This headband has small flower designs that are soft, cute, and eye catching.
 It only takes about 30 minutes to complete, making it a quick and enjoyable project even for beginners. You can wear it as a stylish accessory, use it as a gift, or even make smaller versions for bracelets or chokers. Add beads or try thinner threads for a more delicate look. It is a wonderful way to create something stylish, unique, and handmade all by yourself.
Pretty Free Crochet Flower Headband Pattern
Materials Needed
- Yarn/Thread: Size 3 crochet thread (or thread/yarn of your choice). A thinner crochet thread like size 10 can also be used for a daintier look.
- Hook: 2.75 mm crochet hook (adjust, if needed, based on yarn size).
- Scissors: For cutting the thread.
- Tapestry Needle: For weaving in ends.
- (Optional) Beads: For embellishing the headband.
Special Techniques
- Slip Stitch (Sl St): Insert hook, yarn over, pull through both loops.
- Double Crochet (DC): Yarn over, insert hook, pull up a loop (3 loops on hook). Yarn over and pull through the first 2 loops. Yarn over and pull through the last 2 loops on the hook.
- Puff Stitch: Yarn over, insert hook into circle, pull up a loop. Yarn over, pull through two loops. Repeat this until three loops remain, then yarn over and pull through all loops.
- Turning Work: Rotate the project as described to prepare for the next step.
Crochet Headband Instructions
Headband Base
- Start with a Chain Loop:
- Chain 5.
- Slip stitch into the very first chain to form a circle. This will be your starting base.
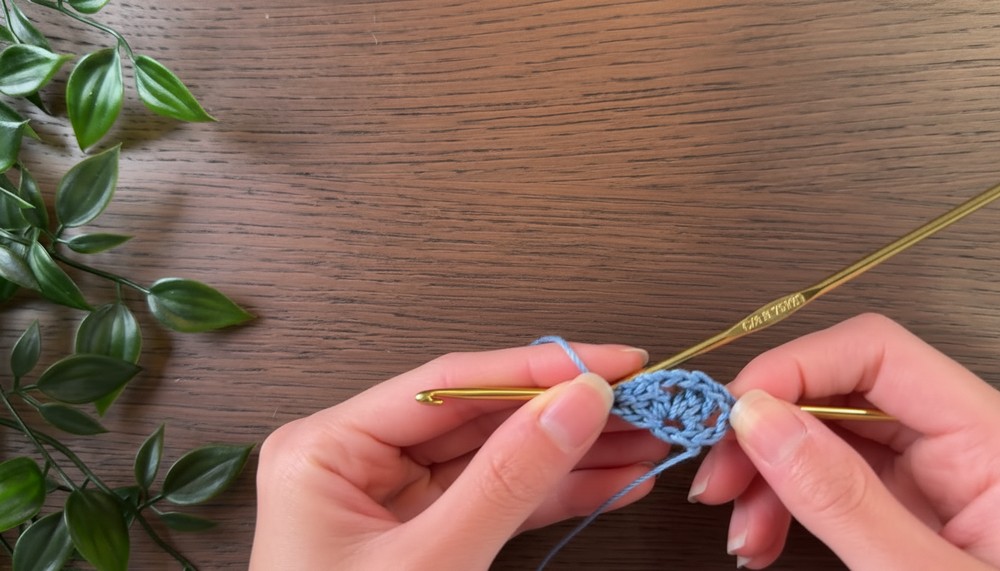
- Foundation Rows:
- Chain 3 (counts as the first DC here).
- Place 2 DC stitches into the center of the circle.
- Chain 3.
- Add 3 more DC stitches into the center. You should now have two clusters of 3 DC stitches, separated by a chain 3 space. This forms the middle base pattern.
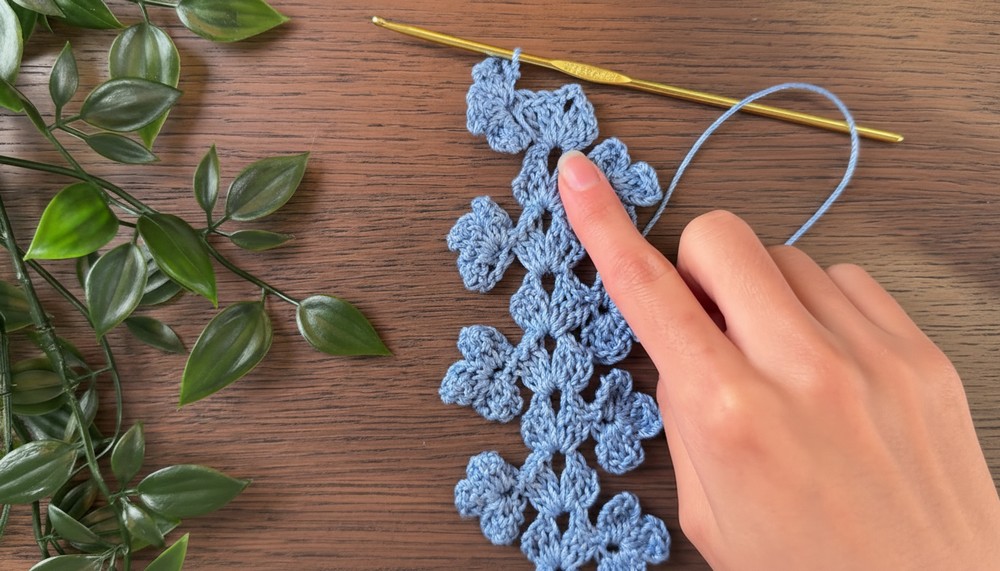
Adding a Flower
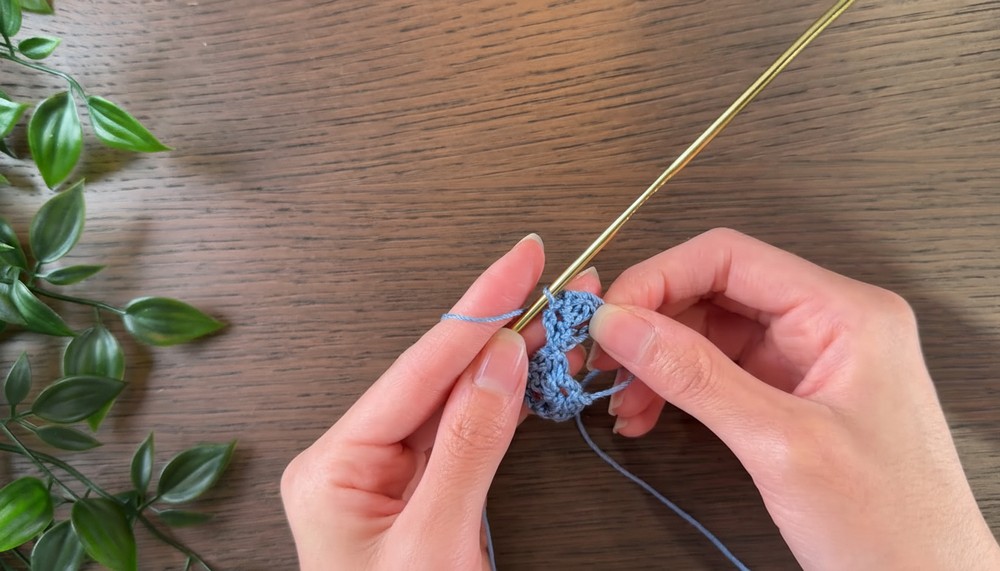
- Form Flower Base:
- Chain 4 and create another small circle by slip stitching into the base of the chain (through the front loops).
- Chain 4 and create another small circle by slip stitching into the base of the chain (through the front loops).
- Turn and Add Petals:
- Turn your work so the new small circle faces the left.
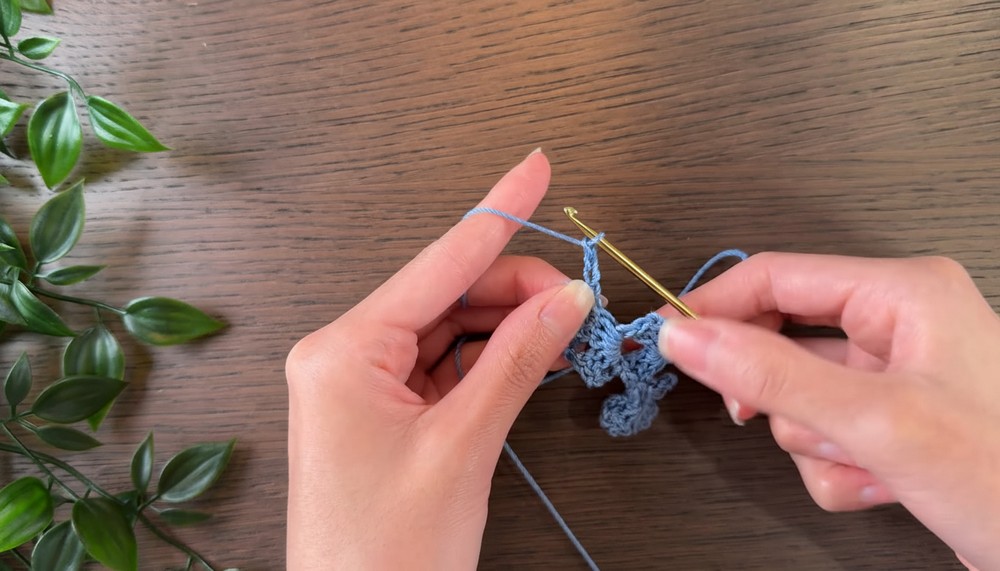
- Chain 3 and make a puff stitch in the center of this small circle:
- Yarn over, insert hook into the circle, and pull up a loop. Yarn over, pull through 2 loops. Repeat once more until 3 loops are on the hook.
- Yarn over and pull through all loops.
- Chain 3 and slip stitch into the center of the circle to complete the first petal.
- Repeat this puff stitch process two more times to create three petals in total for the flower.
- Secure Flower:
- Chain 3 and slip stitch into the circle once again. You now have a completed flower with three petals.
- Chain 3 and slip stitch into the circle once again. You now have a completed flower with three petals.
Reposition to Base
- Use slip stitches to move back to the chain 3 base space (the middle section).
- Chain 3.
- Place 2 DC stitches into the chain space. Chain 3 again, and then place 3 DC stitches into the same chain space. You have now completed another section of the headband’s base.
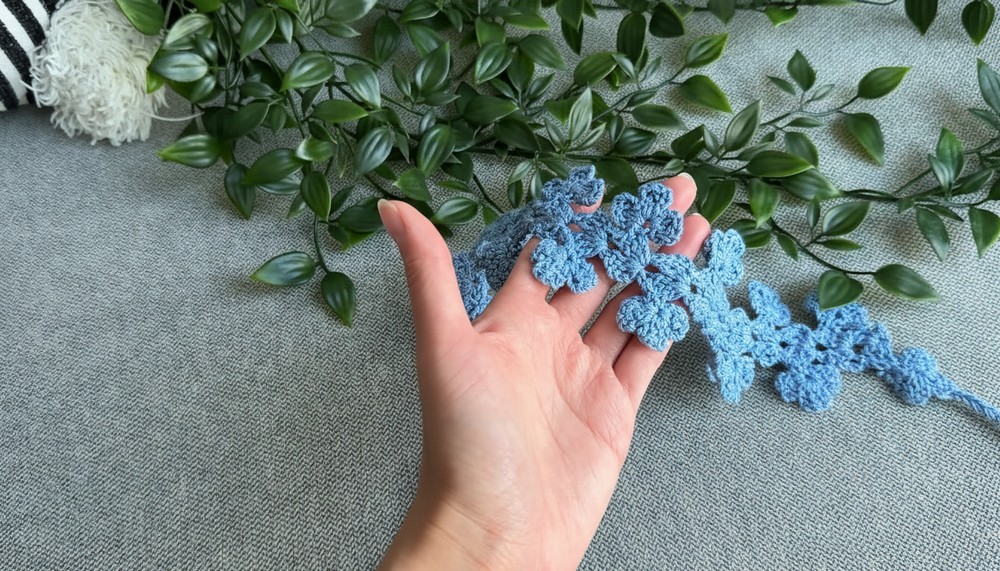
Repeat the Pattern
- Continue repeating the flower making process followed by reconstructing the chain 3 base sections as described above.
- Keep working the headband until it reaches the length you desire.
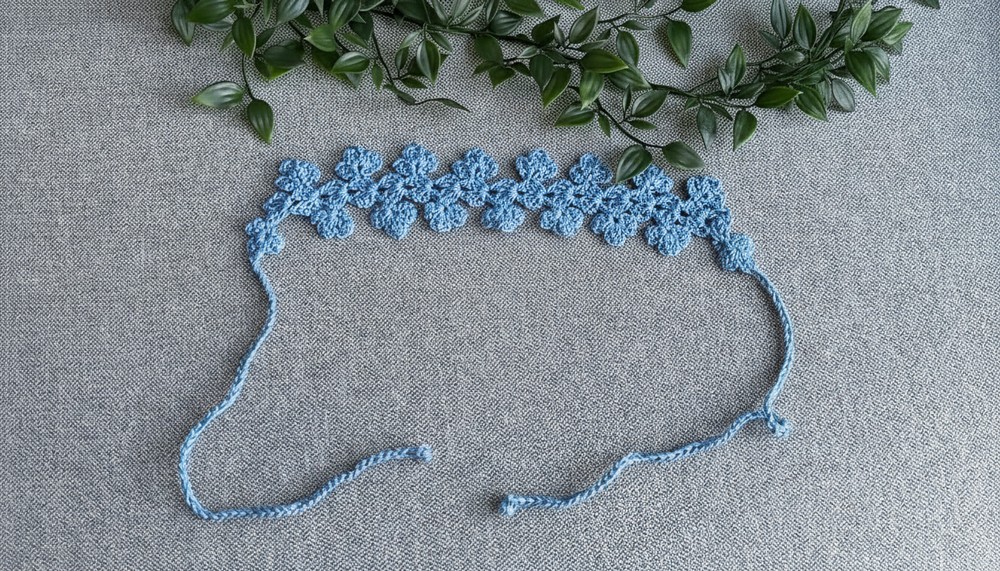
Finishing the Headband
- Fastening Off:
- Finish your final flower.
- Slip stitch into the next stitch after finishing the last petal.
- Chain 1, cut the yarn, and pull it through to secure.
- Optional: Adding Straps:
- To make straps, add a slip knot to the right side of the top stitch from a petal on one end of the headband.
- Slip stitch into the middle petal, aligning the strap with the flower.
- Then chain as long as needed for the strap to wrap securely around your head.
- Once your chain reaches the desired length, chain 1, cut the yarn, and pull it through to secure.
- Repeat for the other end of the headband to create two straps.
- Optional: Full Loop Headband:
- If you prefer a continuous loop that wraps around your head, crochet the headband long enough and seam both ends together by slip stitching or weaving the ends securely.
- Final Touches:
- Weave in all loose ends using a tapestry needle.
- Knot the ends of the straps, if necessary.
- Trim any excess thread for a neat finish.
Final Words & Tips
- Versatility: You can create variations of this headband by using thinner thread or yarn for a more delicate appearance. Adding beads to the flowers can elevate the design.
- Multi Use: This pattern isn’t limited to headbands. Shorten it to create bracelets or chokers, or use the floral elements individually for other crocheting projects.
- Customization: Adjust yarn size, colors, or hook size to achieve your desired look. The pattern is flexible, allowing for complete customization.
- Maintenance: Wash gently by hand and lay flat to dry to retain the beauty and durability of the crochet.
This crochet floral headband is a quick, fun, and creative project for any skill level. With minimal materials and a simple process, you can create a beautiful accessory for everyday wear or special occasions. Let your creativity shine, and enjoy your handmade creation.