
Cute Free Crochet Short Sleeve Shrug Pattern To Add Style
Refresh your outfit with this Free Crochet Short Sleeve Shrug Pattern and stitch a light, stylish layer that pairs beautifully with dresses, tops, and casual looks.
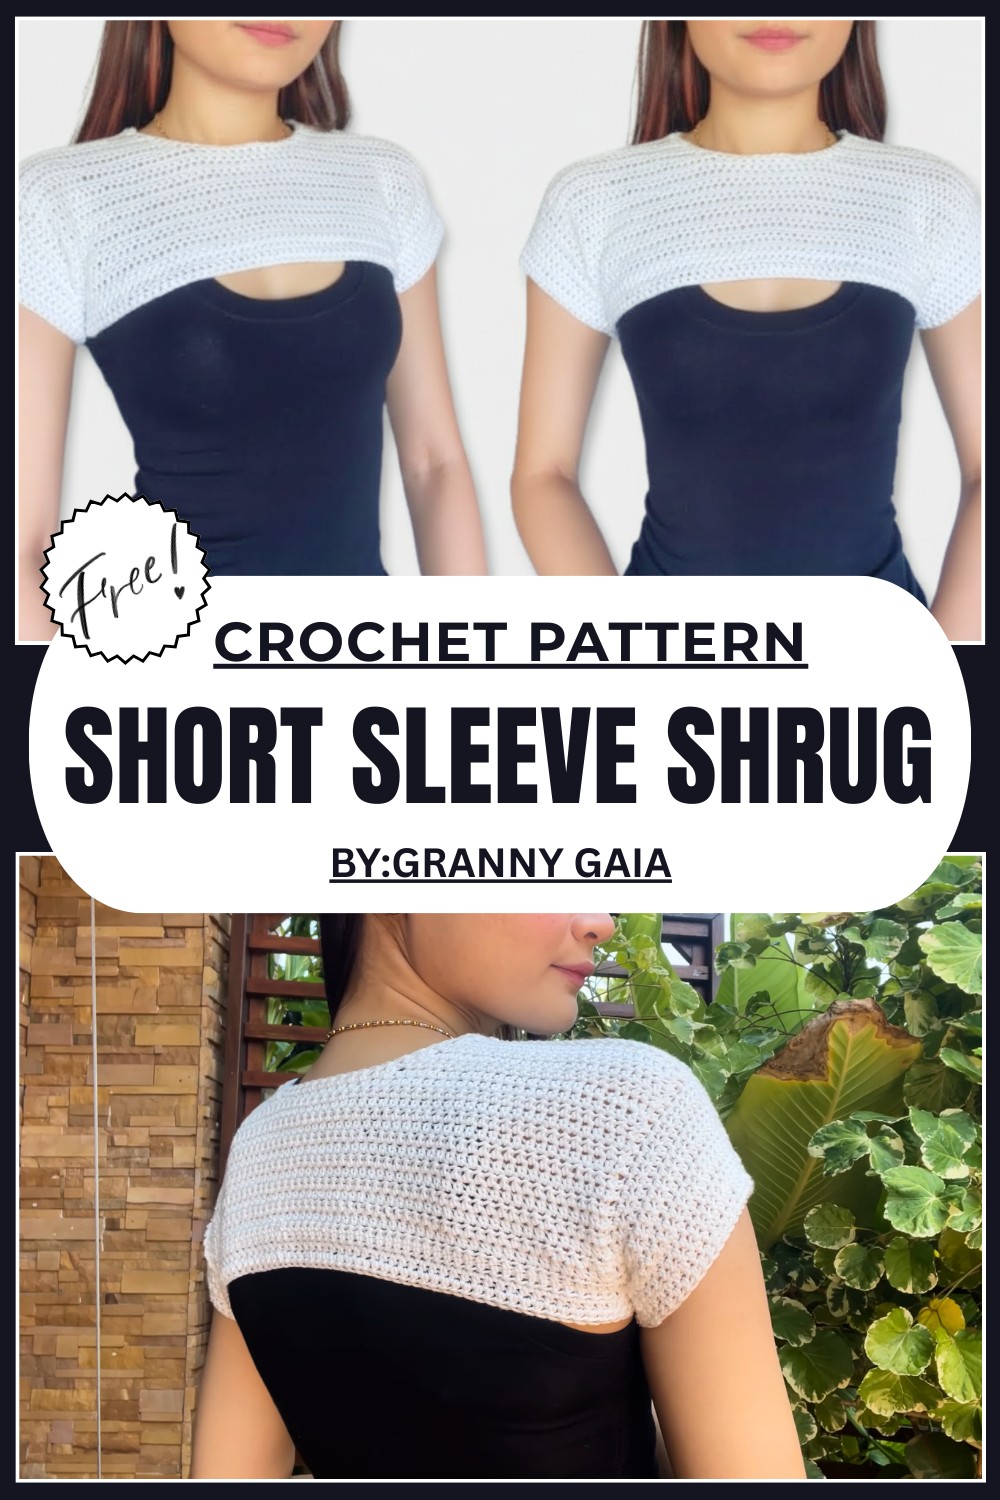
Playful Free Crochet Short Sleeve Shrug Pattern for Everyday Fashion
A calm afternoon and a light breeze often make people look for something soft and comfortable to wear over their outfit. That is where the Free Crochet Short Sleeve Shrug Pattern becomes a wonderful idea for anyone who enjoys simple handmade fashion. This shrug has a gentle and neat look that sits nicely over the shoulders and arms. The short sleeves give it a relaxed and airy feel, making it perfect for warm or slightly cool days.
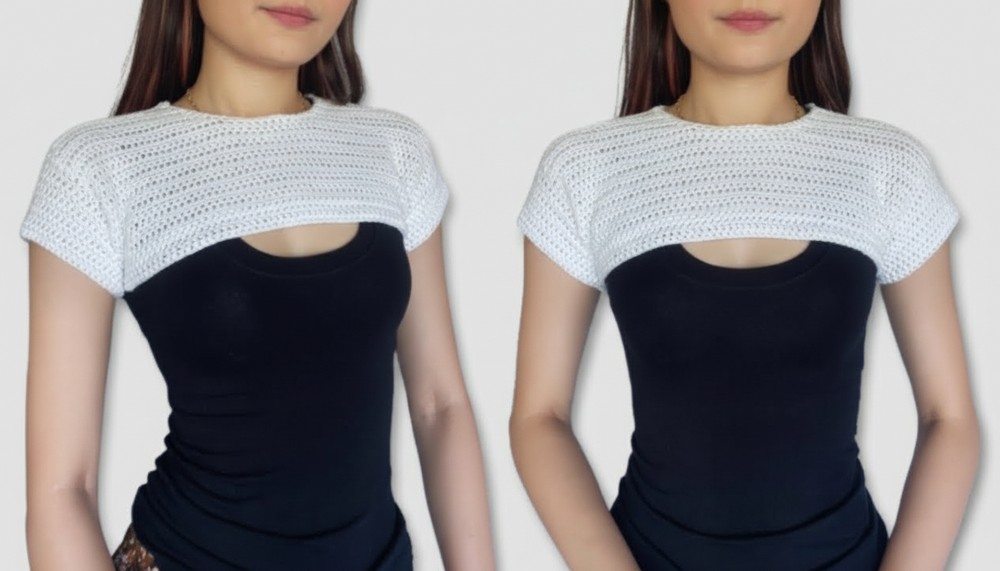
Its crochet texture adds a lovely handmade beauty that makes the piece look special and unique. It can be worn over a dress, a top, or even with casual clothes when going out for a walk, meeting friends, or attending a small event. The pattern usually uses easy stitches that are simple to follow, so even a beginner can try it with confidence. In the end, this crochet short sleeve shrug offers comfort, usefulness, and a graceful handmade appearance.
Finished Size
This shrug is a made-to-measure pattern, meaning you adjust the size as you crochet, making it perfectly tailored to your body. Recommendations for standard measurements are included throughout.
Materials
- Yarn: Choose a sport-weight cotton yarn or any lightweight (2-weight) yarn. The tutorial uses a sport-weight cotton yarn.
- Hook: 4mm crochet hook (adjust hook size according to your yarn).
- Tape Measure: To take precise measurements.
- Stitch Markers: For marking stitches and panels.
- Tapestry Needle: For joining and weaving in ends.
- Scissors: For cutting yarn ends.
Skill Level
- Intermediate
Key Abbreviations (US Terminology):
- Ch = Chain
- Sl St = Slip Stitch
- HDC = Half Double Crochet
- St/Sts = Stitch/Stitches
- YO = Yarn Over
Special Techniques
- Made-to-Measure Technique: Measure and create rows as you crochet for a tailored fit.
- Half Double Crochet (HDC):
- YO, insert hook into stitch, YO, pull up loop (3 loops on hook), YO, pull through all 3 loops.
- Decrease: A technique to shape the neckline by combining two stitches:
- YO, insert hook into first stitch, YO, pull up loop, YO, pull through 2 loops. Insert hook into the next stitch, YO, pull up loop, YO, pull through 3 loops.
- Slip Stitch for Joining Panels: Creates a clean seam.
- Sizing Notes: Regularly adjust measurements by trying the shrug on during the process.

Detailed Pattern Instructions
Part 1: Front and Back Panels
Step 1: Initial Measurement
- Measure the width of the shrug (from one underarm to the other across the chest/back).
- Example: For a width of 15 inches, create a chain long enough to match the measurement.
- Create a Chain Foundation:
- Start with a slip knot.

- Chain loosely (the chain tends to stretch less). Measure and adjust the chain length slightly for a snug fit.
- Start with a slip knot.
Step 2: Row 1 (Foundation Row)
- Ch 2 (turning chain).
- Work HDC into the third chain from the hook.
- Mark the first stitch using a stitch marker for easy identification.
- Continue working HDC across the row (60 HDC for 15 inches, depending on your measurement).

Step 3: Rows for Panel Length
- Ch 2, turn your work, and start the next row:
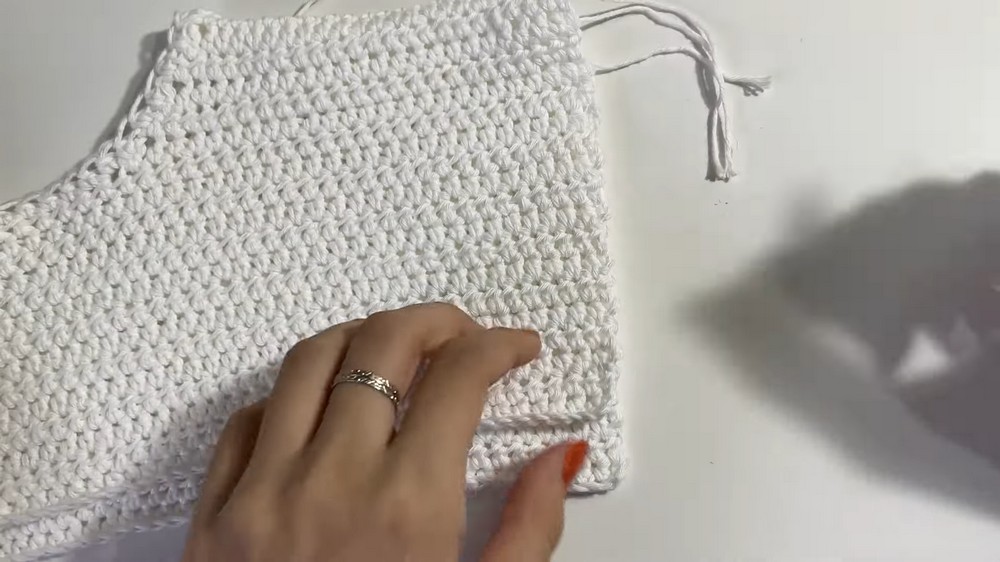
- Work 1 HDC into each stitch across the row.
- Always mark the first stitch of each row to track your progress.
- Continue until your rows reach the base of the neck.
- Example: For the panel’s total height, 14 rows were used here.

- Example: For the panel’s total height, 14 rows were used here.
Part 2: Neckline and Shoulder Panels
Step 1: Neck Measurement
- Measure your neck width: Place a tape measure across the base of your neck (from one edge to the other).
- Example: For a neck width of 5 inches, subtract 2 inches (for shaping).
- Neck gap = 3 inches.

Step 2: Mark and Divide Panel
- Fold the panel in half and place a stitch marker in the middle.
- Measure 3 inches (or your calculated gap) centrally between markers.
- Count the number of stitches within the neckline gap (e.g., 12 stitches for 3 inches) and ensure both sides of the panel have an equal number of stitches left (e.g., 24 stitches on each side).

Step 3: Shoulder Panels
- Left Shoulder Panel:
- Begin at the edge of the panel, Ch 2, turn, and work HDC into each stitch until you reach the neckline marker.
- Decrease at the neckline:
- Work a decrease stitch in the last two stitches at the neckline marker (refer to the Special Techniques section).
- Turn your work, make HDC across, and continue working shoulder rows with decreases at the neckline.
- Repeat until the panel measures from the base of the neck to the shoulder seam (2 inches or 6 rows in this example).

- Fasten off.
- Right Shoulder Panel:
- Attach yarn at the opposite edge of the panel.
- Repeat the process described for the left shoulder panel, ensuring both sides have symmetrical rows and decreases.
Step 4: Duplicate Panel
- Create an identical second panel, but keep the yarn attached after completing the shoulder rows. You will use this yarn to seam the panels.
Part 3: Joining Panels
Step 1: Seam the Shoulders
- Hold the two panels together with the wrong sides facing out.
- Sl St seams: Insert the hook through corresponding stitches on both panels, YO and pull through all loops. Continue along the seam line.
- Fasten off and repeat for the other shoulder.
Part 4: Neckline Border (Optional)
- Join yarn into the neckline seam.
- Work 1 HDC into each row along the neckline. Avoid tight stitches to ensure proper fit.
- Slip stitch to join, fasten off, and try the shrug on to check if the neckline fits comfortably.
Part 5: Sleeves
Step 1: Armhole Chains
- Join yarn at the underarm corner.
- Create a chain that connects the underarm gap to the opposite corner of the armhole.
- Example: 10 chains for a snug fit.
- Slip stitch the chain to join the armhole.

Step 2: Sleeve Rows
- Round 1 (Base Round):
- Ch 2, work HDC into each row along the armhole and into the foundation chain stitches.
- Slip stitch to join the round.
- Round 2 Onward:
- Work evenly for a looser sleeve or incorporate decreases for a tighter fit.
- Example: Skip the first stitch of certain rounds to reduce stitch count for shaping.
- Continue until your sleeve reaches the desired length.
- Repeat for the second sleeve, ensuring symmetry.
Part 6: Adding Length
- If you want to add length to the shrug bottom:
- Join yarn at a corner and work HDC rows across the edge.
- Continue until the desired length is reached.

Finishing
- Weaving in Ends: Use a tapestry needle to hide any loose yarn tails.
- Blocking: Gently block the shrug to smooth edges and ensure a polished finish.
Final Words and Tips
Congratulations on completing your short sleeve shrug! This customizable design allows you to adjust the neckline, sleeves, and length as needed. Use different yarn weights and colors to personalize your shrug for any season!
Tips for Success
- Regular Fit Checks: Try the shrug on as you crochet to ensure proper measurements.
- Maintain Consistent Tension: Avoid tight stitches, especially around the neckline and armholes.
- Experiment with Borders: Add decorative borders to the neckline or sleeves for creative flair.