Amazing Free Crochet Tie-Up Top Pattern For Summer Days
Style your wardrobe with this crochet tie-up top that’s adjustable, comfortable, and perfect for any occasion, offering beauty in one piece.
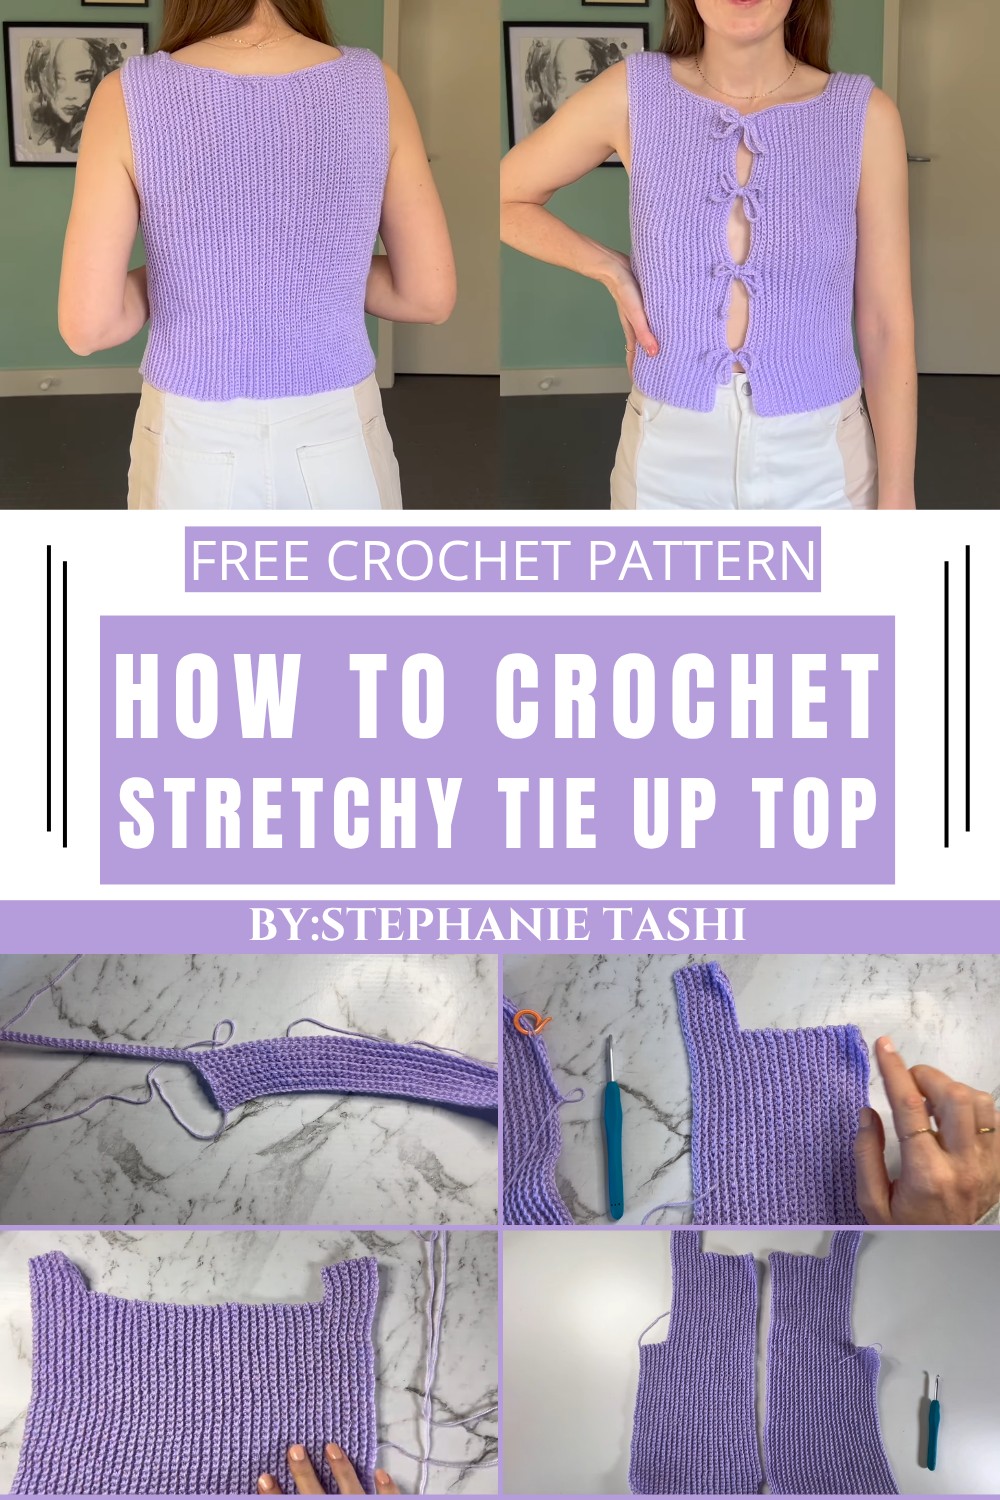
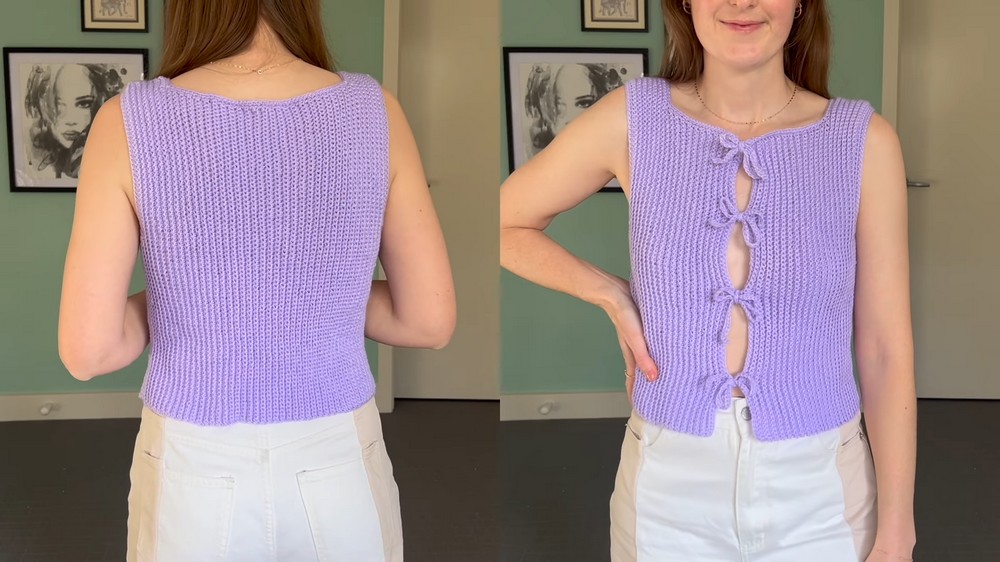
Adorable Free Crochet Tie-Up Top Pattern for Versatile Styling
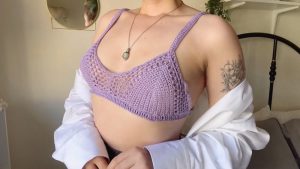
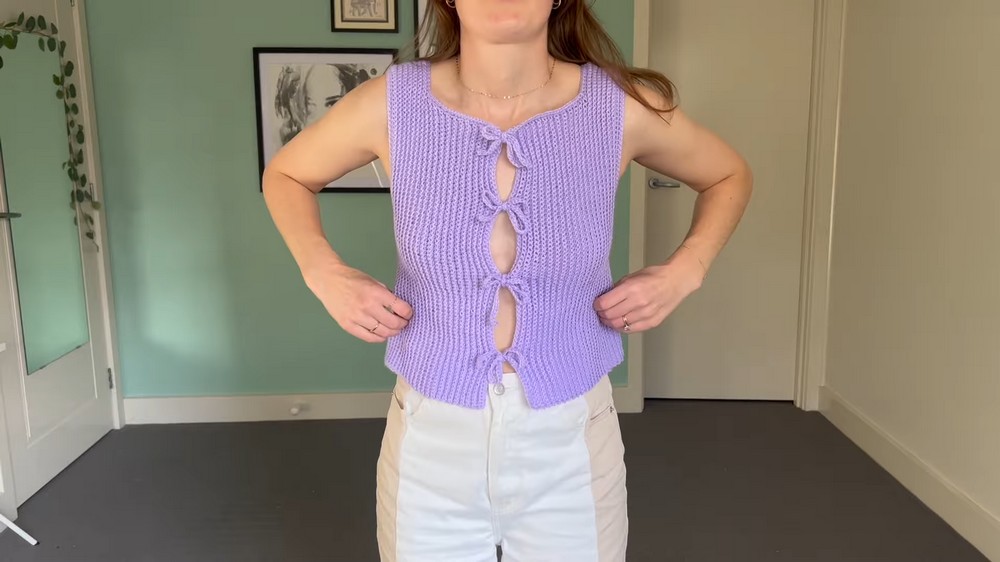
Have you ever wanted a stylish top that’s both comfortable and versatile? This crochet tie-up top is the perfect combination of charm and practicality. With its soft ribbed texture and adjustable ties, it offers a personalized fit that flatters every body shape. The tie-up feature on the sides adds a playful yet functional element, allowing you to style it differently each time you wear it.
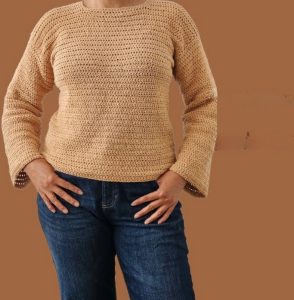
Ideal for summer days or casual outings, this top is lightweight and breathable, making it a go-to choice for both comfort and fashion. Its timeless design pairs beautifully with jeans, skirts, or shorts, making it suitable for any occasion. Whether you prefer a snug fit or a relaxed vibe, this piece adapts easily to your needs, offering both beauty and functionality. It’s more than a top, it’s a staple for looking effortlessly stylish while feeling amazing.
Materials Required
Yarn:
- 160g Lightweight Yarn (for size small).
- Example: Cotton or acrylic yarn is ideal.
- Alternatively, use any lightweight yarn with a good amount of stretch.
Crochet Hook:
- 4 mm hook: Used for the entire project.
Additional Supplies:
- Stitch Markers: For marking neckline and tie positions.
- Scissors: For trimming yarn ends.
- Darning/Weaving Needle: For sewing panels and weaving in ends.
Gauge
- 4 inches (10 cm) = 24 single crochet stitches x 30 rows (adjust hook size if needed).
Finished Size
The finished size is customizable depending on the yarn, hook, and adjustments made.
Example size for small:
- Length: Approximately 47 chains (~16–18 inches).
- Width: Underarm section ~47 stitches (~18 inches).
Special Techniques
Single Crochet in Back Loop Only
This technique creates the ribbed texture of the top:
- Insert the hook into the back loop (the furthest loop of the stitch).
- Yarn over, pull through, yarn over again, and pull through both loops.
- Repeat for the desired stitch.
Foundation Chain
The length of the foundation chain will determine the length of the top.
Decreases (for shaping corners)
- Insert hook into the first stitch, yarn over, and pull through.
- Insert into the second stitch, yarn over, and pull through.
- Yarn over and pull through all loops on the hook (creates a clean corner).
Pattern Instructions
The top consists of two front panels and one back panel, which are later stitched together. The neckline, armholes, and ties are added afterward.
Step 1: Front Panel
Foundation Chain:
- Begin with a slip knot and chain based on the desired top length.
- Example for size small: Chain 47 (or adjust for desired length).
Row 1:
- Skip the first chain closest to the hook.
- Insert the hook into the second chain from the hook and work 1 single crochet (sc) into each chain across.
- At the end, chain 1 and turn.
Row 2 (Back Loop Single Crochet):
- Work all stitches into the back loop only (creates the ribbed effect).
- Continue with 1 sc in the back loop of each stitch.
- Chain 1, turn, and repeat the stitch.
Row Repeat:
- Repeat row 2 until you have the number of rows required for the underarm section.
- Example for size small: 32 rows (~9 cm).
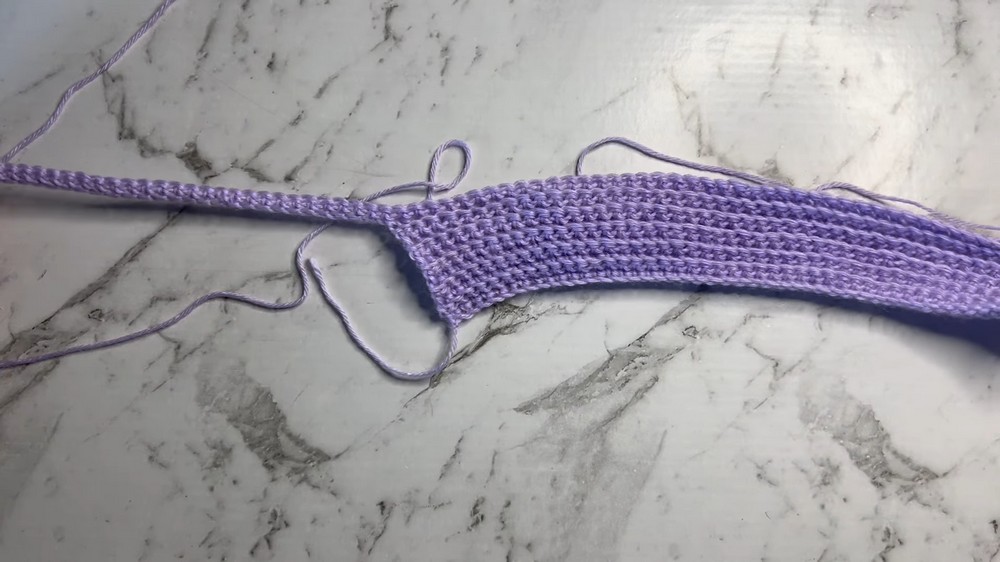
Step 2: Shoulder Chains
Once the underarm section is complete, crochet additional chains for the shoulder section.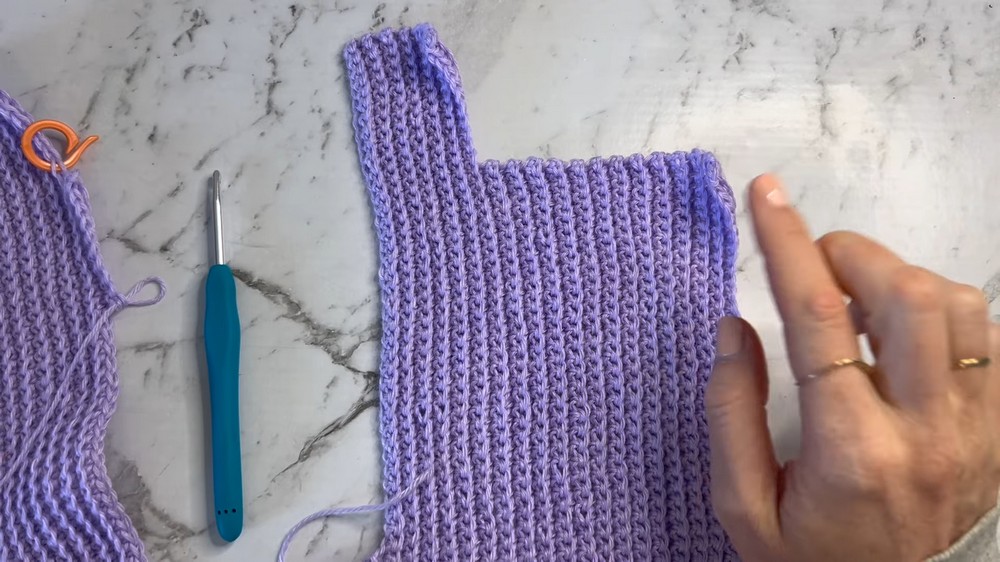
Shoulder Portion:
- At the last row of the underarm, chain up based on your size.
- Example: Chain 39 for shoulder length.
- Work 1 single crochet into the second chain from the hook, then into each subsequent chain.
- After completing the chains, join the stitches from the shoulder with the underarm piece with back loop single crochets.
Row Repeat for Shoulder:
- Work rows of back loop sc on the combined shoulder and underarm section.
- Example for size small: 13 rows (or continue until desired neckline height).
Step 3: Neckline Shaping (Front Panel)
Marking the Neckline:
- Use a stitch marker to mark the neckline depth.
- Example for size small: Skip 11 stitches from the top for the neckline dip.
- Place the stitch marker in the 12th stitch.
Shaping the Neckline:
- Work rows of back loop single crochets, stopping at the stitch marker and turning.
- Repeat rows until the neckline dip forms.
- Example for size small: 10 rows after neckline shaping.
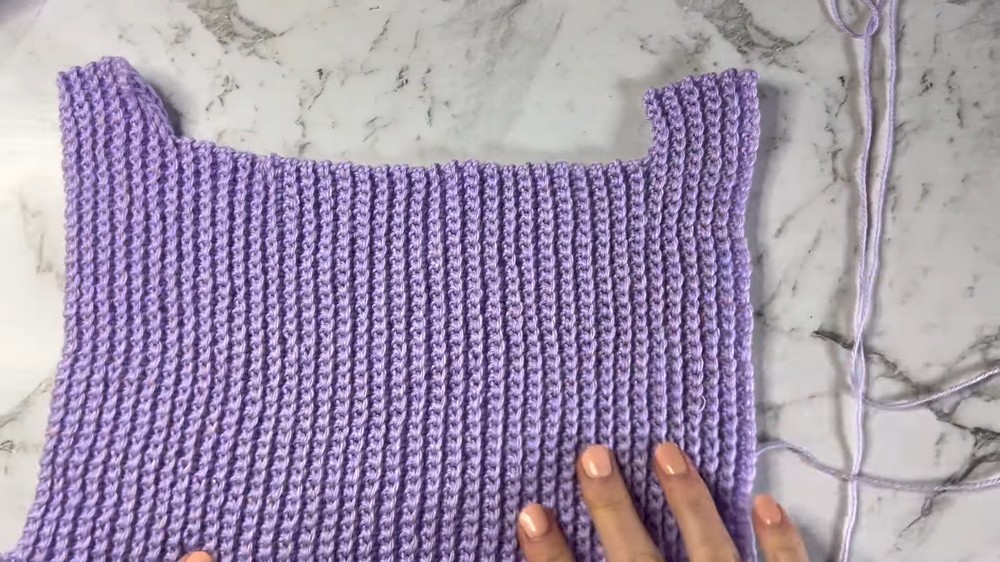
Finishing the Front Panel:
Complete the panel by working straight rows until the desired neckline width is achieved.
Step 4: Back Panel
The back panel is worked similarly to the front panels but has a shallower neckline.
Underarm Section:
- Chain and work back loop single crochets to form the panel width (~47 stitches for size small).
- Crochet rows until the desired height.
Shaping the Neckline (Back Panel):
- Mark stitches for the neckline (use fewer stitches for shallower dip).
- Example for size small: Skip 6 stitches at the top for neckline depth.
- Work rows, skipping the marked stitches for a rounded neckline.

Shoulder Portion:
- Crochet additional chains for the shoulder.
- Example for size small: Chain 39, repeating the same process as the front panels.
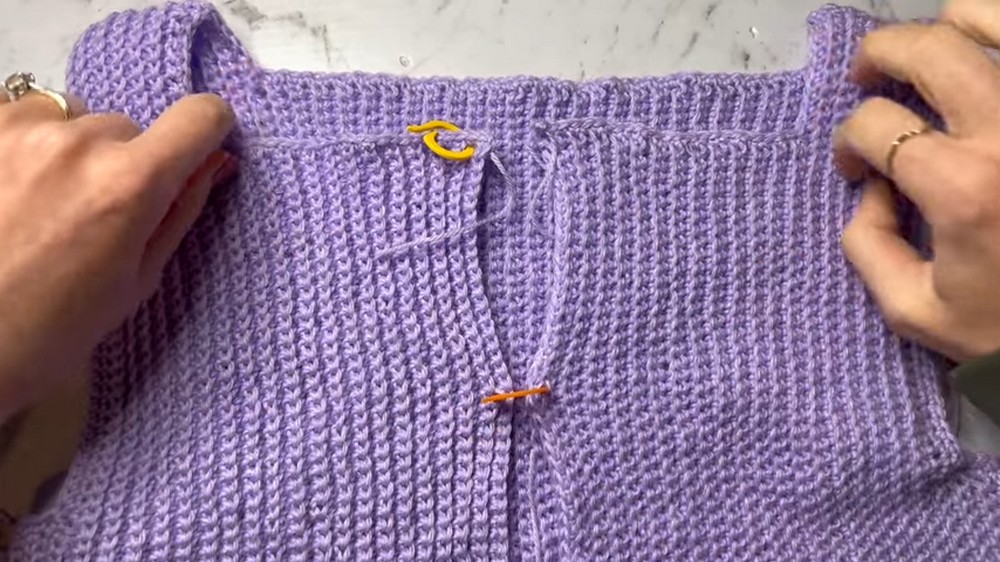
Step 5: Assembly
Joining Panels:
- Align all panels with right sides facing.
- Seam the side edges using slip stitches or a sewing needle (be mindful of tension).
- Seam the shoulder edges using a darning needle for durability.

Step 6: Armhole Ribbing
- Turn the vest right-side out.
- Attach yarn at the bottom seam of the armhole.
- Work 2 rows of single crochet around the armhole, shaping with decreases in corners:
- Decrease of 3 stitches in sharp corners.
- Decrease of 2 stitches on shoulder joins.
- Finish with a slip stitch and weave in ends.
Step 7: Neckline Ribbing
- Attach yarn at the corner of the neckline.
- Work 1 row of single crochet into the neckline edges, including decreases in corners and shoulder seams.
- Optionally add additional rows or mark positions for ties.
Step 8: Ties
Adding Ties:
- Mark positions for ties along the sides of the top.
- Attach yarn and chain for desired tie length. Example: Chain 30–50 for functional ties.
- Turn and work single crochet stitches back along the chains.
Tips for Customization
- Adjust Panel Width: Change the foundation chain length for a looser or tighter fit.
- Alter Tie Placement: Try the top on and adjust tie placement based on personal preference.
- Add Decorative Elements: Consider color-blocking, ruffles, or appliqué to personalize the design.
Finishing
- Weave in Loose Ends: Use a darning needle to tuck in yarn tails securely.
- Block the Top: Lightly steam or wet block if needed to ensure ties lay flat and corners hold their shape.
- Check Stretch: Enjoy the adjustable fit and wear!
Conclusion
Congratulations on completing your crochet tie-up top! Its versatility, stretch, and personalized ties make it a unique addition to your wardrobe. Whether styled casually or formally, this adjustable top is designed for comfort and adaptability for various occasions.
Final Remarks:
Ensure you try the top on multiple times during construction to customize the fit perfectly. Experiment with tie placements and decorative options to suit your style.