Beautiful Free Crochet Dress Pattern You’ll Love
Unlock an easy free crochet dress option,for an stunning note blend of beautify and relaxing stylishes a hommade relaxation targets wardrobe.
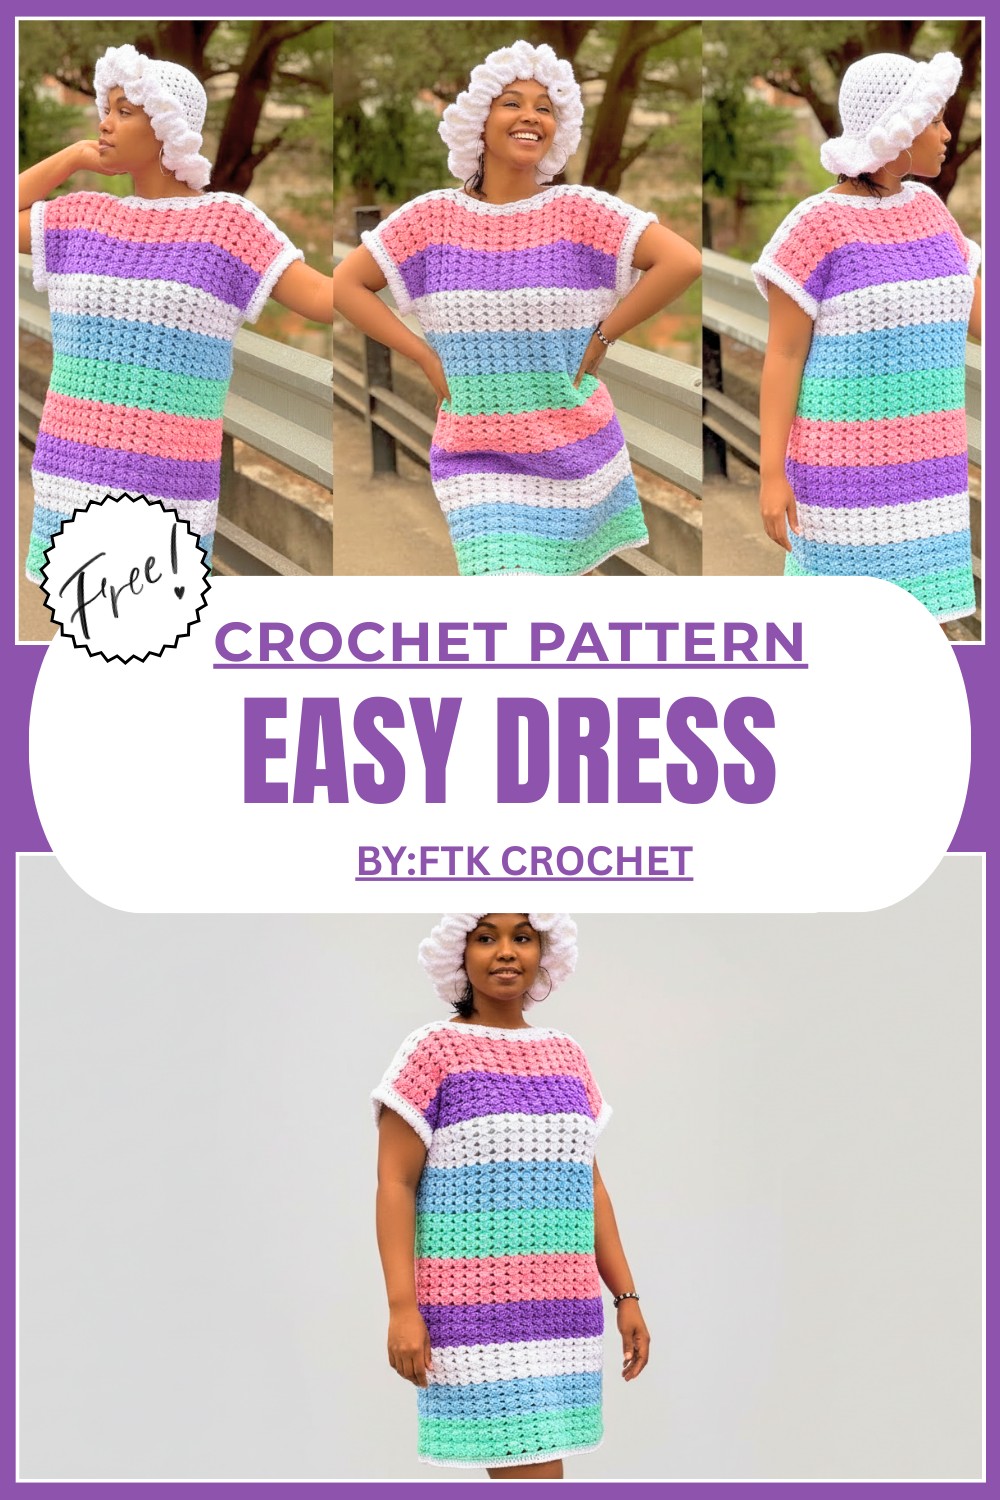
Free Crochet Dress Pattern That Looks Amazing
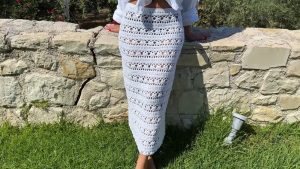
There’s something magical about the way a crochet dress comes to life with each stitch. From its delicate texture to its graceful appearance, it becomes a beautiful combination of elegance and creativity. A free crochet dress pattern allows you to create a stunning handmade outfit, perfect for special events, casual outings, or even cozy days at home. The flowing design, soft yarn, and intricate details make it a versatile piece that can be styled for various occasions. Whether long and elegant or short and playful, a crochet dress instantly adds charm to your look. With the right pattern, it becomes easy to make a dress that feels personalized and unique to you. Lightweight yet stylish and comfortable, it’s a piece anyone can wear with confidence. A crochet dress not only enhances your wardrobe but gives you the joy of crafting something truly special.
Finished Size
- Hip Measurement: 48 inches (24 inches per panel, when folded).
- Length: 32 inches, achieved with 50 rows.
Materials
- Yarn:
- Acrylic yarn in 5 colors: Lilac, Blue, White, Baby Pink, Green (or your choice of colors).
- Hook: 4.5mm crochet hook.
- Tapestry Needle: For joining and weaving in ends.
- Stitch Markers: To mark neckline, armholes, and corners.
- Measurement Tape: For precise measurements.
- Scissors: For cutting yarn.
Special Techniques
- Double Crochet (DC).
- Single Crochet (SC).
- Slip Stitch (Sl St).
- Skip Stitches.
- Chain Stitch (Ch).
Pattern Instructions
Part 1: Panels
Step 1: Foundation Chain
- Take your hip measurement (e.g., 48 inches).
- Add 4–5 inches for ease.
- For this pattern: Chain for 24 inches per panel.
- Chain in multiples of 5 + 2.
- Example: (102 chains for 24 inches).
- Example: (102 chains for 24 inches).
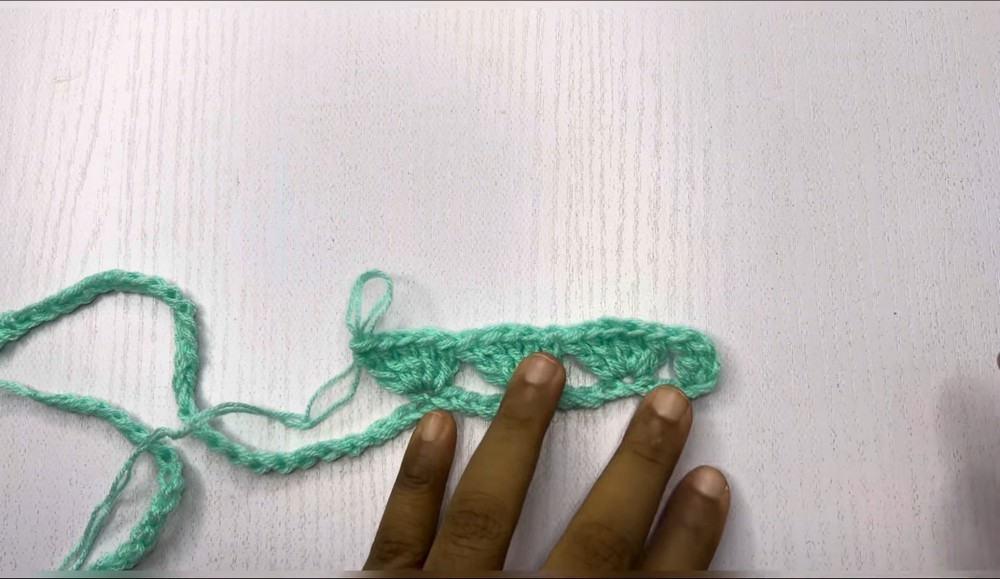
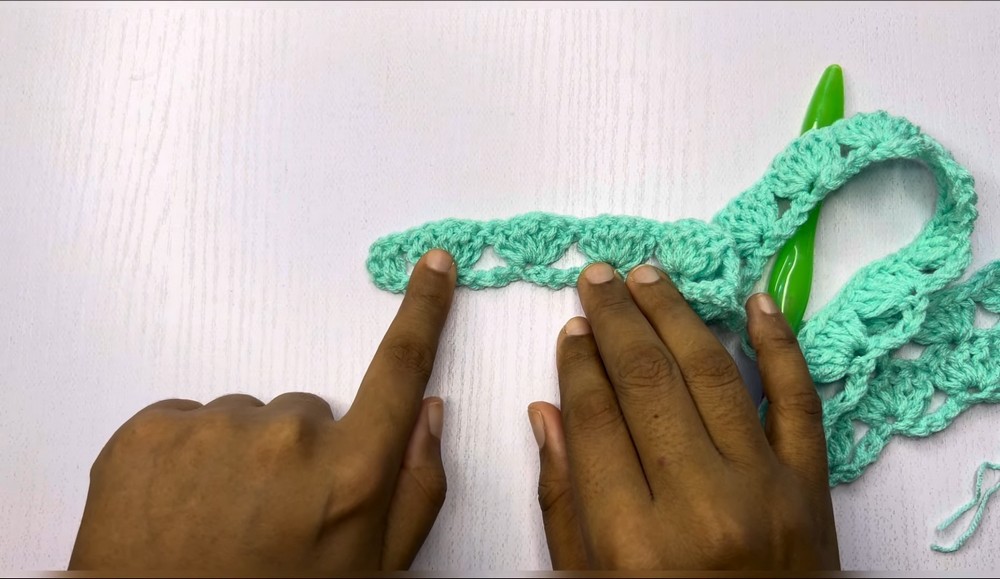
Step 2: Pattern Rows
- Row 1 (Foundation Row):
- Chain 3 (counts as first DC).
- Work 1 DC into the 4th chain from hook. (First cluster made).
- Skip 2 chains, 5 DC into next chain.
- Skip 4 chains, 5 DC into the next chain.
- Repeat the pattern across.
- End by skipping 2 chains and make 2 DC into the last chain.
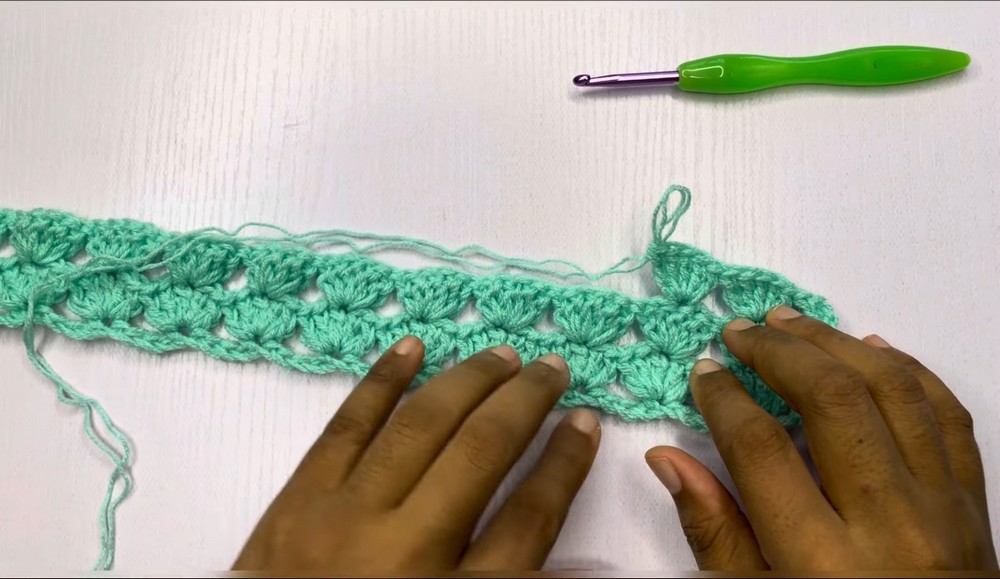
- Row 2:
- Chain 3, turn. Work 1 DC in the first stitch.
- Skip 3 stitches, then 5 DC into the middle stitch of the previous row of 5 DC clusters.
- For the remaining clusters: Skip 4 stitches, 5 DC into the middle stitch of the next cluster.
- Repeat the pattern until the end.
- Finish with 2 DC into the top of the turning chain.
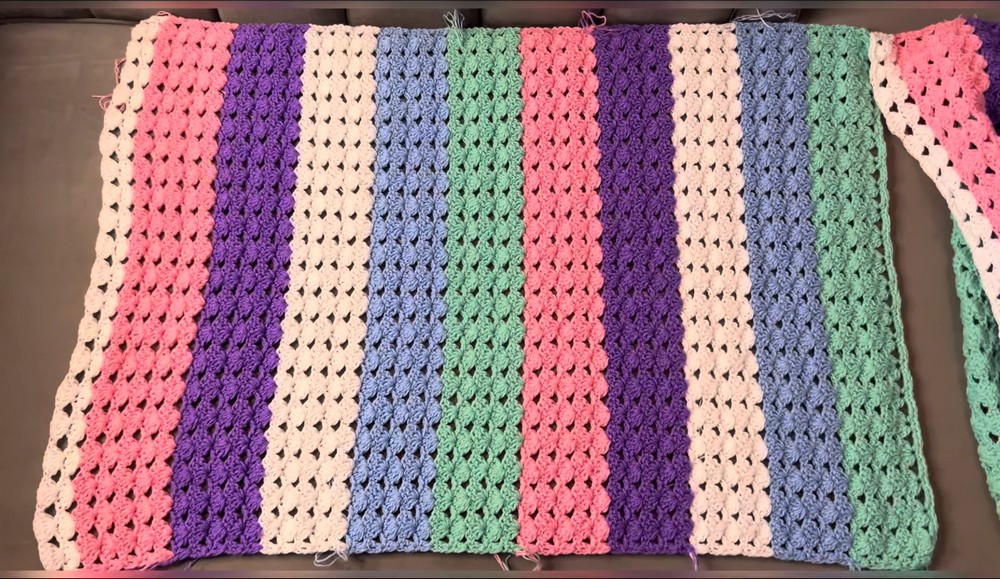
- Repeat Rows:
- Repeat Row 2 with color alternations as needed.
- To achieve 32 inches, work 50 rows in total.
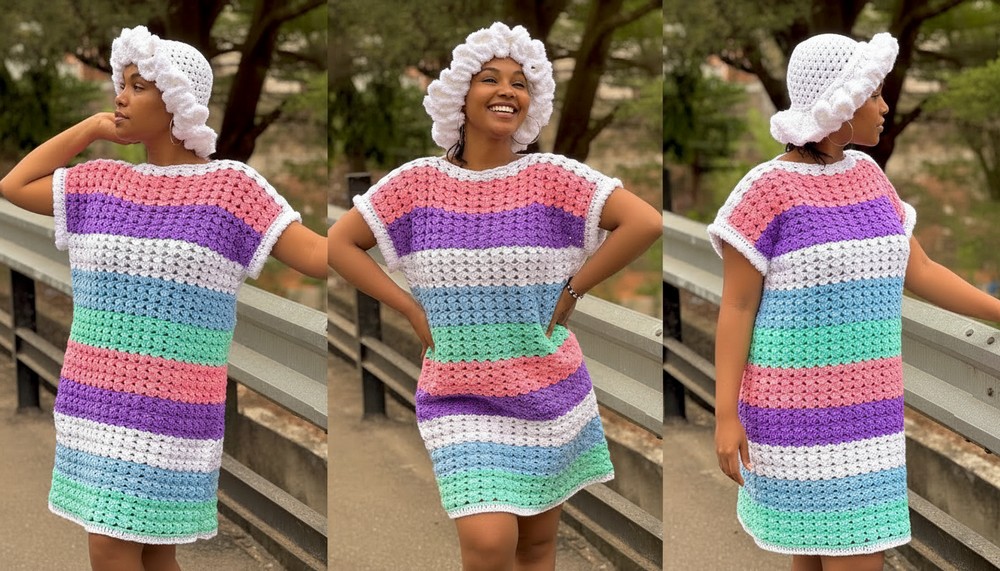
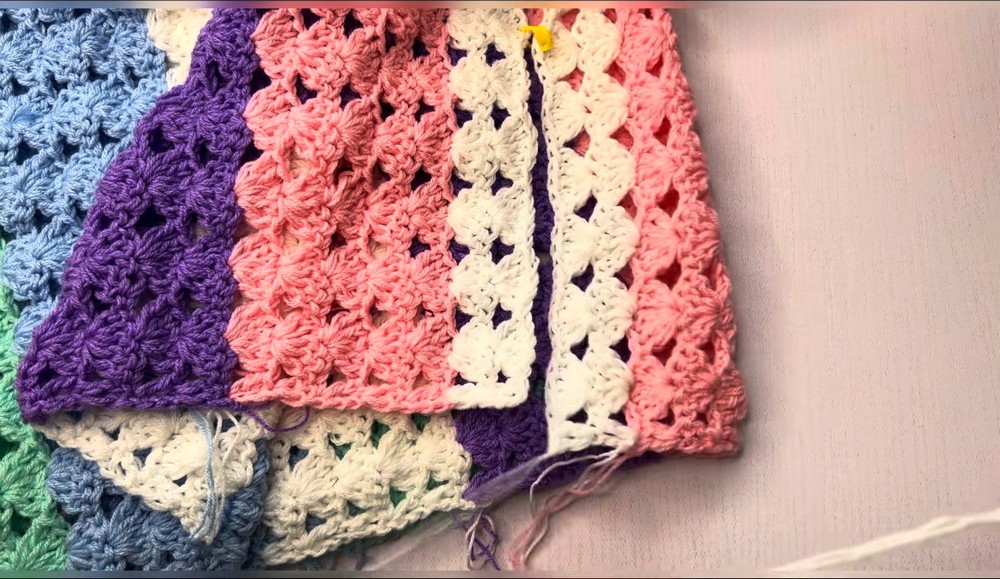
- Color Pattern Used: 5 rows for each color (Lilac, Blue, White, Pink, Green).
- Bottom Edge (Single Crochet):
- Work 1 round of SC along the bottom edge of the panel to neaten.
- Work 1 round of SC along the bottom edge of the panel to neaten.
Part 2: Creating Two Panels
- Work a second identical panel.
- Add 2 additional rows of White if you want the white shade to act as the base (optional).
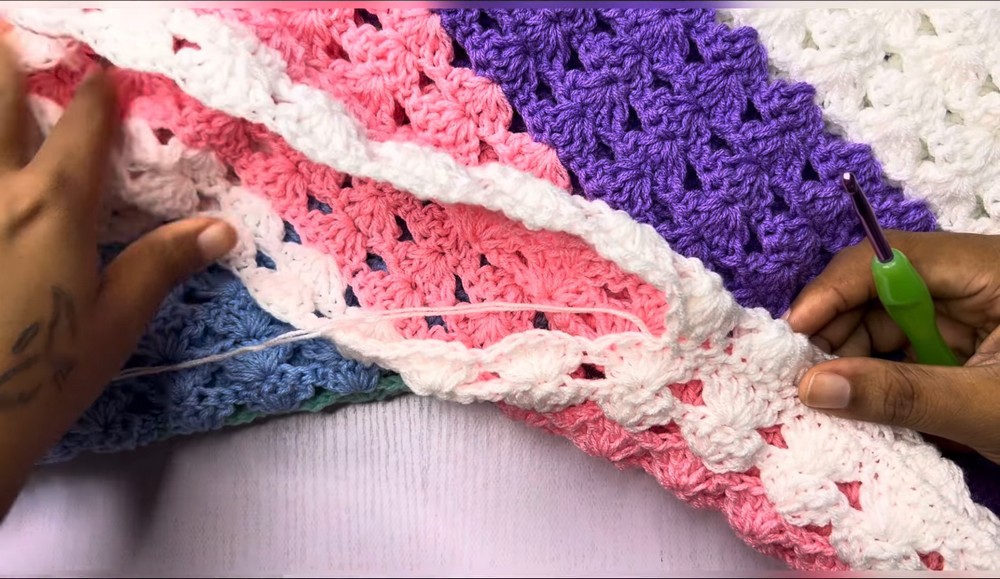
Part 3: Joining Panels
Step 1: Neckline
- Mark Neck Opening:
- Use stitch markers to measure and mark 11 inches for the neckline.
- Example: For a total hip measurement of 48 inches, mark the 11-inch center opening.
- Count and Align:
- Check both panels and ensure the number of clusters matches in symmetry.
- Count 6 clusters each side to locate the middle and place markers evenly.
- Join Shoulders:
- Use a tapestry needle or Slip Stitch (Sl St) to seam the shoulders together.
Step 2: Side Seams
- Measure the desired armhole allowance (9 inches each side, for total 18 inches around arms).
- Join the remaining side seams:
- Option 1: Slip Stitch Method: Work Sl Sts along the side edges.
- Option 2: Single Crochet Method: SC through both panel edges for a sturdy, flat seam.
Part 4: Sleeves
- Attach yarn to the underarm seam.
- Work in rounds:
- Row 1: Work 2 Single Crochet (SC) in each space around the armhole.
- Row 2: Work 1 Double Crochet (DC) in each stitch.
- Optional (Trim): Add faux yarn or SC in the final rows for texture or aesthetics.
- Repeat on the second sleeve.
Part 5: Neckline
- Attach yarn at any point along the neckline.
- Work 4 Single Crochet stitches, 1 Slip Stitch around the neckline.
- Maintain a circular half-cluster shape.
- Repeat to achieve a neat neckline edge with added firmness.
Tips and Suggestions
- Length Customization: Adjust the number of rows for a longer gown or shorter dress.
- Color Coordination: Experiment with fewer or more colors for a unique look.
- Even Seams: Use stitch markers to align edges while joining the panels.
Finishing
- Weave in Ends: Use a tapestry needle to secure loose threads.
- Blocking: Lightly block the dress to smooth any uneven edges and set the stitches.
- Add any decorative finishes (e.g., fringe, beads, or a decorative belt).
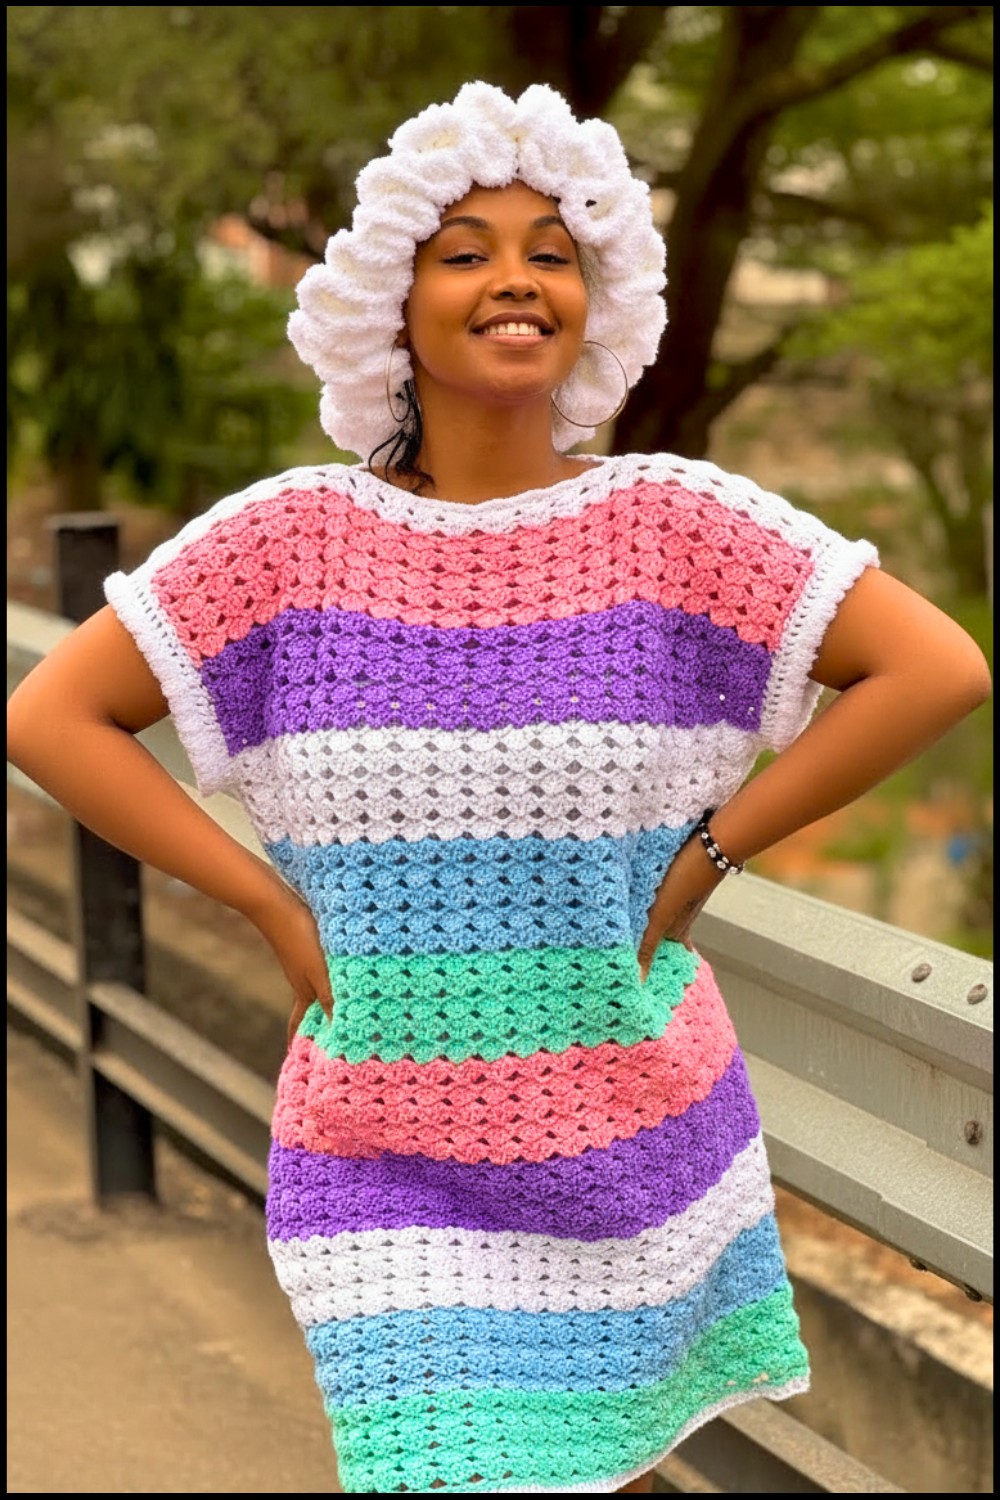
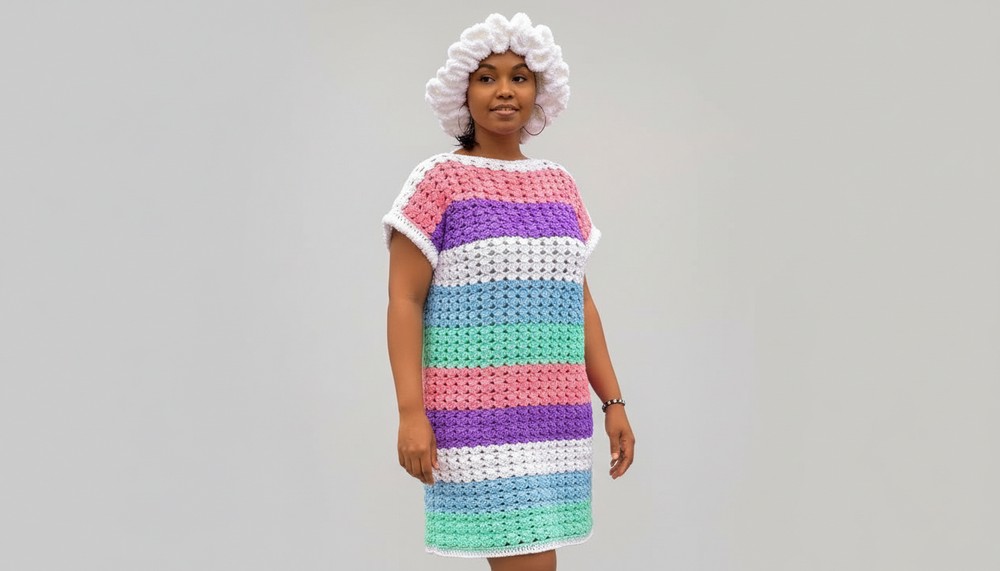
Final Look
Your finished dress should feature clean seams, bright colors, and neat finishes along the hem, sleeves, and neckline. It is versatile, breathable, and suited for various occasions.
Final Words
Crocheting this vibrant, colorful dress is an exciting project that offers opportunities for creativity and personalization. Make it your own by experimenting with colors, lengths, or embellishments. Share your finished project with friends or use it to brighten your wardrobe!