Beautiful Free Crochet Sakura Flower Coaster Pattern For Home Decor
Keep your table neat with this Crochet Sakura Flower Coaster Pattern and make lovely flower shapes that bring color to your tea and coffee time.
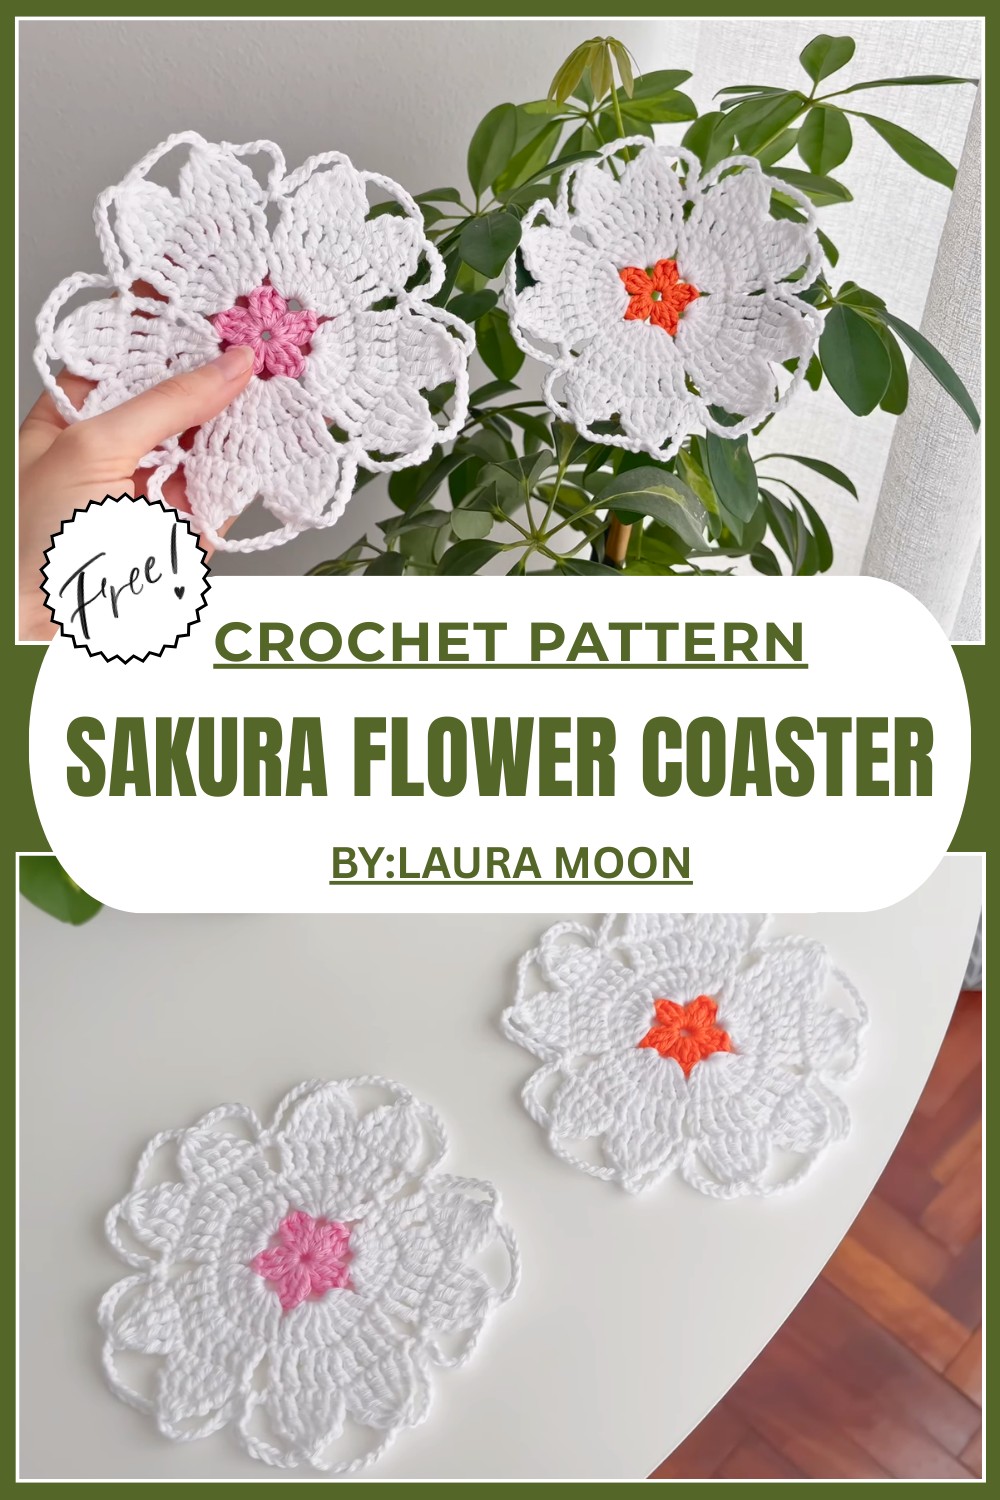 Free Crochet Sakura Flower Coaster Pattern for Unique Table Decor
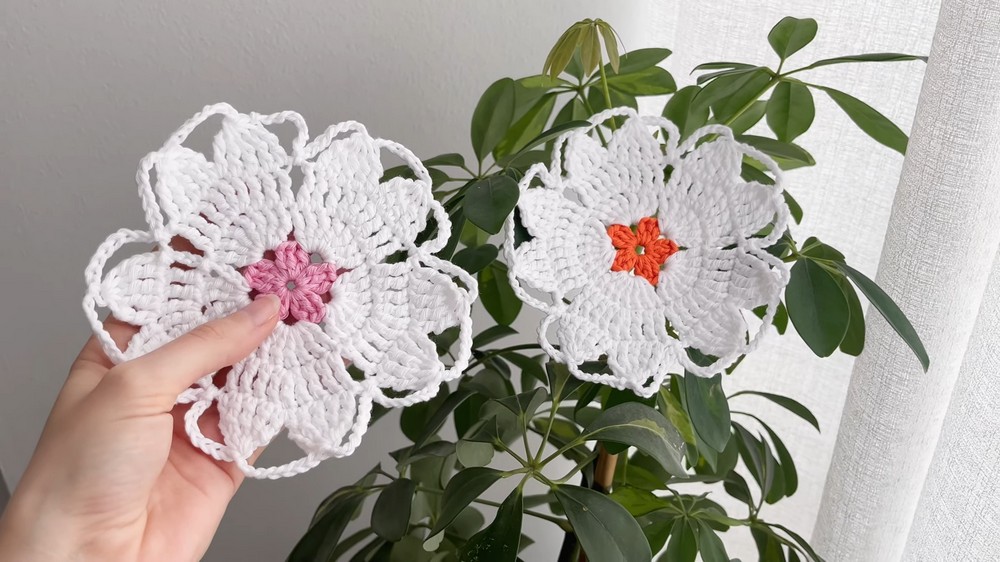
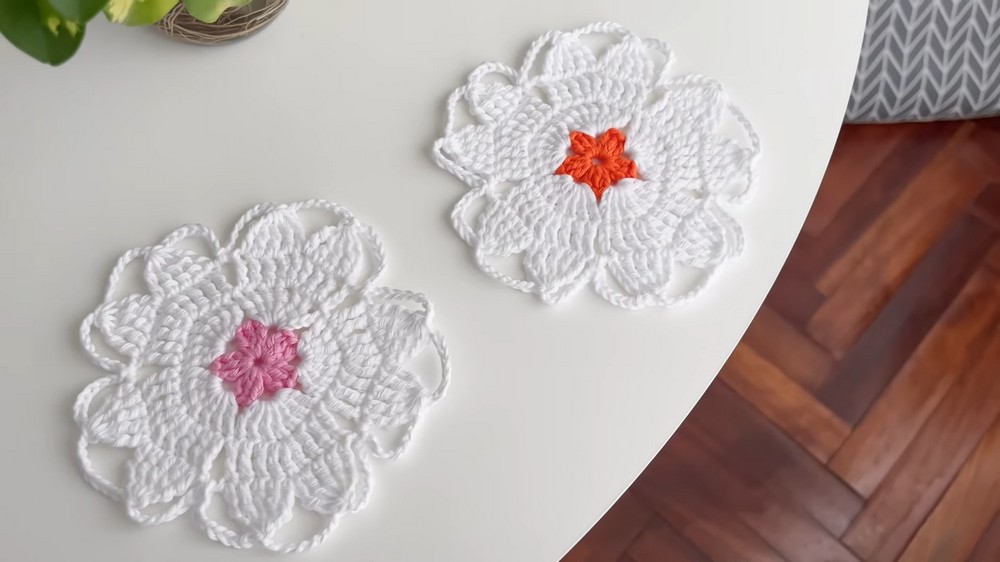
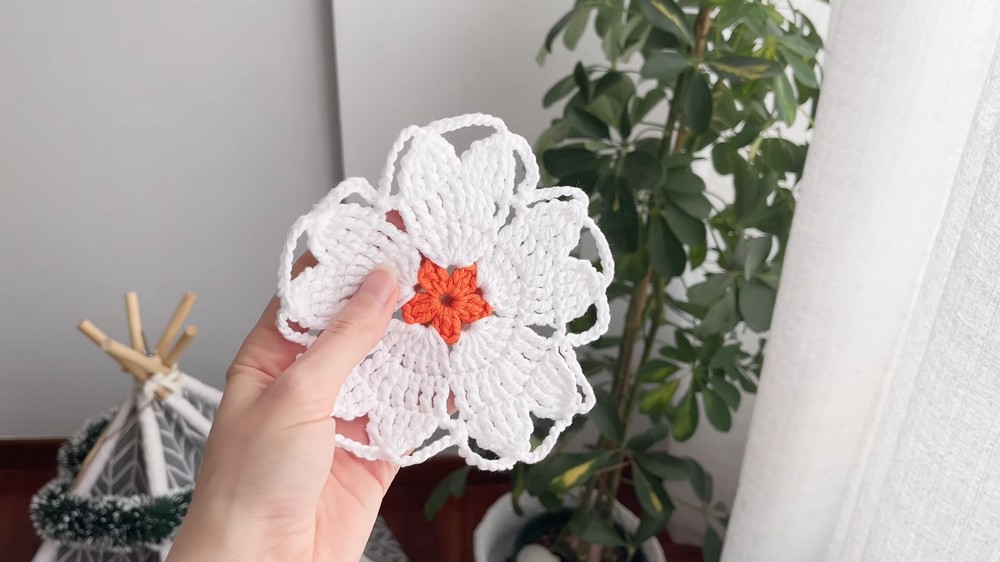
Inspired by the delicate cherry blossom flower, this coaster adds a touch of elegance and joy to your home. It is perfect for decorating your table, protecting surfaces, or giving as a thoughtful handmade gift.
With its unique flower design, a Sakura coaster is a fun and creative project that celebrates nature. Crochet one today and brighten your space while showcasing your crochet skills.
 This free crochet pattern is easy to follow and uses basic techniques, making it great for beginners. The center is colorful, while the petals often feature soft shades like white or pink, mimicking a real cherry blossom. The coaster is lightweight, reusable, and can be made in different color combinations to match any style or season.
Crochet Sakura Flower Coaster Pattern
Materials Required
- Yarn: Two colors of 100% cotton yarn (suggested: Anchor Creativa). Choose contrasting colors for the flower center and petals to enhance the design.
- Crochet Hook: A 3.5 mm hook is recommended for a tighter finish, although a 4 mm hook can also be used based on your tension preference.
- Tapestry Needle: For weaving in loose ends.
- Scissors: To cut your yarn neatly.
Techniques Used
- Magic Ring (Magic Circle): Used to start the flower.
- Chain Stitch (CH): Creates loops and connections.
- Double Crochet (DC): Adds height to the design; used for petals.
- Double Treble Crochet (DTR): Elongates stitches for larger petals.
- Slip Stitch (SS): Joins rounds and ensures a neat finish.
- Fastening Off: Secures the final stitches.
Detailed Pattern
Step 1: Flower Center
- Using the yarn for the flower center, create a magic ring.
- Inside the ring, chain 3 stitches (counts as 1 DC).
- Work 2 double crochets into the ring (you now have 3 double crochets in total).
- Chain 2 stitches for separation and continue with another set of 3 double crochets.
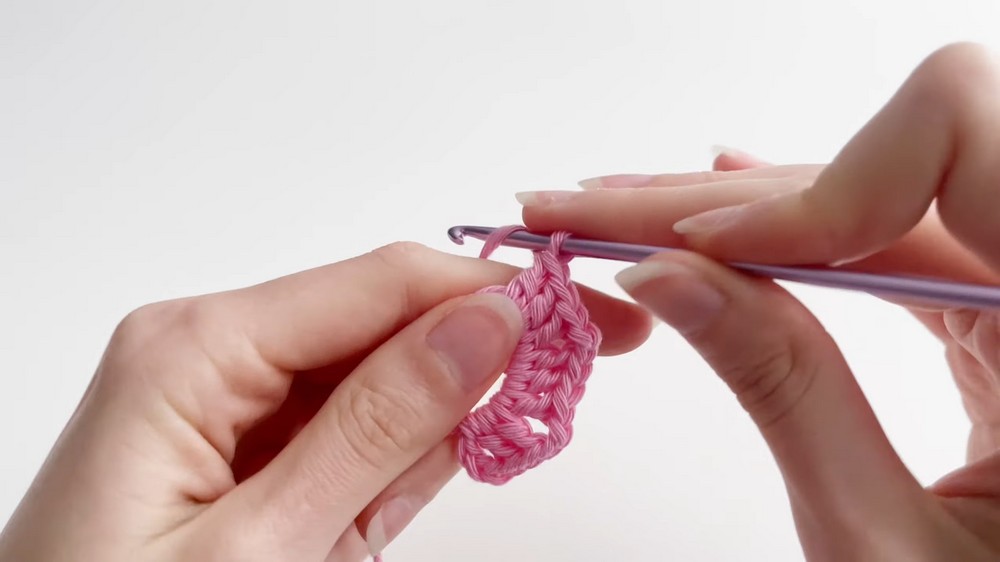
- Repeat: 3 DC, 2 CH until you have 5 clusters of 3 DC forming petals.
- After completing 5 petals, chain 2 stitches and pull tightly on the magic ring to close the circle, forming the flower.
- Finish the round: Slip stitch into the 3rd chain from the beginning to complete the round.
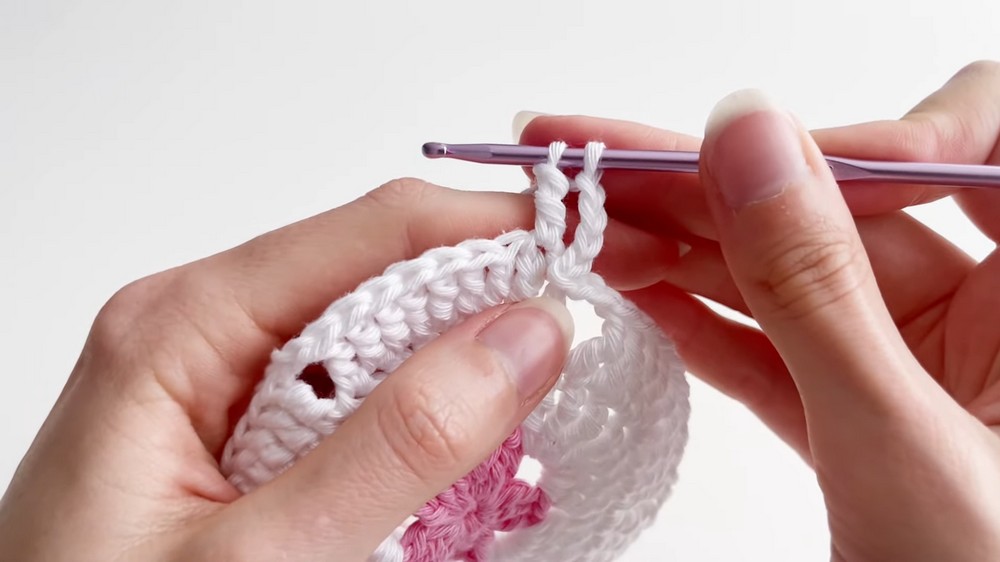
Step 2: Adding Petals
- Switch to your second yarn color (the petal color). Attach it securely into one of the chain spaces between petal clusters.
- Use a Slip Stitch (SS) to join, followed by a single CH for security.
- Chain 4 stitches (counts as 1 double treble crochet).
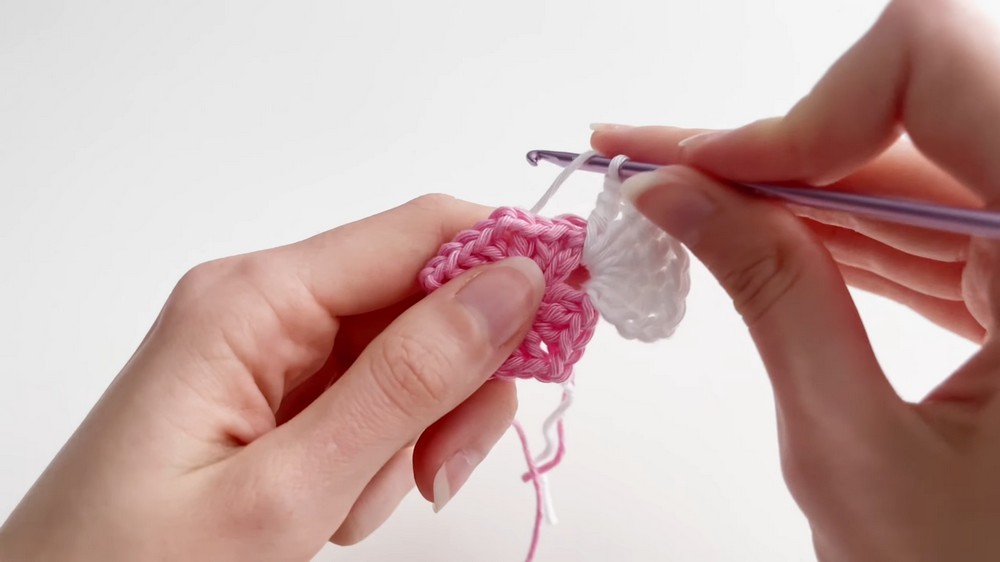
- Inside the chain space, work 6 Double Treble Crochets (DTR):
- Wrap yarn twice around your hook, insert into the space, pull up a loop, and close in sets of 2 loops until complete.
- At the end of this set, there are 7 DTR in total (counting the initial chain 4).
- Continue working 7 DTR into each chain space around the flower base.
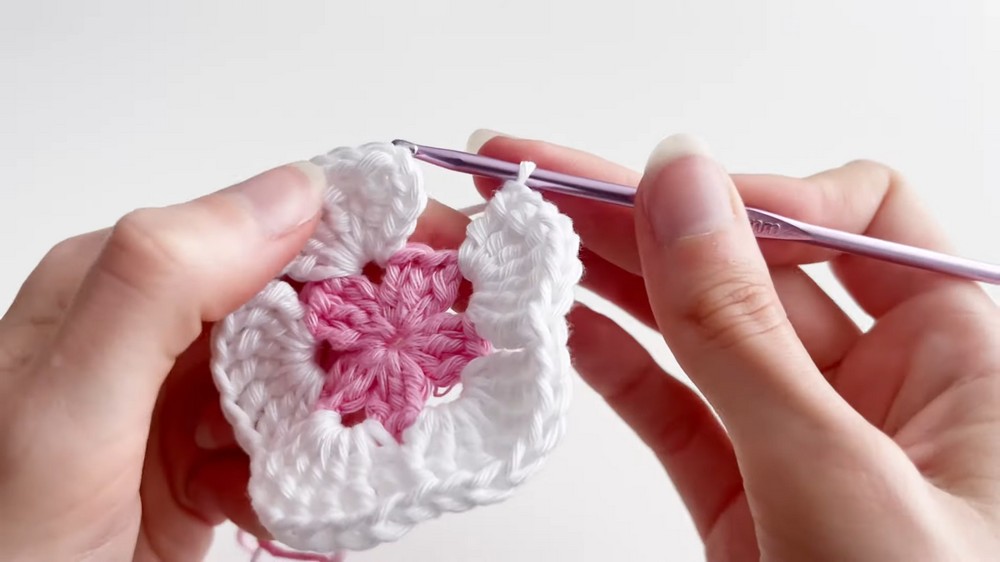
Step 3: Building Edges and Shaping
- Slip stitch into the top of your initial chain 4 to close the round.
- Begin the next round by chaining 4 stitches (counts as 1 DTR).
- Work DTR into the next 3 stitches of the previous round.
- In the next stitch, work 3 DTR to increase the shape and add volume.
- Continue:
- In the following 3 stitches, work 1 DTR in each.
- Chain 2 stitches for separation.
- Repeat this sequence around.
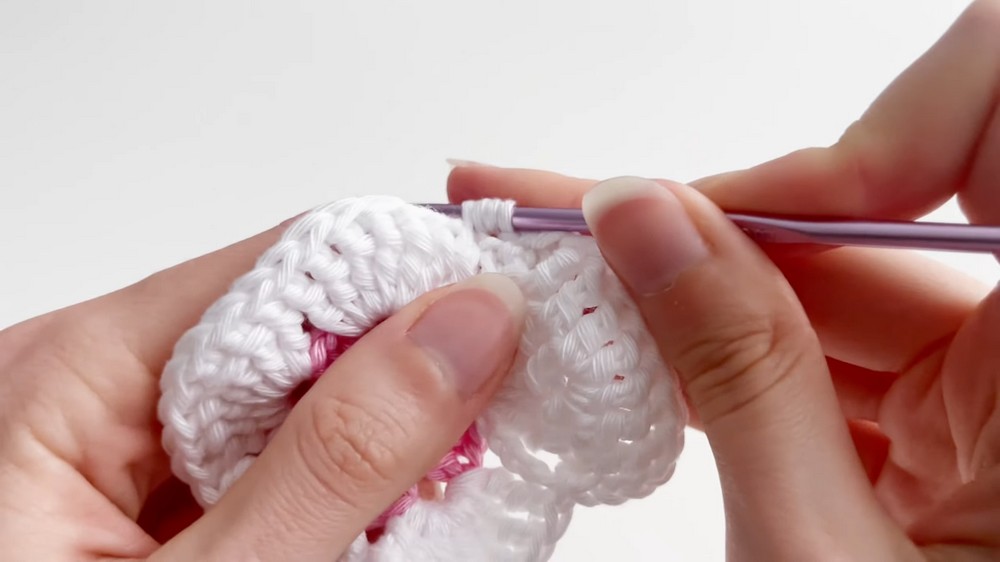
Step 4: Final Round
- Begin with 4 chains (counts as 1 DTR).
- Create clusters that “join lightly”: When making 5 DTR, stop before completing the last loop in each stitch, leaving the final loops on your hook.
- When you reach 5 loops on the hook, yarn over and pull through all of them.
- Chain 8 stitches for separation, then repeat the cluster process.
Finishing the Coaster
- After completing the final round, finish the project by slip stitching into the first chain cluster you made in this round.
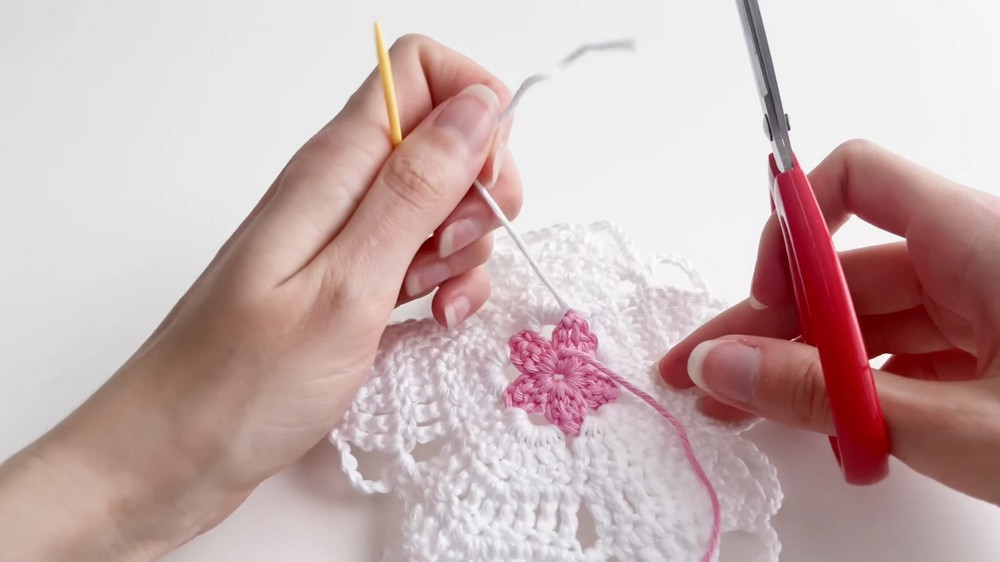
- Chain 1, and fasten off by cutting the yarn and pulling the tail tight.
- Use the tapestry needle to weave in loose ends:
- Carefully hide excess threads by threading them into the stitches on the backside of the coaster.
- Trim any remaining thread.
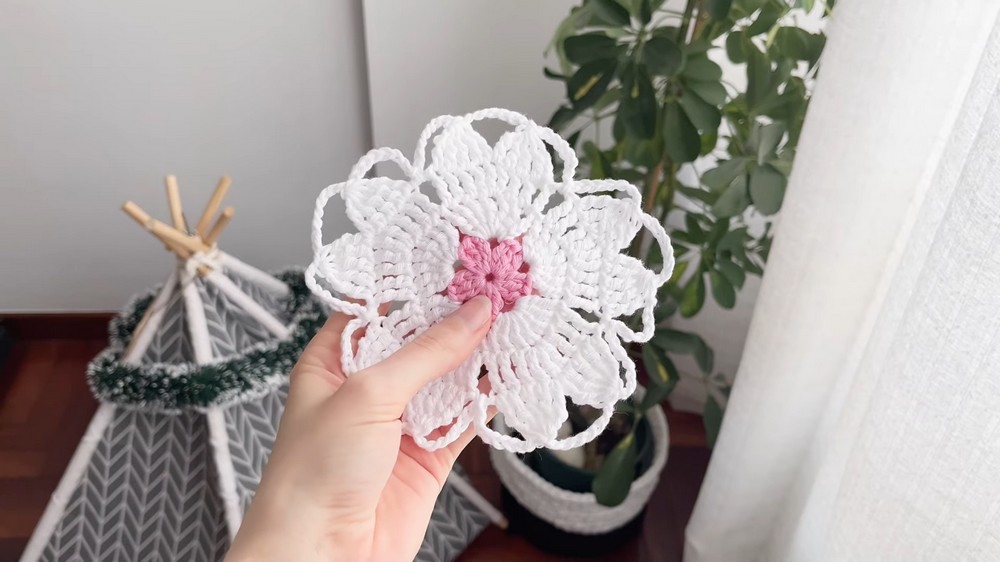
Final Words
Congratulations—your cherry blossom inspired coaster is complete. This delicate piece adds charm to table settings and makes for thoughtful handmade gifts. You can experiment with other color combinations to match different themes or seasons.

Tips to Maintain the Pattern
- Yarn Type: Choose cotton yarn for durability and a polished finish.
- Blocking: To maintain the shape, lightly block the coaster after finishing. Use a damp towel and allow it to dry flat.
- Storage: Store finished coasters in a flat, dry space to prevent curling edges.
- Care: Hand wash gently in cold water to preserve the structure.
Feel free to adapt this design for larger projects or combine it with other crochet patterns to create matching sets.