Exciting Free Crochet Shell Stitch Top Pattern For Trendy Fashion
Make a cozy crochet shell stitch top with this free pattern that is perfect for beginners and customizable with your favorite colors and sizes.
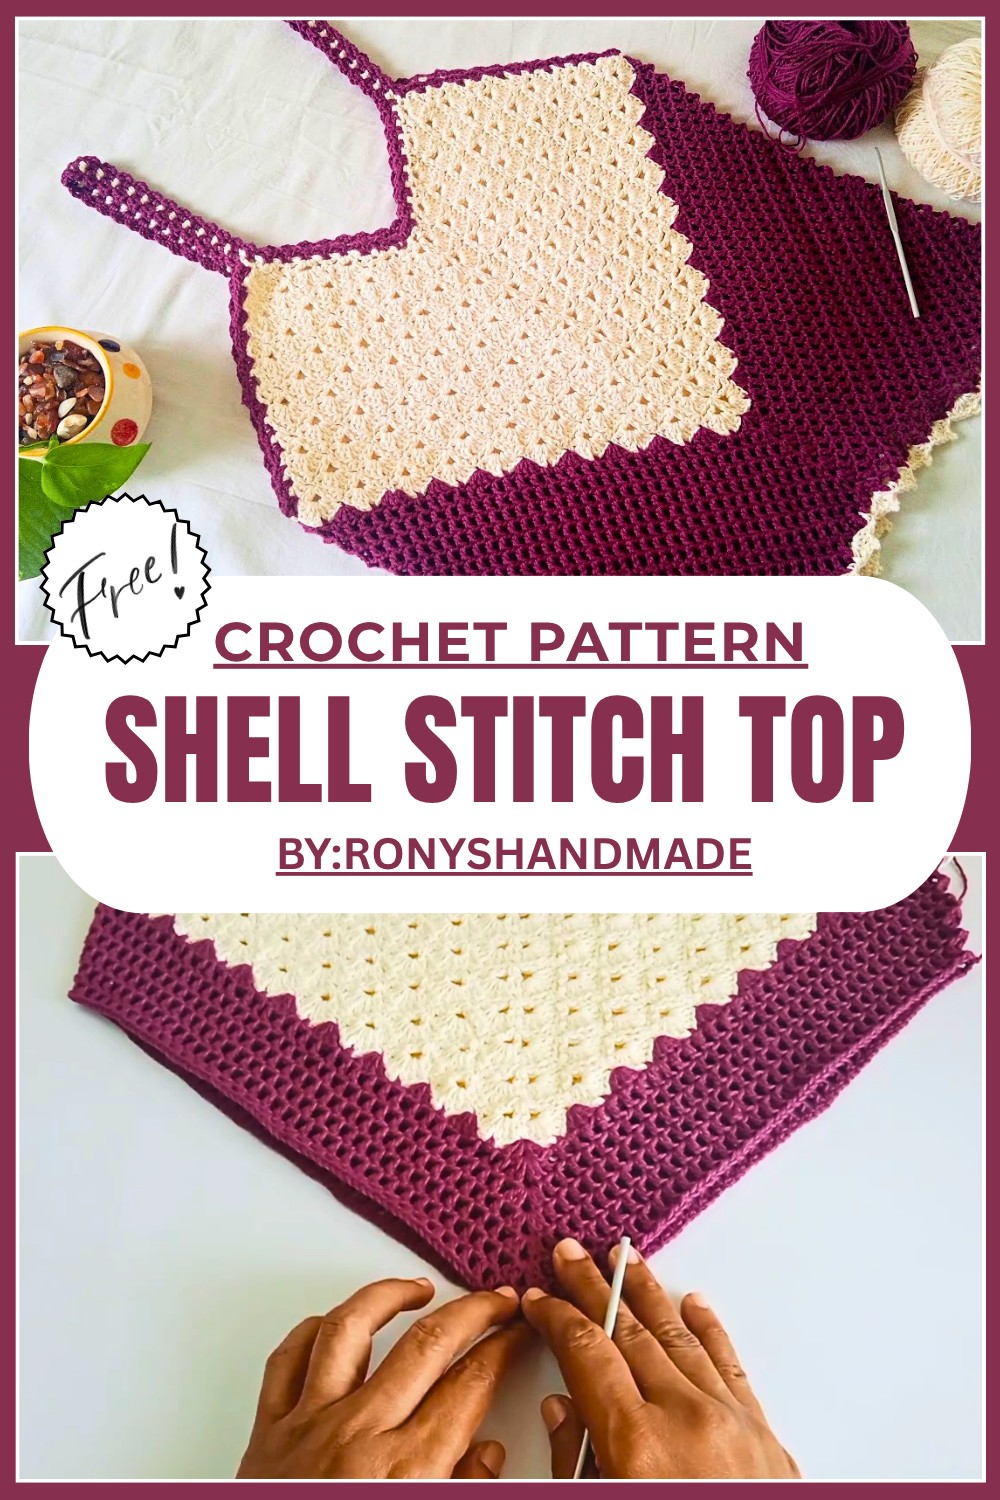
Build a Cool Summer Look with This Free Crochet Shell Stitch Top Pattern
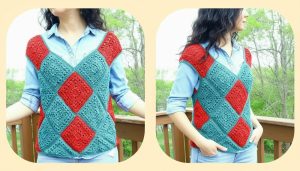
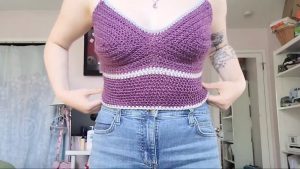
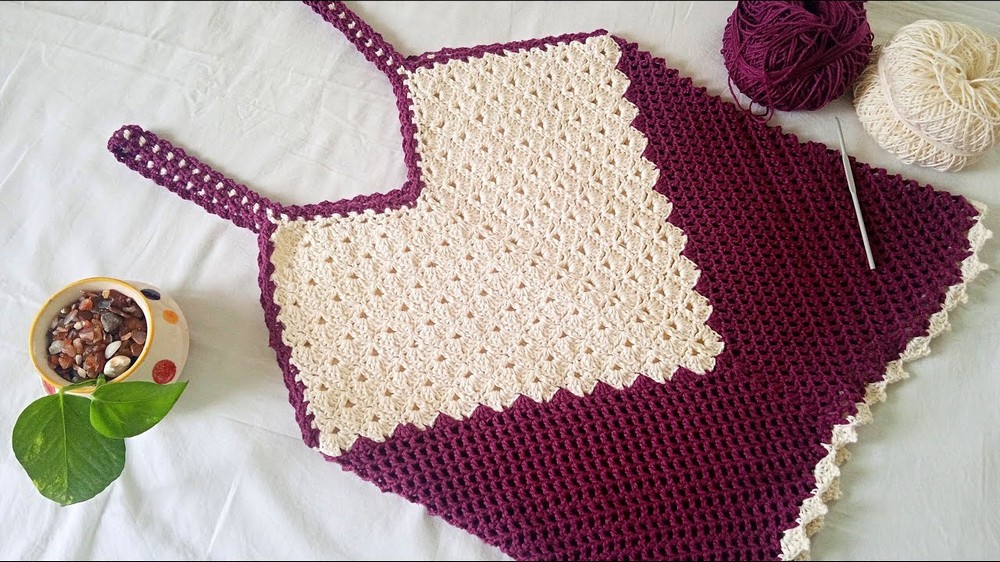
It’s time to bring your creativity to life with the Free Crochet Shell Stitch Top Pattern. This beautiful top is fun to make and has a soft, stylish design created with shell stitches and double crochet V stitches. It feels light and comfortable, making it perfect for warm, sunny days. The mix of colors, like wine and cream, adds a unique and trendy touch that stands out.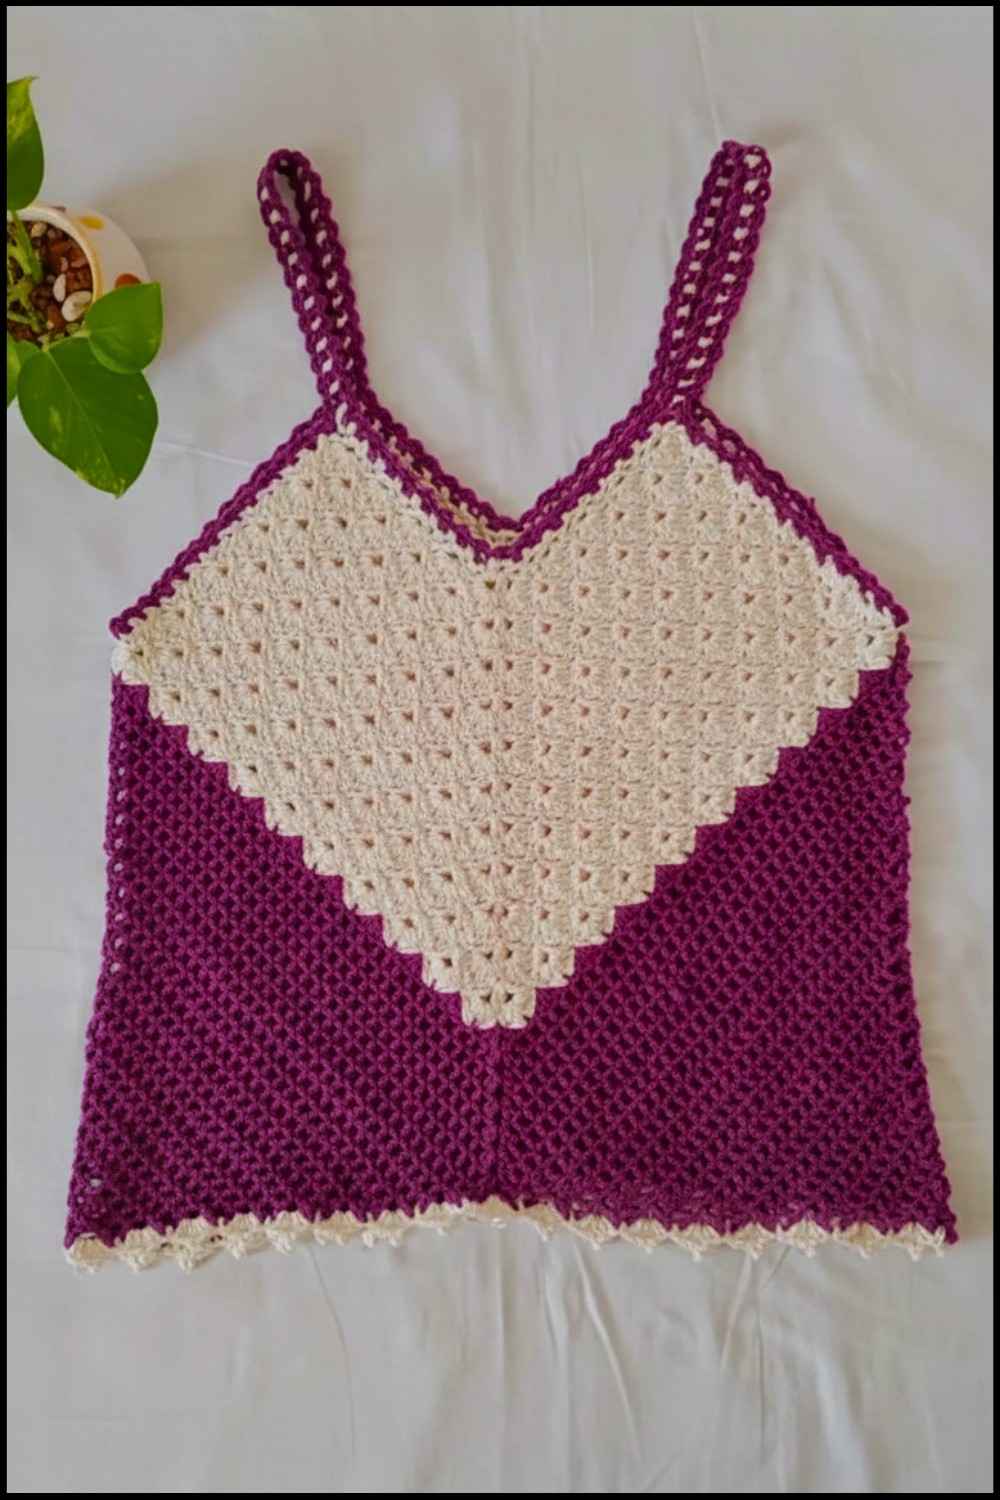 It features a lovely V shaped neckline, neatly finished straps, and a pretty hem decorated with shell stitches, making it extra special and eye catching. This project is easy even for beginners, and you can choose your favorite colors to make it your own. Whether you’re crocheting for yourself or someone else, this simple and stunning pattern is a great way to enjoy handmade fashion.
Crochet Shell Stitch Top Pattern
Materials Needed
- Yarn: 100% Cotton Yarn (Two Colors: Wine and Cream)
(Suggested Weight: 4 ply) - Hook: 3.5 mm crochet hook
- Other Tools: Scissors, measuring tape, yarn needle for weaving ends
- Optional: Stitch markers
Gauge
- 4 double crochet stitches x 3 rows = 1 inch square
Ensure that your gauge matches before proceeding with the pattern to achieve the correct finished size.
Finished Size
- Bust size: Approximately 34 inches (adjustable by adding or reducing rows).
- Strap to hem depth: 9 inches (adjustable based on desired fit).
Pattern Overview
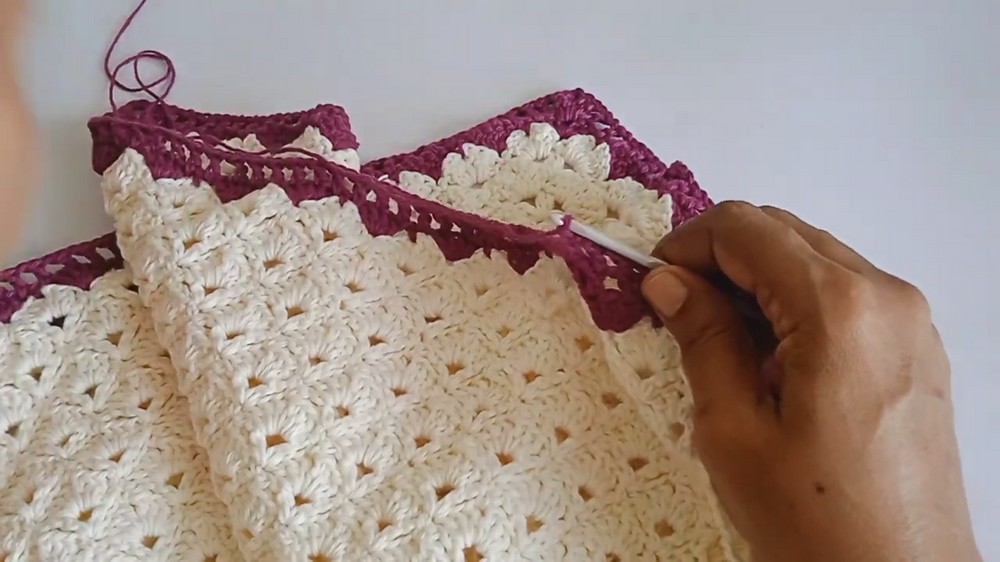
This beautiful crop top pattern is built with alternating rows of V stitches and shell stitches. The construction features a front and back worked in rounds, and the sides are later cinched for shaping. The neckline and armholes display elegant detailing using a complementary stitch.
- Skill Level: Advanced beginner
- Techniques Used: V stitch, shell stitch, slip stitch joining, peacock edging (with picot), and basic shaping techniques.
Special Notes
- Always maintain even tension while working on your stitches.
- The strap to hem depth is adjustable by altering the number of rows in the body of the design.
- Transitioning colors between Wine (main color) and Cream (contrast color) provides a sophisticated appeal.
Special Techniques
- V Stitch: [Double crochet, chain 2, double crochet] worked in the same space.
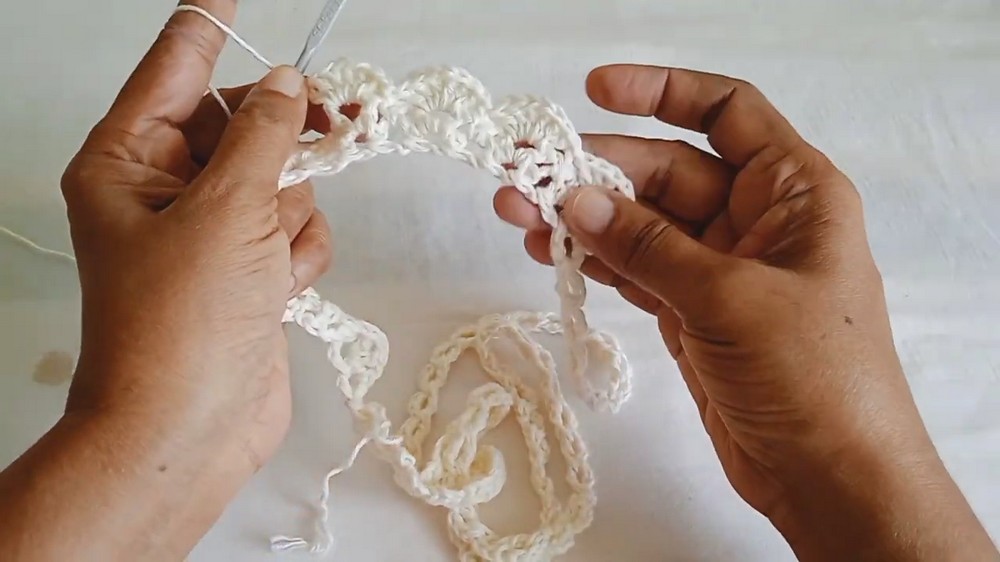
- Shell Stitch with Picot:
- [3 double crochets, 1 picot (chain 3, slip stitch into the base stitch), 3 double crochets].
- Used for hem decoration.
Pattern Instructions
Foundation Neck Base
- Make a slipknot and chain 87 foundation chains. Ensure the chain stitches are not twisted.
- Join the chain ends with a slip stitch to form a loop.
- Chain 3 (counts as the first double crochet), and make 1 double crochet into the first chain.
- Rep: Chain 3, double crochet into the space formed between the last 2 double crochets. Continue making loops this way until you complete a total of 84 loops. Adjust the number of loops based on your neckline size (should be even).
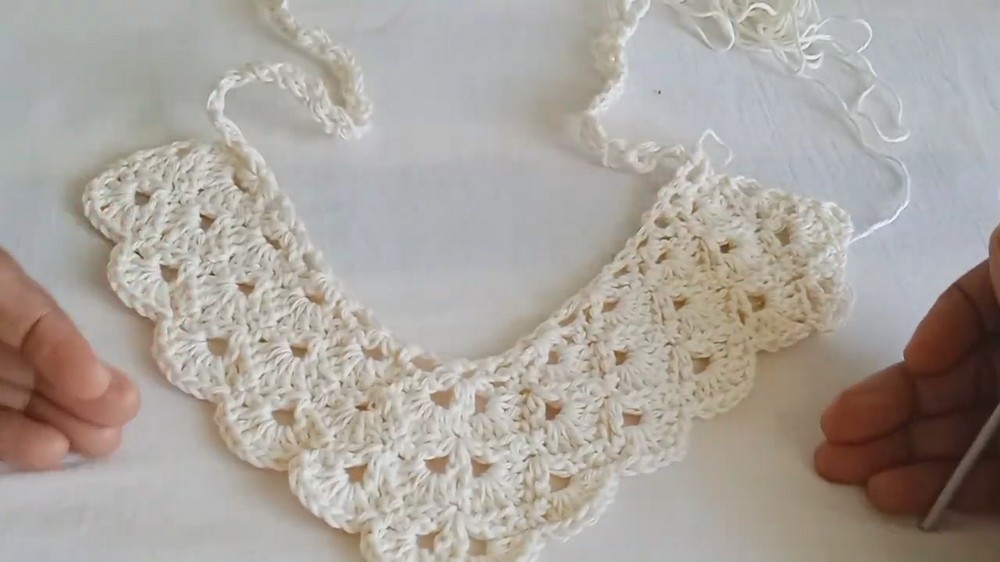
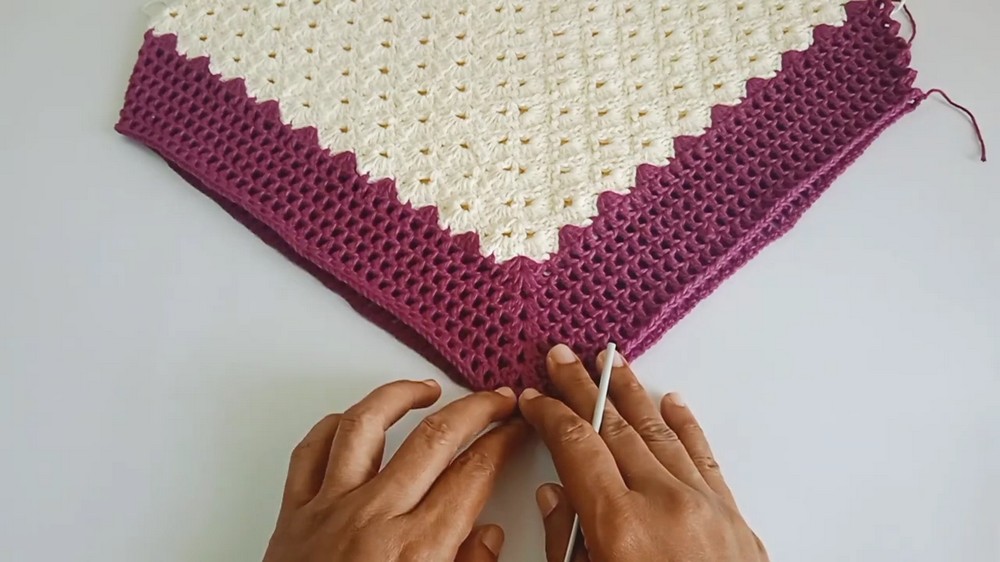
Shaping the Neckline
- Measure the “V shape” using the folded chain loop. The center point is determined by an evenly divided set of loops. Ensure each side is symmetrical.
- Chain 1 and slip stitch join the ends.
- Follow a pattern of 4 V stitches on each side with 2 V stitches in the middle, forming a V Neck pattern.
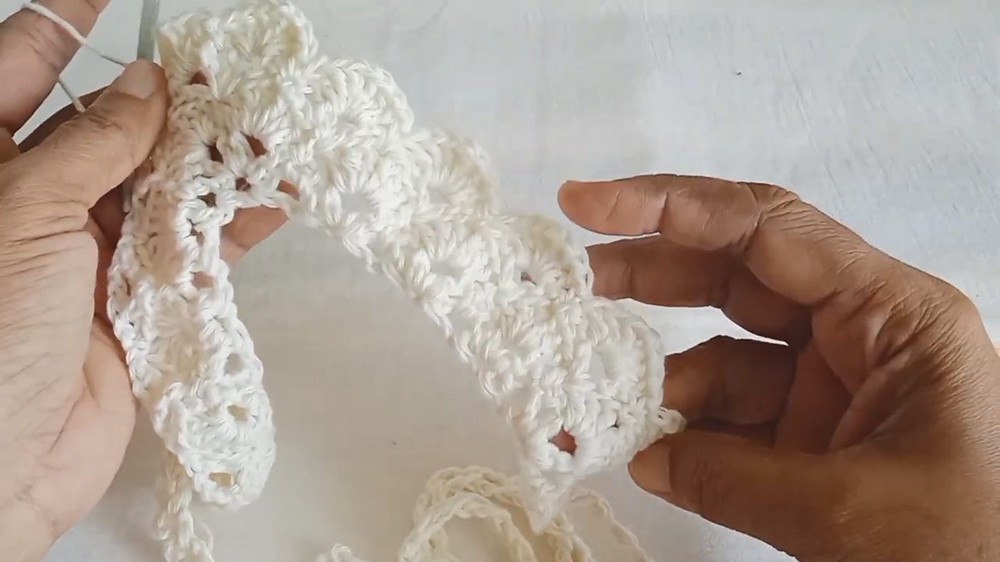
V Stitch and Shell Body Creation
- Row 1 (Foundation with V Stitch):
- Begin at one side of the neckline (single crochet in the loop), chain 1, and work a V Stitch.
- Continue with single crochet between V stitches until you have 4 V Stitches per side and 2 V Stitches in the center.
- Row 2 (Shell Stitch):
- Start with a single crochet in the first space. In each V stitch, work a shell ([3DC + chain 1 + 3DC]**).
- Single crochet in between each shell.
- At the center (V), repeat 2 shell clusters to maintain the neck curve.
- Alternate Rows:
- Continue alternating between V Stitch rows and Shell Stitch rows, working outwards from the neckline.
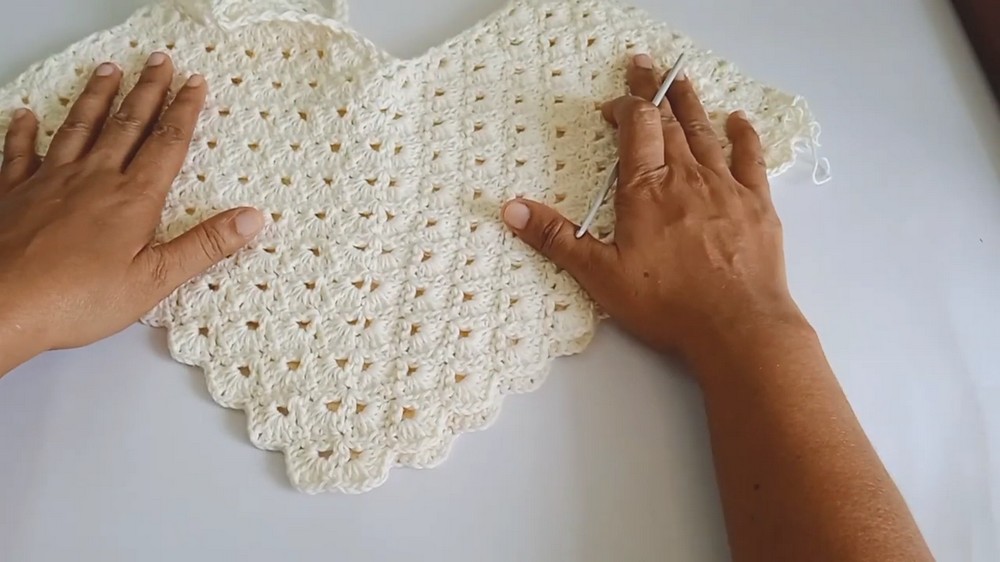
- Body Length:
- Work 11 rows in this manner or until you reach a bust size of approximately 34 inches.
- This point now forms the body portion of your crop top.
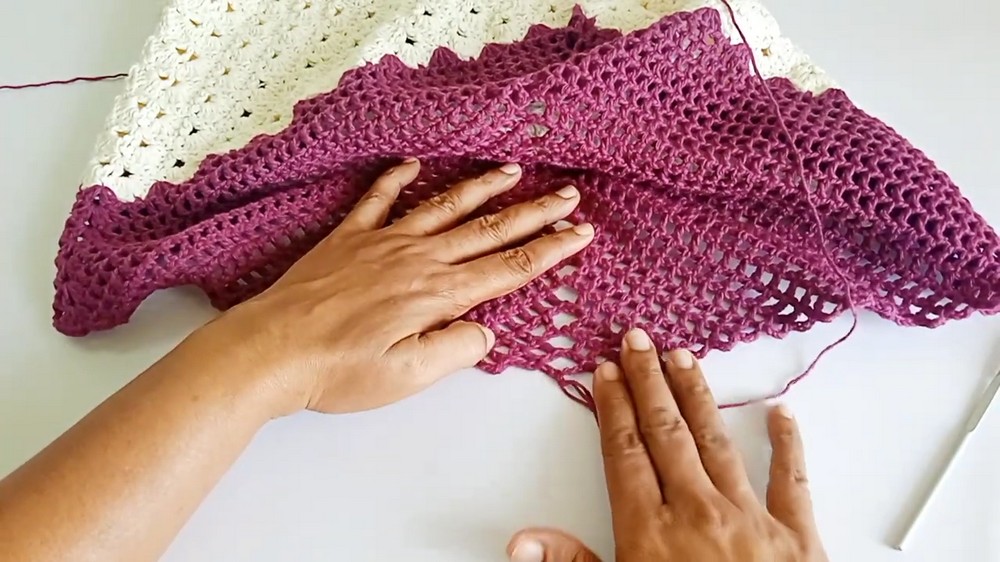
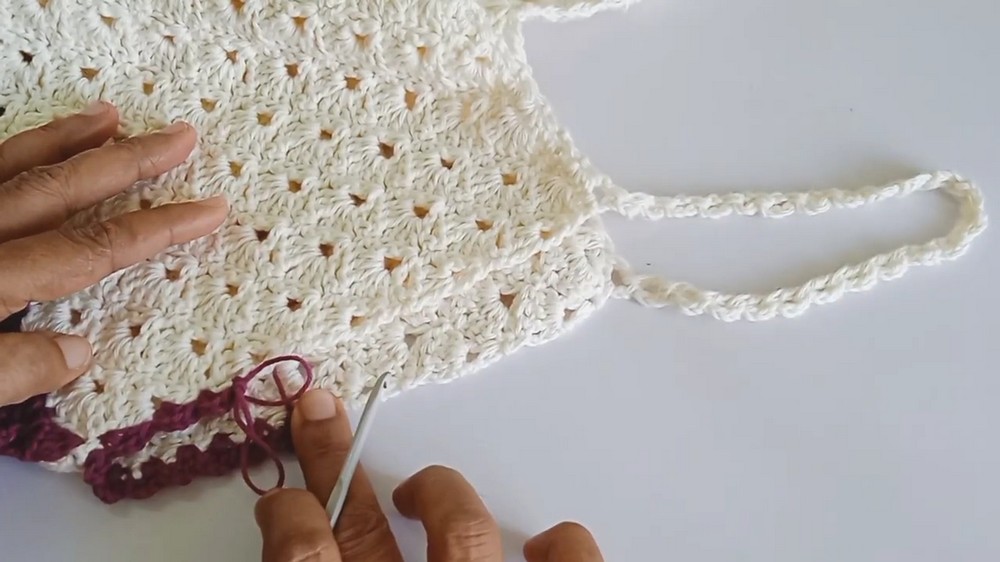
Adding Side Shaping
- After completing the body, join the sides of the crop top using slip stitches or a whip stitch.
- For armholes: Work single crochets evenly around the armhole opening.
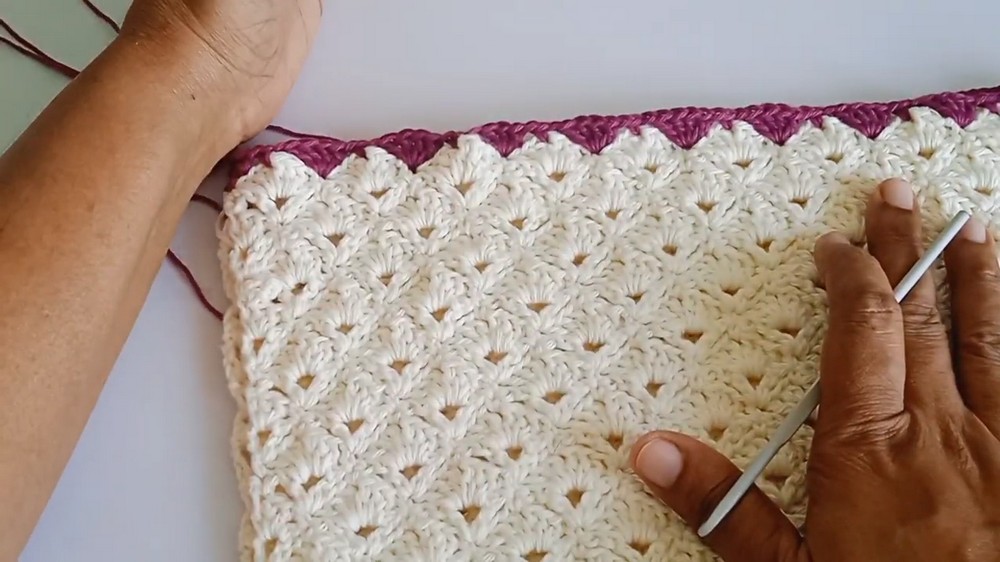
Edging for Hemline and Neckline
- Hemline (Shell Stitch with Picot):
- Start from any point on the bottom edge.
- Work a Shell Stitch into each loop:
- [3 DC, chain 1, make a picot (chain 3, join with slip stitch into the base), 3 DC].
- Single crochet between each shell.
- Continue this until the entire hemline is adorned with shell stitches.
- Neckline & Armhole Detailing:
- Use a contrasting color.
- For each space, create a simple double crochet and chain 2 pattern, finishing with a single crochet.
- The result should be a clean, defined neckline and armholes.
Finishing Touches
- Weave in all loose ends with a yarn needle.
- Wash and block your crop top to achieve the perfect shape. Use pins to maintain the V neck definition while blocking.
- Add buttons, beads, or embellishments if desired.

Customization Ideas
- Adjusting Size: Add more rows for a longer top or fewer for a cropped look.
- Color Customization: Experiment with gradients, stripes, or solid colors to suit your style.
- Sleeve Additions: Attach sleeves to transform the crop top into a blouse.
Tips and Tricks
- Always secure the starting chain to avoid twisting.
- Use stitch markers for the center V stitches to maintain consistency.
- Test stitches with scrap yarn to get comfortable with shell stitch picots.
Conclusion
This crochet crop top combines beauty and simplicity, making it perfect for both beginners and advanced crocheters. Its soft and breezy design is stylish and functional, designed for any occasion. Whether you’re crafting it for yourself, as a gift, or for sale, this pattern provides endless opportunities for personalization.