
Easy Free Crochet Baby Tee Pattern for Baby Shower Gifts
Stitch a cute wardrobe staple with this Crochet baby tee Pattern, offering clear steps for a comfy handmade top little ones will wear again and again.
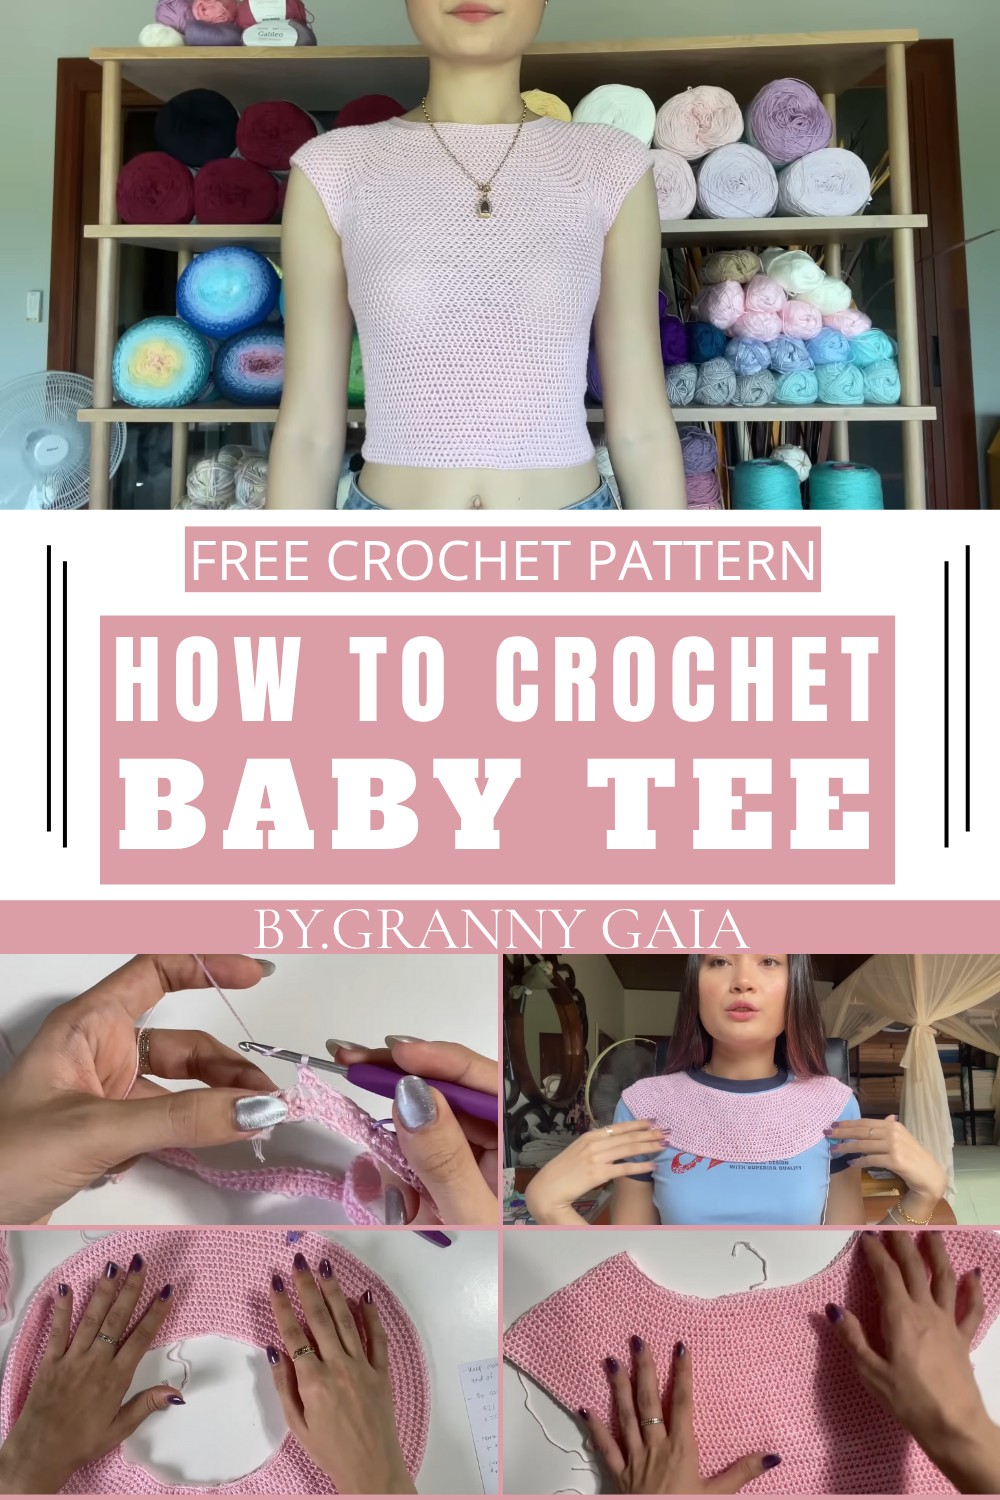
Sweet Free Crochet Baby Tee Pattern for Soft Everyday Wear
Dressing a little one in something truly special, something handmade with love, care, and creativity. A crochet baby tee pattern allows you to make adorable, soft, and cozy tops perfectly suited for babies. These tiny tees often feature simple stitches, delicate designs, and charming touches like buttons or color contrasts. The beauty of crocheting a baby tee lies in its versatility; you can choose from a range of colors, materials, and styles to match any occasion or season.
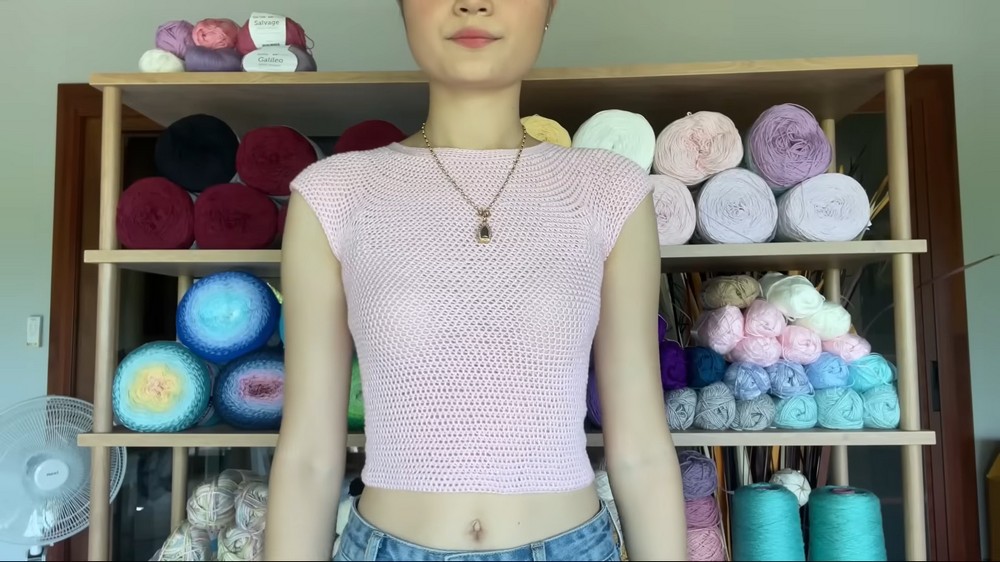
Whether for a casual day out or a special celebration, these tees are practical and stylish. Their lightweight and comfortable feel ensure that babies can move freely while staying cozy. Plus, the process offers a relaxing and rewarding hobby for creators of all levels. This pattern opens the door to crocheting something memorable, making it an ideal project for gifting or personal use while celebrating the sweetness of handmade wearables.
Crochet Baby Tee Pattern
Materials
- Yarn: Fingering weight, 70% bamboo, and 30% cotton blend yarn (or any preferred lightweight yarn).
- Hook Size: 3.5mm crochet hook.
- Tools:
- Tape measure.
- Stitch markers.
- Scissors.
- Tapestry needle (for weaving in ends).
Skill Level
Intermediate
- Familiarity with basic crochet stitches and techniques (chains, single crochet, half double crochet, slip stitches) and confidence in trying on the garment as you work.
Key Abbreviations (US Terminology)
- Ch: Chain
- Sl St: Slip Stitch
- SC: Single Crochet
- HDC: Half Double Crochet
- St: Stitch
- Rep: Repeat
Pattern Overview
This Baby Tee is worked from the neckline with a foundation chain long enough to fit over the head. The body is then worked in rounds with specific calculations to separate for sleeves and body. The pattern includes trying on the garment frequently to ensure a perfect fit.
Detailed Crochet Pattern
Step 1: Foundation Chain
- Slip Knot:
- Make a slip knot and chain enough to comfortably fit over your head. For most sizes, this is approximately Ch 110.
- Check Fit:
- Join with Sl St into the first chain, ensuring the chain is not twisted. Try it on to ensure it fits well over your head. Adjust the number of chains if necessary.
- Secure Start:
- Once the fit is confirmed, make a single crochet (SC) join instead of a slip stitch to mark the start and ensure a seamless join.
- Once the fit is confirmed, make a single crochet (SC) join instead of a slip stitch to mark the start and ensure a seamless join.
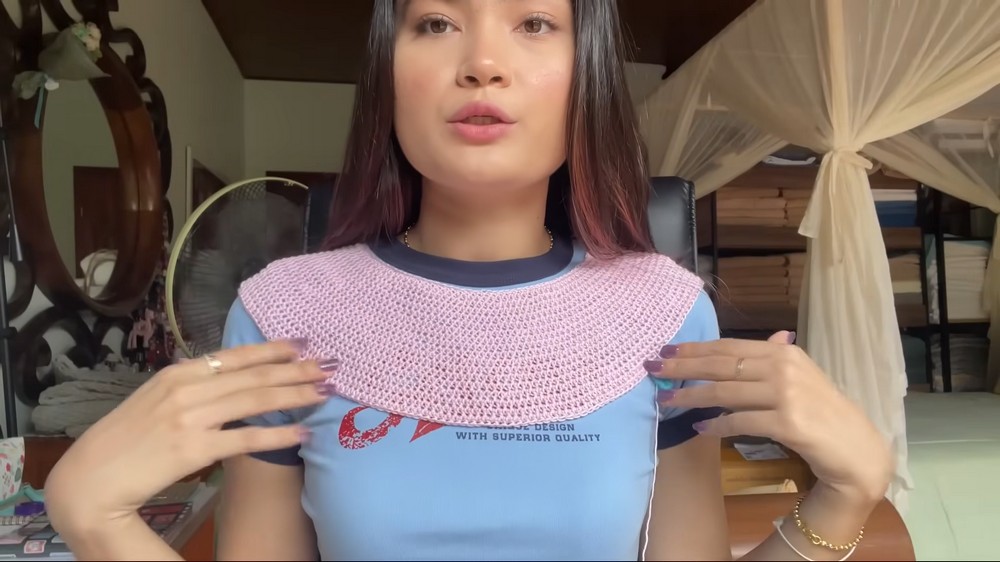
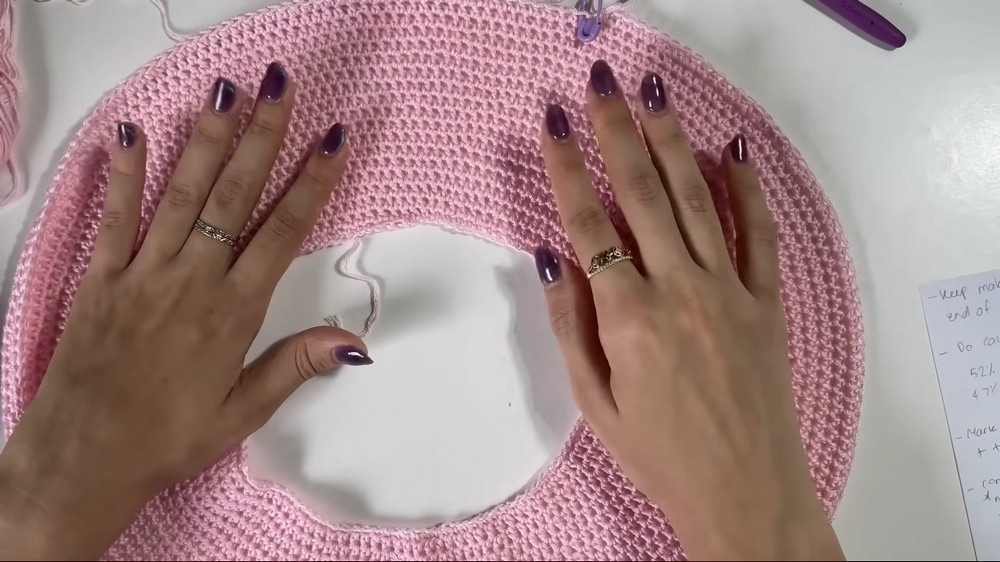
Step 2: Create the Yolk
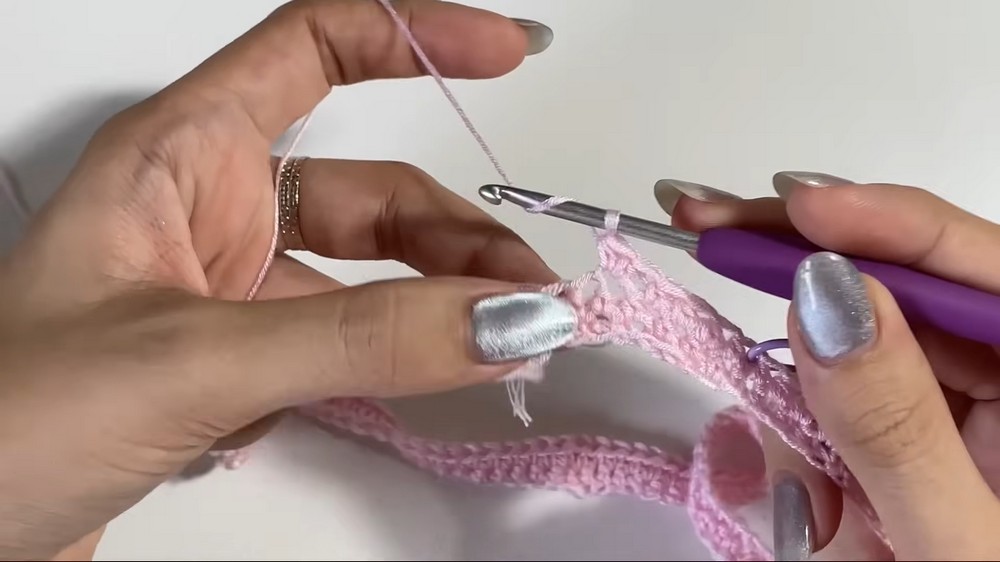
- Round 1:
- SC into each chain around. Join each round with a Sl St into the first stitch. Mark the first stitch of each round with a stitch marker.
- Rounds 2-3:
- HDC into each stitch around.
- Increase Rounds:
- In Round 4, begin increasing every fifth stitch:
- HDC in each of the next 4 stitches, then 2 HDC in the 5th stitch.
- Continue this pattern.
- Rounds 5-7:
- HDC into each stitch without increasing.
- Continue increasing every sixth stitch in Round 8, then HDC in each stitch in Rounds 9-11.
- In Round 4, begin increasing every fifth stitch:
Step 3: Calculate Body and Sleeves Separation
- Stitch Count:
- Count total stitches in the last round.
- Body and Sleeves Calculation:
- To find the number of stitches for the body, multiply the total stitch count by 0.52 (52%) and divide by 2. Round any decimals down and add 1.
- Do the same for the sleeves, but multiply by 0.47 (47%).
- Verify your calculations by adding the doubled body and sleeve stitches to match your original stitch count.
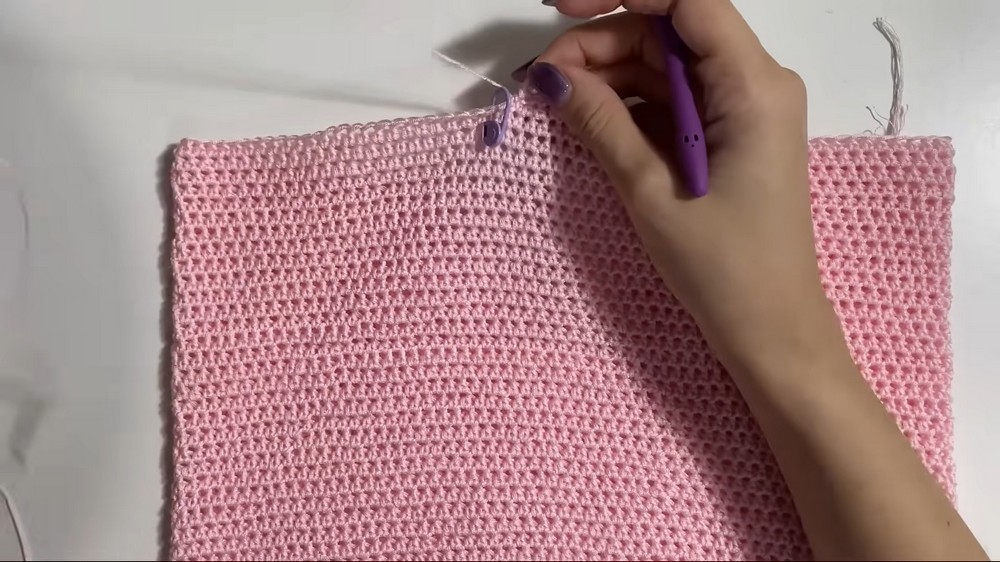
Step 4: Separate Body and Sleeves
- Make Underarm Chains:
- From your marked stitch, HDC into the calculated body stitches. Then, chain a number of stitches for the underarm (e.g., Ch 8).
- Skip the calculated sleeve stitches and HDC into the next stitch.
- Mark this stitch.
- Work another row for a different body and chain for the other underarm.
- Connect the body to the starting marked stitch.
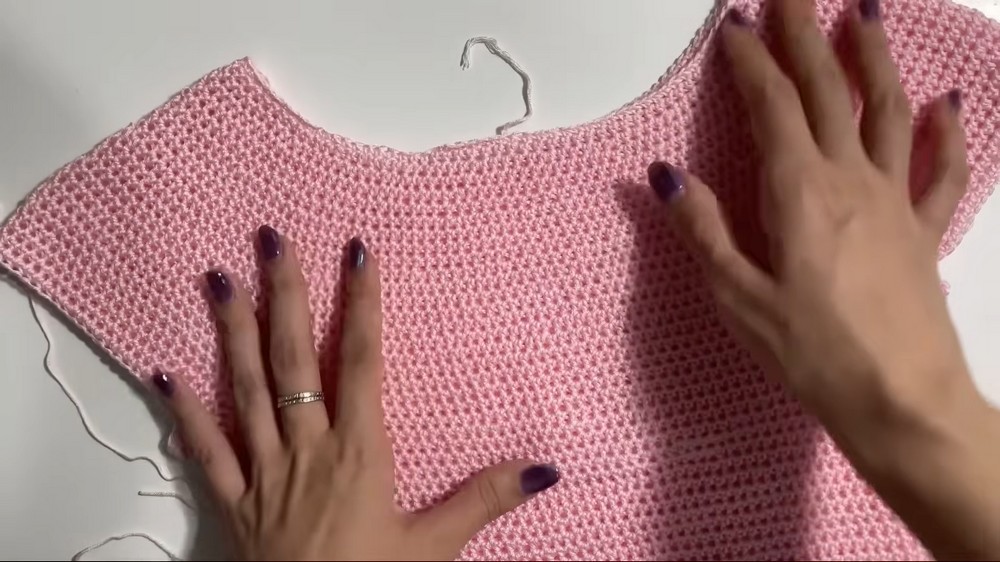
Step 5: Work the Body
- Rounds 1 to End:
- HDC into each stitch around, including the underarm chains.
- Continue working in rounds, making no increases for a fitted body.
- Mark the first stitch of each round.
- Try it on regularly to ensure it fits well.
Step 6: Finish the Body
- Final Round:
- To finish the section, switch to SC in the last stitches for a smoother edge.
- End by a Sl St and finish off. Cut the yarn and weave in ends.
Step 7: Create Sleeves
- Sleeve Base:
- Rejoin the yarn at an underarm chain.
- HDC around the sleeve opening, including the underarm chain stitches.
- Mark the first stitch.
- Continue working in rounds.
- Optional Decrease:
- If a tighter fit is preferred, make decreases at the start of every round.
- Finishing Sleeve:
- Slip stitch to end each round, try on regularly, and finish off when the desired sleeve length is reached.
Neckline Finishing
- Single Crochet Edging:
- Rejoin yarn on one side of the neckline.
- SC around the neckline, slipping into the first stitch to end the round.
- Repeat for several rows if wishing to narrow the neckline.
- Finish Off:
- Slip stitch to end the final round, chain one, cut yarn, and weave in ends.
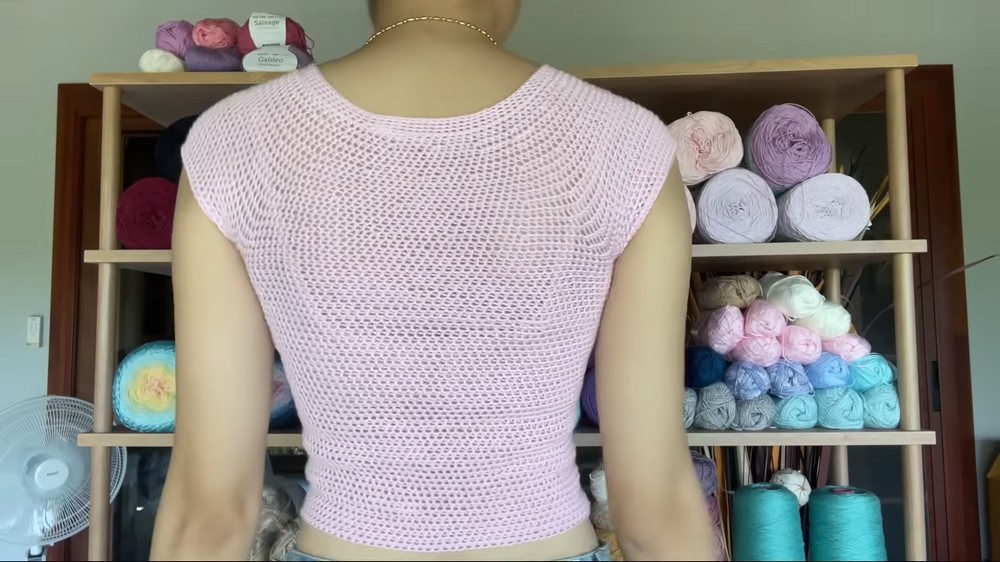
Conclusion
Congratulations on completing your Baby Tee! The detailed steps ensure a well-fitted and snug baby tee that can easily mix and match with any outfit, giving you both comfort and style.
Tips for Success and Maintenance
- Blocking: Lightly block the top if you need an even and professional finish.
- Care Instructions: Hand wash in cold water and lay flat to dry to preserve the shape and softness.
- Customization: Feel free to customize the neckline size, sleeve length, or body length to suit your personal style and preferences.