Easy-to-Follow Free Crochet Star Pillow Pattern For Decor
Look at this free crochet star pillow pattern that is simple, fun, and easy to follow, perfect for creating a soft and cozy star-shaped pillow at home.
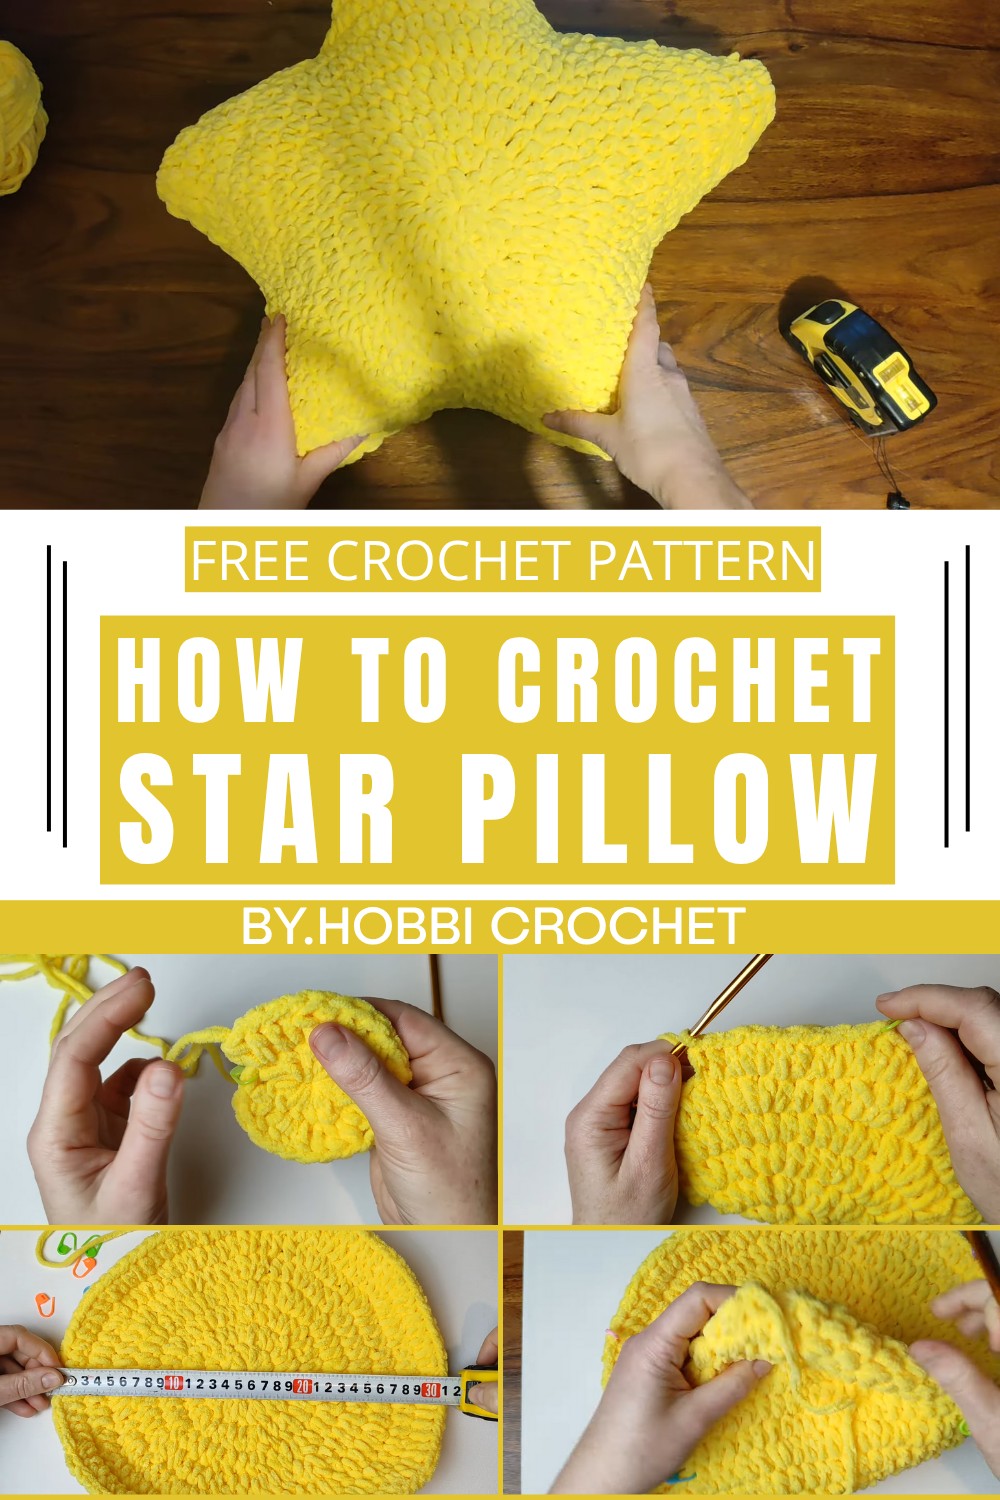
Beautiful Free Crochet Star Pillow Pattern With Simple Steps
Have you ever wished to make something cozy and unique for your home? This pattern lets you create a soft, fluffy star-shaped pillow that’s both beautiful and practical. It’s perfect for beginners because the instructions are simple and easy to follow.
The star design is eye-catching and adds a playful charm to any room. Whether you use it as a comfy cushion, a decorative piece, or a thoughtful handmade gift, it’s sure to bring smiles. The pillow is large and huggable, making it great for kids and adults alike. Using just a few balls of yarn and basic stitches, you can craft something that’s truly special and will brighten up any space.
Chunky Crochet Star Pillow Pattern
Materials Needed
- Yarn: Super bulky yarn, 2.5 skeins. 100% acrylic is recommended.
Example yarn: Aldi Chunky Yarn (600 grams total). - Stuffing: Approximately 400 grams of polyester fiberfill for stuffing (use more for desired firmness).
- Crochet Hook: 10mm (N/P-15). Choose your hook size depending on tension and yarn type.
- Stitch Markers: Helpful for marking the start and end points of sections.
- Scissors
- Yarn Needle: For stitching, weaving ends, and assembly.
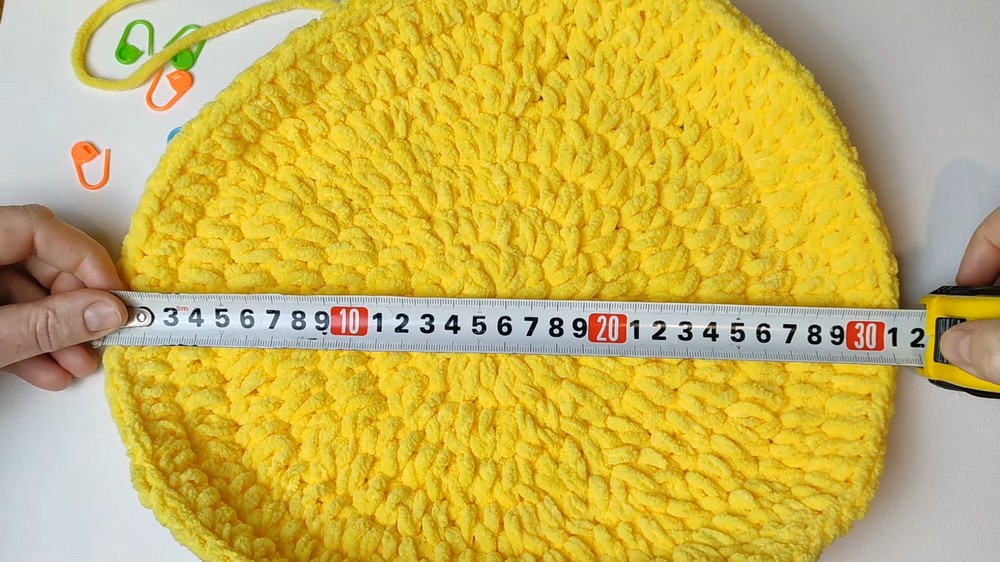
Gauge (Important)
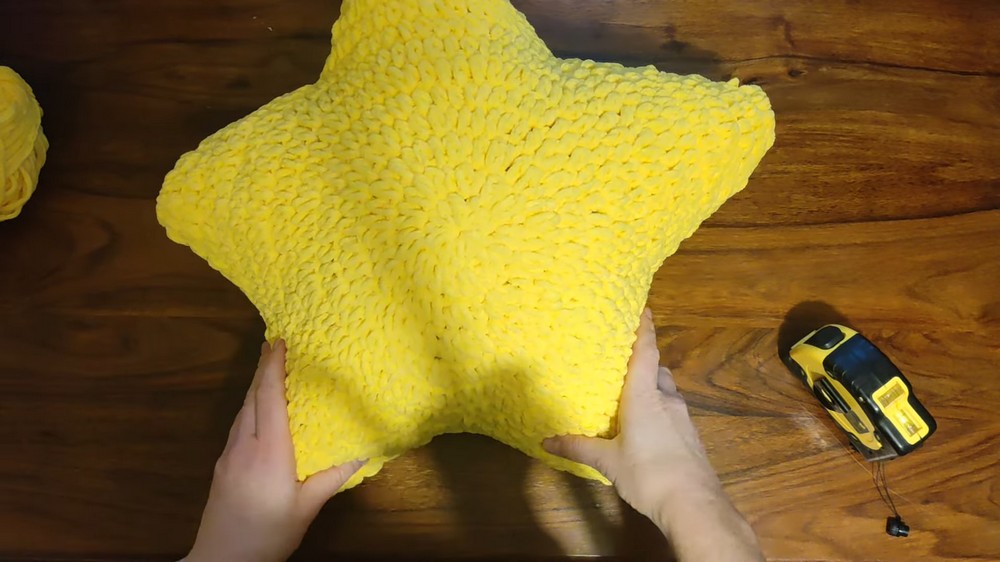
- Gauge is not critical for this project. It is designed to be flexible for beginners.
The star measures approximately 50cm (20 inches) across when finished. Adjust yarn and hook size for larger or smaller stars.
Special Techniques
- Amigurumi-style Crochet: Working in continuous spirals without closing rounds with slip stitches. This creates a seamless finish.
- Magic Circle: The starting technique for crocheting in the round.
- Invisible Decrease: Used in later rounds to shape points cleanly.
Pattern Instructions
Base Circle
The base circle forms the foundation of the star pillow.
- Start with a Magic Circle:
Create a magic circle and chain one. - Round 1 (Foundation Round):
Work 12 half double crochets (HDC) into the magic circle.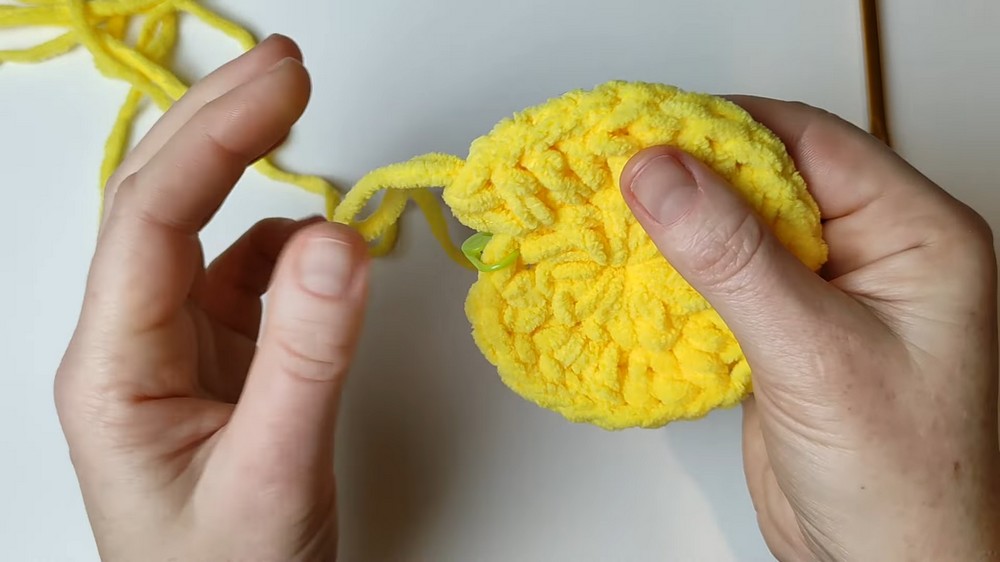
Pull the circle tight and continue in a spiral (do not join the round). - Round 2:
Increase in every stitch. Work 2 HDCs in each of the 12 stitches. You will now have 24 stitches total.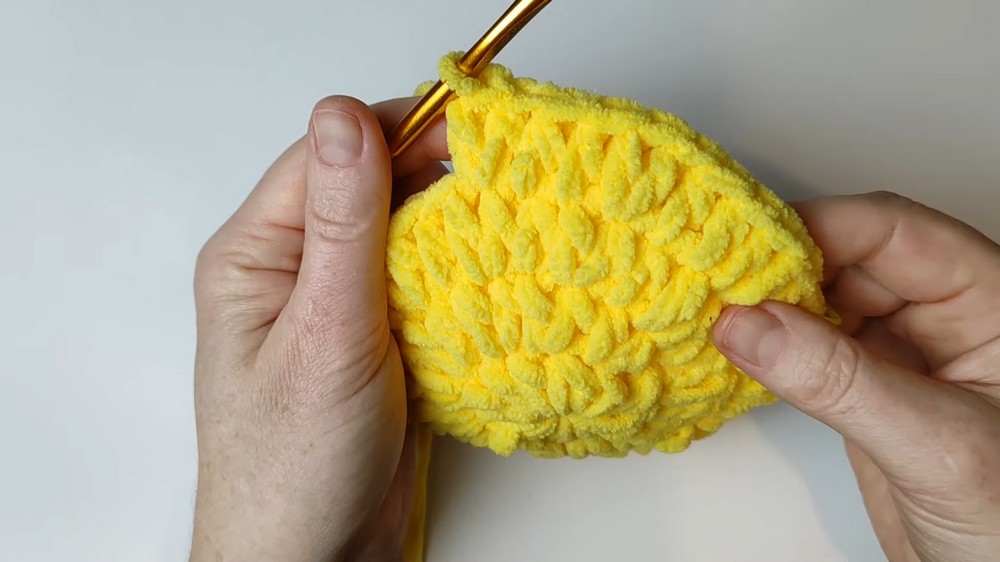
- (Tip: Use stitch markers to mark the first stitch of each round for clarity.)
- Round 3:
Work 1 HDC in one stitch, 2 HDCs in the next stitch, continuing this sequence around. You will now have 36 stitches. - Round 4:
Follow the pattern: 1 HDC in first two stitches, 2 HDCs in the third stitch. Repeat around for 48 stitches.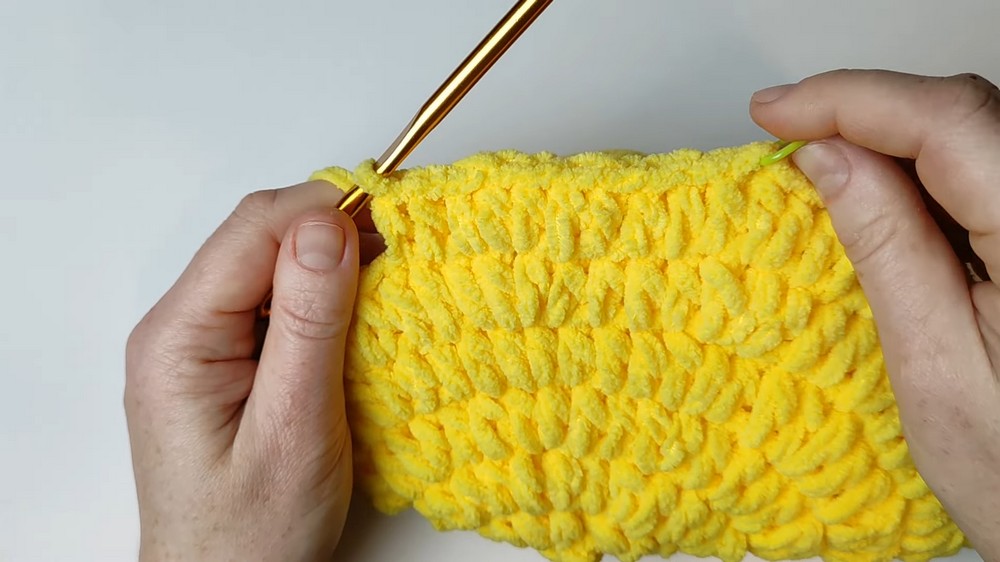
- Round 5:
Increase gradually: 1 HDC in first three stitches, 2 HDCs in the fourth stitch, continuing around for 60 stitches. - Rounds 6–8:
- Round 6: Work 1 HDC in first four stitches, 2 HDCs in the fifth stitch. End with 72 stitches.
- Round 7: Work 1 HDC in first five stitches, 2 HDCs in the sixth stitch. End with 84 stitches.
- Round 8: Work 1 HDC in first six stitches, 2 HDCs in the seventh stitch. End with 95 stitches.
Creating Star Points
The star has 5 points, formed by dividing the base circle into equal sections.
- Divide Stitches:
Place stitch markers evenly every 19 stitches around the circle. Ensure each section starts cleanly at the marker. - First Point:
- Row 1: From one stitch marker, work 19 HDCs across to the next marker.
- Row 2: On the second side (next set of 19 stitches), work 19 HDCs, connecting both sides.

- Decreasing Rows: Begin working HDC decreases to shape the point:
- Row 3: Work 17 HDCs, followed by 1 HDC decrease. Repeat on both sides of the point.
- Row 4: Work 4 HDCs, followed by 1 decrease. Repeat on both sides.
- Row 5–Final Rounds: Gradually decrease by working 3 HDCs, then 1 decrease, and moving to 2 HDCs and 1 decrease in later rounds.
- Finishing Each Point:
Continue decreasing until only 1 stitch remains at the tip of the point. Pull the yarn through, leaving a tail for sewing later.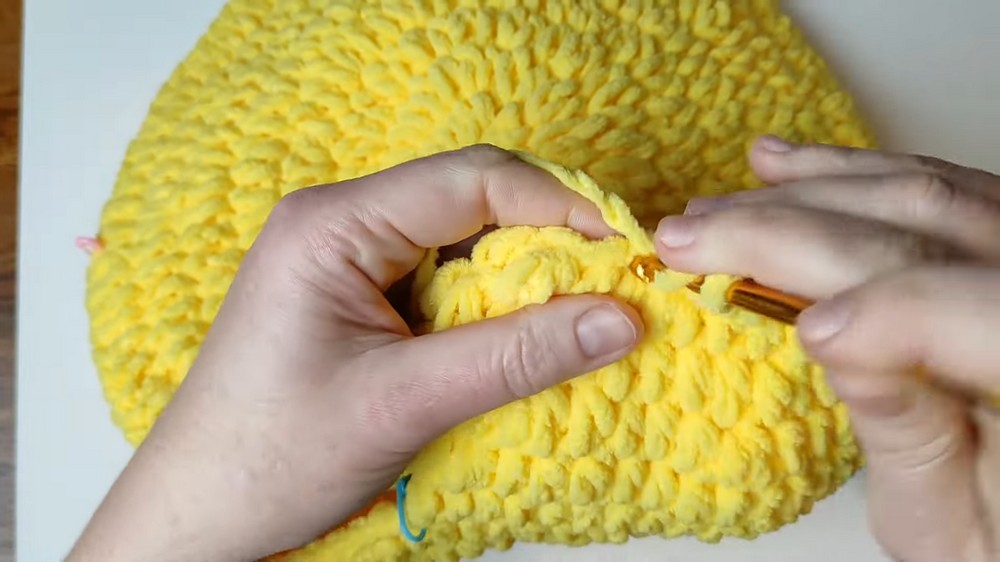
- Repeat for Remaining Points:
Repeat the same process for all 5 points, ensuring consistency in stitch count and decreases.
Assembly & Stuffing
- Stuffing:
Before finishing the final point, carefully fill the pillow with polyester stuffing. Use enough stuffing to ensure the pillow is firm but not overfilled (to maintain stitch integrity). - Stitch Seams Between Points:
Use the yarn needle to sew the edges of the pillow between points to close any gaps. Work carefully to avoid unevenness.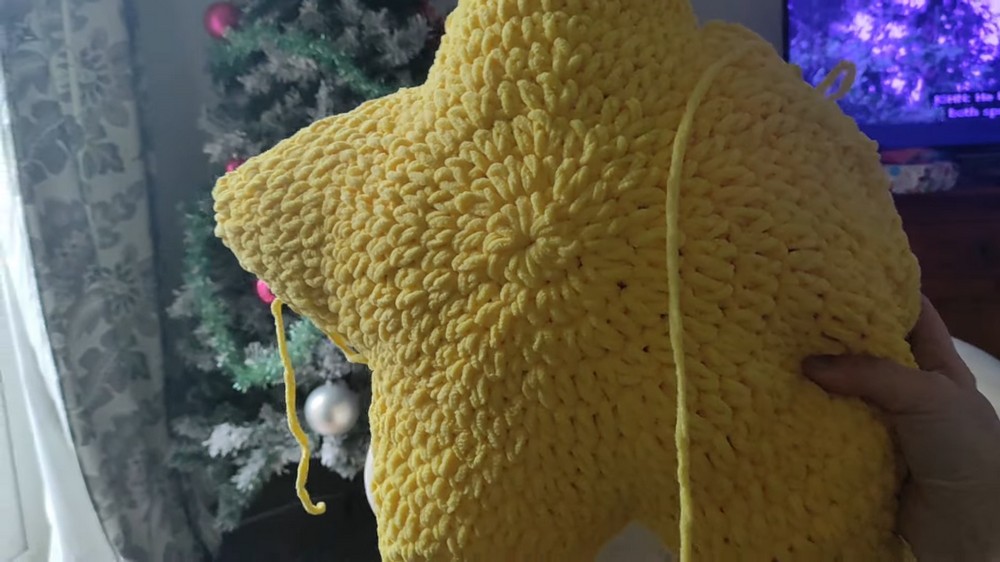
- Invisible Closing:
For the final decreases, use an invisible drawstring technique:- Pick up the front loops of the remaining stitches around the last point and pull tight.
Finishing the Pattern
- Weaving Ends:
Hide all loose yarn ends inside the pillow using a yarn needle. Run stitches securely through the stuffing for a clean finish. - Shaping Tips:
Adjust the stuffing as needed to balance the shape of the star. Ensure the points are evenly filled and symmetrical.
Final Remarks
Congratulations! You’ve completed the Chunky Star Pillow, a stunning, beginner-friendly project designed for relaxation and functionality. This pillow is perfect for gifting, festive décor, or as a cozy addition to your home.
Tips to Maintain Your Star Pillow
- Care: Handwash gently with mild detergent to preserve yarn texture, and air dry flat to retain shape.
- Customization Ideas:
- Use variegated yarn or alternate colors for a striped or multicolor effect.
- Embellish with pom-poms or tassels at the tips for added charm.
- Storage: Ensure the pillow is stored in a dry area to avoid flattening or damage to the stuffing.