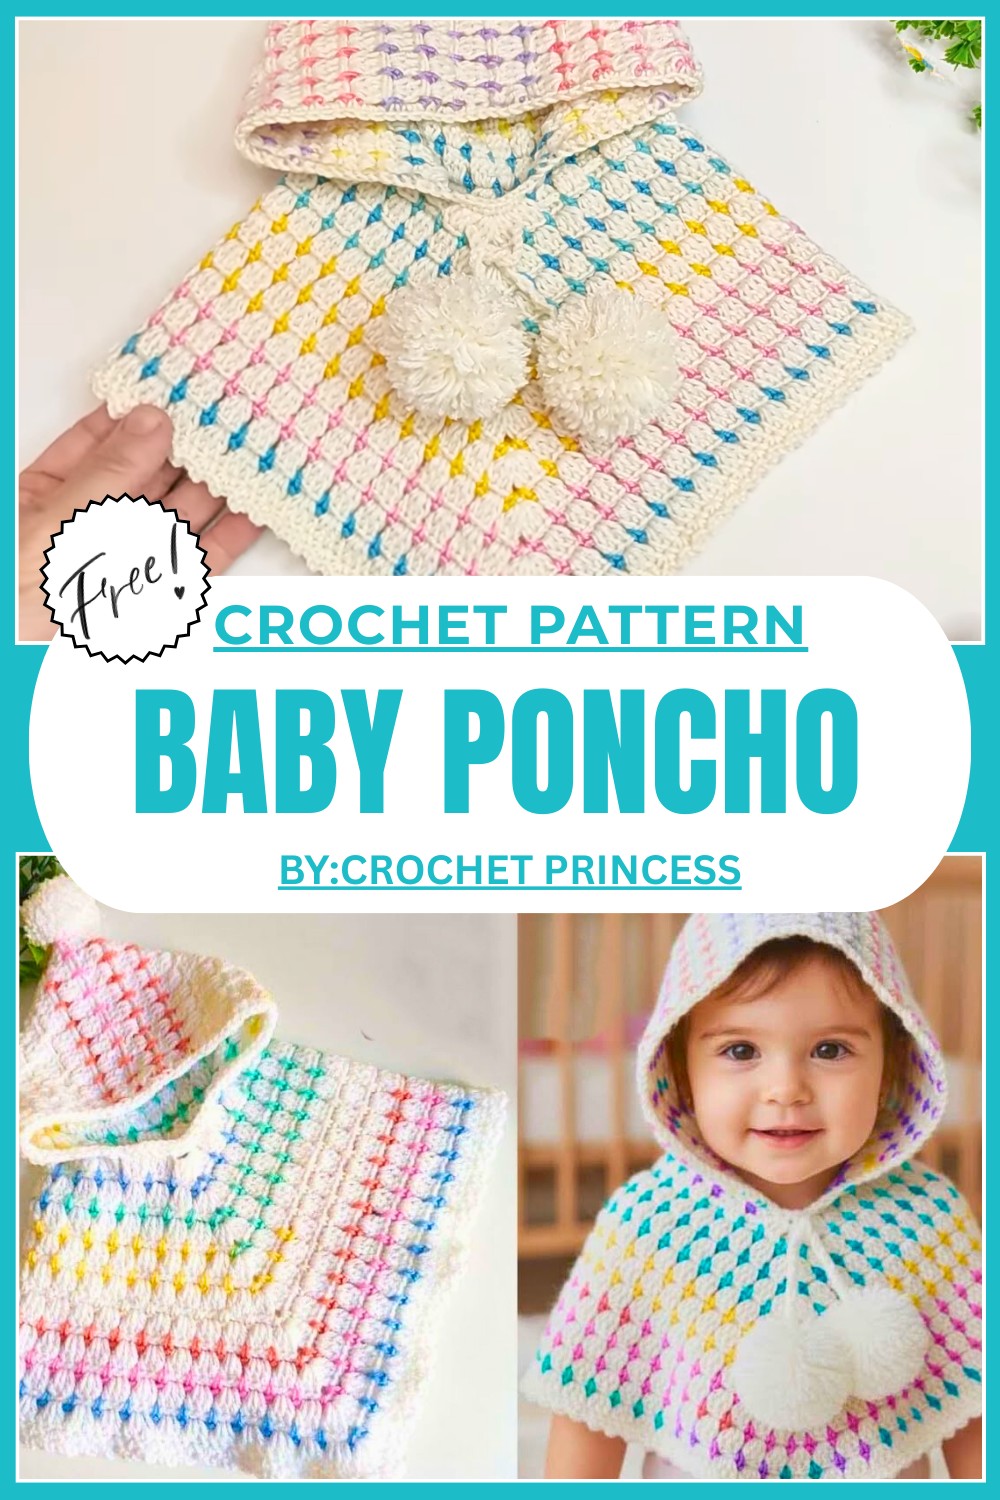
Adorable Free Crochet Baby Poncho Pattern For Little Ones
See how to make a cozy crochet baby poncho with this free pattern that’s simple to follow, fun to make, and perfect for beginners and gifting.
Cute Free Crochet Baby Poncho Pattern for Beginners
A baby poncho is a delightful and cozy outfit that keeps little ones warm while looking adorable. This crochet pattern is special because it is simple to make and perfect for beginners. It has a soft, flowy design with plenty of room for comfort, making it ideal for everyday use or as a thoughtful handmade gift.
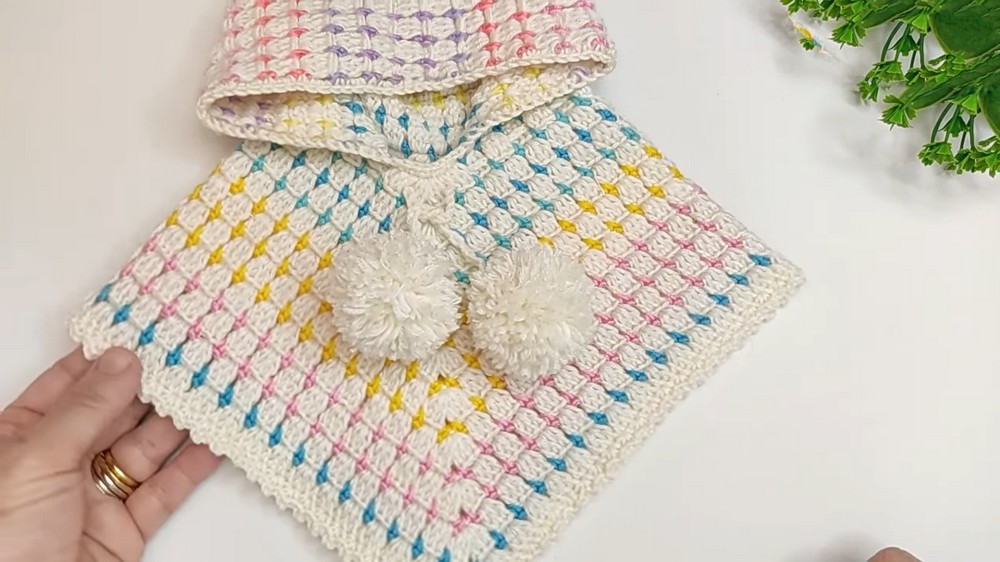
You can use different yarn colors to make it bright, cheerful, and unique, adding a personal touch to the design. Its pocket-like appearance gives it a stylish and practical feel, while the texture adds charm to the overall look.
Whether you’re creating this for a baby’s first birthday or just as a cozy layer for colder days, this project is easy to follow, heartfelt, and fun to make. It’s truly a wonderful addition to your crochet creations.
Step-by-Step Crochet Poncho Pattern
Materials
- Yarn: Medium-weight yarn (or as per preference). The pattern works with light, medium, or thick yarns, but ensure you use an appropriate hook size.
- If desired, use gradient yarn for color variation or scrap yarn for color changes every two rows.
- Crochet Hook: Use a crochet hook slightly larger than the recommended size for your yarn, as this creates a soft and pliable fabric.
- Suggested: 4.5mm – 5mm hook if the yarn label recommends 3-4mm.
- Stitch Markers: Essential for marking corners.
- Scissors.
- Yarn Needle: For weaving in ends and finishing details.
Gauge
Gauge is not critical for this project as the size is based on customization. However, if you’d like the poncho to turn out softer, aim for a loose tension.
Skill Level
Beginner to Intermediate
- Knowledge of basic crochet stitches and techniques required.
- The pattern is straightforward, consisting of simple stitches and corner increases.
Special Notes
- Stitch Pattern: The poncho alternates between two repeating rows:
- A row of double crochets (DC).
- A decorative row of chain stitches and “filling” stitches.
- Customization: The poncho size can be adjusted by:
- Measuring the intended head circumference for the starting chain.
- Repeating rows to achieve the desired length.
- Color Choices: You may work this poncho in a single color, gradient yarn, or multiple colors (changing colors every two rows). Leftover yarn can also be creatively incorporated.
Abbreviations (US Terminology)
- Ch: Chain
- DC: Double Crochet
- SC: Single Crochet
- St/s: Stitch/es
- Sl St: Slip Stitch
- Rep: Repeat
- Sp: Space
Pattern Instructions
Step 1: Custom Fit Sizing
- Head Circumference: Determine the head circumference of the person for whom the poncho is intended.
- If the person isn’t available, refer to a standard sizing chart for ages/head sizes.
- Length: Decide how long the poncho should be. Measure from the neck down to the desired poncho length on the body.
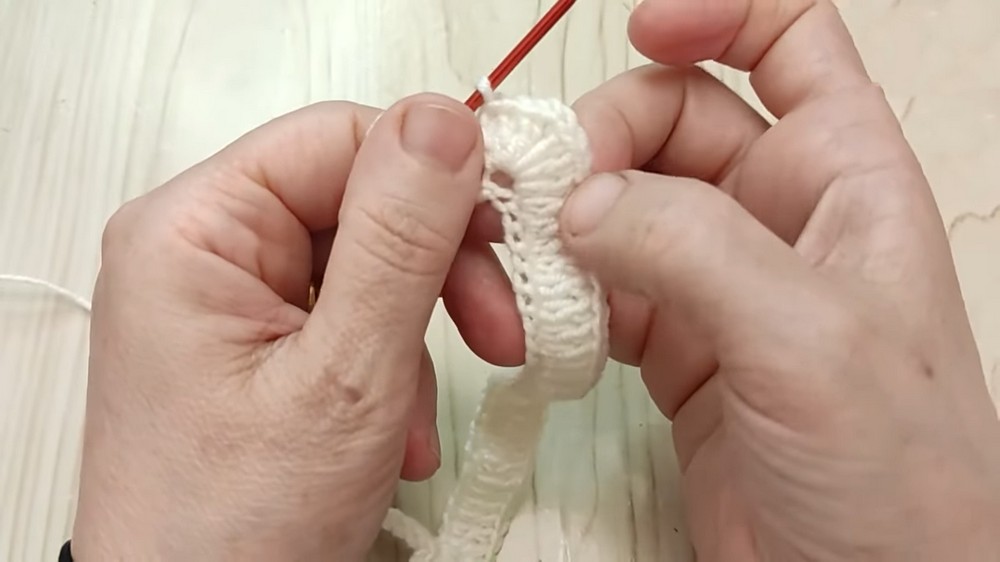
Step 2: Foundation Chain
- Chain: Start with a foundation chain in multiples of 6, based on the head circumference.
- Example: For a head circumference of 60cm, chain in multiples of 6 (e.g., 60 chains).
- Add Chains for Corners: After completing the chains for the head circumference, add two additional chains for the corner increases.
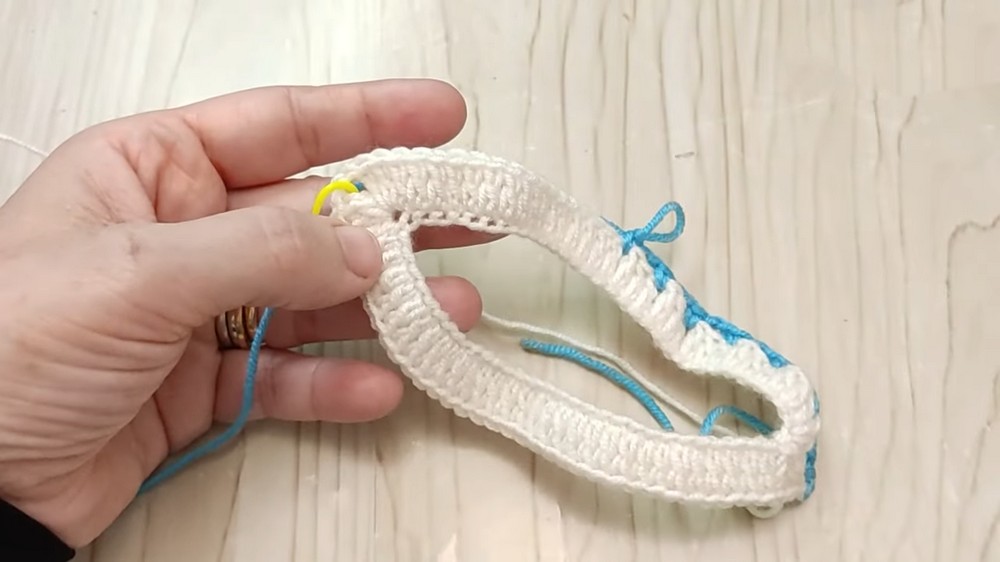
Step 3: Forming the Round
- Lay the chain flat to ensure it does not twist.
- Join the Chain: Slip stitch into the first chain to form a ring. This will be the start of the poncho worked in the round.
Step 4: Start the Poncho
Row 1: Foundation Row
- Set Up the First Corner:
- Chain 3 (counts as the first DC).
- Work 2 DC into the same chain space.
- Chain 2, then work 3 DC into the same chain space.
- Place a stitch marker to mark this as the first corner.
- Work Half the Chains in DCs:
- Work 1 DC in each chain until you’ve reached half of your foundation chain stitches. This creates the first side of the poncho.
- Second Corner:
- Work 3 DC into the next chain, Ch 2, and work another 3 DC into the same chain (forming the second corner). Place a stitch marker here.
- Complete the Second Side: Work 1 DC in each chain until you’ve reached the end of the row.
- Close the Round: Slip stitch into the top of the beginning chain 3 to close.
Row 2: Add Texture
- Change Color (Optional): If using multiple colors, add the new yarn using a slip stitch. Ensure to leave a small tail for weaving in later.
- Work the First Corner:
- Work a “filling” stitch (SC), Ch 2, then SC into the same chain space.
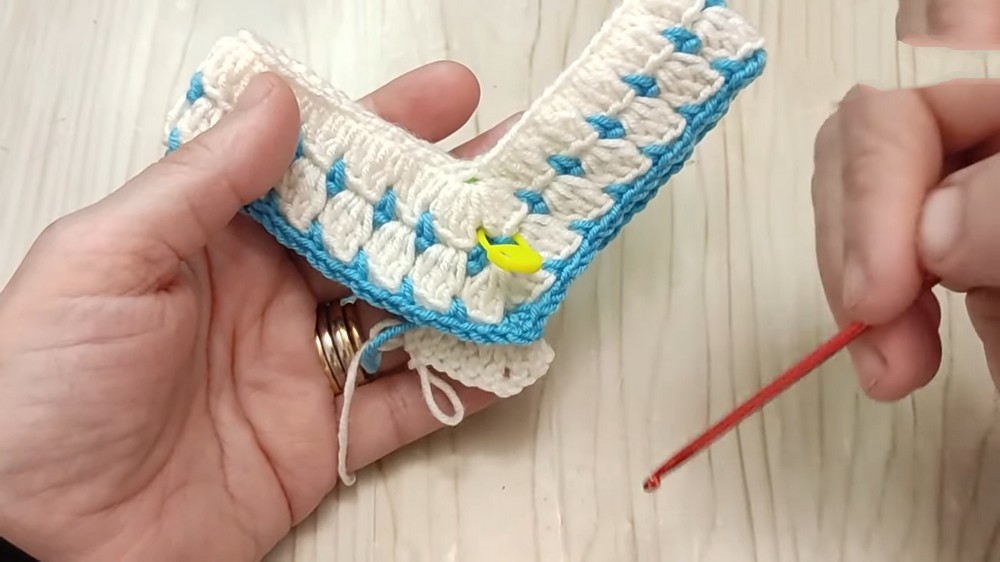
- Work a “filling” stitch (SC), Ch 2, then SC into the same chain space.
- Continue the Row:
- Chain 2, skip 3 stitches, insert the hook between the 3 DC groups from the previous row, and work a SC.
- Chain 2 and repeat this pattern: SC, Ch 2, skipping 3 stitches between “filling” stitches.
- Repeat this across the round, forming open chain loops and filling stitches.
- Work the Corners: For each corner, work SC, Ch 2, SC in the corner space.
- Close the Round: Slip stitch into the first SC to close the row.
Row 3: Repeating the Column Rows
- Begin the Next Layer: Slip stitch into the next chain or stitch space.
- Build the Columns: Work 3 DC into each chain space from the previous row.
- Work the Corners: Work 3 DC, Ch 2, and 3 DC into each corner space.
- Close the Round: Slip stitch into the third chain of the row to secure.

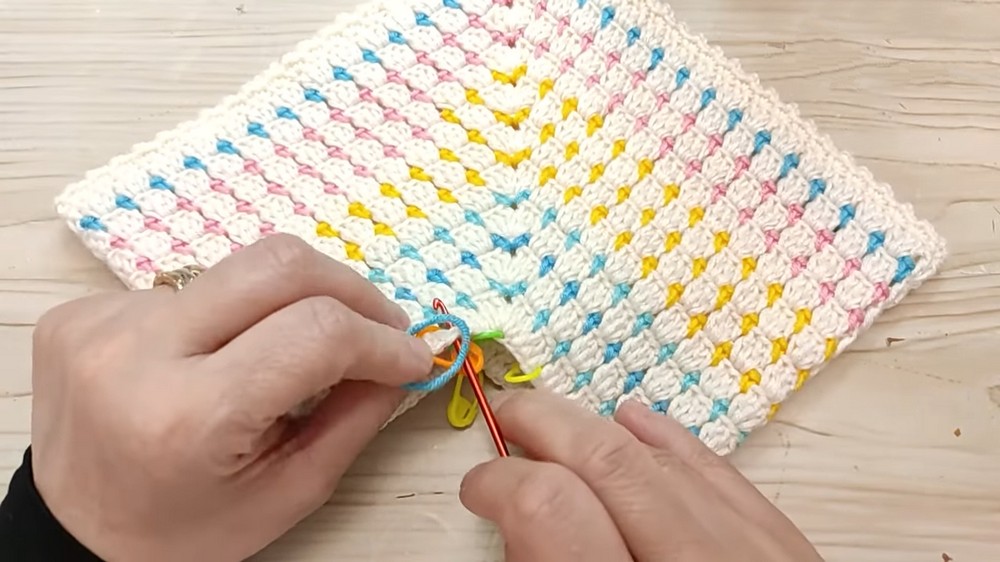
Row 4 Onward: Alternating Textures
- Row 4: Repeat the texture row (Row 2).
- Row 5: Repeat the DC row (Row 3).
Continue alternating Rows 2 and 3 until the poncho reaches your desired length.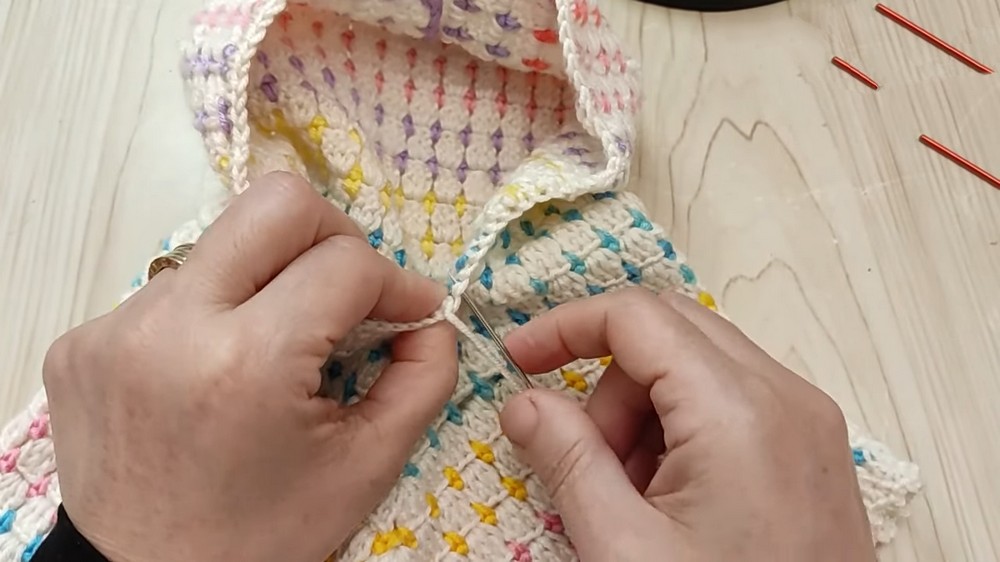
Step 5: Simple Border
- Work a Border Row: To finish your poncho, crochet a simple decorative border:
- Into each DC, work 2 SC, followed by Ch 2, and close with a DC.
- Corners should have extra Ch 2 spacing to maintain a flat finish.
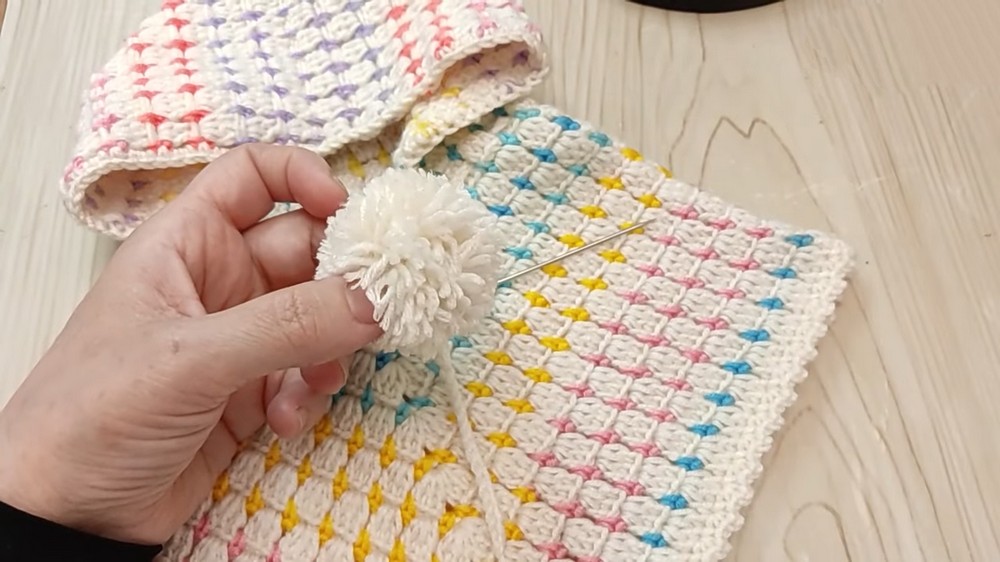
Step 6: Optional Additions
- Attachments: Add woolen tassels, fringe, or balls to the corners or neckline for added flair.
- Drawstring Neckline:
- Work a chain at your desired length.
- Weave the chain through the top row (around the head opening) to create an adjustable neckline.
Finishing the Pattern
- Weave Ends: Use a yarn needle to weave in all loose ends.
- Secure Edges: Ensure any loose stitches are tightened, and no gaps remain along the neckline or border.
- Block the Poncho (Optional): For a professionally finished look, block the poncho by lightly dampening and reshaping it to your desired form.
Final Words and Tips
Congratulations on completing your crochet poncho! The versatility of this project allows for endless creativity with colors and sizes. Whether for yourself or as a gift, the poncho will surely be cherished.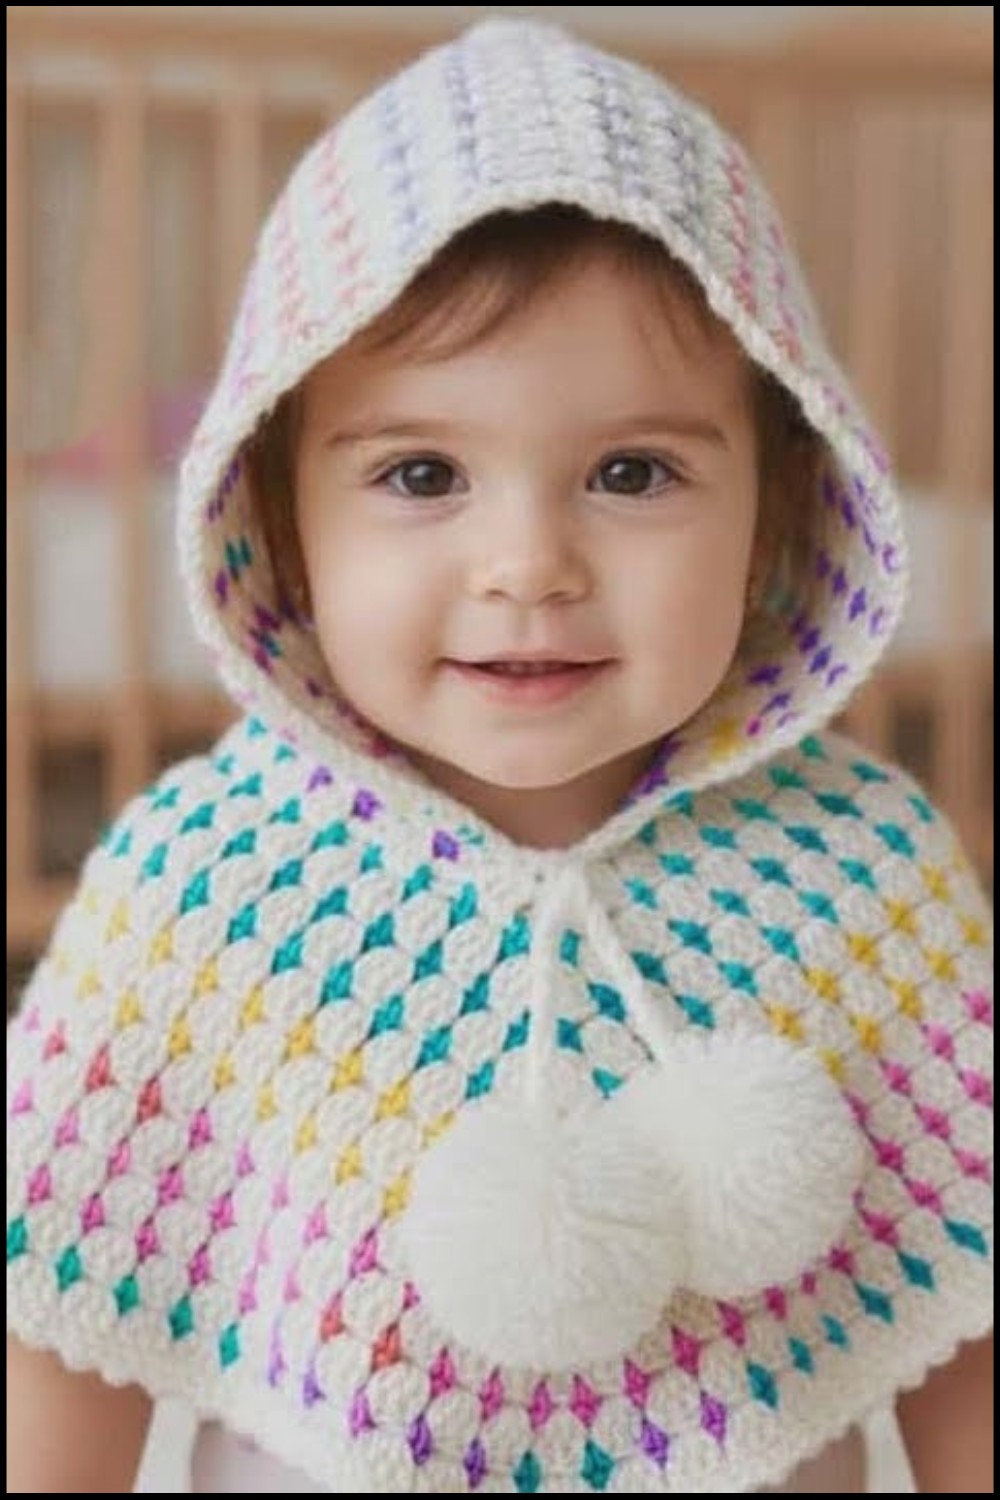
- Tip for Beginners: Use gradient yarns to avoid frequent color changes.
- Care Instructions: Hand wash gently in lukewarm water and lay flat to dry to ensure the fabric maintains its shape.
- Customization: Experiment with adding pockets or fringe details to make the poncho even more unique.