Effortless Crochet Pigtail Beanie Pattern With Warmth
Turn heads with a fun and cozy crochet pigtail beanie that’s perfect for keeping warm, showing off your style, and spreading cheerful vibes wherever you go.
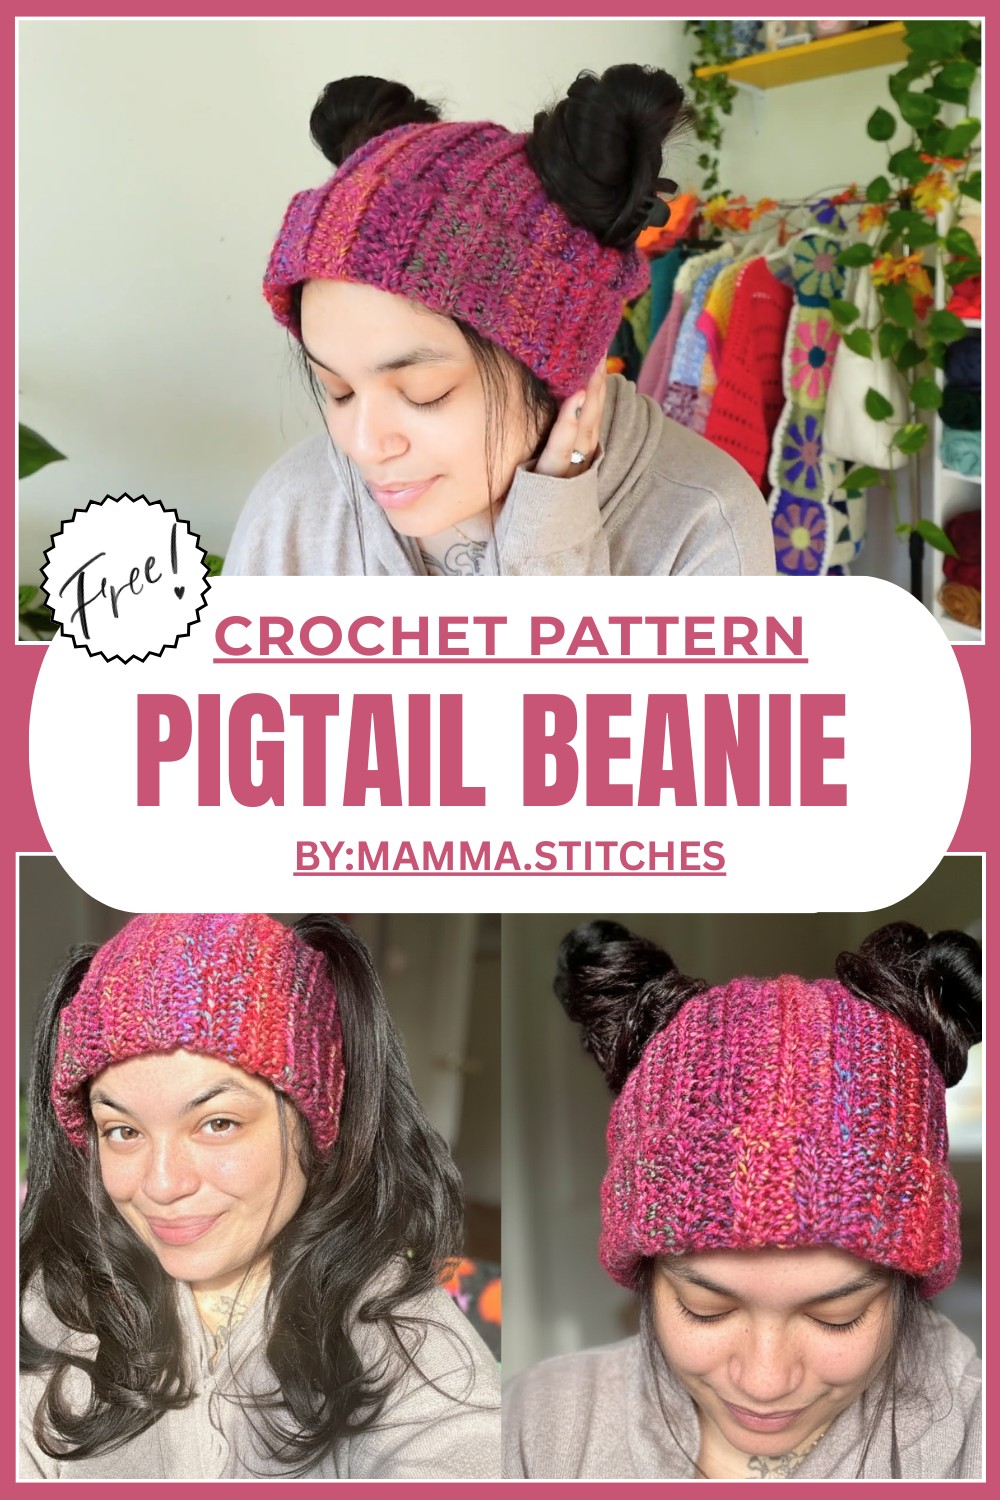
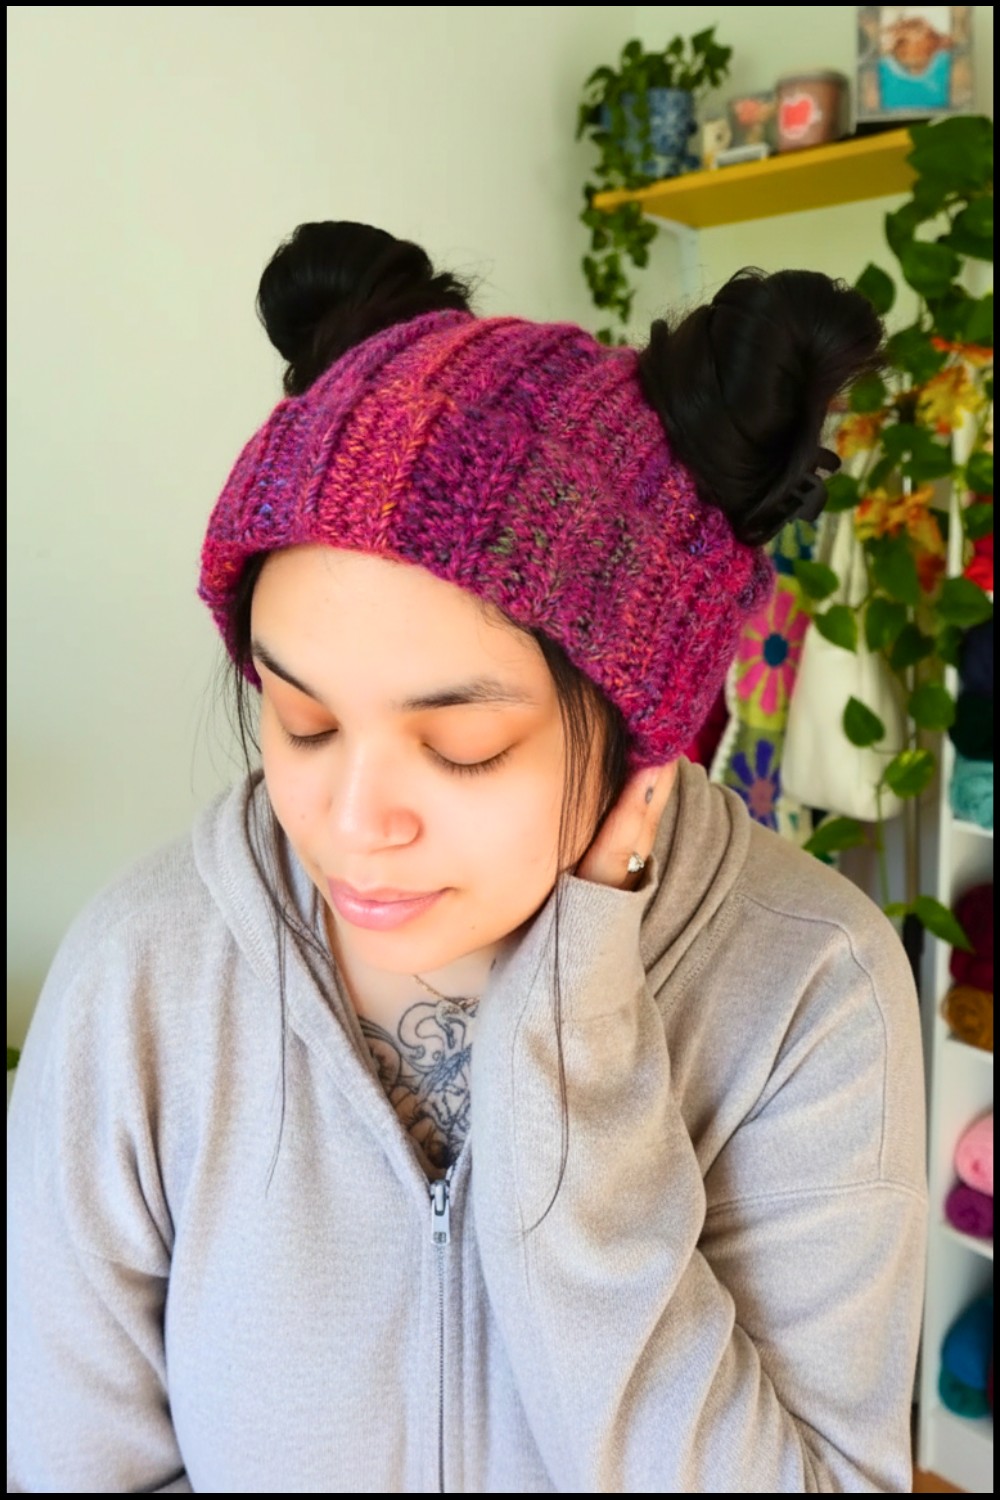
Easy Crochet Pigtail Beanie Pattern That Feels Like a Hug
A cozy winter accessory that not only keeps you warm but adds a touch of charm to your look. This delightful hat is designed to fit snugly while capturing a playful and stylish vibe. Its beauty lies in the intricate crochet details, showcasing soft, flowing stitches that create a stunning textured design. It’s crocheted in a way that feels gentle against the skin and looks perfect for all age groups.
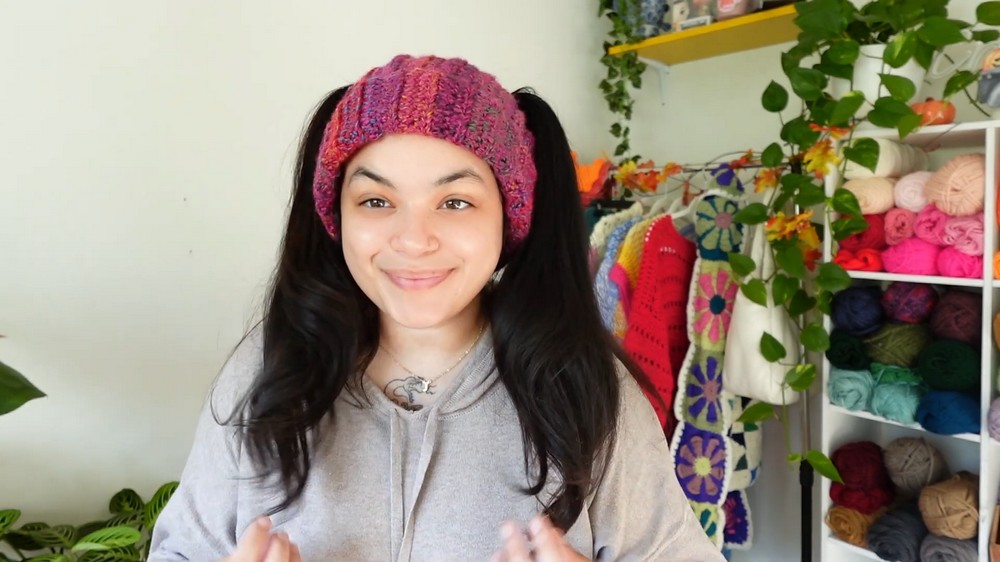
The pigtail design adds a fun, youthful twist, making it both practical and decorative. It’s perfect for chilly days, outdoor adventures, or simply making a fashion statement. With its unique and adorable appearance, this pattern is as functional as it is attractive. Whether you’re gifting it to a loved one or making it for yourself, this piece is a beautiful blend of fashion and comfort that instantly brightens any outfit while keeping you cozy.
Easy Crochet Pigtail Beanie Pattern
Materials Required
- Yarn:
- Type: Acrylic yarn, medium weight (#4).
- Brand: Big Twist Acrylic Yarn (or any equivalent).
- Color: Carousel (or your preferred color).
- Tools:
- Crochet hook: 6 mm (to create a looser, quicker beanie).
- Tapestry needle: For weaving in ends and finishing the seams.
- Measuring tape: To customize the size of the beanie to your head.
- Scissors: For cutting yarn.
Gauge
The measurement of each row/ridge is crucial for achieving consistent sizing. Since specific yarn and hook sizes alter the gauge, ensure you measure throughout the process.
Gauge: Not essential for this project if customized with measurements.
Finished Size
- Beanie Height: ~12 inches (including a 3-inch brim that folds).
- Beanie Circumference: Adjustable to fit head sizes.
Customize these measurements based on your preference and head size.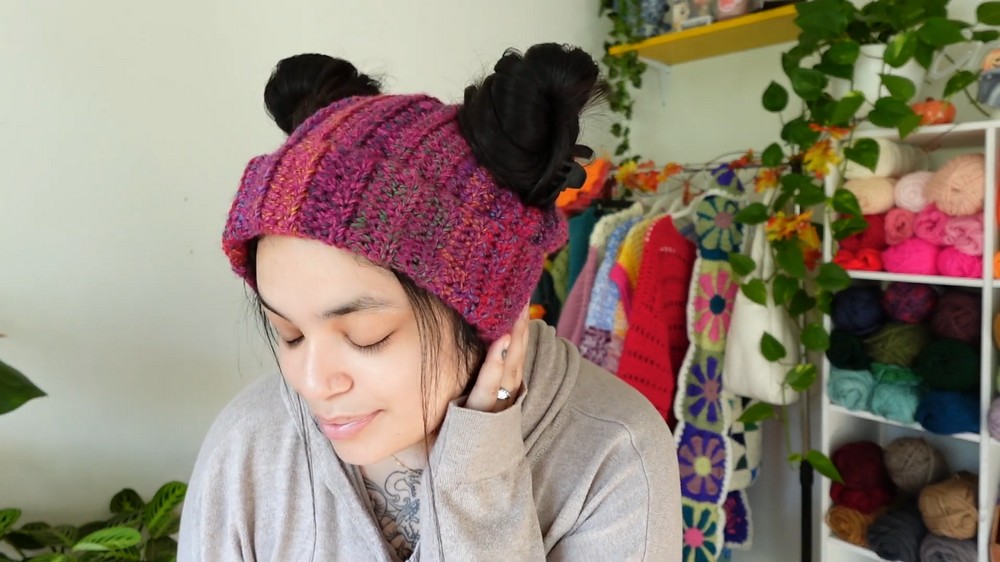
Special Techniques Used
- Half Double Crochet (HDC):
- Yarn over, insert your hook into the stitch or chain.
- Pull up a loop (three loops on your hook).
- Yarn over, pull through all three loops.
- Working in the Back Loop Only (BLO):
- Instead of inserting your hook under both loops of a stitch, you’ll insert it only into the back loop. This creates a ribbing texture, perfect for beanies.
- Chain Spaces for Pigtail Holes:
- Pocket holes for buns/pigtails are created by chaining and skipping stitches.
Pattern Instructions
Step 1: Measure and Create the Foundation Chain
- Measure your preferred vertical beanie length from the eyebrows to the crown of your head. For this pattern, the desired length is 12 inches (including a 3-inch brim).
- Using a 6 mm crochet hook, chain until the chain length measures 12 inches.
- Example: For medium weight acrylic yarn, 45 chains equate to ~12 inches.
- Chain an additional 1 chain (turning chain).
Step 2: Work the First Row in Half Double Crochet (HDC)
- Yarn over, insert your hook into the second chain from the hook, pull up a loop (three loops on the hook). Yarn over and pull through all three loops to complete a half double crochet.
- Repeat this process, making a half double crochet in each chain across the row.
- At the end of the row, chain 1 and turn your work.
Step 3: Work Rows in Ribbing (Back Loop Only)
- For the second row and beyond, work your half double crochets into the back loop only (BLO).
- Locate the “V” of each stitch and insert your hook into only the back loop (the loop farthest away from you).
- At the end of each row, chain 1 and turn your work.
- Continue working in this ribbing pattern for 7 total rows (including the foundation row).
- To count rows: Each ridge equals 2 rows; ribbing will become visible.
Step 4: Create the First Pigtail Hole
- Start Row 8 by making 8 half double crochets (BLO) at the beginning of the row.
- Chain 5 (for the hole).
- Adjust the number of chains if you have thicker/thinner hair or want larger/smaller slots.
- Skip 5 stitches, then make a half double crochet into the 6th stitch (BLO). Continue making half double crochets (BLO) until the end of the row.
- Chain 1, turn your work.
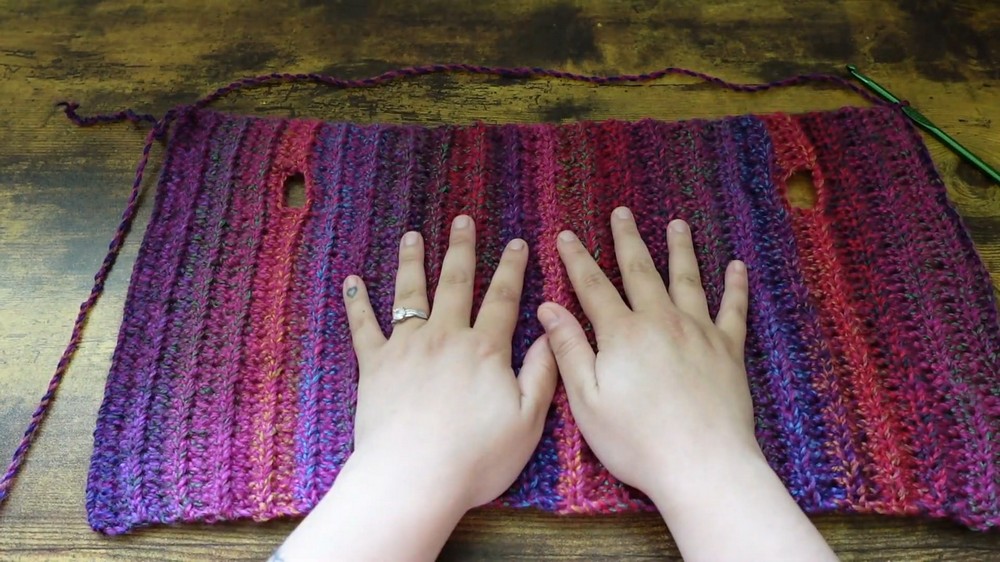
Step 5: Work into the Chain Space
- For the next row, work half double crochets into the chain stitches so you preserve the stitch count. Create 5 half double crochets across the chain space, then continue working half double crochets in the BLO for the remainder of the row.
- The pocket hole for the first pigtail is now complete.
Step 6: Add Rows for the Main Panel
- Work 34 more rows (or as many as fit the head circumference) of half double crochet BLO.
- Example: For a standard adult beanie, 35 rows in total are common for this middle section.
Step 7: Create the Second Pigtail Hole
- Repeat the exact steps from Step 4 to make the second pigtail hole on Row 42 (or the equivalent number based on your adjustments). Ensure it mirrors the placement of the first hole.
- After completing the hole, work 7 more rows of half double crochet BLO to form the last section and match the initial 7 rows.
Finishing the Beanie
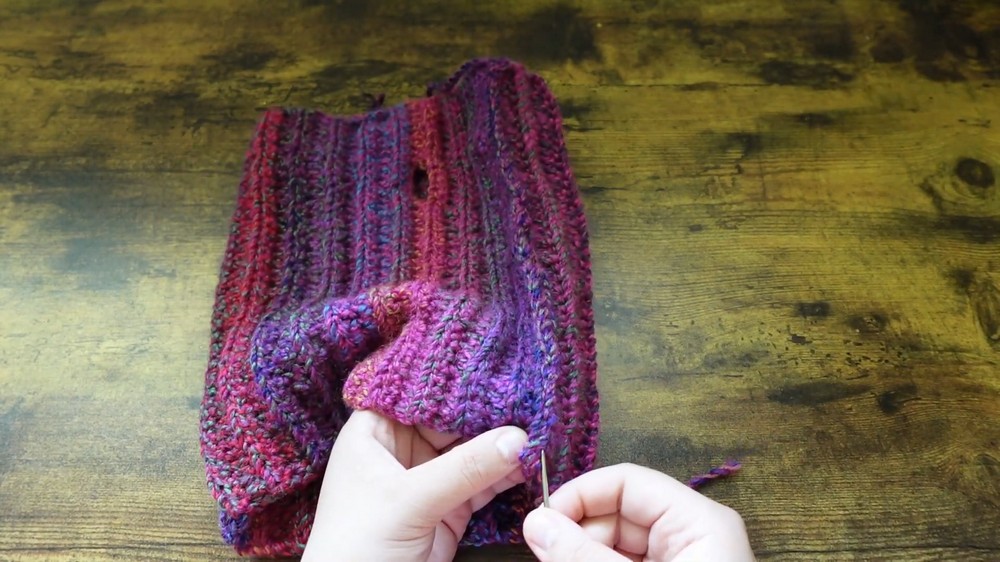
Step 8: Seam the Beanie
- Fold the finished rectangle in half lengthwise with the right side facing inward.
- Using a tapestry needle, align the edges and slip stitch or whip stitch the seam together to form a tube.
- Ensure the pigtail holes are aligned symmetrically.
- Ensure the pigtail holes are aligned symmetrically.
Step 9: Cinch the Top
- Thread a long piece of yarn onto your tapestry needle and sew a running stitch around the top edge of the tube.
- Pull the yarn tightly to cinch the top shut, ensuring no gaps remain.
- For reinforcement, sew across the top in a criss-cross pattern to close any openings.
- Tie a secure knot to finish, and weave in any loose ends.
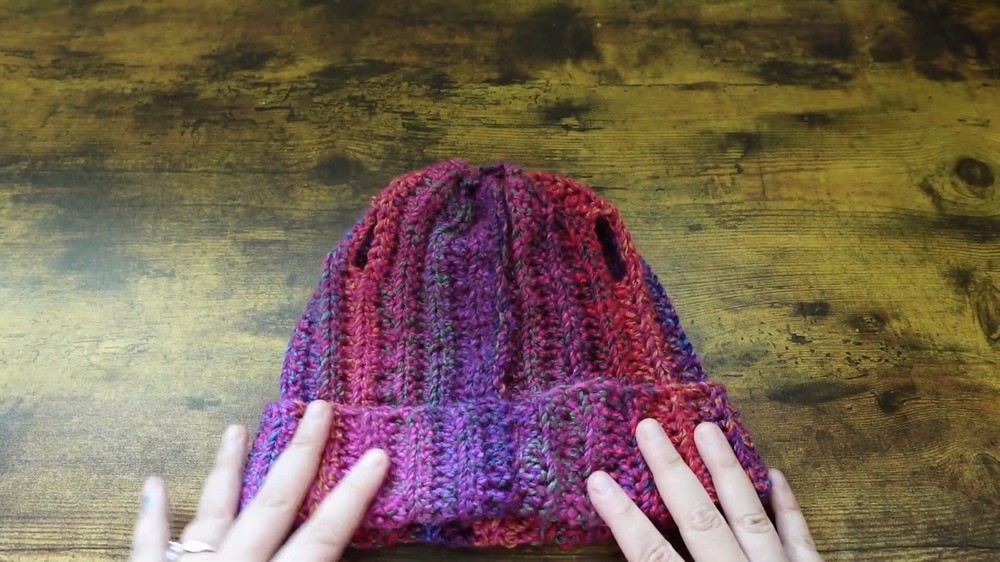
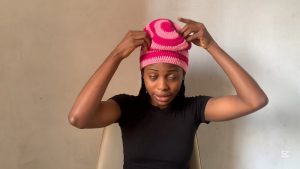
Step 10: Add Final Touches
- Turn the beanie inside out so the right side (ribbing) faces outward.
- Fold up the brim to your preferred height (~3 inches).
- Position the pigtail holes, and you’re ready to wear your beanie!
Customization Ideas
- Yarn Choice: Use chunky yarn for a thicker, cozier version or lightweight yarn for a slouchier fit.
- Colors: Experiment with different colors—solid, ombre, or two-tone effects.
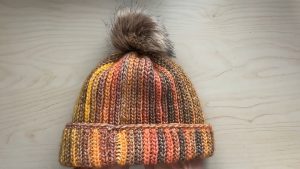
- Embellishments: Add pom-poms, buttons, or small decorations near the pigtail holes for a fun accent.
Final Words and Tips
Creating the Pigtail/Space Bun Beanie is a quick and exciting project, perfect for personal use, as a gift, or even for selling.
- Measuring Matters: Regularly check measurements, especially for the hole placement and circumference, to ensure a perfect fit.
- Care Instructions: Since this is typically made with acrylic yarn, the beanie is machine washable. Use a delicate cycle for added protection.
- Adjust Pattern: The pigtail holes and brim size can be customized. Before weaving in ends, ensure the fit and position meet your needs.