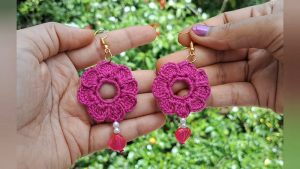
Playful Crochet Flower Earrings Pattern Add Cheer To Any Outfit
Hook tiny yarn blossoms for fun earrings that pop with personality and playful vibes which is for any outfit or mood you love to show off.
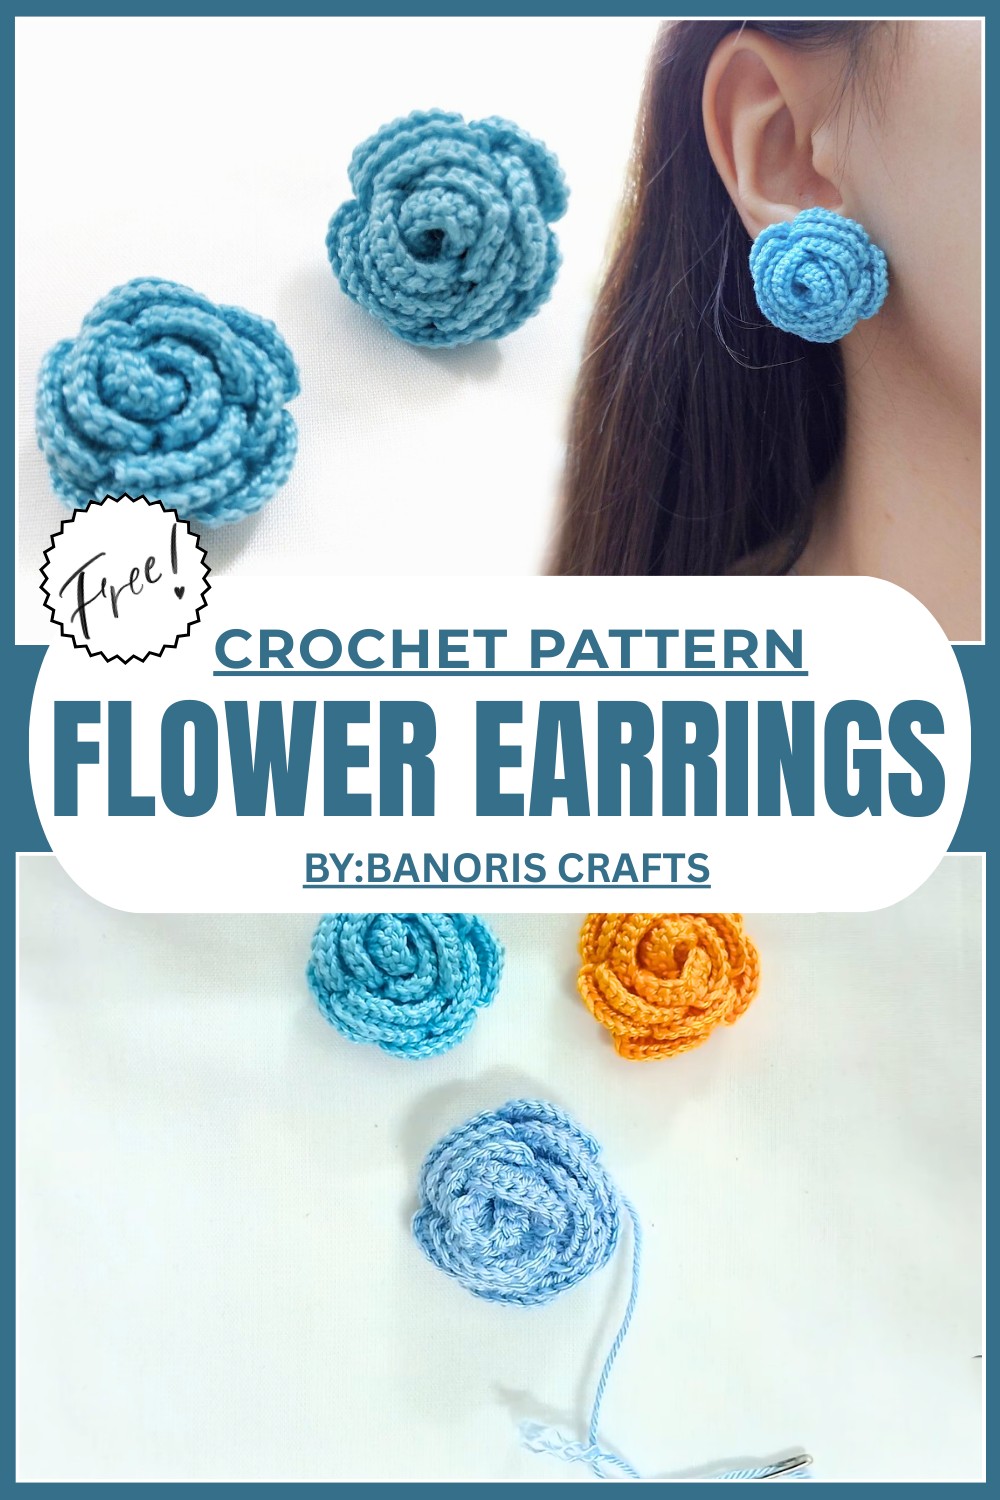
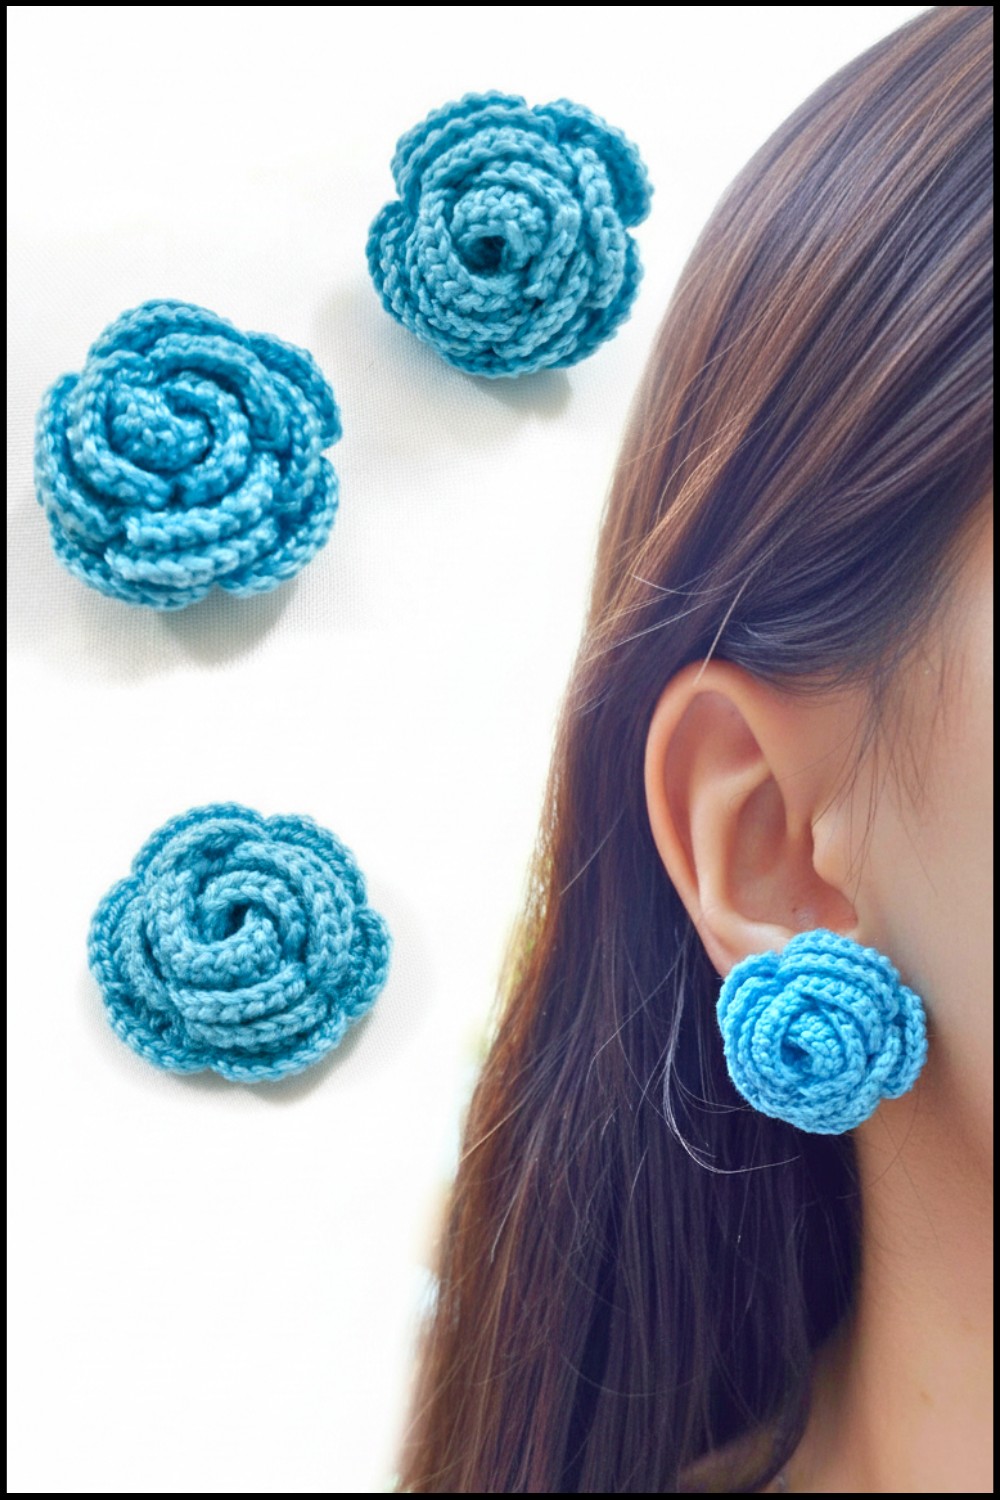
Unique Crochet Flower Earrings To Show Off Your Creativity
A tiny, delicate flower that feels soft and lightweight can add charm and elegance to your outfit. This beautiful blossom is not real, but its intricate design looks just as enchanting as a natural flower. Made with simple crochet techniques, it features elegant petals spiraling together in a graceful pattern. It’s perfect for any occasion, whether paired with casual outfits for a playful touch or worn with formal attire to add a unique artistic flair.
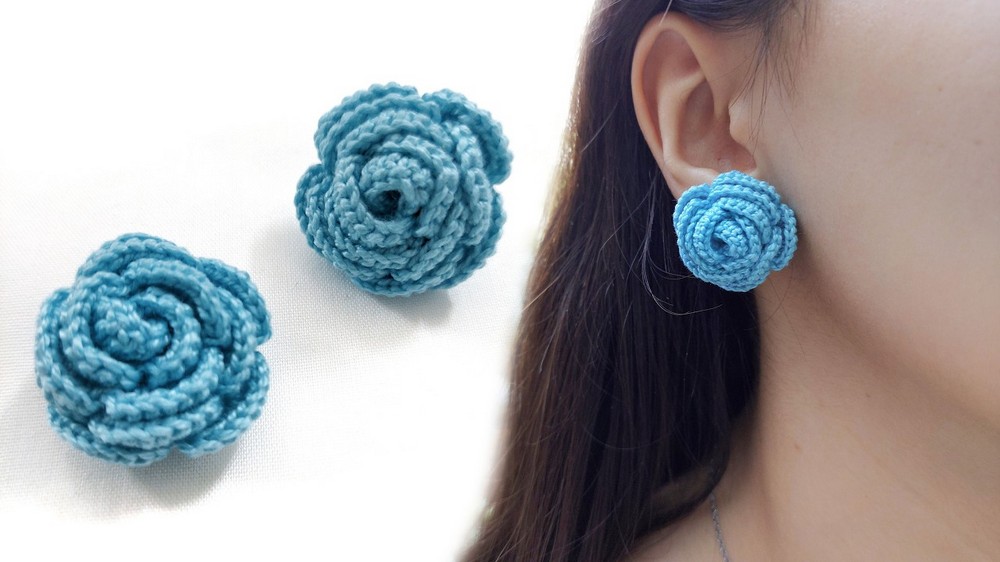
You can choose your favorite colors or adjust its size, making it a truly personal and one-of-a-kind accessory. This crochet flower is more than just jewelry; it’s a small piece of art that you can carry with you. Whether created as a heartfelt gift or simply as a fun project, it radiates warmth, beauty, and the timeless charm of nature in bloom.
Dreamy Flower Earrings Crochet Pattern
Materials Required
Yarn
- Type: Super fine cotton yarn or any fine thread commonly used for crochet jewelry.
- For the sample, a super fine yarn was used for more delicate results.
- Tutorial used: Fine cotton yarn.
Hook Size
- 1.1 mm crochet hook for super fine yarn (ideal for daintier earrings).
- 1.5 mm crochet hook for the tutorial (slightly looser, more visible stitch result).
Other Materials
- Tapestry needle (for sewing the flower cord).
- Pair of earring backs/needle closures (available at jewelry supply stores).
- Jewelry glue (optional, for attaching closures securely).
- Scissors.
Gauge
A specific gauge is not critical for this project. However, ensure that your stitches are tight enough to hold the flower structure but still flexible for twisting into shape.
Finished Size
The completed flower earrings measure approximately:
- Using super fine yarn: Around 1.5 inches (3.8 cm) in diameter.
- Using fine yarn: Around 2 inches (5 cm) in diameter.
Customization Ideas
- Yarn Selection: Use metallic threads for a shimmery look or variegated yarn for colorful flowers.
- Beads: Thread small beads onto the yarn before starting to add embellishments in the petals.
- Size Adjustment: Increase or decrease the initial chain count to make larger or smaller flowers.
Special Techniques
- Foundation Chain: Basics of creating a foundation chain with ease and uniformity.
- Twisted Cord Flower Shaping: Achieving a floral look by coiling the crocheted cord.
- Sewing the Flower: Securing the shape with strong yet invisible stitches.
Pattern Instructions
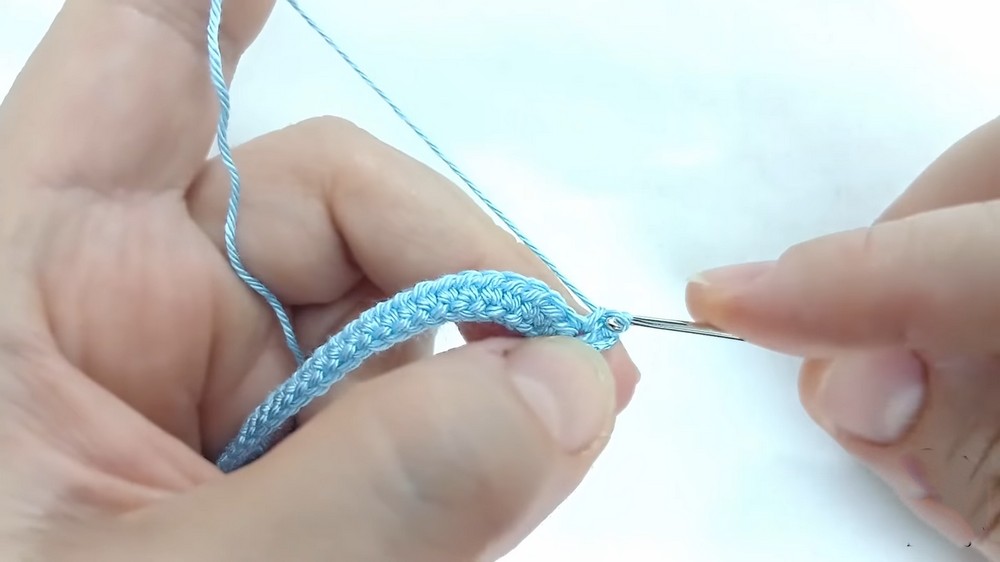
Step 1: The Cord
- Foundation Chain: Create a slip knot on your hook.
- Chain 42, then add 3 more chains (total 45 chains).
- Row 1: Half Double Crochet (HDC) foundation.
- Skip the first 3 chains. In the 4th chain, work 1 hdc.
- Continue working 1 hdc in each chain across.
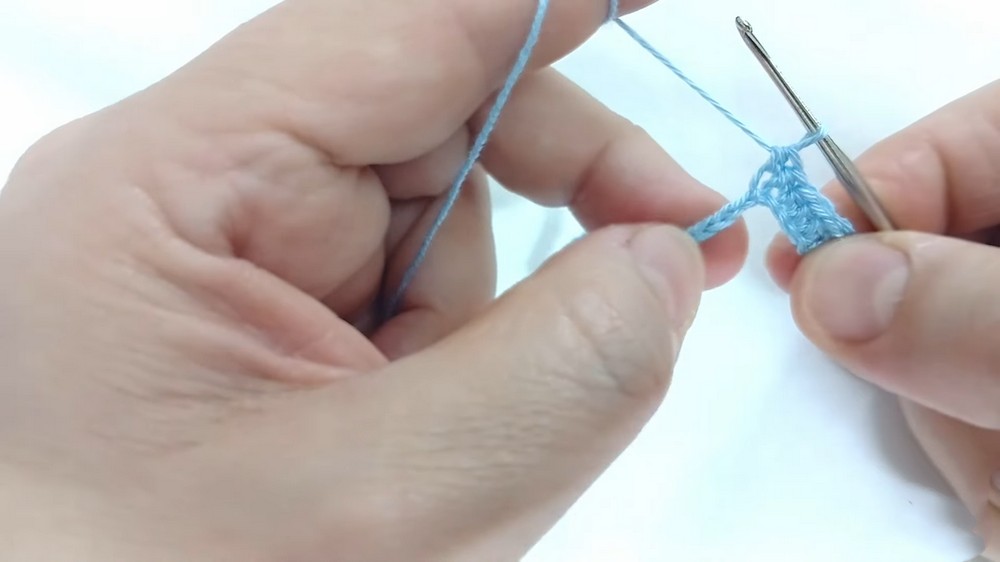
- Fasten off Row 1 when you reach the end of the chain.
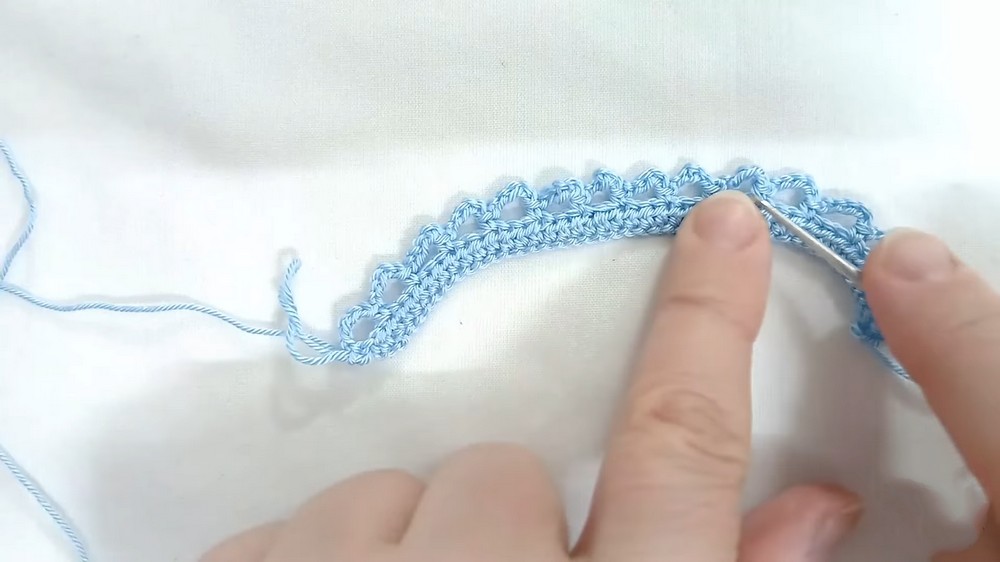
Step 2: Loops for the Petals
- Foundation for Loops:
- Chain 5 at the beginning of Row 2.
- Turn your work and begin working across the edge.
- Work “Loops” Across Each St:
- Skip 2 stitches, then work 1 single crochet (sc) into the next stitch.
- Chain 5. Repeat the pattern: Skip 2 stitches, then sc into the next stitch.
- Repeat this across the row until the end.
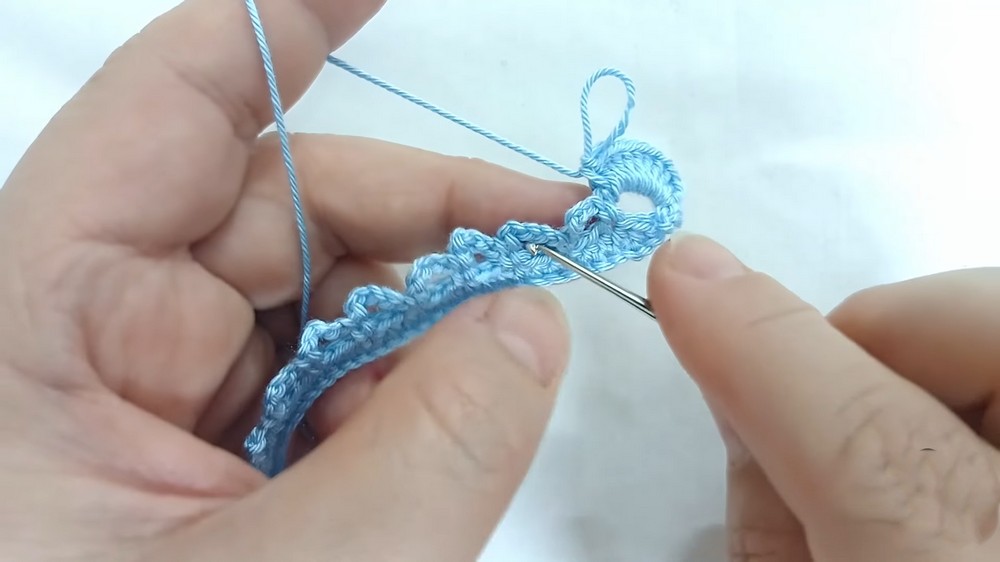
Step 3: The Petals
- Begin Row 3 with Petal Creation:
- Chain 1, turn your work.
- Insert your hook into the first hollow space (loop) created in the previous row.
- Building the Petals in Each Loop:
- In the first hollow space: 1 sc, 9 dc, 1 sc.
- The 9 double crochets (dc) form the rounded shape of the petal.
- Move to the next loop. Work 1 sc, 9 dc, 1 sc in each loop.
- Repeat across all loops until you’ve reached the last loop.
- In the first hollow space: 1 sc, 9 dc, 1 sc.
- Finishing the Cord:
- When the last petal is done, make 1 slip stitch into the edge.
- Chain 1, fasten off, leaving extra yarn (about 8 inches/20 cm) for sewing.
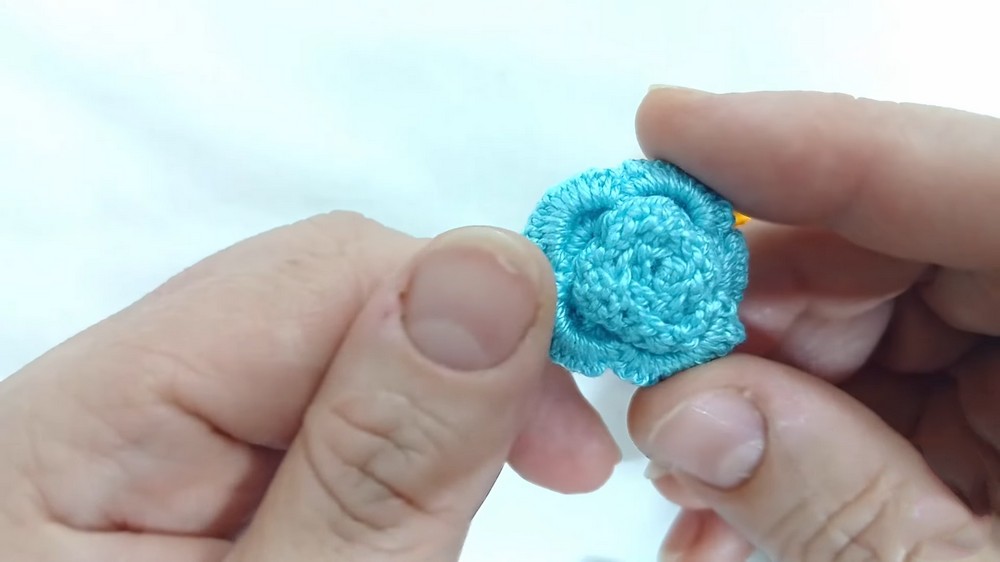
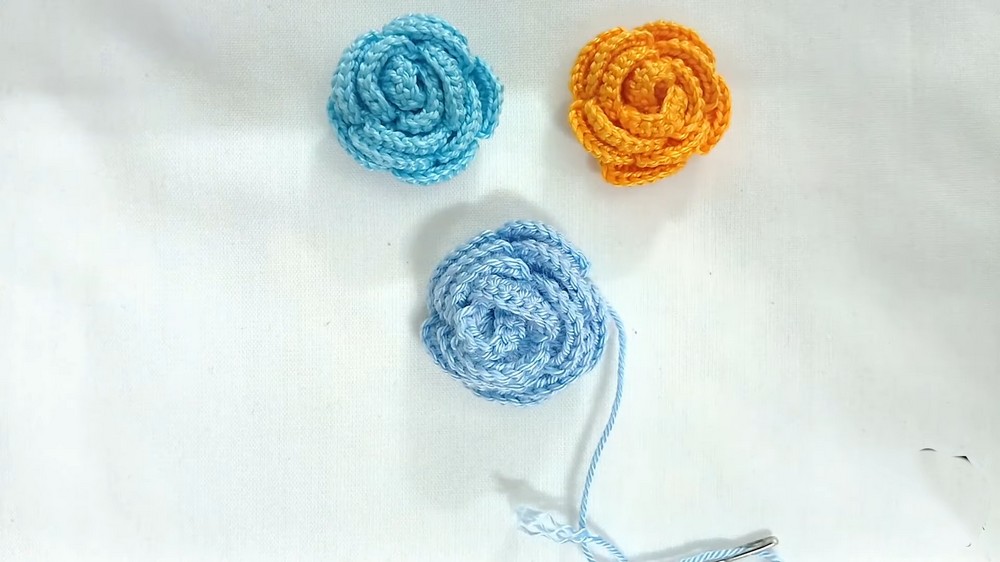
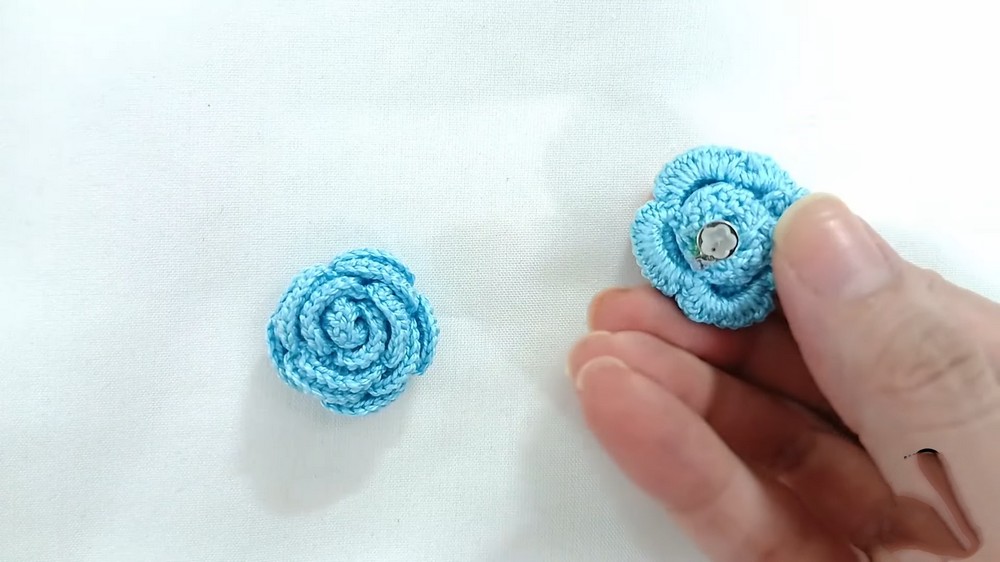
Step 4: Shaping the Flower
- Twisting the Cord:
- Begin at one end of the cord, slowly twist it into a spiral shape to form the flower. Adjust and layer the petals naturally to achieve the desired fullness.
- Securing the Flower with Sewing:
- Thread the extra yarn tail into a tapestry needle.
- Carefully sew through the layers of the spiral to secure the flower’s shape. Do not overtighten; maintain the flower’s airy appearance.
Step 5: Adding the Earring Closures
- Attachment:
- Use your tapestry needle to backstitch the earring closure onto the back of the flower.
- For additional security, add jewelry glue between the base of the earring closure and the flower back.
- Allow it to dry completely before use.
- Repeat for Second Earring:
- Follow all steps above to create the second flower earring.
Finishing
- Weave in Loose Ends:
- Securely weave in any remaining loose ends of yarn using a tapestry needle.
- Shape the Flower:
- Adjust the petals into their optimal position for a full, natural result before use.
- Adjust the petals into their optimal position for a full, natural result before use.
Conclusion
By following this simple yet elegant pattern, you now have a set of unique dreamy flower earrings! These handmade earrings can instantly elevate your style and make a thoughtful gift for loved ones. Their lightweight, dainty look is a perfect accessory for warm weather seasons and events like weddings, spring celebrations, or casual outings.
Tips and Important Remarks
- Thread Choice: Stick to fine or super fine yarn/thread for jewelry projects; thicker yarn may make the earrings feel bulky.
- Blocking for Crispness: If your petals curl excessively, consider gently blocking the finished flowers to flatten and crispen the petals.
- Durability: Ensure the earring closures are firmly sewn and glue-secured for long-lasting wear.
- Experimentation: Have fun with colors! Try pastel shades, ombre threads, or metallic yarn for different vibes.