
Fun Free Crochet Hat Pattern To Try Colorful Winter Projects
Top off your look with this Free Crochet Hat Pattern and whip up cozy headwear that keeps you warm, and ready for every adventure.
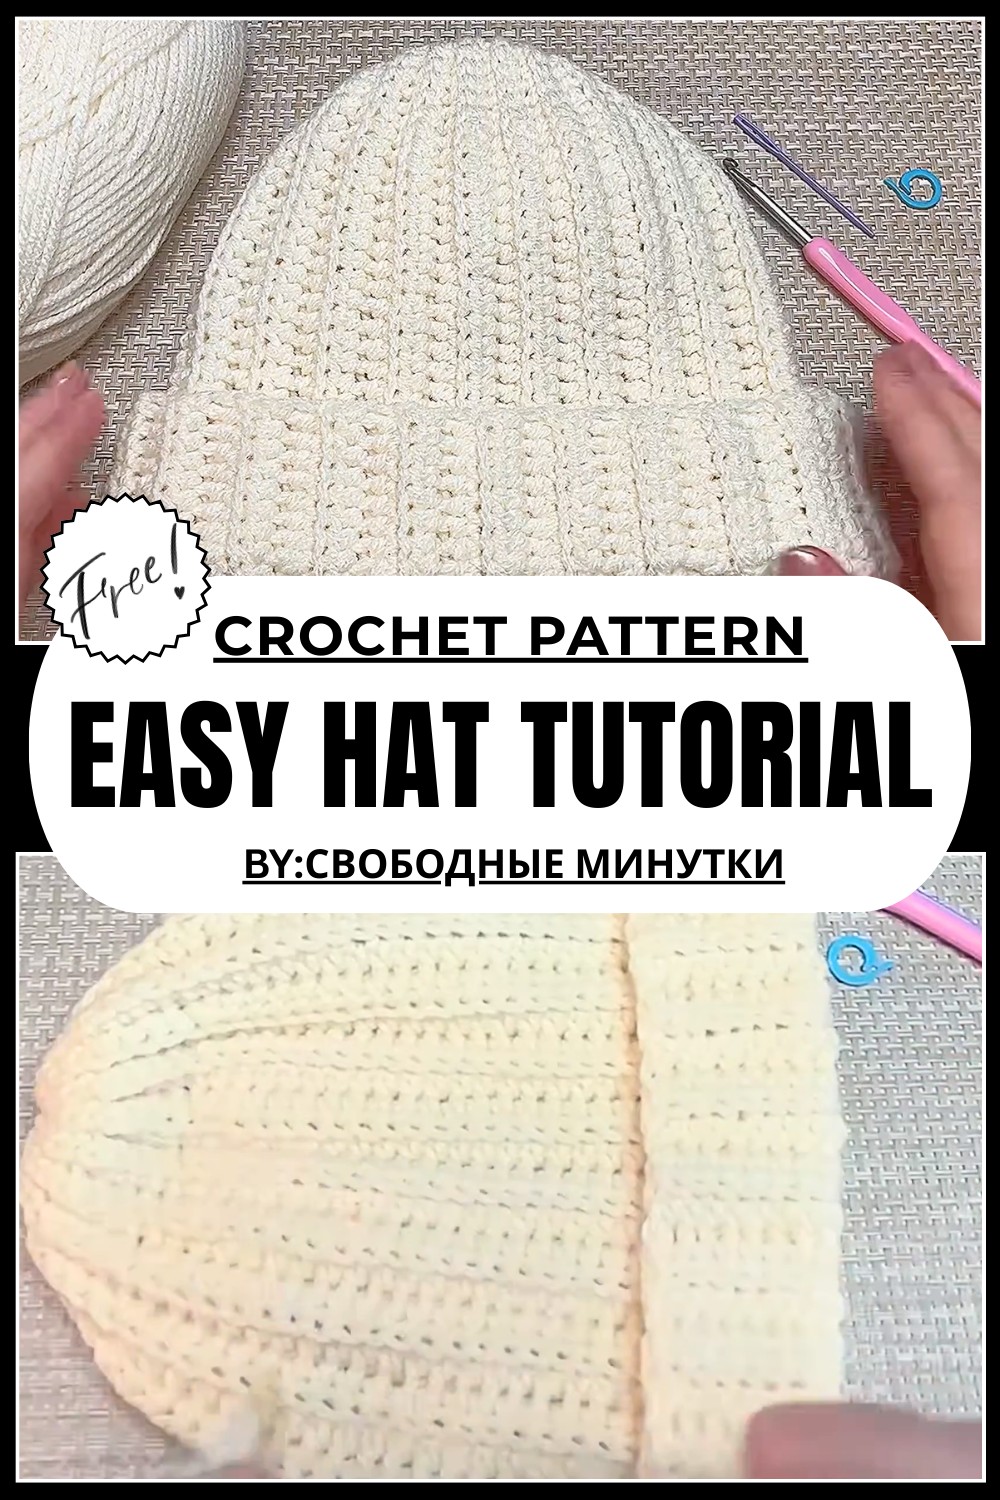
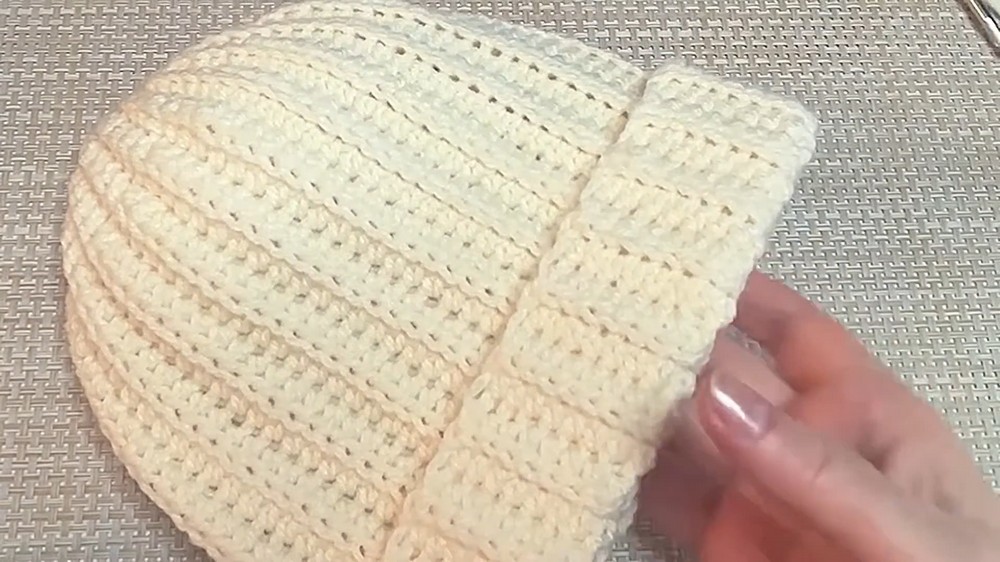
Cute Free Crochet Hat Pattern with Easy Steps
Imagine a cold breeze gently brushing against your face, and your head kept warm by something crafted with care and love. A crochet hat is more than just an item to shield you from the cold—it’s a symbol of handmade artistry and personal style. Using a free crochet hat pattern, you can create hats that are both cozy and eye-catching. From simple, sleek designs to decorative patterns that showcase your skills, these hats are a blend of beauty and usefulness.
They can enhance any outfit with their charm and provide warmth during the colder seasons. Whether you prefer soft pastels or bold, vibrant colors, crochet hats are easy to personalize to match your taste. Perfect for gifting or wearing yourself, these hats are thoughtful creations that combine comfort and flair. Crafting your own crochet hat is a rewarding way to explore your creativity and create something truly unique.
Easy Free Crochet Hat Tutorial
Materials Required
- Yarn:
- Any medium-weight (worsted or size 4) yarn. For this example:
- Yarn weight: 210 m/100 g
- Approximately 80 g of yarn for a single-layer lapel or 100 g for a double lapel.
- Choose acrylic, wool, or a blend for warmth.
- Any medium-weight (worsted or size 4) yarn. For this example:
- Hook Size: 4.5 mm crochet hook.
- Stitch Marker: To mark sections like the crown.
- Tapestry Needle: For sewing the crown and weaving in loose ends.
- Scissors: To cut the yarn.
Gauge
- Gauge is not critical for this pattern, but for best results:
- 12 half-double crochet stitches and 8 rows equal 10 cm x 10 cm.
Finished Size
- The pattern creates a hat with the following measurements:
- Height: Approximately 28 cm (including a folded lapel).
- Width (circumference): Customizable to the size of the head (adult size: ~56-58 cm).
Special Techniques
- Half-Double Crochet (hdc):
- Yarn over, insert the hook into the stitch, yarn over again and pull through the stitch (3 loops on hook), yarn over, and pull through all three loops.
- Slip Stitch (connecting stitch):
- Insert the hook into the stitch, yarn over, and pull through the stitch and loop on the hook.
- Working in the Back Loop:
- Insert the hook into the back loop only (the loop furthest from you) to create a ribbed texture.
- Crown Closure:
- Gathering the stitches at the top with a needle or hook to create a neat finish.
Pattern Instructions
Step 1: Foundation Chain
- Make a slip knot and chain the desired length:
- For a hat height of 28 cm (for an adult size with a fold), create a foundation chain of around 42 chains, or 28 cm in length.
- Adjust the foundation chain length to your preference (e.g., shorter for a smaller lapel).
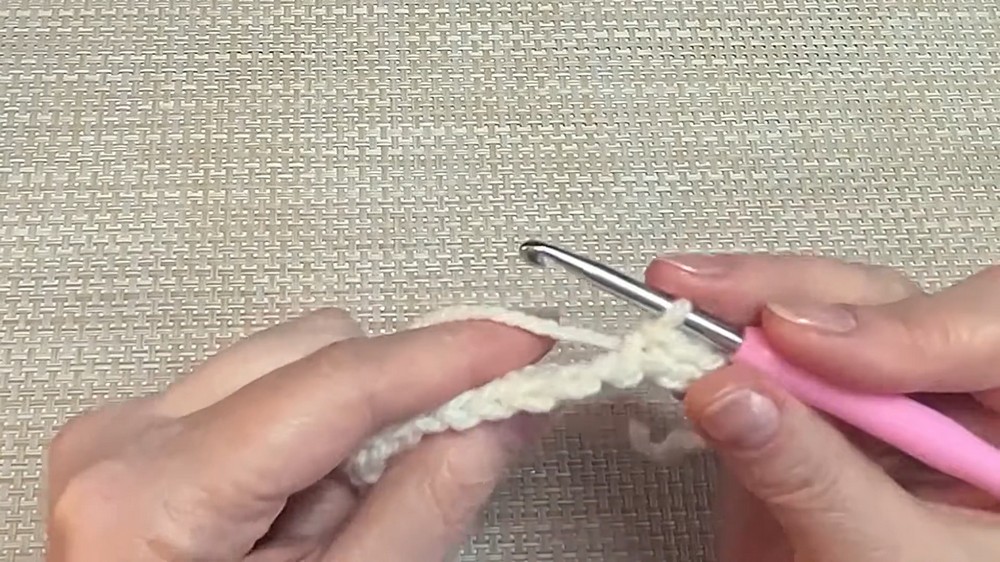
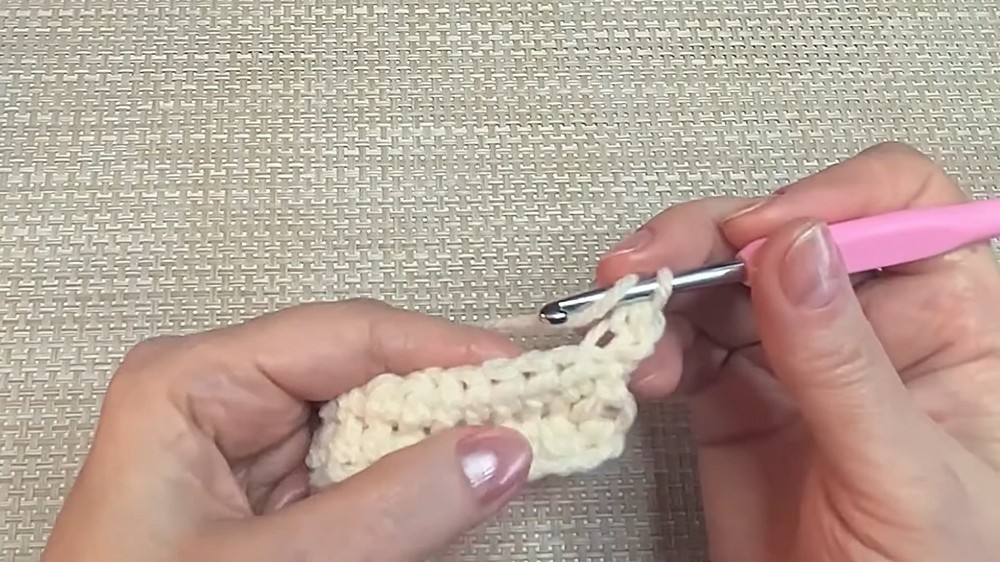
Step 2: First Row
- Start in the second chain from the hook:
- Yarn over and insert the hook into the second chain. Work 1 half-double crochet (hdc) into the stitch.
- Continue working 1 hdc into each chain until 8 stitches are left.
- These 8 remaining stitches will form the crown section.
- Work into the next 4 stitches with slip stitches, ensuring you work loosely:
- Insert the hook, pull the yarn through the stitch and loop on the hook. Repeat for 4 stitches.
- For the final 4 stitches, work slip stitches tightly but neatly to finish the row.
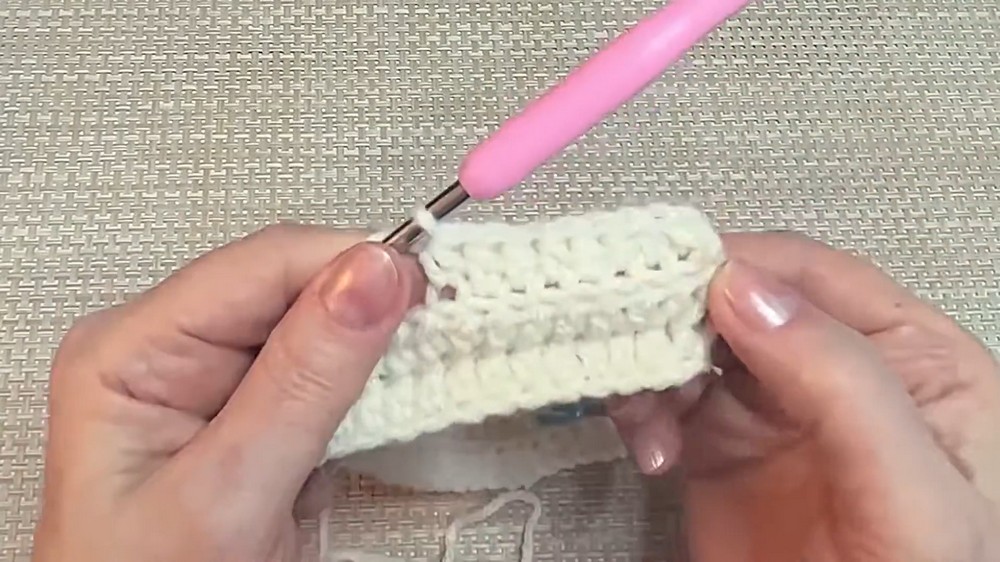
Step 3: Second Row
- Chain 1 for turning, then turn your work.
- Start in the first 4 stitches, working slip stitches into the back loop (the loop furthest away from you):
- Insert the hook into the back loop only and work slip stitches loosely so they’re easy to use in the next row.
- In the next 4 stitches, work single crochet (sc) into the back loop.
- Then, work 1 hdc into the back loop of each remaining stitch until the end of the row.
Step 4: Continue the Rows
- Repeat the sequence of rows:
- Slip stitches into the first 4 stitches (back loop).
- Single crochets into the next 4 stitches (back loop).
- Half-double crochets for the remaining length of the row (back loop).
- Keep alternating rows until the piece is long enough to fit the circumference of your head.
- For an adult-size hat, this could typically take ~60-70 rows. Measure as needed to ensure a snug fit.
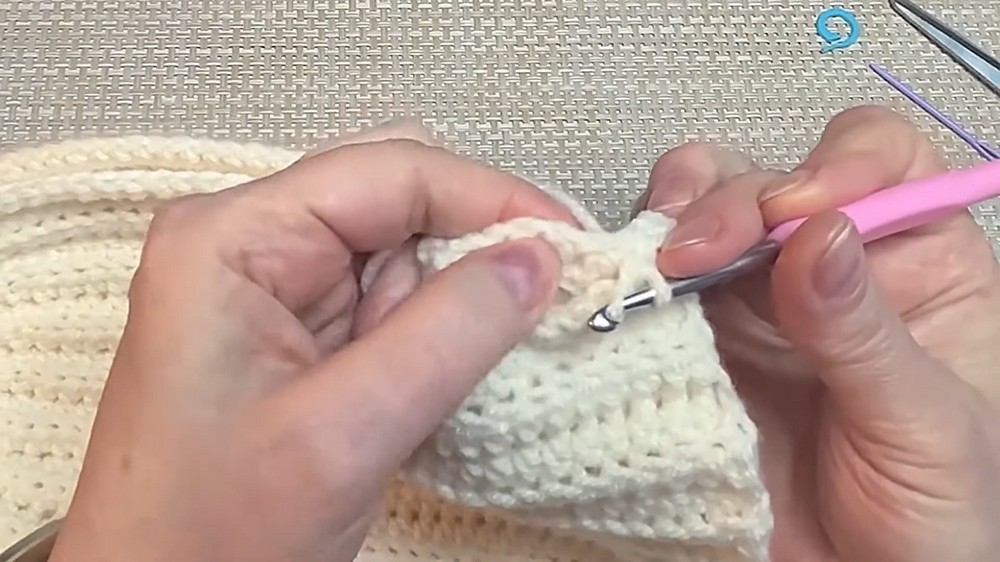
Step 5: Seam the Hat
- Join the Two Ends:
- Fold the piece in half so that the two shorter edges align.
- Use slip stitches to connect these edges:
- Work slip stitches into the back loop of each stitch along the edge. This creates a neat, flat seam.
- Ensure the seam remains flexible to preserve the stretchiness of the hat.
- Weave in any loose ends using the tapestry needle.
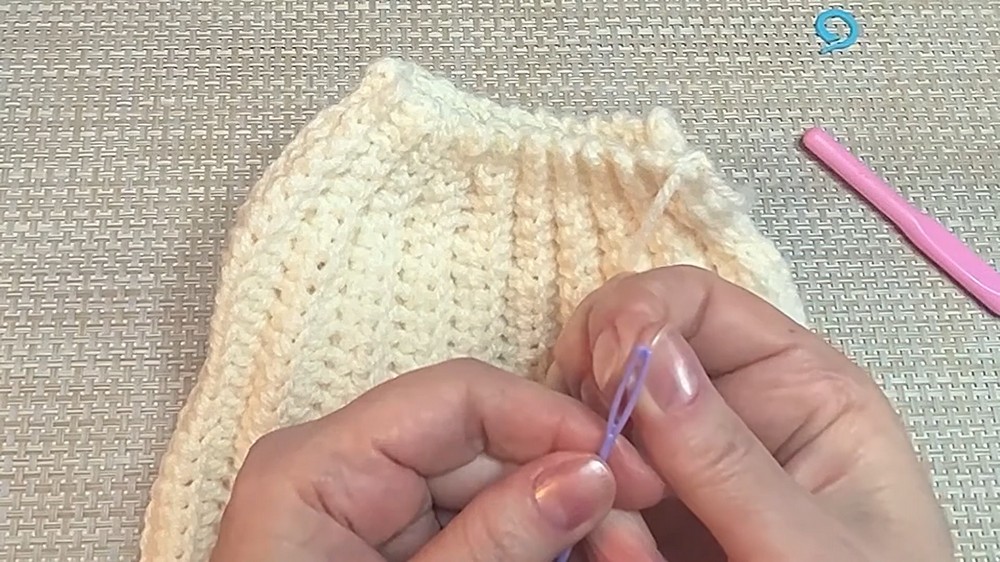
Step 6: Close the Crown
- Gather the Crown:
- Thread a long piece of yarn (~30 cm) onto a tapestry needle.
- Insert the needle through the stitches of the crown (the smaller end with fewer stitches). Grab every stitch or slip stitch loosely, ensuring the yarn loops fully around the crown.
- Once all stitches are on the yarn, pull the yarn tight to close the crown.
- Secure the Crown:
- Make a few stitches across the gathered crown to hold it firmly in place.
- Tie a secure knot and weave in the loose end to finish.
Optional Step: Add a Pom Pom
- Use a store-bought pom pom or make your own using leftover yarn.
- Attach the pom pom to the crown securely by threading the tails through the gathered top and tying a knot on the inside.
Customization Ideas
- Double Lapel:
- For extra warmth, add length to the foundation chain to create a longer lapel that folds twice.
- Color Variations:
- Use a contrasting color for the lapel or alternate yarn colors every few rows for a striped pattern.
- Decorative Accents:
- Attach buttons, appliqués, or embroidery to personalize your hat.
- Size Adjustments:
- Increase or decrease the initial chain length and number of rows based on the desired fit.
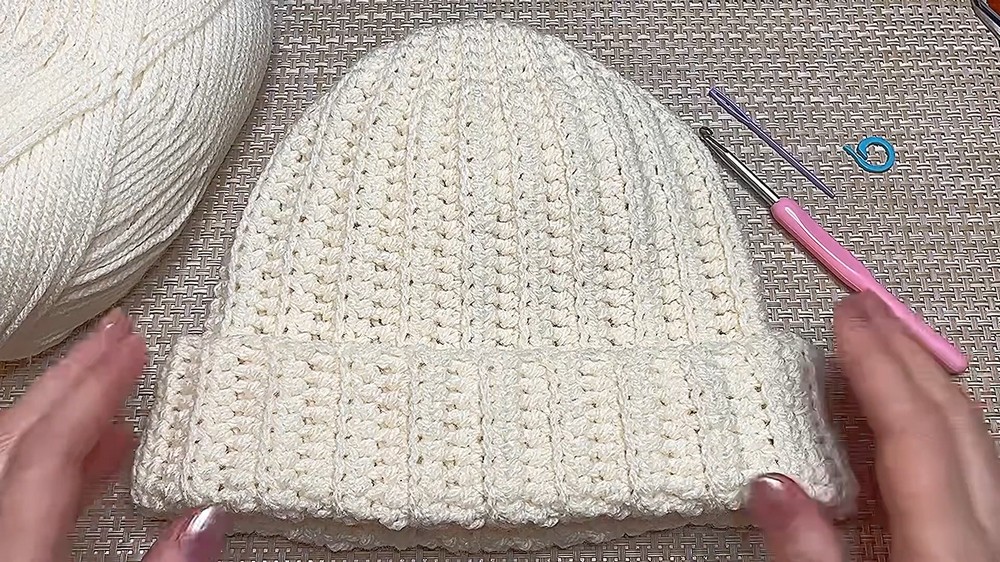
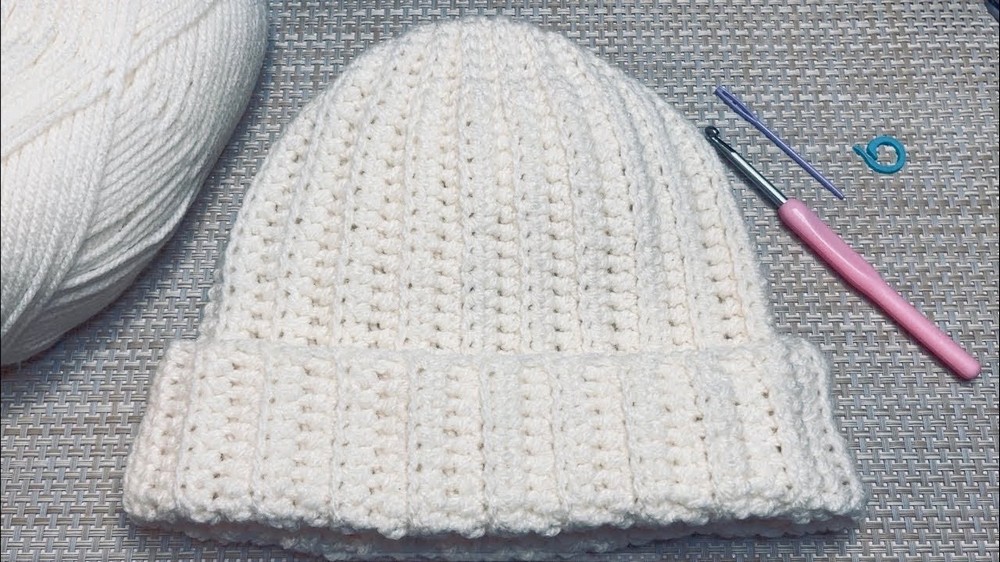
Finishing Remarks
Congratulations! You’ve completed a warm and stylish winter hat with a stretchy elastic band and a textured ribbed pattern. This versatile design ensures a cozy fit while providing ample room for customizations like pom poms, stripes, or a double lapel.
Tips for Maintaining Your Crochet Hat
- Washing Instructions:
- Hand wash with gentle soap or machine wash on a delicate cycle.
- Lay flat to dry to preserve the shape.
- Storage:
- Store flat or folded to prevent stretching.
- Care for Yarn Texture:
- Avoid exposing wool or delicate yarn blends to excessive heat.