
Functional Free Crochet Pearl Hat Pattern For Winter Use
Wrap your head in comfort with this free crochet pearl hat pattern that is simple to make and great for beginners who want a cute and stylish look.
The Perfect Affordable Free Crochet Pearl Hat Pattern You’ll Use Forever
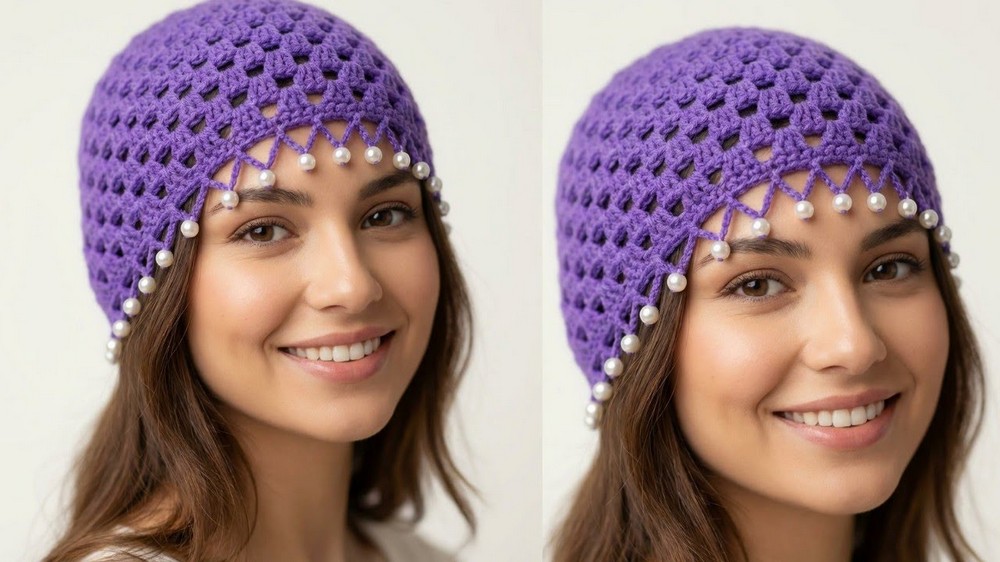
The Free Crochet Pearl Hat Pattern is a wonderful project that is easy to make and looks incredibly beautiful. The hat features soft yarn and shiny pearl beads, which give it a unique and elegant appearance, making it perfect for wearing on special occasions or even everyday use. This pattern is beginner-friendly and uses simple crochet stitches like single crochet and double crochet, so it is easy to follow even if you are new to crocheting. 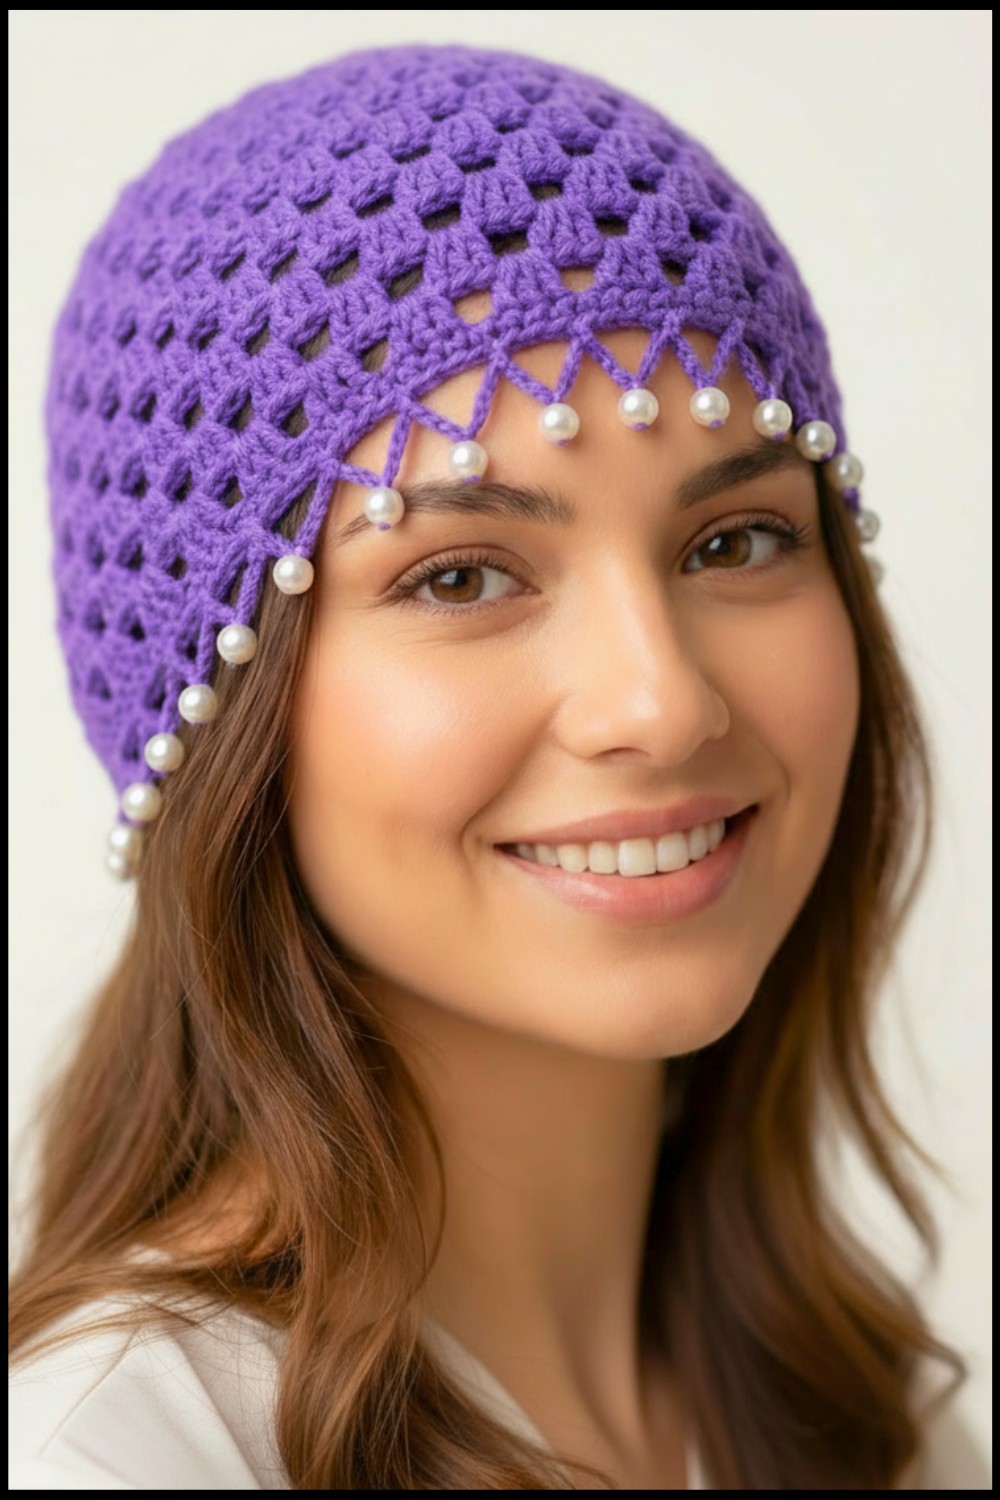 The pearls add a stylish touch, making the hat both trendy and charming, while the lightweight design ensures it fits comfortably and can be worn for hours without discomfort. Whether you are looking to create a cozy gift for someone or add something special to your wardrobe, this crochet pearl hat is a quick, fun, and creative project anyone can enjoy.
Cozy Crochet Pearl Hat Pattern
Materials Needed
- Yarn: Yeye yarn or any 3 ply yarn (double the strands for better workability).
- Hook: 3.5 mm crochet hook (primary hook) and a smaller hook for beads (unspecified size but small enough for beadwork).
- Beads/Pearls: Small pearl beads with holes large enough for your smaller hook to pass through.
- Measuring Tape: To measure crown and length.
- Scissors: For cutting yarn.
- Tapestry Needle: To weave in yarn ends.
Special Techniques Used
- Double Crochet (DC): Yarn over, insert hook into stitch, pull through a loop (3 loops on hook), yarn over, pull through the first 2 loops, yarn over, pull through the last 2 loops.
- Single Crochet (SC): Insert hook into the stitch, yarn over, pull through a loop (2 loops on hook), yarn over, pull through both loops.
- Slip Knot: Create a loop by making a knot; adjust and secure onto hook.
- Magic Ring Method: Create a circle to start working in the round; alternative is chaining four stitches and slip stitching into the first chain.
- Slip Stitch (SS): Insert hook into the stitch, yarn over, pull through both the stitch and loop already on the hook.
Pattern: Step by Step Instructions
Step 1: Creating the Magic Ring and Row 1
- Make a slip knot to begin.
- Chain 4, then slip stitch into the first chain to form a magic ring.
- Inside the ring:
- Chain 3 (counts as the first double crochet).
- Double crochet once, then chain 2.
- Repeat: Two double crochets followed by a chain of 2.
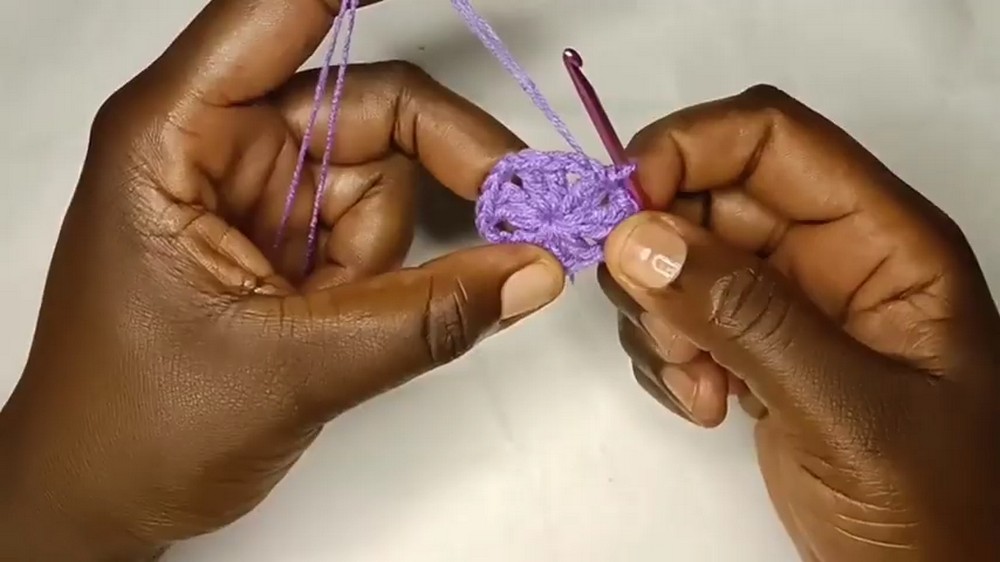
- Continue this pattern until you have a total of 6 sets of 2 double crochets (separated by chains of 2).
- Close the round by slip stitching into the third chain of the starting chain 3.
Step 2: Row 2
- Slip stitch into the next space (chain 2 space from Row 1) to begin.
- Chain 3 (counts as the first double crochet).
- Work the following in each chain space:
- Place 2 double crochets, chain 2, and 2 double crochets (this is an increase).
- Chain 2 and repeat the increase pattern in every empty space around.
- Slip stitch into the third chain of the starting chain 3 to close off Row 2.
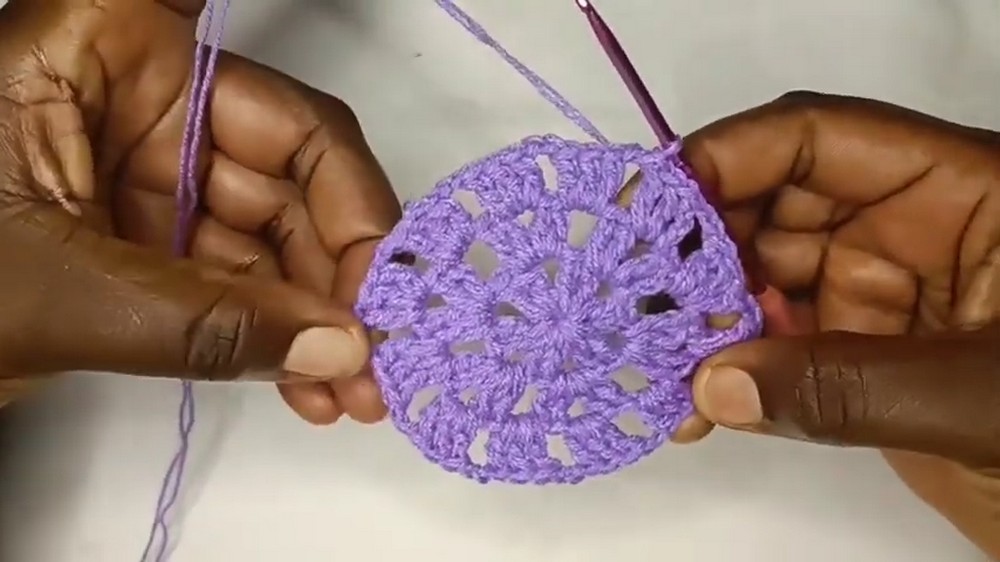
Step 3: Row 3
- Slip stitch into the next chain space to begin.
- Chain 3, then place 2 more double crochets into the same space.
- Chain 2, then work 3 double crochets in each chain space around.
- Repeat this process (3 double crochets separated by chain 2) until the round is completed.
- Slip stitch into the third chain of the starting chain to close off the row.
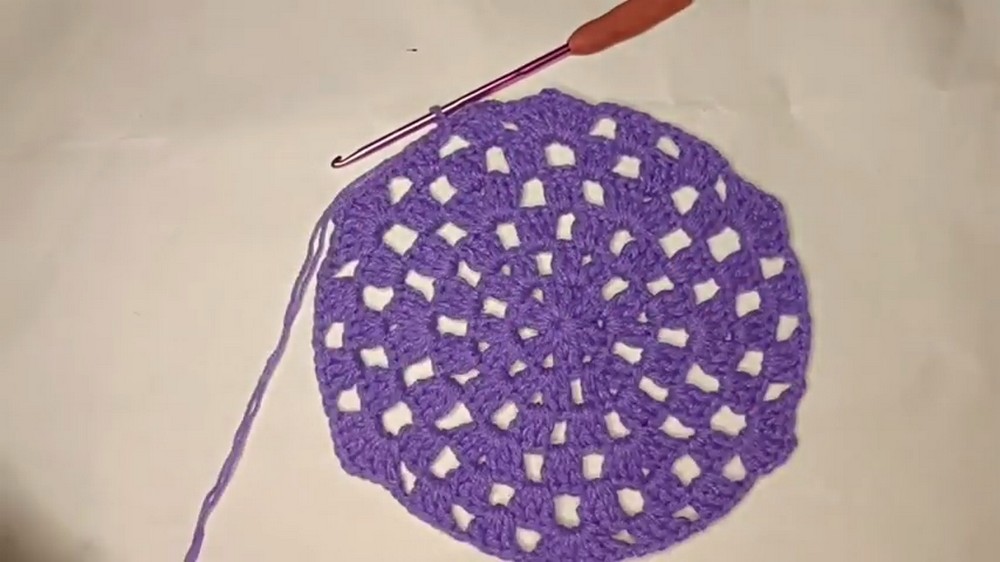
Step 4: Rows 4 to 6 (Increasing Pattern)
- Row 4: Work 3 double crochets separated by chain 2 into most spaces, but for every second space, work an increase (3 double crochets, chain 2, 3 double crochets in the same space).
- Row 5: Same as Row 4, except the increases happen in every third space.
- Row 6: Similar to Row 5, except increases occur in every third space again.
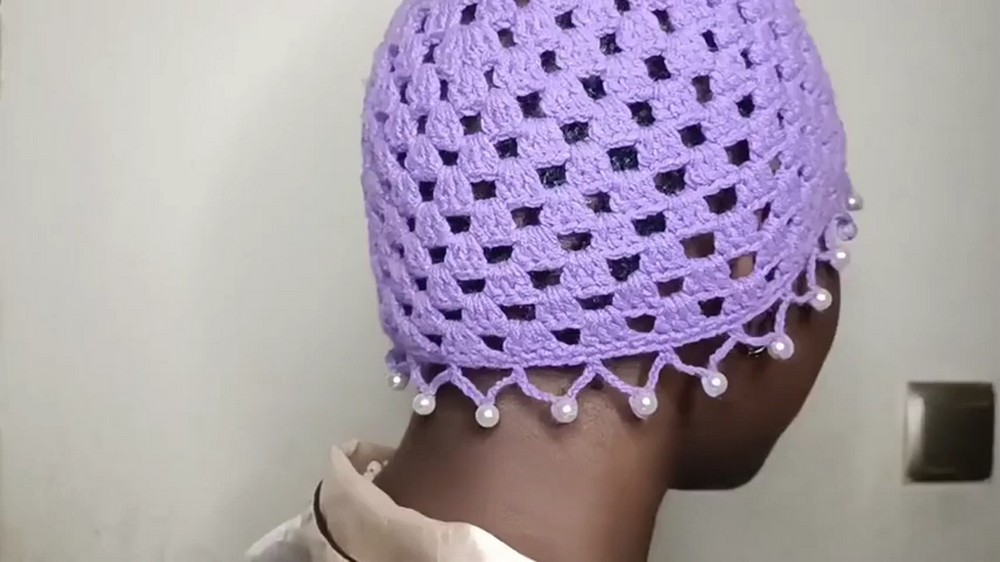
Step 5: Rows 7 Onward (No Increases)
- From Row 7 onward, stop increasing and work 3 double crochets separated by chain 2 into every space.
- Repeat Row 7 until the hat is approximately 6.5–7 inches in length, measured from the crown or until it fits comfortably on your head.
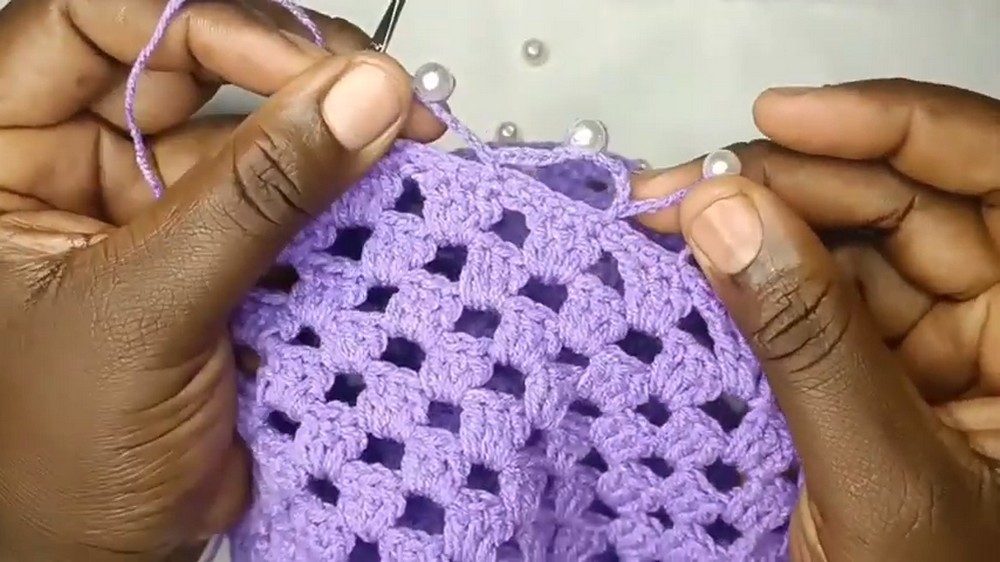
Edging: Single Crochet Round
- Switch to a smaller hook (preferably 2 mm).
- Work single crochet stitches all around the edge of the hat.
- In chain 2 spaces, place 2 single crochets.
- In double crochet stitches, place 1 single crochet into each stitch.
- Slip stitch into the first single crochet of this round to close it off. Cut off your yarn and weave in the end securely.
Beadwork/Adding Pearls
- Thread your smaller hook through the bead’s hole.
- Use a single strand of yarn and make a slip knot. Attach it to the edge of your hat with the smaller hook.
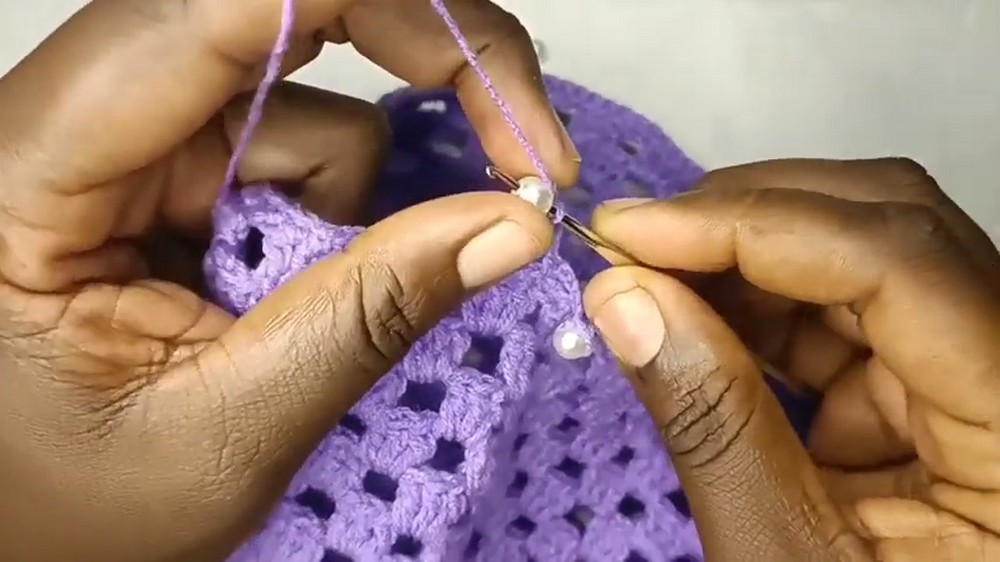
- Work the following pattern around the edge of the hat:
- Chain 5, insert hook through the hole of your bead, yarn over, and pull through the hole and the loop on your hook. Slip stitch again to secure the bead.
- Chain 5, and make a single crochet into the next cluster of stitches on the edge.
- Repeat this sequence (adding beads and chaining 5 between clusters) all around.
- Chain 5, insert hook through the hole of your bead, yarn over, and pull through the hole and the loop on your hook. Slip stitch again to secure the bead.
- Slip stitch to the starting point and tie off your yarn securely.

Finishing and Suggestions
- Weaving in Ends: Use a tapestry needle to neatly weave in all loose ends. This will ensure your work looks professional and durable.
- Final Measurements: Measure the hat and ensure it fits comfortably. Adjust length accordingly during Step 5.
- Customizing:
- Use colorful beads or pearls to add a unique touch to your hat.
- Experiment with different yarn colors or textures for variety.
Final Words and Tips
Your hat is now complete, This pattern provides a simple yet elegant cap adorned with beads that add a charming detail. To maintain the quality of the crochet work:
- Wash Carefully: Use cold water and gentle detergent to clean your crochet creations.
- Store Properly: Avoid stretching when storing; keep in a cool, dry place.
- Tension Maintenance: Practice consistent tension throughout the design for an even look.