
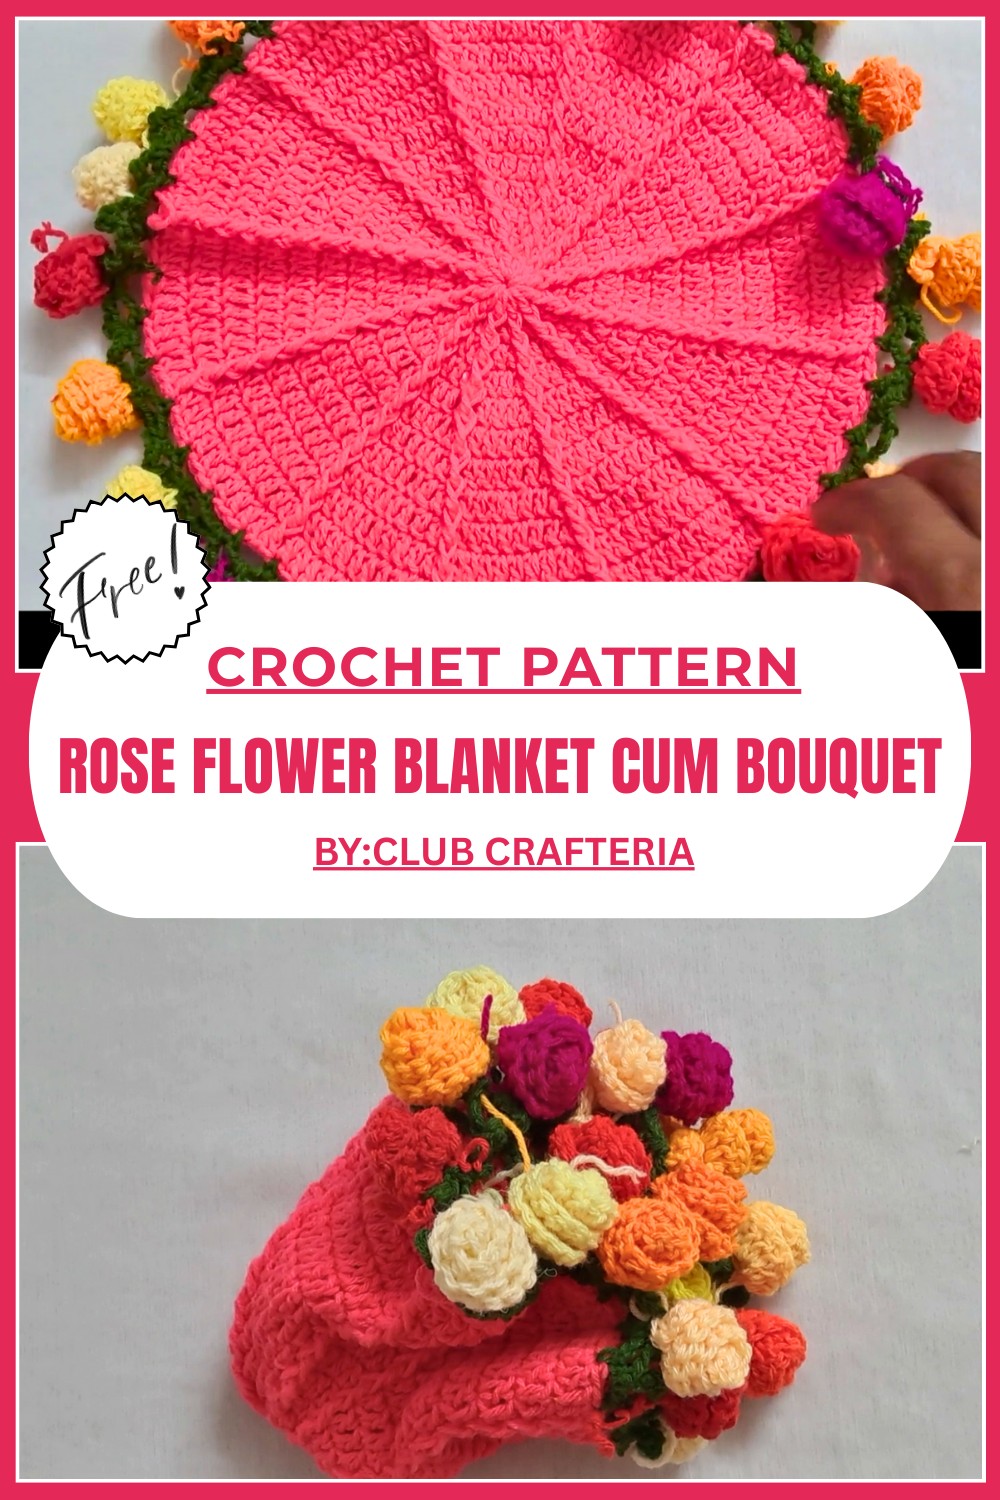
Gorgeous Crochet Rose Blanket Cum Bouquet Pattern For Floral Comfort
Snuggle into warmth and charm with this Crochet Rose Blanket Cum Bouquet Pattern that adds a cozy floral touch to your home and heart beautifully.
Wrapping yourself in a soft blanket that looks just like a bunch of beautiful roses! This special crochet pattern creates a stunning blanket made of many lovely rose shapes connected together. Each rose is full and delicate, giving the blanket a cozy and warm feeling, just like holding a fresh bouquet of flowers.
Crochet Rose Blanket Cum Bouquet for Extra Warmth
Not only does it keep you warm, but it also looks like a pretty decoration in any room. You can use it to brighten up your living space, or give it as a thoughtful gift that feels like giving someone a bouquet and a hug all at once.
![]()
The colors can be soft pinks, reds, or any favorite colors, making this blanket both eye-catching and sweet. Its unique design makes it a perfect blend of art and comfort, bringing smiles and warmth in one beautiful piece that everyone will love to touch and see.
![]()
Crochet Rose Blanket Cum Bouquet Pattern
Skill Level:
Beginner Friendly
Special Features:
Versatile project that can be used as a placemat, coaster, blanket, or a beautiful bouquet. Uses basic crochet stitches with colorful yarn choices to create rose motifs around a textured center.
Tutor’s Suggestions:
Use color combinations you love for roses to personalize your project. Practice the basic stitches (magic circle, chain, double crochet, single crochet, slip stitch) before you start. Adjust size by adding or reducing rounds.
Materials
- Various colors of yarn (for base and roses)
- Crochet hook suitable for your yarn (commonly 4.0 mm or 5.0 mm)
- Scissors
- Yarn needle
Step-by-Step Pattern
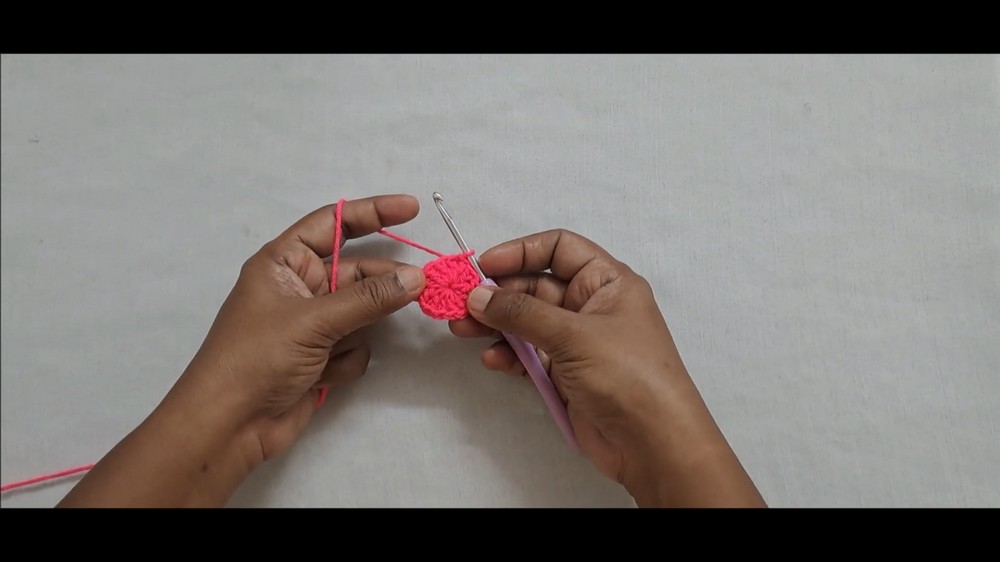
Step 1: Start the Center with Magic Circle
- Create a magic circle.
- Chain 3 (counts as first double crochet).
- Work 12 double crochet (dc) stitches inside the magic circle:
- Yarn over (yo), insert hook, yo, pull through (3 loops on hook), yo, pull through 2 loops (2 loops left), yo, pull through final 2 loops.
- Pull yarn tail to close the circle tightly.
- Join the round with a slip stitch (sl st) in the top of the first double crochet.
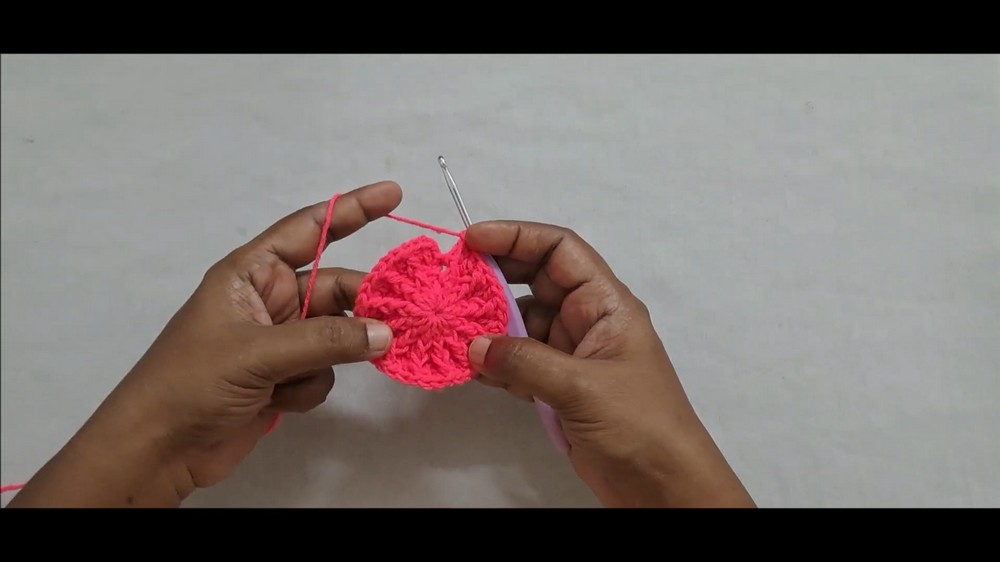
Step 2: Round 2 – Increase with Front Post Double Crochet (FPdc)
- Chain 2.
- Work 1 double crochet (dc) in the same stitch as joining.
- Next, alternate:
- 1 front post double crochet (fpdc) around the post of the next dc from previous round.
- 1 double crochet on the next dc.
- Repeat this dc, fpdc pattern around until you complete the round (total 24 dc).
- Join round with a slip stitch to first dc.
Step 3: Round 3 – Increase Pattern
- Chain 2.
- Work 1 double crochet in the same stitch.
- Next, repeat around:
- 2 double crochet stitches (one in each stitch).
- 1 front post double crochet (fpdc) around the front post double crochet from previous round.
- Continue until end of round (36 dc total).
- Join with a slip stitch.
Step 4: Round 4 – Continuing Increase
- Chain 2.
- Work 3 double crochet (dc) stitches in the next 3 stitches.
- Work 1 front post double crochet (fpdc) around the previous round’s front post double crochet.
- Repeat this pattern until the round ends (48 dc total).
- Join round with a slip stitch.
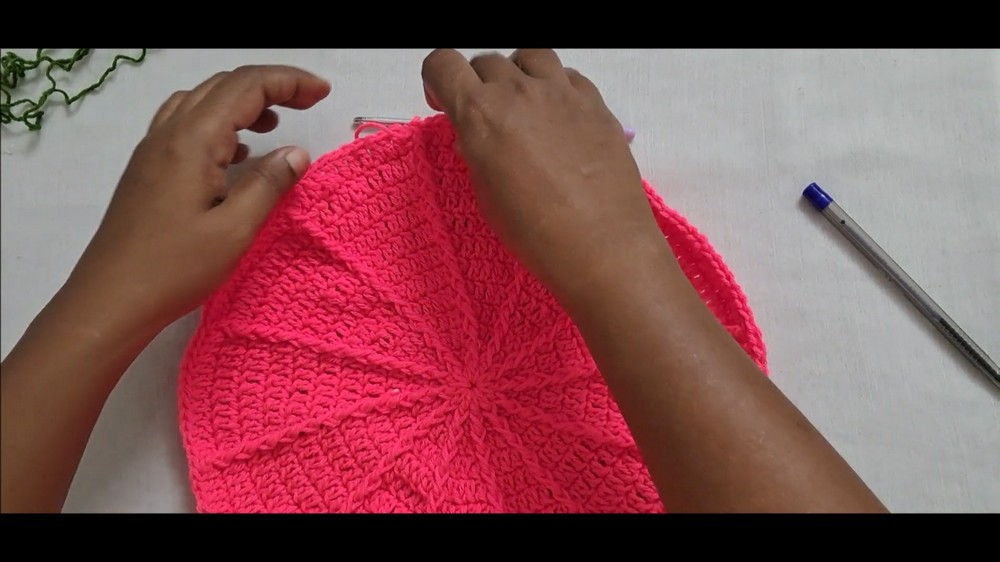
Step 5: Subsequent Rounds – Increase Pattern Continues
- For each next round, increase the number of double crochets (dc) between front post double crochets by one:
- Round 5: 4 dc, 1 fpdc
- Round 6: 5 dc, 1 fpdc
- Continue increasing until you reach the desired size of the base.
Step 6: Finish the Base
- When reaching your desired size, finish off with a slip stitch.
- Chain 1 and cut yarn.
Step 7: Make the Leaf Edge
- Join green yarn in any dc stitch of the last round.
- Chain 1, then single crochet (sc) in the same stitch.
- Repeat around:
- Chain 4
- Skip 2 stitches
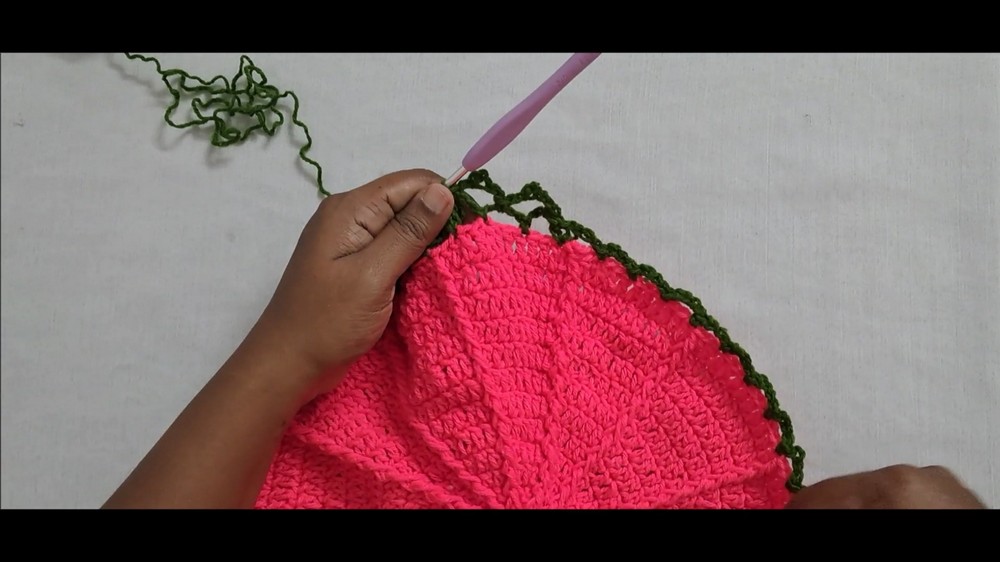
- Single crochet (sc) in the third stitch.
- Continue this pattern around. Finish with a slip stitch.
Step 8: Second Leaf Round (Adding Details)
- Chain 1.
- In each chain 4 space, do the following:
- Single crochet (sc)
- Chain 4
- Slip stitch (sl st) in the second chain from the hook
- Chain 2
- Repeat for each chain-4 space around.
- Finish with a slip stitch, chain 1, and cut yarn.
Step 9: Making Roses
- Insert your hook in a chosen spot (center of two triangles).
- Chain 15.
- Start working in the third chain from hook:
- Work 3 double crochet (dc) in the same stitch.
- In each next stitch, work 3 double crochet until you reach the last chain.
- Chain 4, then slip stitch into the first stitch of the chain to form the rose edge.
- Finish off and cut yarn.
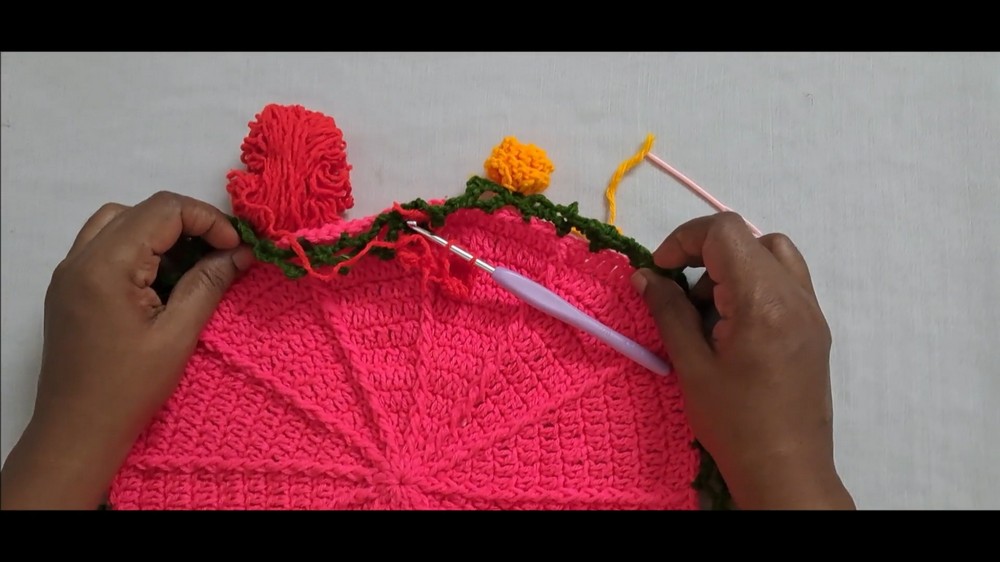
Step 10: Attach and Arrange Roses
- Continue making roses on each suitable spot around the base, skipping spaces as desired for spacing.
- Use different colors for a vibrant look or the same color for uniformity.
- After all roses are attached, you have a beautiful rose blanket or bouquet.
Uses
- Use as a placemat, coaster, or blanket by adjusting base size.
- Tie the foundation part to create a lovely bouquet for decoration or gifting.
Tips
- Make sure to keep your tension consistent to keep roses and base even.
- Experiment with color for a unique bouquet or household decor piece.
- Block your finished piece lightly for a polished shape.
Conclusion
This rose blanket crochet pattern is an enjoyable, beginner-friendly project that results in a charming decorative or practical piece. The mix of front post double crochets and layered rose motifs adds texture and a handmade appeal perfect for gifting or enhancing your crafting skills.