Fun Free Crochet Bag Pattern That’s Perfect For Daily Use
Grab your crochet hook and stitch your way to a stunning shoulder bag that’s functional, fashionable, and perfect for all your everyday needs.
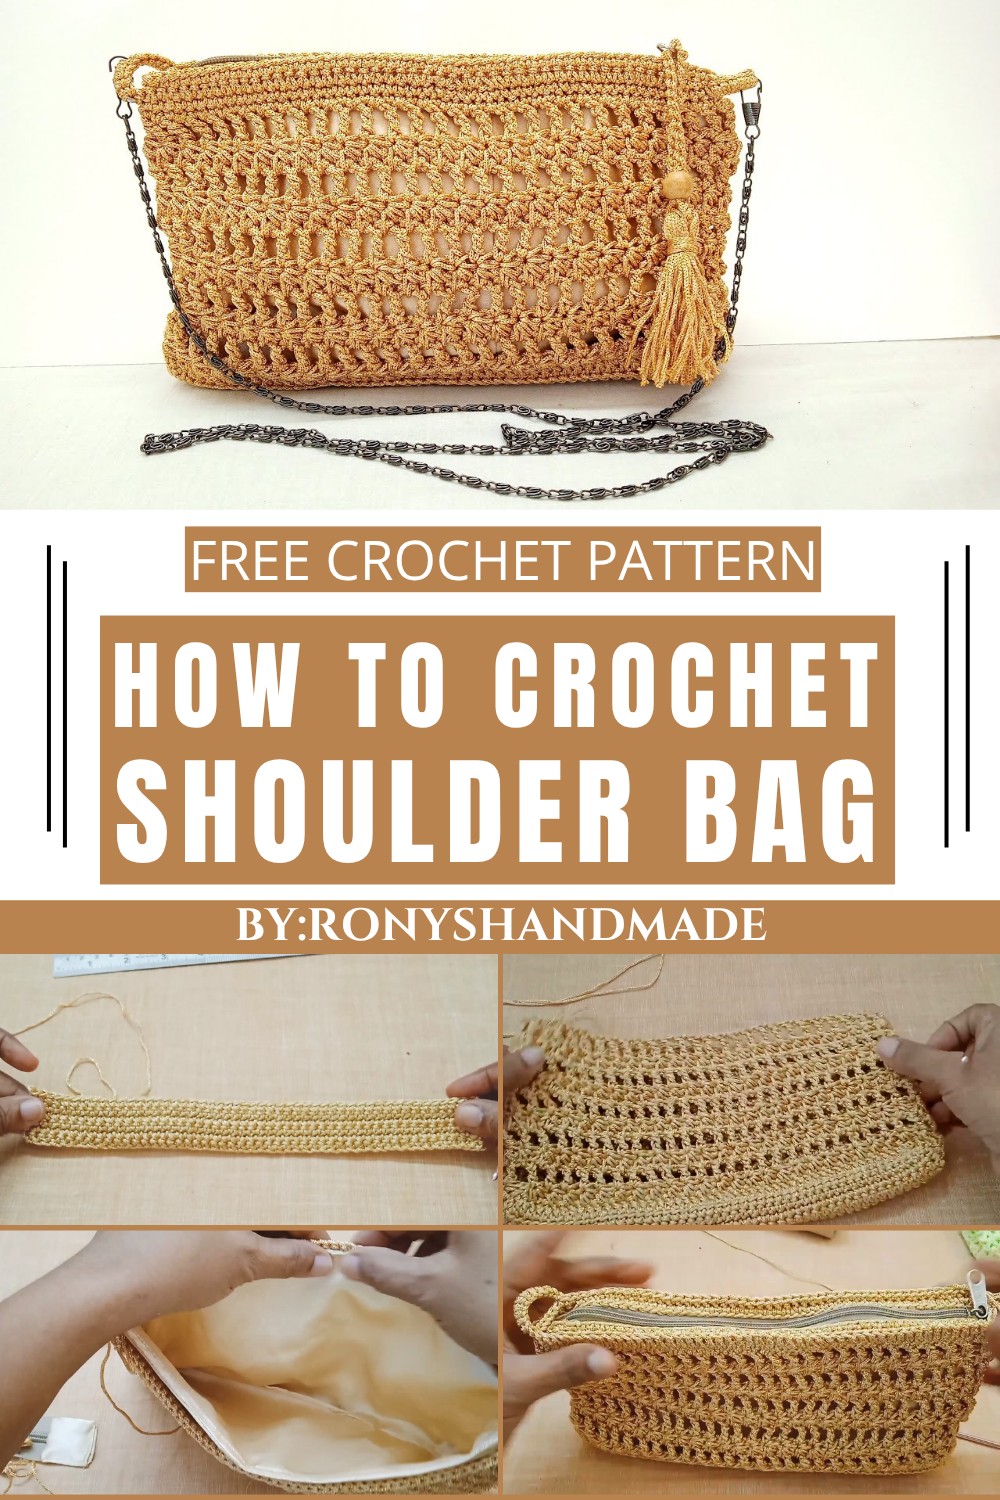
Free Crochet Shoulder Bag Pattern
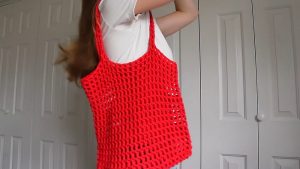
Carrying a beautiful, handmade shoulder bag that speaks to your creativity and style. Crocheted with care, this crochet shoulder bag pattern offers a chance to make something truly unique and practical. Perfect for everyday use, the bag combines beauty with functionality, featuring a soft texture, durable design, and charming details.
Whether you’re heading to the market, meeting friends, or simply running errands, this shoulder bag becomes your ideal companion. It’s lightweight, easy to carry, and can fit all your daily essentials like keys, wallet, and phone. The crochet design adds a trendy, artisanal touch, making it a standout accessory for any outfit. With this free pattern, anyone, whether experienced or new to crocheting, can create something they’ll adore. Simple to follow, this project is an exciting way to express your creativity while crafting a bag that’s both stylish and practical for every occasion.
Materials Required
Yarn:
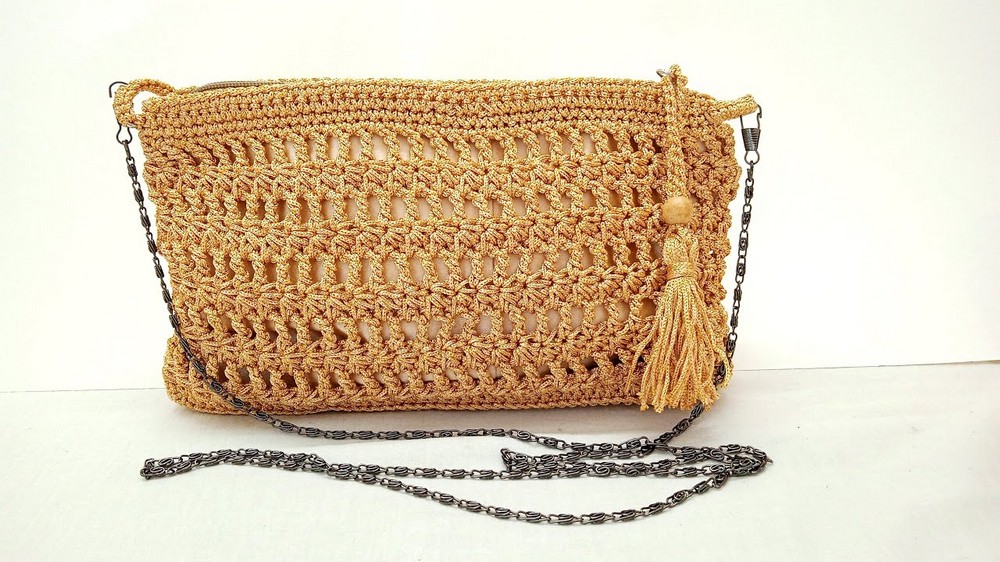
- PP Yarn: 1 mm thickness (golden with glitter was used in the video).
- PP yarn is lightweight and durable, perfect for accessories.
- You can also use nylon or thick cotton yarn as an alternative.
Crochet Hook:
- 3.5 mm hook: For the entire project.
Additional Tools:
- Scissors: For trimming the yarn.
- Darning/Weaving Needle: For sewing and weaving ends.
- D-Rings: 2 pieces, to attach straps.
- Zipper: 25 cm long (adjust based on bag size).
- Fabric for Lining: One piece, 25 cm × 10 cm, for inner lining.
- Sewing Machine (Optional): For attaching the lining and zipper.
Gauge
Gauge is not critical for this pattern, but for reference:
- 1 cm = Approx. 4–5 single crochet stitches.
Finished Size
- Width (Length): 9.5 inches (24 cm).
- Height: 5.5 inches (14 cm).
- Base Width: 3 cm.
Abbreviations (US Terminology):
| Abbreviation | Meaning |
|---|---|
| ch | Chain |
| sc | Single Crochet |
| dc | Double Crochet |
| tr | Triple Crochet |
| sl st | Slip Stitch |
| YO | Yarn Over |
Pattern Instructions
The bag is constructed in parts: Base, Sides, Star Stitch Rounds, Triple Crochet Rounds, Finishing, and Assembly.
Step 1: The Base
- Foundation Chains:
- Begin with a slip knot using a 3.5 mm hook.
- Chain 50 (measures 25 cm).
- Single Crochet Rows:
- Work 1 sc in the second chain from the hook and each chain across. Turn.
- Chain 1 at the beginning of each row.
- Work 6 rows of single crochet (height = 3 cm). Ensure an even, flat shape.
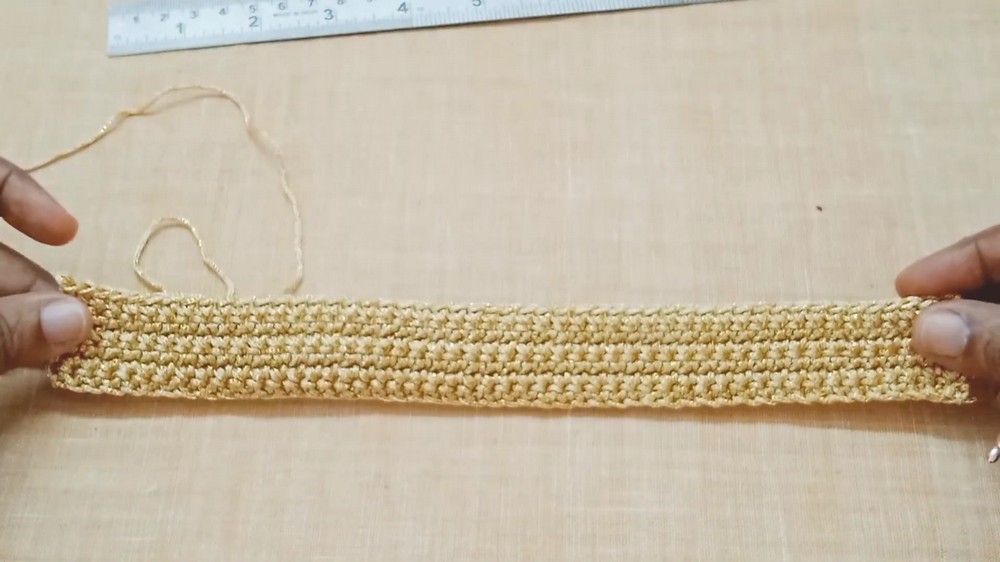
- Completed Base Dimensions: 25 cm × 3 cm.
Step 2: The Sides
- Begin Working in Rounds:
- After completing the last row of the base, do not fasten off.
- Chain 3 (counts as the first dc).
- Corners (Increasing at Points):
- Work 2 dc in each point of the base’s short edges (3 points in total per short edge).
- This creates neat, rounded corners.
- Outer Strands (For Clean Edges):
- On the long edges of the base, only insert your hook into the outer strands of each stitch. This will create a cleaner bend for the side of the bag.
- Continue working dc evenly across the long edges.
- Join to Complete the Round:
- Once a round is complete, sl st into the topmost chain of the starting ch-3 to close.
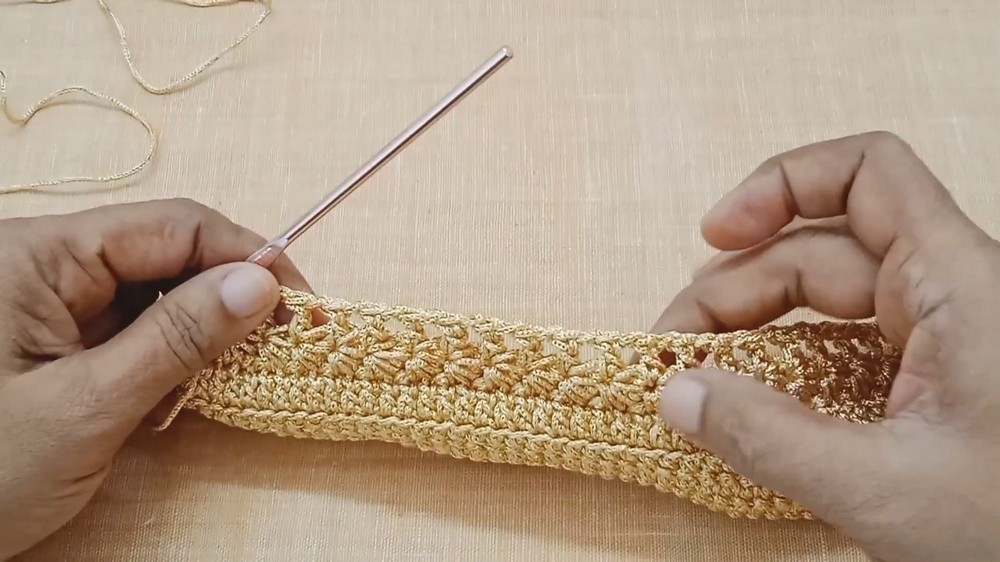
Step 3: Star Stitch Rounds
- Chain 3 and Start the First Star Stitch:
- Pull a loop through the second chain from the hook, the third chain, the next stitch, and the following stitch (5 loops total).
- YO and pull through all five loops. Chain 1 to complete the star.
- Continue Creating Stars in the Round:
- Pull a loop through the eye of the last star, the last loop of the previous star, and the next two stitches (5 loops again).
- Repeat in this pattern until completing the round.
- Slip stitch into the top of the starting ch-3 to close the round.
- Repeat Star Stitch Rounds:
- Work 5 rounds of star stitches.
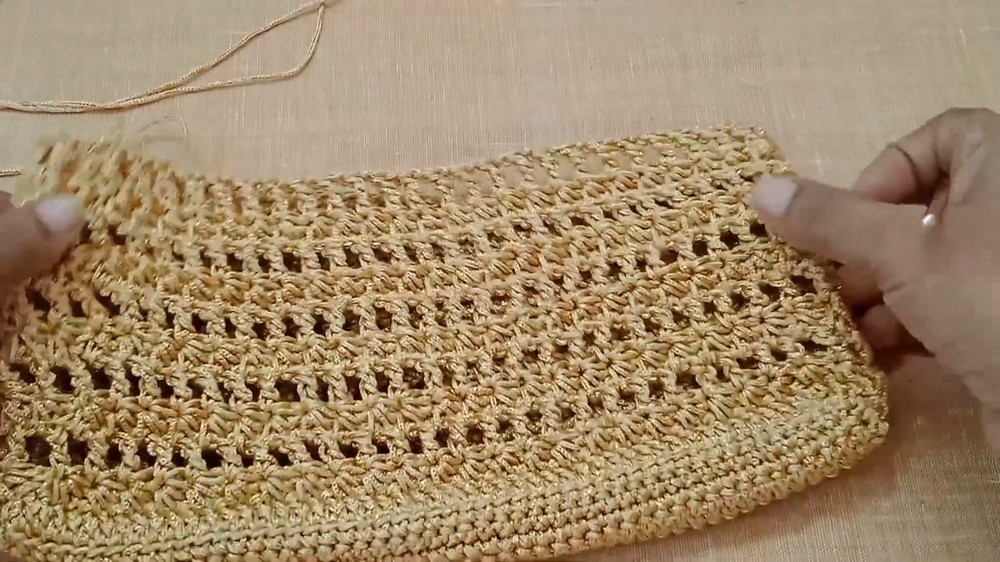
Step 4: Alternating Triple Crochet Rounds
- Adding Triple Crochets:
- Chain 4 (counts as the first tr). Work 1 tr in the eye of each star stitch from the previous row.
- Chain 1 between every triple crochet to maintain even spacing.
- Closing the Round:
- After completing the triples, slip stitch into the topmost chain of the beginning ch-4 to close the round.
- Repeat Triple Crochet Rounds:
- Work 5 rounds of triple crochet, alternating with the star stitch rows.
Step 5: Single Crochet Finish
- Work Single Crochet Along the Top Edge:
- Next, sc into each triple crochet and ch-1 space from the previous round.
- This row provides a neat edge for attaching the zipper or finishing.
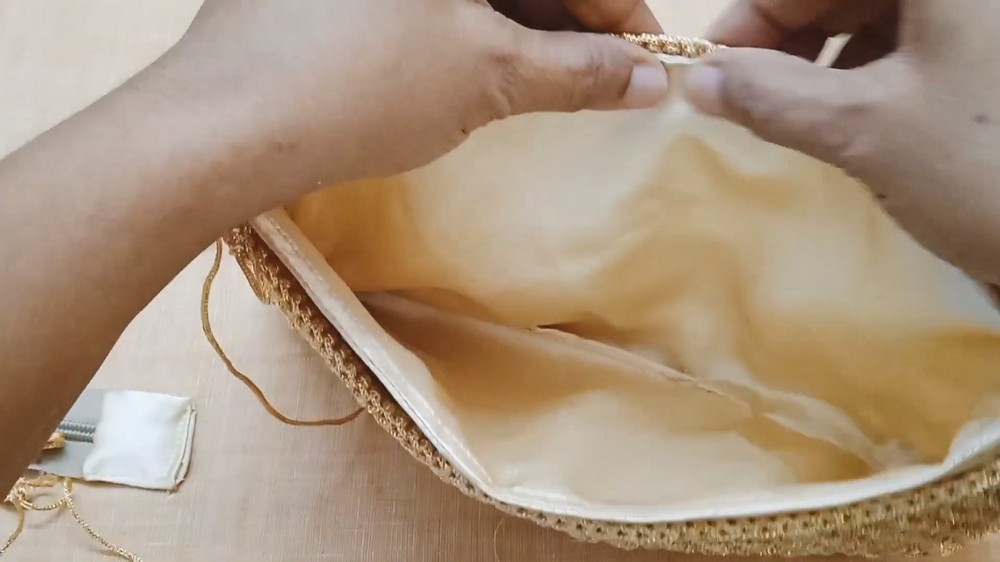
Step 6: Lining and Zipper
- Prepare the Zipper Straps:
- Chain 45, and work 1 row of single crochet. Create two identical straps for holding the zipper.
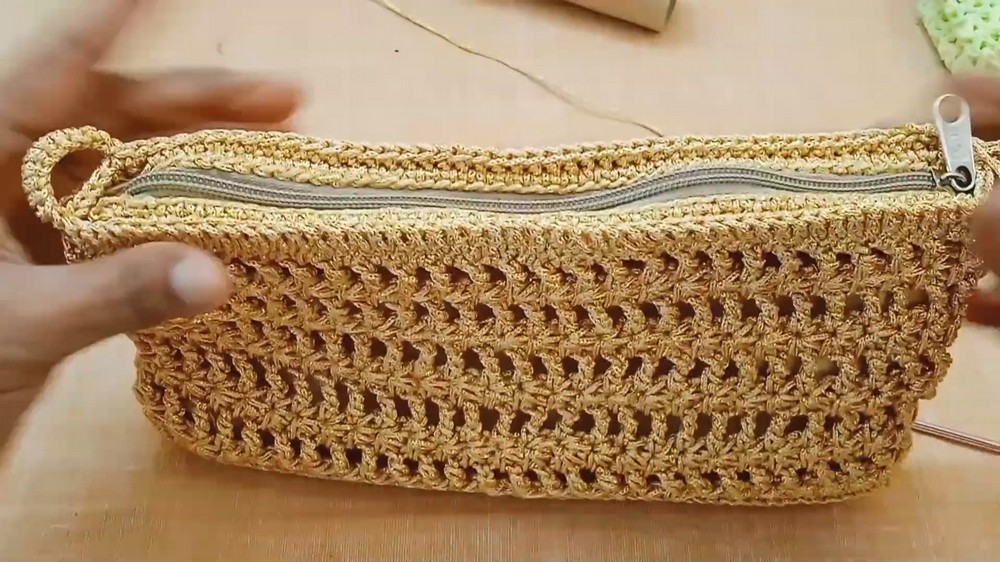
- Attach the Zipper:
- Sew the zipper to the crochet straps using a sewing machine or needle.
- Ensure the zipper is aligned evenly across the bag opening.
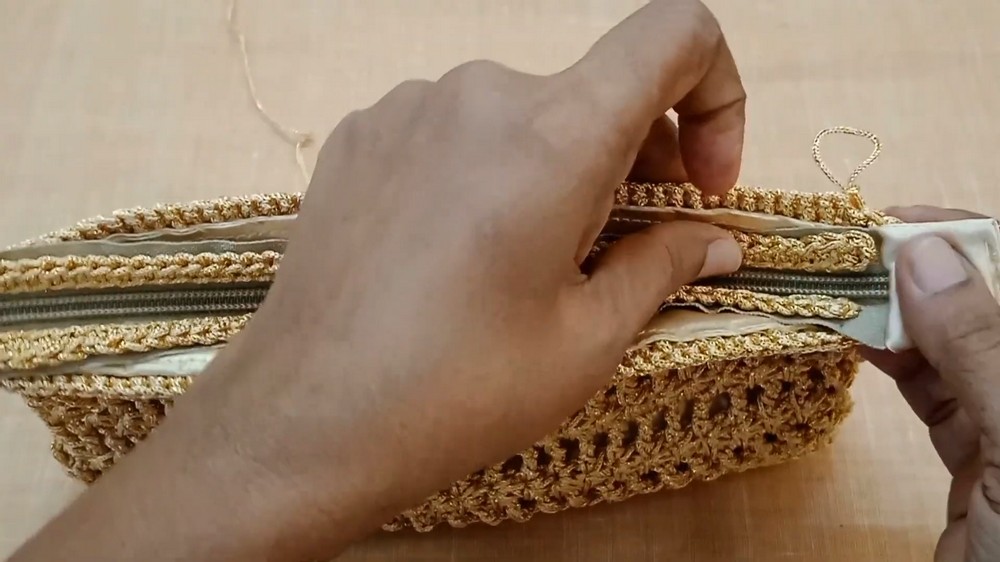
- Insert the Lining:
- Create a fabric pouch using the measurements of the bag (add 1 cm seam allowance).
- Sew the lining along the edges of the bag, either by hand or machine.
- Attach Lining and Zipper to Bag:
- Use single crochet or a sewing needle to attach the prepared zipper straps to the top edge of the bag.
Step 7: Adding D-Rings for Strap
- Attach Rings:
- Use single crochet to secure D-rings at both sides of the bag.
- Work 5 sc stitches around the D-ring for each side to attach securely.

Step 8: Customizing Straps
- Prepare Strap (Optional):
- Crochet or use a metal chain for the strap.
- Attach the strap to the D-rings on both sides of the bag.
Customization Tips
- Size Adjustments:
- To make a larger or smaller sling bag, increase or decrease the foundation chain for the base and adjust the number of rows for height.
- Alternate Yarn Choices:
- Use shiny or metallic yarns for a glamorous look, or cotton yarn for an everyday casual appearance.
- Add Decorative Details:
- Include tassels, pom-poms, or appliqué for added flair.
Final Words
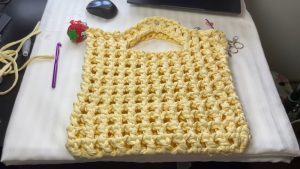
Congratulations on crafting your stylish crochet star-stitch sling bag! This project is perfect for practicing crochet techniques like the star stitch and triple crochet, while also learning how to line and assemble a functional accessory. The shimmering yarn adds a hint of glamor, and the customization potential makes it suitable for all occasions.
Tips to Maintain the Bag
- Handwash gently with mild detergent.
- Avoid high heat to preserve the structure of the yarn.
- Store in a cool, dry place.