
Eye Catching Crochet Sunflower Keychain Pattern For Accessories
Carry charm with the Crochet Sunflower Keychain Pattern a cheerful sunflower that’s for keys bags or as a small handmade gift that delights.
Brighten your day with a delightful crochet sunflower keychain that's as cheerful as it is practical. This charming design combines vibrant sunflower petals with a sturdy, textured keychain, perfect for jazzing up your keys, bags, or even gifting to a friend who could use some handmade sunshine.

Playful Crochet Sunflower Keychain Pattern for Bag Accents
Whether you prefer bold yellow tones for a classic sunflower look or pastel shades for a whimsical twist, this project is endlessly customizable to fit your style. Quick to make and beginner-friendly, it’s a wonderful way to use leftover yarn while creating an accessory that’s equal parts functional and full of charm!

Materials Needed:
Yarn:
- Cotton yarn (4-ply recommended) in three colors:
- Green: For leaves.
- Brown: For the center portion.
- Yellow: For sunflower petals.
Hook:
- 3mm crochet hook.
Additional Supplies:
- Polyester microfiber filling (optional).
- Keyring or keychain rim (e.g., silver or black; 12 INR piece).
- Stitch markers for tracking progress.
- Scissors for clean cuts.
- Needle for weaving ends (optional).
- Glue: All-purpose glue for securing ends and attaching decorations.
Skill Level:
Intermediate – Proficient knowledge of US crochet stitches, magic ring technique, and assembling parts is required.
Key Abbreviations (US Terminology):
- CH: Chain
- SC: Single Crochet
- HDC: Half Double Crochet
- DC: Double Crochet
- TC: Triple Crochet
- SL ST: Slip Stitch
- INC: Increase (two stitches worked into the same stitch)
Special Notes:
- Always tighten your magic ring properly for a clean finish.
- Mark stitches (especially increases) to manage segment construction accurately.
- Be mindful of the color changes when attaching different yarn pieces.
Step-by-Step Instructions
Leaf (Make 1)
1. Start with a slip knot:
- CH 11 (foundation chains).
Row 1: Work the following stitches along the chain:
- Skip the first CH from the hook.
- SC into the second chain.
- Work HDC into the next chain.

- Work DC into the next chain.
- Work TC into each of the next 4 chains.
- Work DC into the next chain.
- Work HDC into the next chain.
- Work SC into the last chain.
2. Form the corner:
- SL ST into the final chain.
- CH 1, then work SL ST into the same space.
- Work SL ST into the previous chain to create a neat corner.
3. Reverse the leaf:
- Work back along the opposite side of the foundation chain:
- SC into the first stitch.

- Follow the same sequence: HDC, DC, TC (4), DC, HDC, SC.
- SC into the first stitch.
4. Finish the leaf:
- Complete row with a SL ST into the starting slip knot.
- Leave a long tail, pull the remaining yarn through the loop, and tighten.
- Cut off the excess yarn and weave in the ends.
Center Portion (Brown)
1. Start with a magic ring:
- Work 6 SC into the magic ring.
- Pull the loop tightly to close the ring.
2. Close Round 1:
- SL ST into the first SC to complete the round.
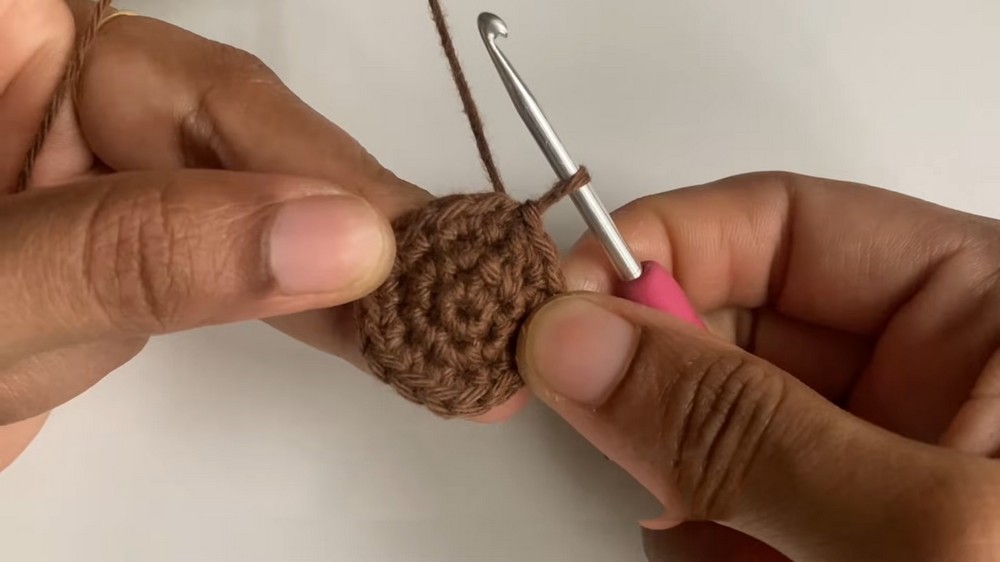
3. Round 2 (Increase Round):
- CH 1.
- Work INC (2 SC into the same stitch) into each of the 6 stitches around.
- Place a stitch marker in the first SC to track progress.
4. Close Round 2:
- SL ST into the marked stitch.
5. Round 3:
- CH 1.
- Follow the pattern: 1 SC, INC (2 SC into the next stitch).
- Alternate for 12 stitches total.
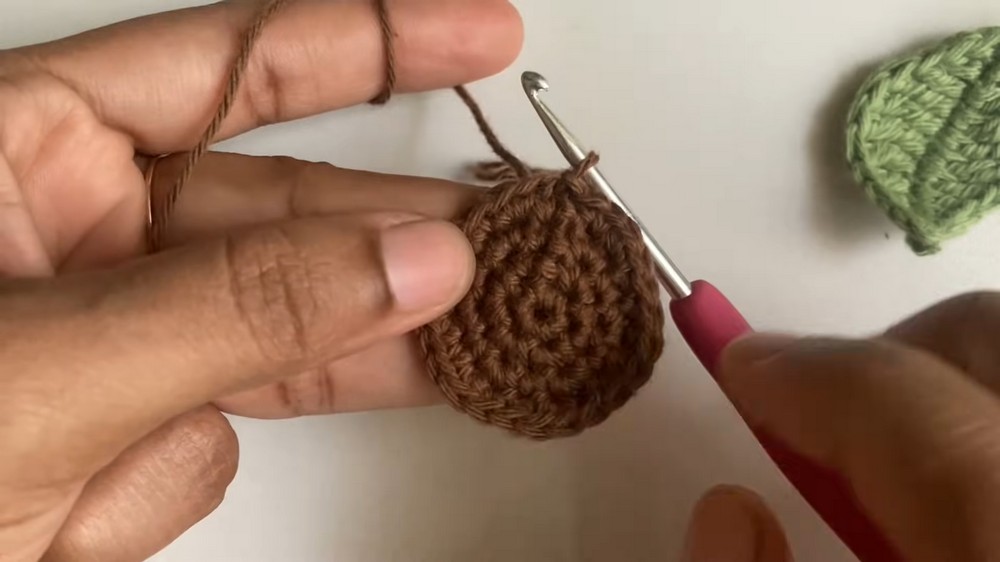
6. Round 4:
- CH 1.
- Follow the pattern: SC, SC, INC (2 SC into the next stitch).
- Alternate for 18 stitches total.
7. Finish Center Portion:
- Pull the remaining yarn through the loop, tighten, and close the round.

Sunflower Petals (Yellow)
1. Attach yellow yarn:
- Starting from the brown center, insert hook through two loops of both green and brown stitches.
2. Work the first petal:
- Into the same stitch:
- DC, TC, CH 2, TC, DC, CH 2, SL ST.

- DC, TC, CH 2, TC, DC, CH 2, SL ST.
3. Continue petals:
- Work the next petal into the next stitch following the same sequence (DC, TC, CH 2, TC, DC, CH 2, SL ST) for 12 petals total.
4. Finish petals:
- Cut the yarn, pull the remaining yarn through the loop, and tighten.
- Shape the petals by gently overlapping segments for a natural look.

Assembly of Keychain
Center Filling:
- Use polyester microfiber filling to lightly stuff the sunflower’s center. Insert the filling from the back and distribute evenly inside the gaps.
Attach Leaf:
- Use glue or thread to attach the green leaf to one side of the sunflower, either left or right depending on preference.
Attach Keyring:
- Secure the sunflower to your keyring using the leftover yarn. Tie multiple knots for firmness or use glue for added security.
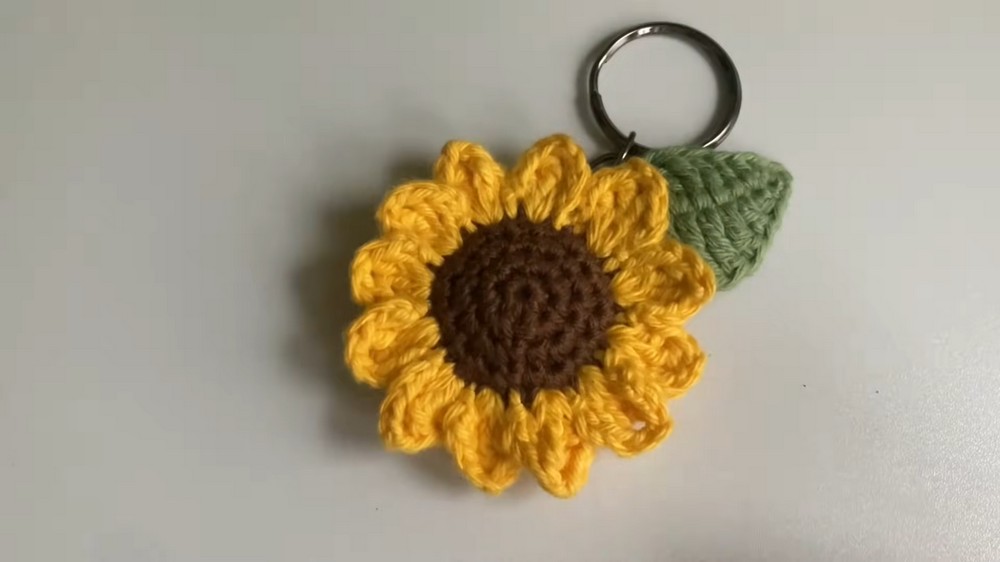
Conclusion:
The sunflower keychain is a delightful crochet project that combines texture, color, and functionality. Its vibrant petals and structured design make it a perfect accessory for casual or festive use. The added portability of a keyring ensures the sunflower's versatility as both decoration and utility.
Pattern Corrections:
- Miscounting stitches while attaching petals could leave gaps or overlapping petals. Ensure you maintain consistent placement across all 12 stitches of the center portion.
- Check tension when switching between stitches, especially for petals, as loose stitches could cause them to sag.
Tips for Success:
- Use Stitch Markers: Place markers frequently to manage rounds, increases, and petal placements effectively.
- Tighten Magic Ring: Pull the loop tightly to minimize gaps in the center.
- Glue Ends: Apply glue to yarn ends to prevent fraying. If extra length is needed for weaving, ensure you leave enough when cutting the tail thread.
- Shape Petals: Carefully guide and overlap petals to achieve a natural sunflower look.
- Customization: Experiment with different yarn colors for unique sunflowers or use different-sized hooks for larger/smaller versions.