Soft Crochet Crop Top Pattern with Easy Match Style
StitchMagic brings a Crochet Crop Top Pattern with breezy comfort, cheerful texture, and a handmade style suited to sunny days and relaxed outfits.
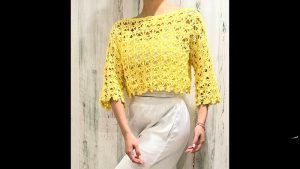
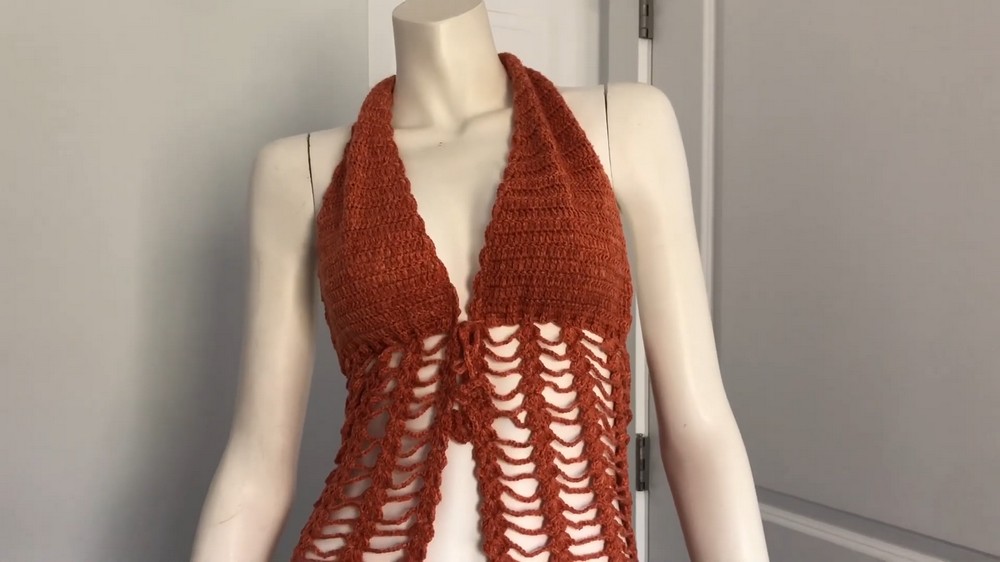
Clothing made by hand can be simple, soft, and easy to wear in daily life. This Crochet Crop Top pattern shows gentle stitches that form a neat and pleasing look. The top sits above the waist and feels light on the body. Its shape looks fresh and tidy, with open spaces that let air move freely. Many people wear it in warm weather, at home, on walks, or during fun outdoor time.
Easy Crochet Crop Top Pattern for Relaxed Casual Outfits
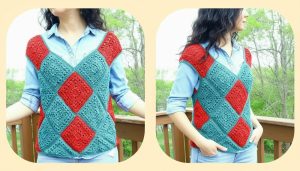
It pairs well with jeans, skirts, or loose trousers. The yarn colors make it cheerful, while the texture feels smooth and calm. This top is also loved as a gift because it shows care and effort.
The style suits young girls and women alike. Its simple look makes dressing easy and stress free. This top adds comfort, charm, and a handmade touch to everyday wear, making it a favorite choice for relaxed and happy moments everywhere today.
Cute and Stretchy Crochet Crop Top Pattern
Skill Level
Easy to Intermediate
Special Features
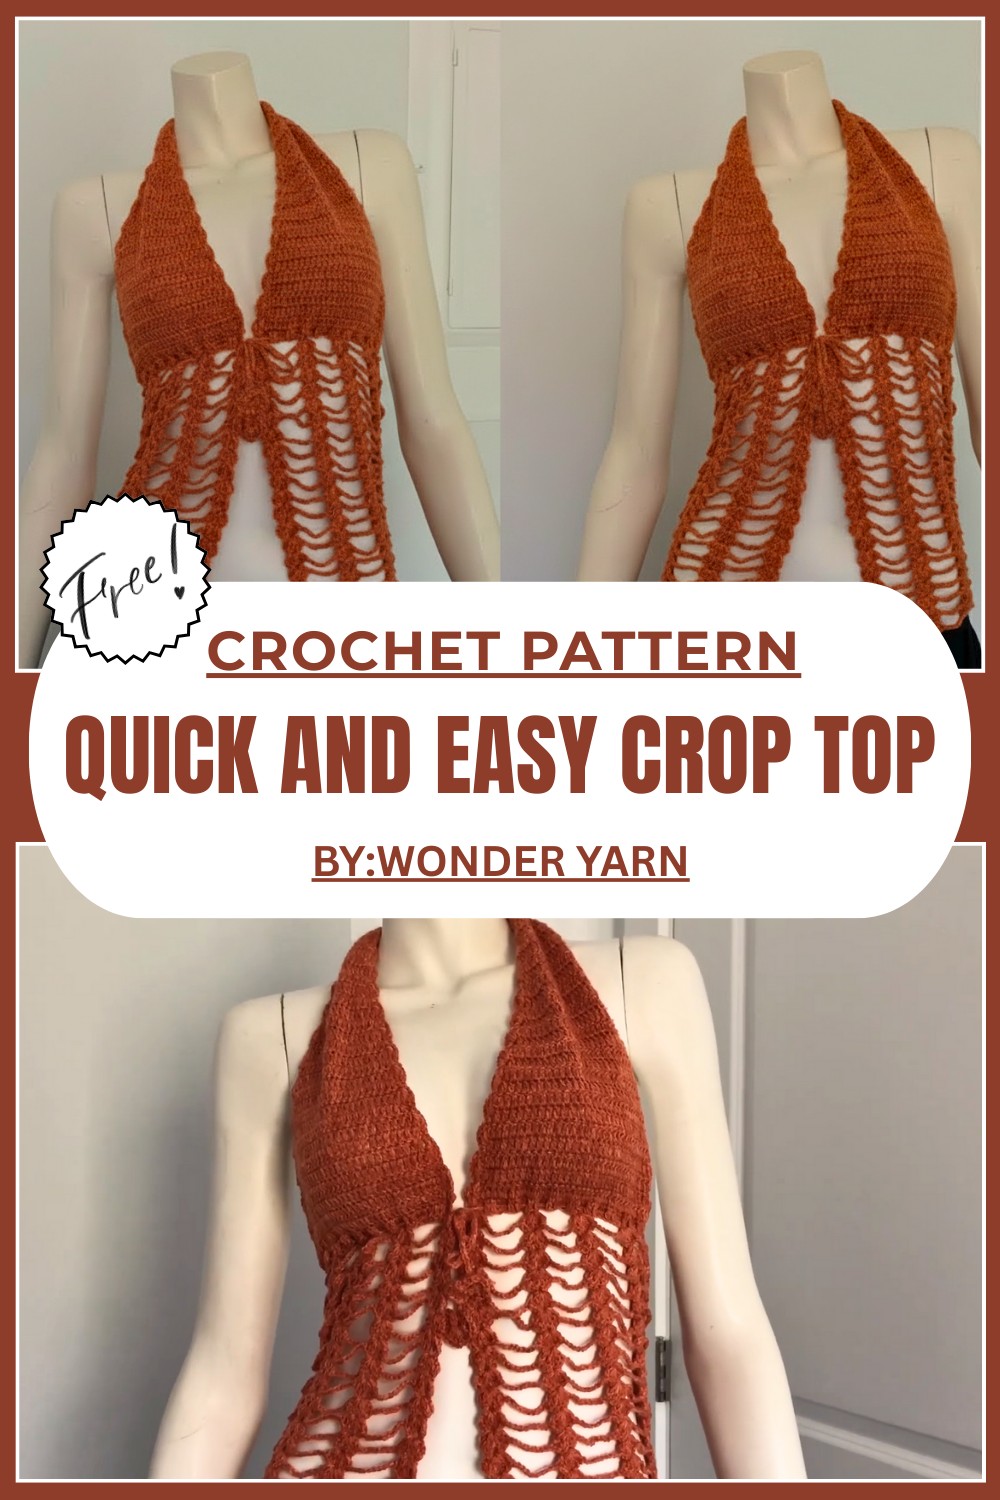
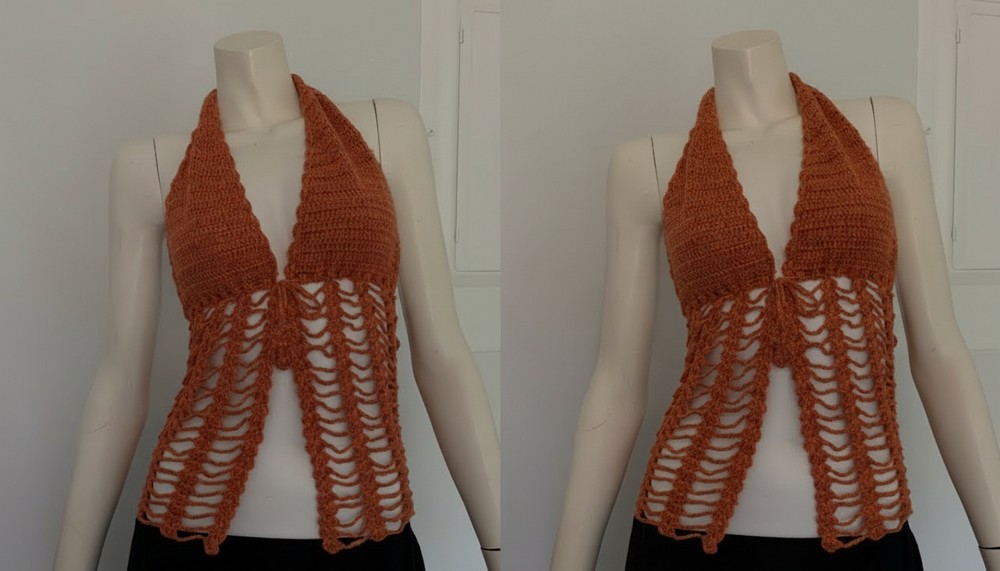
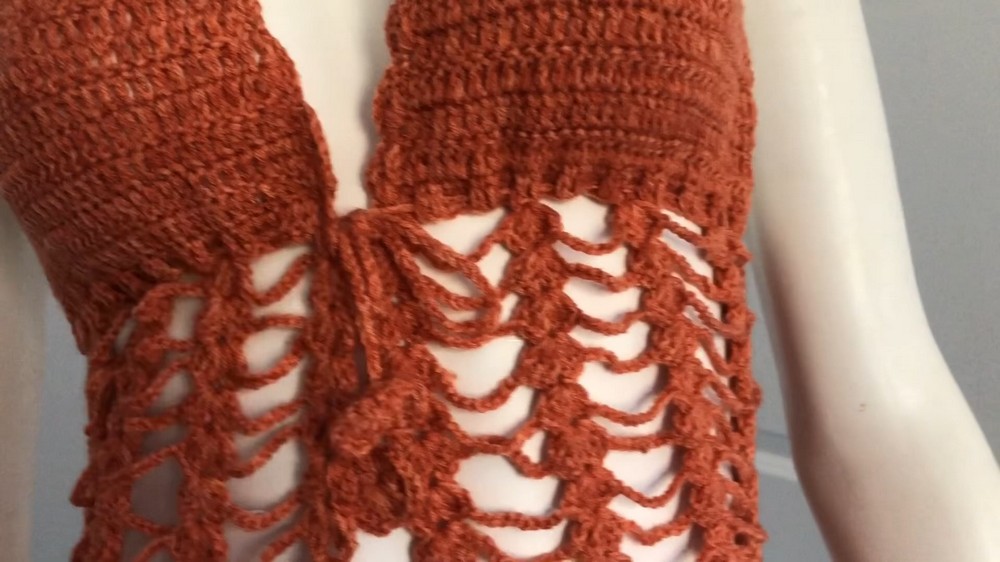
A cute and stretchy crochet crop top with a tie-front design and neat side trims. The pattern uses simple double crochet stitches with decreases and increases to shape the triangular panels that fit well on the body. Adjustable sizing makes it easy to customize for small, medium, or large.
Tutor’s Suggestions
Use an acrylic or soft fiber yarn with some stretch. Maintain consistent tension throughout for good drape. Use stitch markers to track your increases and decreases. Try on as you go to adjust length and width to your preference.
Materials Needed
- Acrylic size 3 yarn (or similar)
- Crochet hook size 3.25 mm (or suitable for your yarn)
- Scissors
- Stitch marker
- Yarn needle for weaving in ends
Abbreviations
- ch = chain
- dc = double crochet
- sc = single crochet
- sl st = slip stitch
- st(s) = stitch(es)
Pattern Steps
Step 1: Foundation Chain
- Chain 35 for size small (adjust to 40 for medium, 48 for large).
Step 2: Row 1 – Double Crochet Foundation Row
- Skip 3 chains from the hook, dc in 4th chain.
- Work dc in each chain across.
- Chain 3, turn.
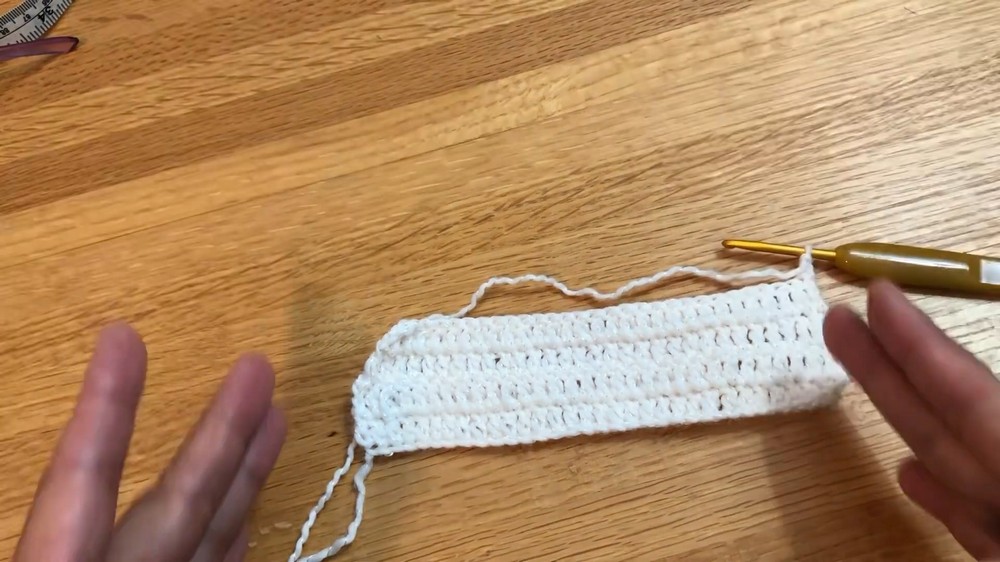
Step 3: Rows 2 through End
- Row 2: Work dc evenly across with no increases or decreases.
- Chain 2, turn.
- Row 3: Work dc in back loops only across, leaving last two stitches unworked for decrease.
- Join last two stitches together by dc in back loops.
- Chain 2, turn.
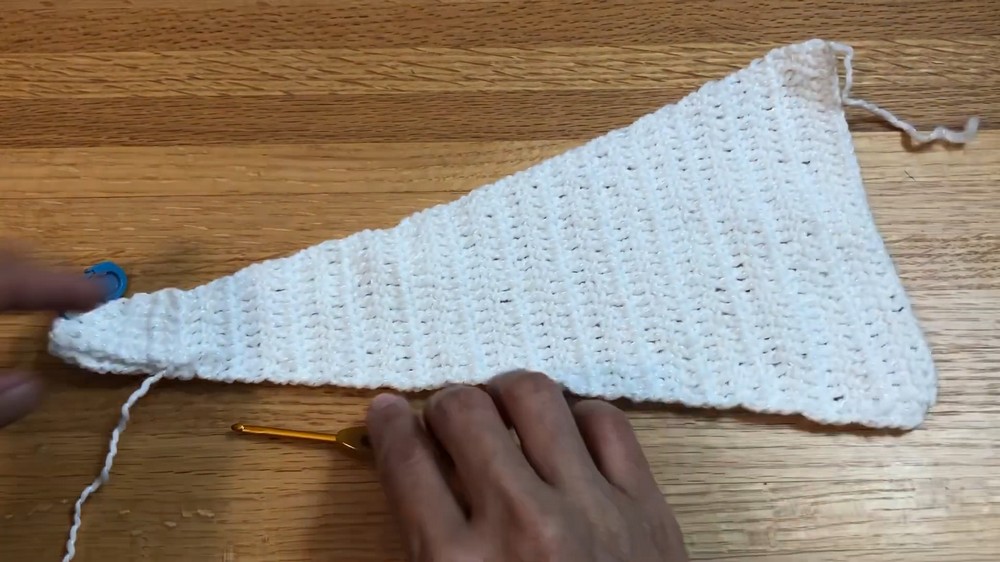
Step 4: Continue Shaping Triangle Panel
- Repeat the pattern of working back loop dc with decreases on every right side row by joining last two stitches together.
- Chain 2, turn each row.
- Continue until you have completed 30 rows for small size (33 for medium, 35 for large).
- This creates a tapered, triangular panel for the front or back.
Step 5: Row After Last Decrease
- Chain 3, turn.
- Work dc across, no decreases.
- Place a stitch marker at first dc to mark start of next section.
Step 6: Begin Increases
- Chain 3, dc in first stitch to start increase.
- Continue working increases at beginning of rows (3 dc) and along chain 3 spaces to widen the piece again, mirroring decrease rows.
- Continue until you complete the same number of rows as the decreases (e.g., 30 rows for small).
Step 7: Side Chain for Joining
- Chain 60 for small (70 medium, 80 large).
- Make sure not to twist the chain.
- Join this chain by slip stitch connecting the last chain of one panel to the last of the other — this will be your side seam.
Step 8: Slip Stitch Side Seam
- Slip stitch along the side of the panels joining them together along the foundation chain.
- Chain 1 and fasten off.
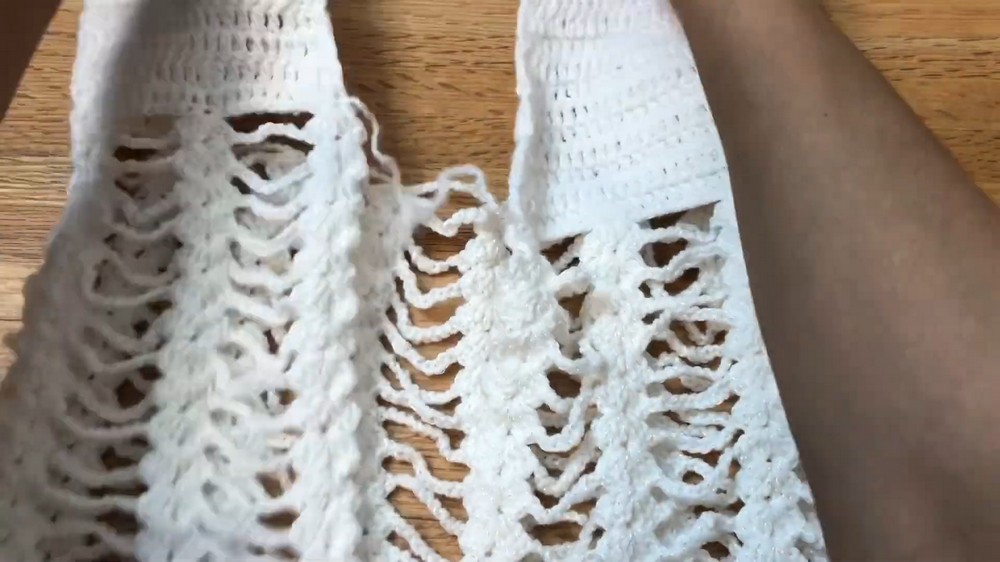
Step 9: Add Side Trims
- Attach yarn at bottom of side seam.
- Chain 3 (counts as first dc), work 2 dc in same space.
- Chain 3, skip 10 stitches, then do 3 dc in the next stitch.
- Chain 1, then 3 dc in same stitch.
- Repeat chain 10, skip 10 stitches, cluster of 3 dc then chain 1, then 3 dc.
- Continue this pattern along side edge.
Step 10: Finish Side Trim
- When reaching the end, chain 1 and fasten off.
- Repeat the trim pattern on the opposite side seam.
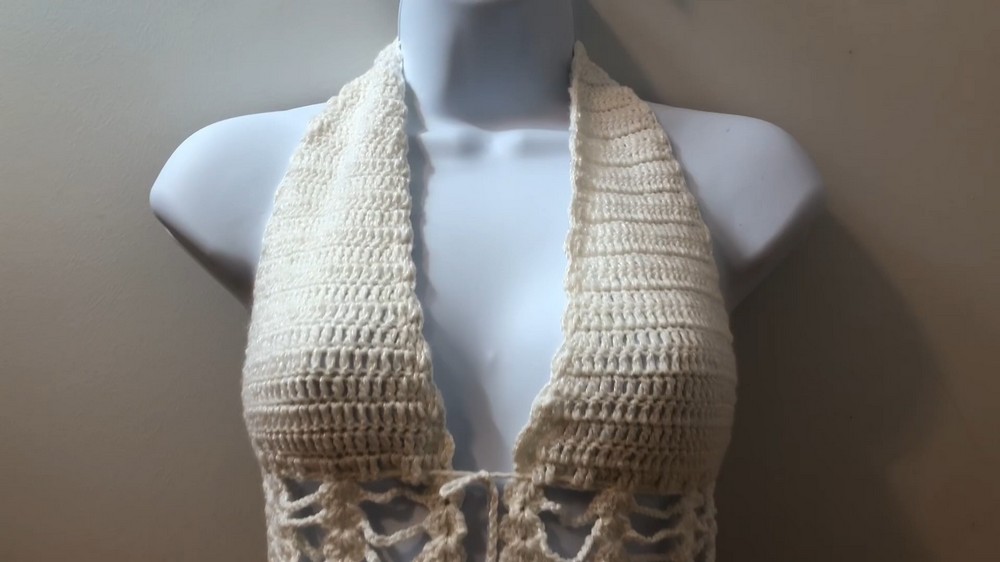
Step 11: Final Edging Around Chest/Neckline
- Chain a long chain around the chest area (approx. 200 chains for small, 220 medium, 250 large).
- Slip stitch back along chain to form neck strap.
- Optionally, add decorative edging or a small flower appliqué as desired.
Step 12: Clean Up and Wear
- Weave in all yarn tails neatly.
- Try on your stylish, stretchy crop top and tie the front straps for a perfect fit!
Tips
- Take measurements and try on as you crochet to ensure a snug and flattering fit.
- Use stitch markers to track rows and pattern changes.
- For a firmer shape, use a slightly smaller hook on edging.
- Customize colors and motifs for a personal touch!
Uses
- Ideal summer crop top for casual wear.
- Layer over swimwear or tank tops.
- Perfect gift for friends or family who love handmade garments.
Conclusion
This cute stretchy crochet crop top balances simplicity with elegance using mostly double crochets and shaping techniques. The tie-front design and eye-catching side trims give it style and versatility. Whether you make it small, medium, or large, the pattern is easy to follow and fun to create.