
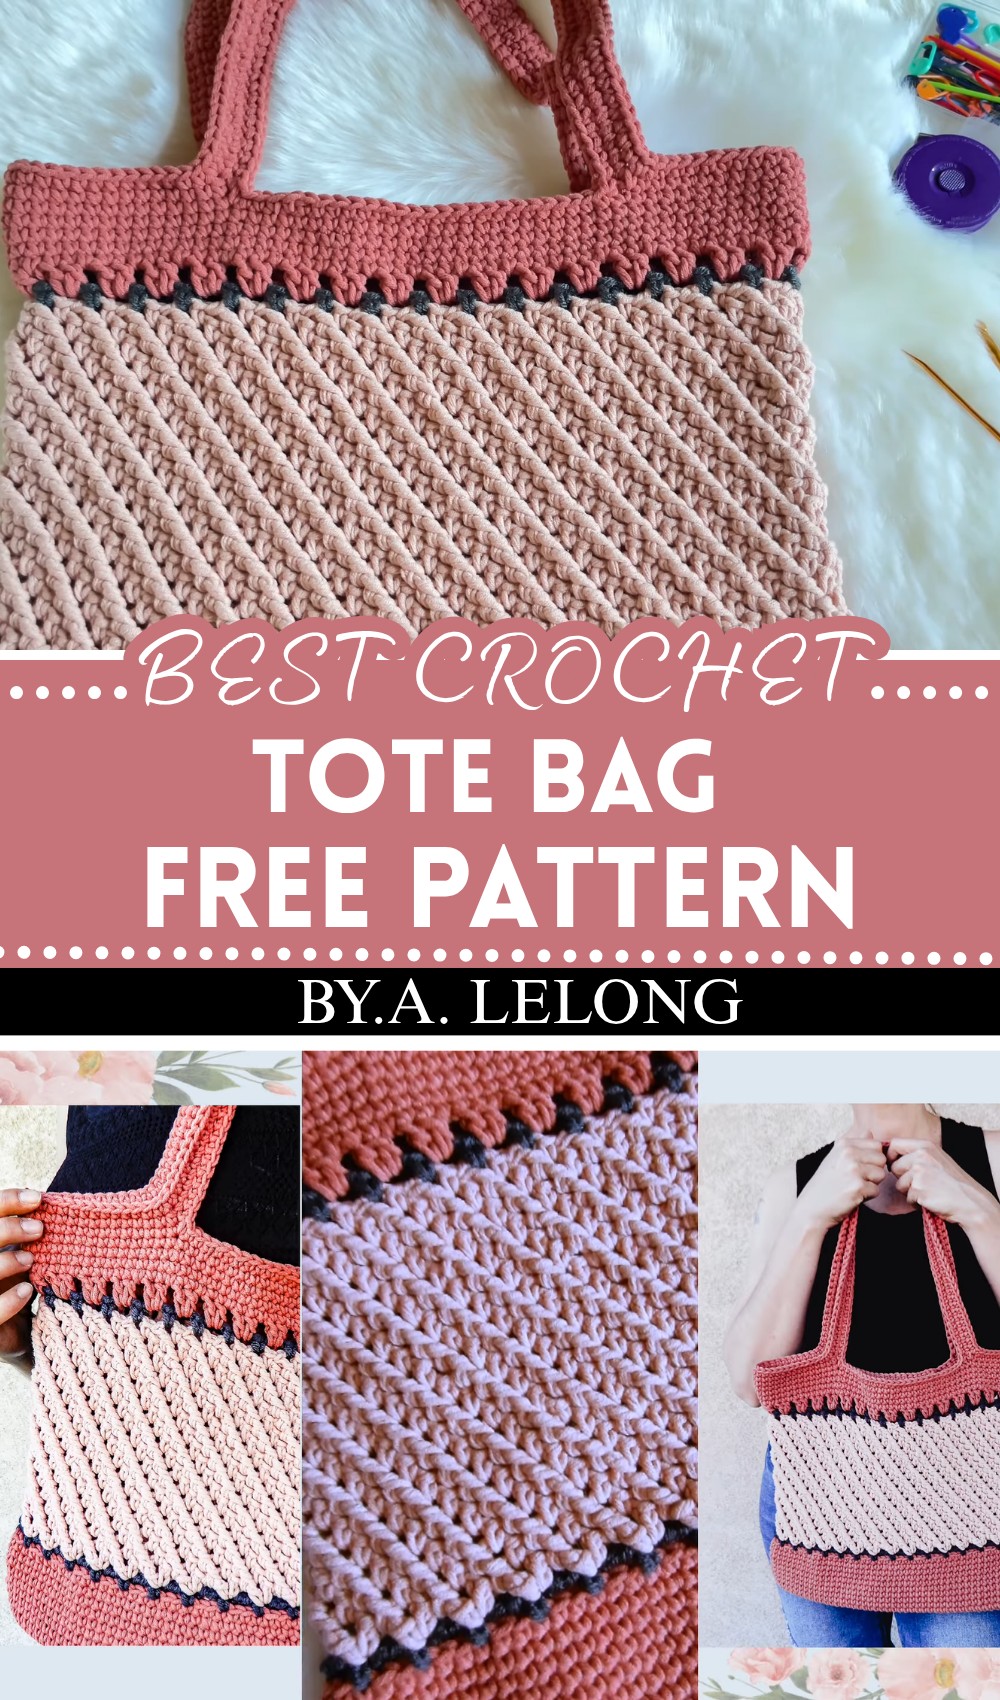
How to Crochet Tote Bag Pattern Step by Step - FREE
Make a versatile and eco-friendly accessory with a free crochet tote bag pattern, perfect for carrying all your essentials while showcasing your creativity.
Creating a tote bag with yarn is a fun and easy thing anyone can do. This pattern shows you how to create a sturdy and pretty bag perfect for carrying books, toys, snacks, or even groceries. With small changes, you can also make it into a beach bag, a shopping tote, or a colorful gift bag.
The tote bag looks simple but beautiful. You can pick any colors you like—bright, soft, or a mix of many shades to make it unique. You can choose the size by using thicker or thinner yarn and a bigger or smaller crochet hook. It has a strong yet soft shape that will last a long time while feeling comfortable to carry.
Free Crochet Tote Bag Pattern for Handmade Gifts
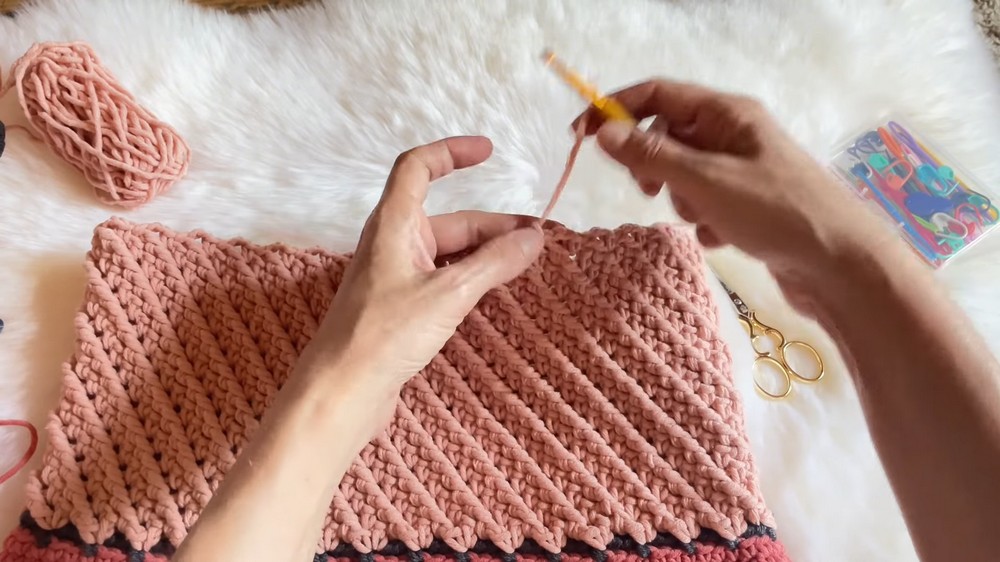
This bag is made mostly with the double crochet stitch, which is easy to learn and gives the bag a little stretch and good strength. Sometimes, a shell stitch is added to give a pretty design that makes your bag stand out from others. To make this project, use a 5 mm crochet hook and medium-weight (worsted) yarn so your bag stays neat and keeps its shape well.
This pattern is perfect for beginners and children who want a fun and useful thing to make. It also makes a lovely handmade gift or a special bag just for you. You can use it every day or take it on trips—it’s useful and colorful. Try this Free Crochet Tote Bag Pattern to make a bag that fits your style and needs perfectly.

Crochet Summer Tote Bag — Step-by-Step Pattern
Before You Start
- This bag is worked in the round from a sturdy oval base upward in single crochet, with a color-blocked midsection and optional openwork handle area.
- Custom sizing is simple—just adjust the base chain or total rounds.
- The bag uses three yarns: a main color, a contrasting stripe, and a second main color for the body, but you can use one shade or as many as you wish.
- Handles are crocheted as part of the upper border, though you may attach store-bought handles if you prefer.
Pattern Notes
- US crochet terms are used throughout.
- Rounds are joined or “closed” with an invisible join for a seamless look.
- After the base, the bag is worked in continuous or closed rounds—use a stitch marker if needed.
- The pattern includes a basic openwork (mesh) row and a decorative “front loop” round.
- Handles are crocheted directly into the bag.
- Adjust height, handle width, or bag circumference as you like.
How I Made the Crochet Pattern (Summary)
- Created a foundation oval base by working single crochet around a long chain with increases at both ends.
- Continued with rounds of single crochet for a sturdy bottom segment.
- Switched to an accent color for a transition stripe.
- Worked mesh and textured bridle stitches for the main body, changing color as needed.
- Finished with a border, then crocheted integrated handles in the top edge.
Skill Level
Advanced Beginner — single crochet, working in the round, changing colors, basic openwork.
Finished Size
- Roughly 39–40 cm (15.5 in) wide, 28–36 cm (11–14 in) tall (excluding handles)
- Handles approx. 52–60 cm (20–23.5 in) long, 2 cm (0.8 in) wide
(Size may vary according to yarn, tension, and modifications)
Materials
- Chunky cotton-acrylic blend yarn (sample: “Erica” by Ziman; substitute any similar weight)
- Small amount of contrast color for stripes/accent (optional)
- 5 mm crochet hook
- Scissors
- Yarn needle
- Stitch marker
Sizing (Schematic)
- Base: 49 ch foundation — adjust for smaller/larger bag
- Body: Add rounds until height is as desired
- Handles: Default is about 70 ch (adjust for length preferred)
Gauge
- Not essential. Approximate:
12–14 sc = 10 cm (4 in)
14 rows = 10 cm (4 in)
(Tension will affect finished bag size.)
Stitch Abbreviations
- ch = chain
- sc = single crochet
- dc = double crochet
- sl st = slip stitch
- st(s) = stitch(es)
- sk = skip
- rep = repeat
Special Stitches
- Invisible Join: Remove hook, thread yarn through first stitch of round from back to front, then thread back through last stitch worked to “draw” a seamless join.
- Bridle/Front Loop: Work a dc into the front loop of a dc from the round below, for raised/textured effect.
- Decrease (sc2tog): Insert hook in next st, pull up loop, insert in following st, pull up loop, yarn over, pull through 3 loops.
THE PATTERN
Base
Foundation:
- Ch 49.
- Row 1: Sc in 2nd ch from hook, sc in next 47 ch (48 sc), make 4 sc in last ch.
- Rotate (now working underside of foundation chain), sc in next 47 ch, make 2 sc in last ch (this end), sl st to first sc to join (total: 102 sc).
Next Rounds:
- Ch 1. Sc in each st around for 10 rounds (approx. 8 cm), joining with slip stitch or invisible join each round.
- Use a stitch marker if working continuous rounds.

If you prefer summary-style: Work a long foundation chain, sc all the way around both sides, increasing at each end. Work even for about 8 cm.
Transition Stripe
Change to contrast color:
- Attach new color with invisible join or simply begin next round.
- Ch 1, sc in next st, ch 2, sk 2 sts; rep * to * around.
- Sl st to first sc or join with invisible join.

Textured Mesh Body
Change to second main color:
- Join new color yarn.
- Ch 2 (counts as dc), dc into same space as join, ch 1.
- Sk ch-2 sp, (sc, ch 2, dc in same st) in next sc; rep from * to * around.

- In following rounds, work (sc, ch 2, dc in same st) in each single crochet from previous round, always inserting dc into the front loop of the dc below for a bridle effect.
- Repeat mesh pattern until bag measures about 28–36 cm from base.
If you prefer: (sc, ch 2, dc in same st), skip space, repeat, with all dcs worked in the front loop of round below.
Upper Stripe and Top Border
Change to contrast color:
- In each ch-2 sp, sc, ch 2, sc in same sp around.
- Sl st to join.
Optional:
- Add a round of 2 dc in each ch-2 sp, ch 1, sk sc, around for a slightly openwork border.
- Finish with several (3–4) rounds of single crochet in main or contrast color, working 1 sc in each st and 2 sc in each ch-1 space from previous round to ensure a solid rim.
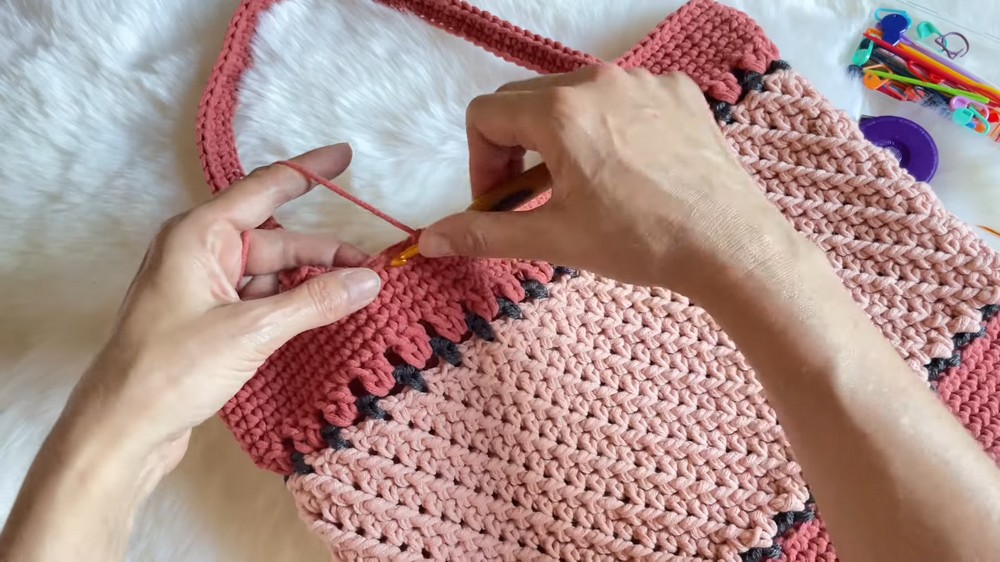
Integrated Handles
- Decide handle placement, marking with stitch markers (about 9 cm in from each side; leave 25–27 sts free on each side).
- Begin round: sc to marker, ch 70 (for a 52 cm handle, adjust as needed), skip marked sts, sc in next marked st, continue across to opposite side, repeat for second handle.

- Complete round in sc—take care not to twist chains!
- Next round: When you reach the chains, sc2tog at each base and tip of handle for rounding, and place 1 sc in each ch across.
- Continue with 1–2 more rounds of sc for sturdy handles and bag opening.
For straightforward makers: Mark where handles go, ch desired length, skip the corresponding bag sts, sc around, work into chains in following round.
Assembly & Finishing
- Weave in all ends securely inside with a yarn needle.
- Adjust handle length by removing sts and rejoining as desired before fastening off.
- Block gently with steam (if needed) to set the bag’s shape.
- Optional: Sew a fabric lining for extra strength.
- Add a button, snap, or decorative finish at center if desired.
Solution of problem
Problem: Handles stretch too much when bag is full.
Solution: Make chains tighter, or add a row or two of slip stitches atop the handles. Reinforce with leather or cotton tape sewn to the inside if necessary.
What you can make by using these stitches
- Everyday tote bags or market bags
- Small or large pouches
- Tablet/laptop sleeves (worked flat and seamed)
- Basket-style organizers
- Summery backpacks (with two handles)
Congratulations! You’ve created a summery, color-blocked tote bag perfect for the market, beach, or everyday use. Have fun customizing it with your favorite colors, stripes, or textures, and feel free to add embellishments, pockets, or a lining for the bag of your dreams. Happy crocheting!