
Vibrant Crochet Granny Square Top Pattern For Casual Looks
Stitch your way to a fun and colorful Crochet Granny Square Top that’s bursting with personality and perfect for any sunny day adventure.
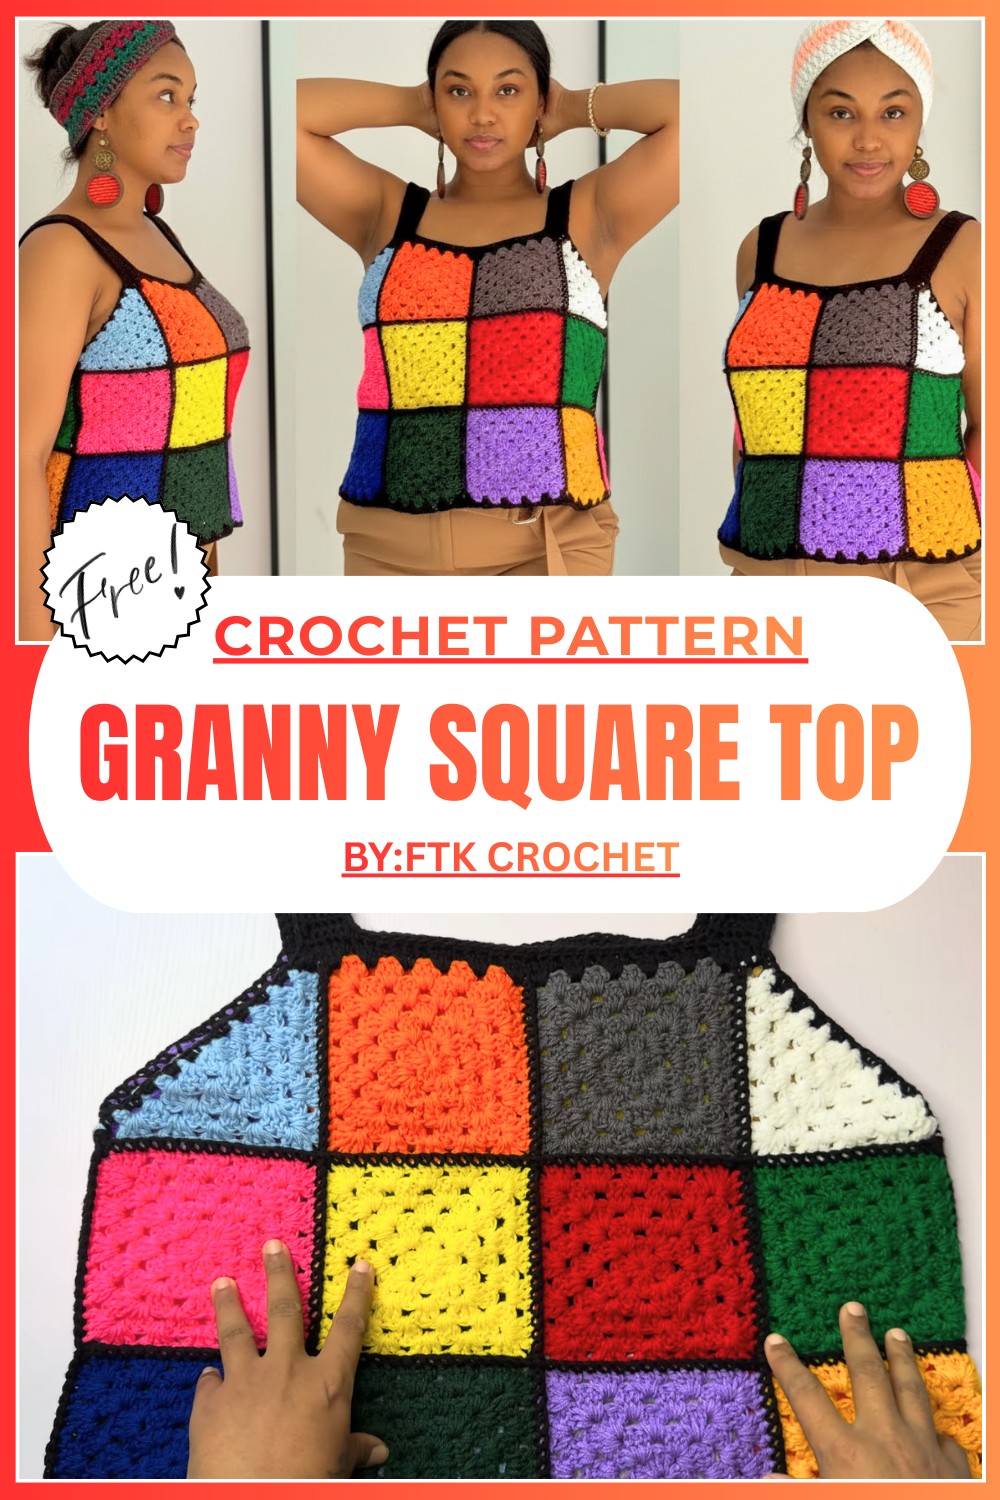
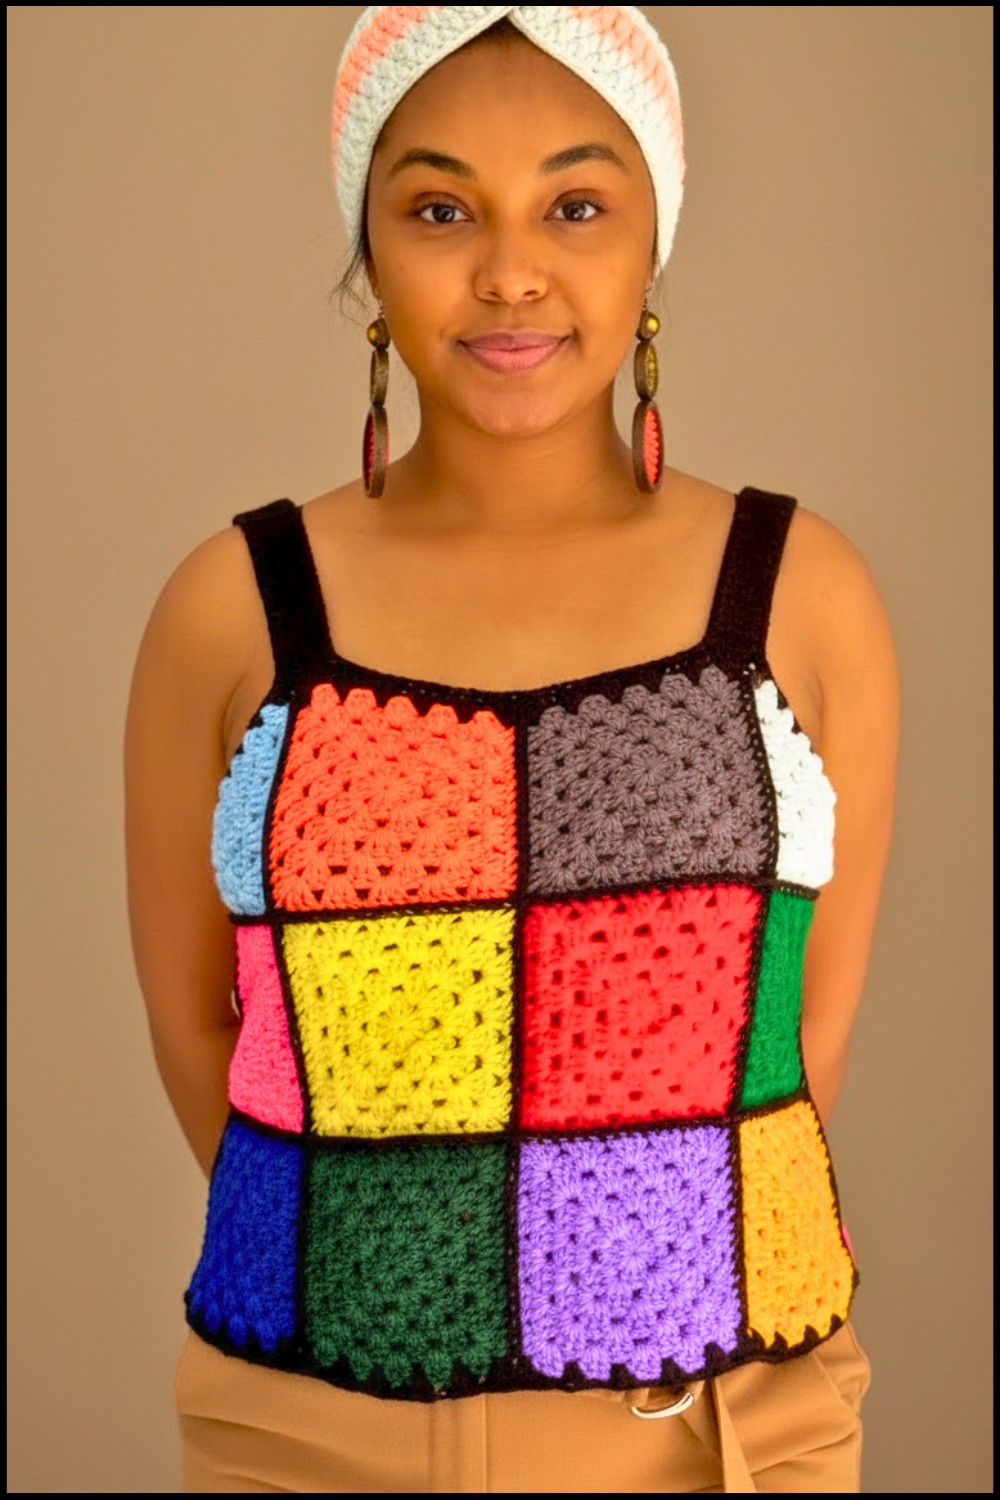
Elegant Crochet Granny Square Top To Stay Light And Breezy
Watching colorful yarn turn into something beautiful with each stitch you make. Tiny squares, full of character and charm, come together to create a crochet granny square top that’s as unique as you are. This pattern is a perfect blend of playful colors and timeless design, resulting in a top that’s lightweight, stylish, and full of personality.
Its beauty lies in the endless color combinations that make every piece truly one of a kind. Perfect for sunny days or casual layering, it brings comfort and charm to any outfit. The top isn’t just about creativity; it’s also practical, adapting easily to fit any size or style preference. Whether made in bold, bright shades or soft, dreamy tones, it’s a versatile piece that turns the simplest moments into something special. This wearable artwork is a joyful way to combine tradition with modern fashion.
Materials Needed
To recreate this beautiful crochet top, you will need:
- Yarn:
- Assorted scrap yarn for the granny squares (colors of your choice).
- Base yarn color (used for joining squares and edges) in black acrylic yarn.
- Yarn type: Acrylic, 4-ply yarn achieved by combining two strands of 2-ply yarn.
- Hook Size: 4.5 mm crochet hook.
- Other Tools:
- Stitch markers.
- Scissors.
- Measuring tape.
- Tapestry needle.
Measurements
Customize your top based on your body measurements:
- Bust measurement: This determines the width of the front and back panels. Example: For a bust measurement of 40 inches, both the front and back are made from 20 inches each.
- Length measurement: The vertical measurement of the top. Example: If the desired top length is 15 inches, granny squares are stacked accordingly to meet this dimension.
Granny Square Dimensions
- Each granny square measures 5 inches by 5 inches.
- For a bust measurement of 40 inches, you will need 4 squares across for both panels.
- For the vertical length of 15 inches, you will need 3 squares stacked vertically.
- Total squares per panel: 4 × 3 = 12 squares per panel.
- Triangles for armholes: 2 triangles per panel.
Special Techniques
This pattern involves simple crochet stitches and techniques.
- Magic Circle: Used to start granny squares and triangles with a neat center.
- Cluster Stitch: Three double crochets worked in one space.
- Single Crochet Join: A clean technique for joining granny squares and panels.
- Slip Stitch and Single Crochet Edging: Creates clean edges around necklines, armholes, and the bottom hem.
- Decrease with Double Crochet: Neat shaping technique for neckline and armhole corners.
Step-by-Step Pattern Instructions
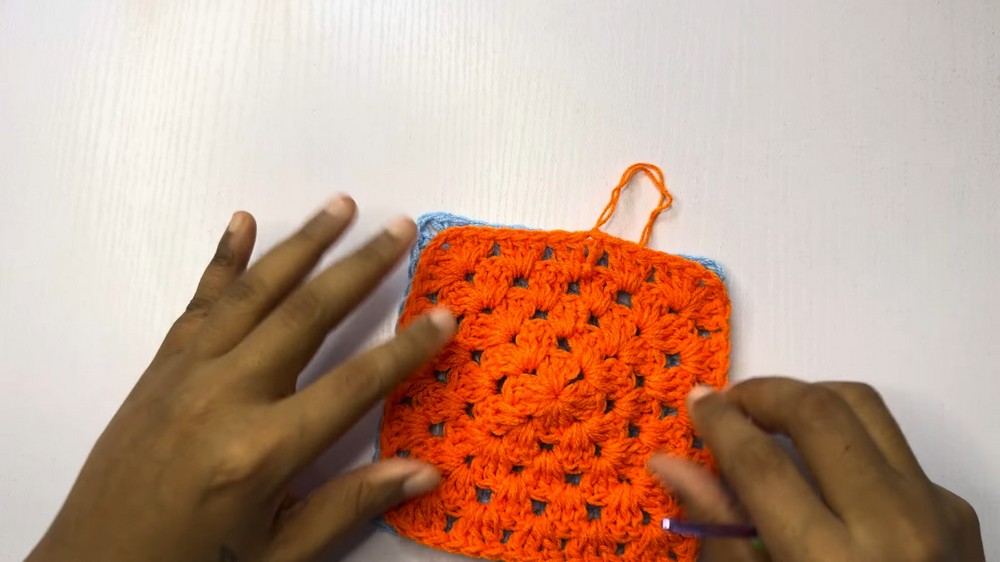
Part 1: Making Granny Squares
Granny squares are the foundation of the top. You will create the necessary number of squares for the panels.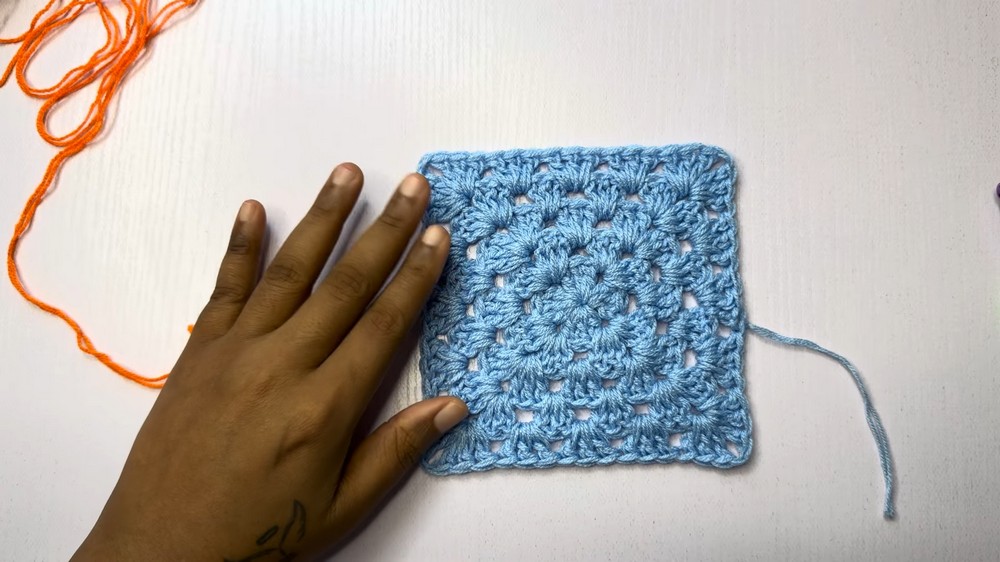
Steps to Make a Granny Square
- Foundation: Create a Magic Circle
- Wrap yarn around your finger and form a loop. Insert hook into the loop, pull yarn through, and chain 1 to secure.
- Row 1
- Chain 3 (counts as first double crochet).
- Work 2 more double crochets into the magic circle.
- Chain 1, then make 1 cluster (3 double crochets) into the circle.
- Repeat: Chain 1 and create 3 more clusters (total 4 clusters).
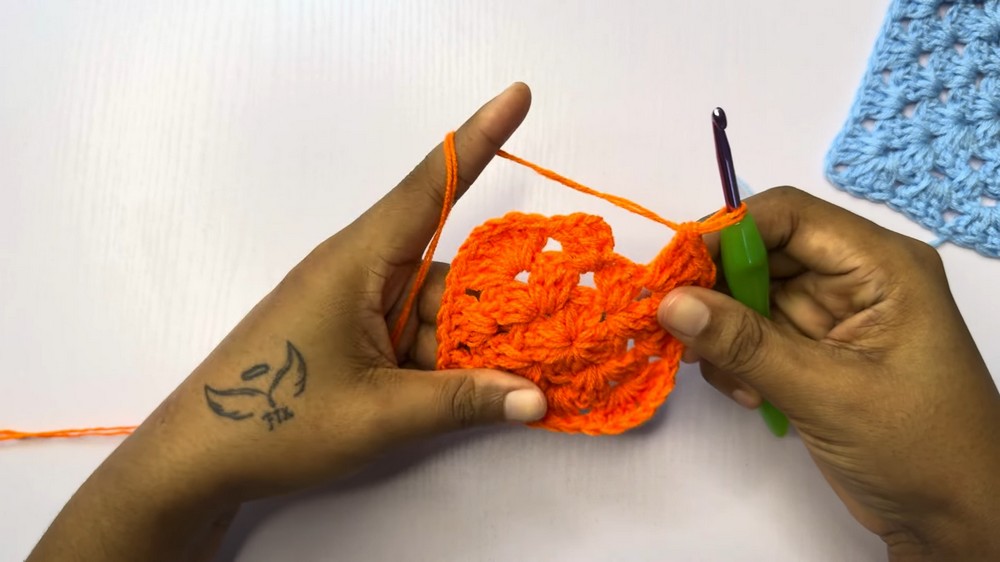
- Pull the circle tight, chain 1, and slip stitch into the top of the starting chain to close the row.
- Row 2 (Corners)
- Chain 3 and turn your work.
- Work 2 more double crochets into the first corner space. Chain 1 and create another cluster in the same corner.
- Move to the next space and repeat the same process: 1 cluster, chain 1, and another cluster.
- Continue until you complete 4 corners. Slip stitch into the top of the starting chain.
- Rows 3 to 5 (Increasing)
- Begin each row with chain 3 and turn your work.
- For corner spaces: Always work 1 cluster, chain 1, and another cluster.
- For side spaces (non-corners): Work only 1 cluster.
- Continue until the square measures 5 inches (5 rows total).
- Finishing the Square
- Chain 1, fasten off, and weave in ends.
- Chain 1, fasten off, and weave in ends.
Total Squares Needed
- Make 12 squares per panel (24 total for both panels).
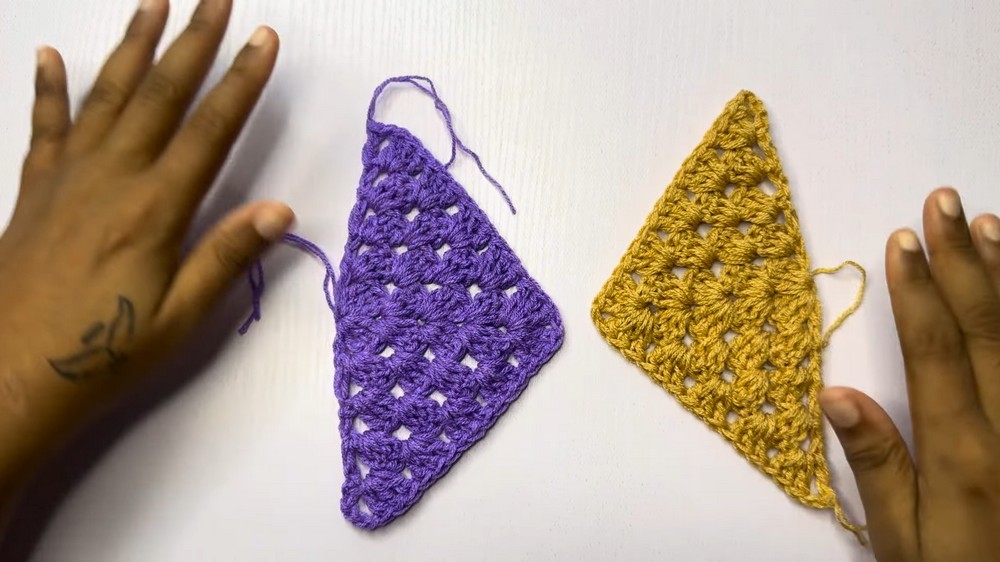
Part 2: Making Triangles
Triangles are placed under the arms for shaping.
Steps to Make a Triangle
- Foundation: Create a Magic Circle
- Form a loop and secure with a chain.
- Row 1 (Shaping the Base)
- Chain 4. Work 1 cluster (3 double crochets) into the circle.
- Chain 1, work another cluster into the circle. Chain 1 again, then make 1 double crochet to finish the row.
- Row 2 (Corners)
- Chain 4, turn your work.
- Work a cluster into the corner space. Chain 1, work another cluster into the same space.
- Continue along the row, working clusters in spaces (without chaining between non-corners).
- End with 1 double crochet in the last stitch.
- Rows 3 to 5 (Increasing)
- Continue the same pattern, working increases only at corners to shape the triangle.
- Finish when the triangle measures 5 inches.
Total Triangles Needed
- Make 2 triangles per panel (4 total for the top).
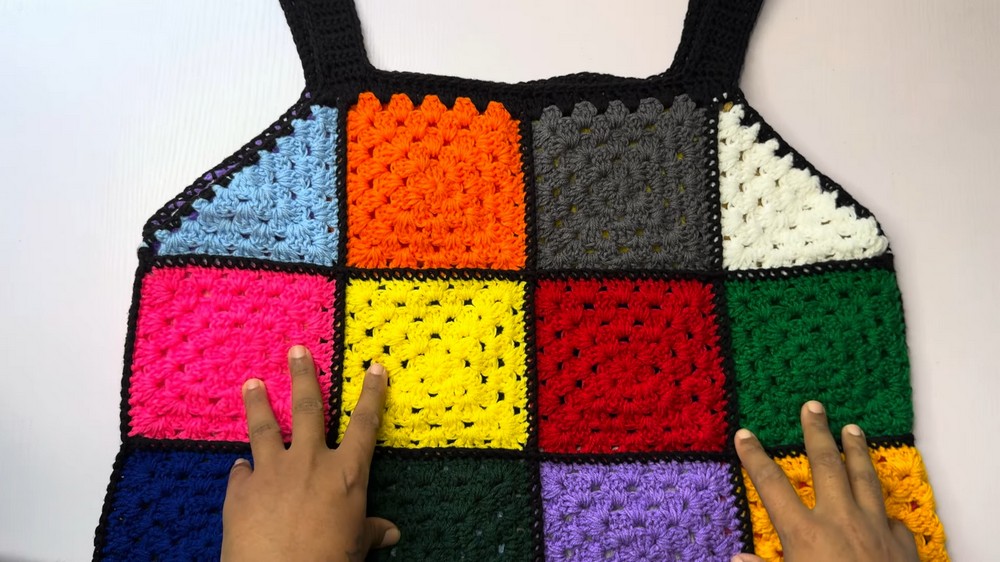
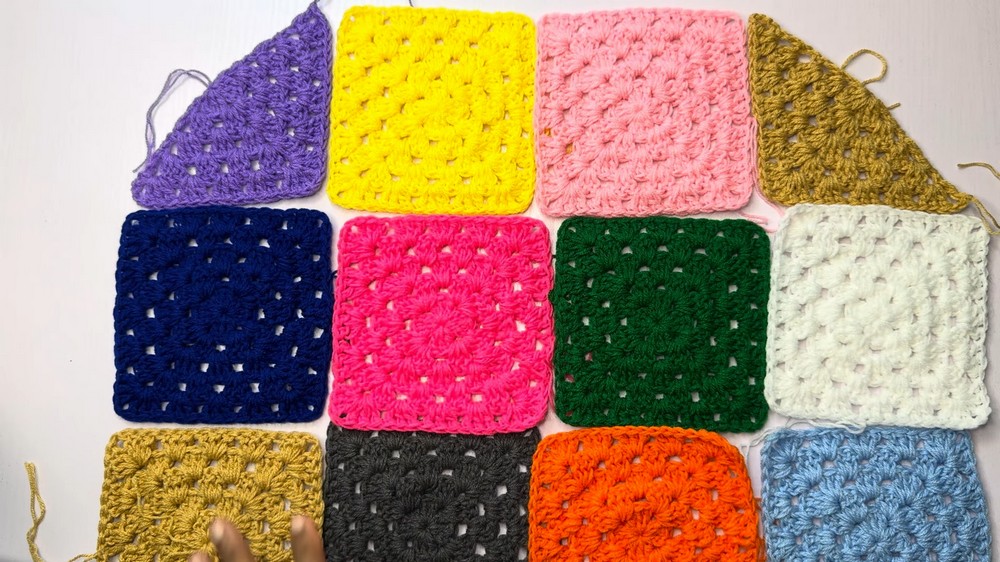
Part 3: Joining Squares and Triangles
Panel Assembly (Single Crochet Method)
- Place the squares and triangles in the desired layout:
- 3 rows of 4 squares vertically (total 12 squares).
- Position triangles on the top corners for additional shaping.
- Use single crochet to join:
- Attach yarn to the edge of the first square. Work single crochets through both panels (or triangle and square).
- Continue along each edge to join pieces neatly.
Final Panel Assembly
Make two identical panels, one for the front and one for the back.
Part 4: Joining Panels
- Align the panels and use the single crochet method to join along the sides.
- Leave the space above the triangles open for armholes.
- Join at the shoulders using a tapestry needle and long yarn tails. Secure neatly.
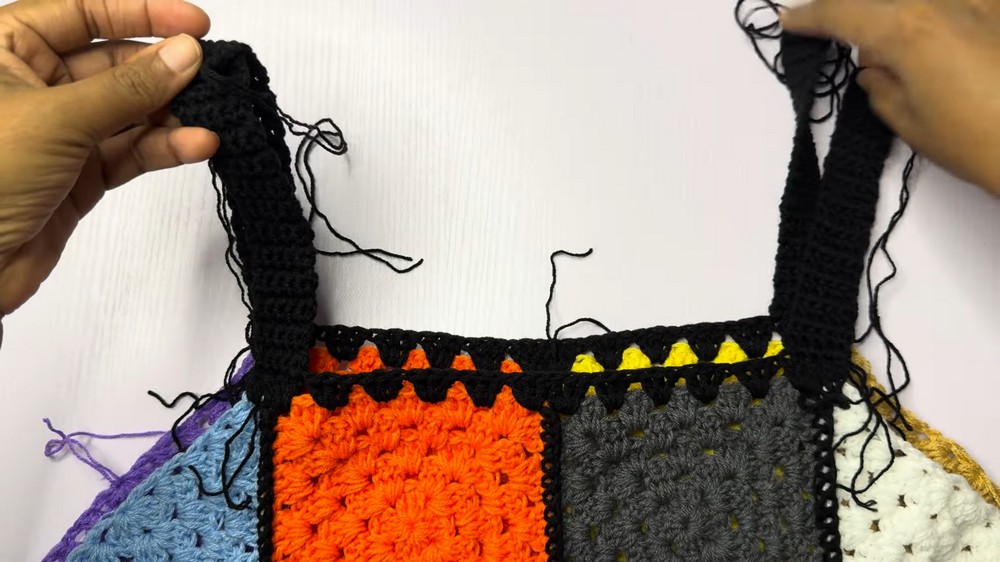
Part 5: Edging
Add edging to the neckline, armholes, and the bottom hem using single crochet.
Neckline
- Attach yarn at the neckline edge.
- Work single crochet evenly around the neckline.
- Slip stitch into the starting stitch and fasten off.
Armholes
- Attach yarn under the arm seam.
- Work single crochets around the armhole space, placing 2 single crochets per granny square space.
- Finish with a slip stitch into the starting stitch.
Bottom Hem
- Attach yarn to the hem edge.
- Work clusters (3 double crochets in each space) to mimic the top’s design.
- Slip stitch into the starting chain and fasten off.
Finishing
- Weave in all loose ends securely using a tapestry needle.
- Block the top if necessary to ensure the granny squares are aligned neatly.
- Optional: Add a chain string with decorative beads for tying at the waist.
Final Words
Your crochet granny square top is now complete! This versatile and vibrant design can be dressed up or down depending on your preference. Whether worn loosely or cinched for a fitted look, this top is sure to stand out as a handmade masterpiece.
Tips to Maintain Your Top
- Washing: Hand wash gently in cool water to avoid stretching or damaging the granny squares.
- Drying: Lay flat to dry to maintain shape. Do not wring or hang.
- Storage: Fold neatly and store flat to avoid distortion.