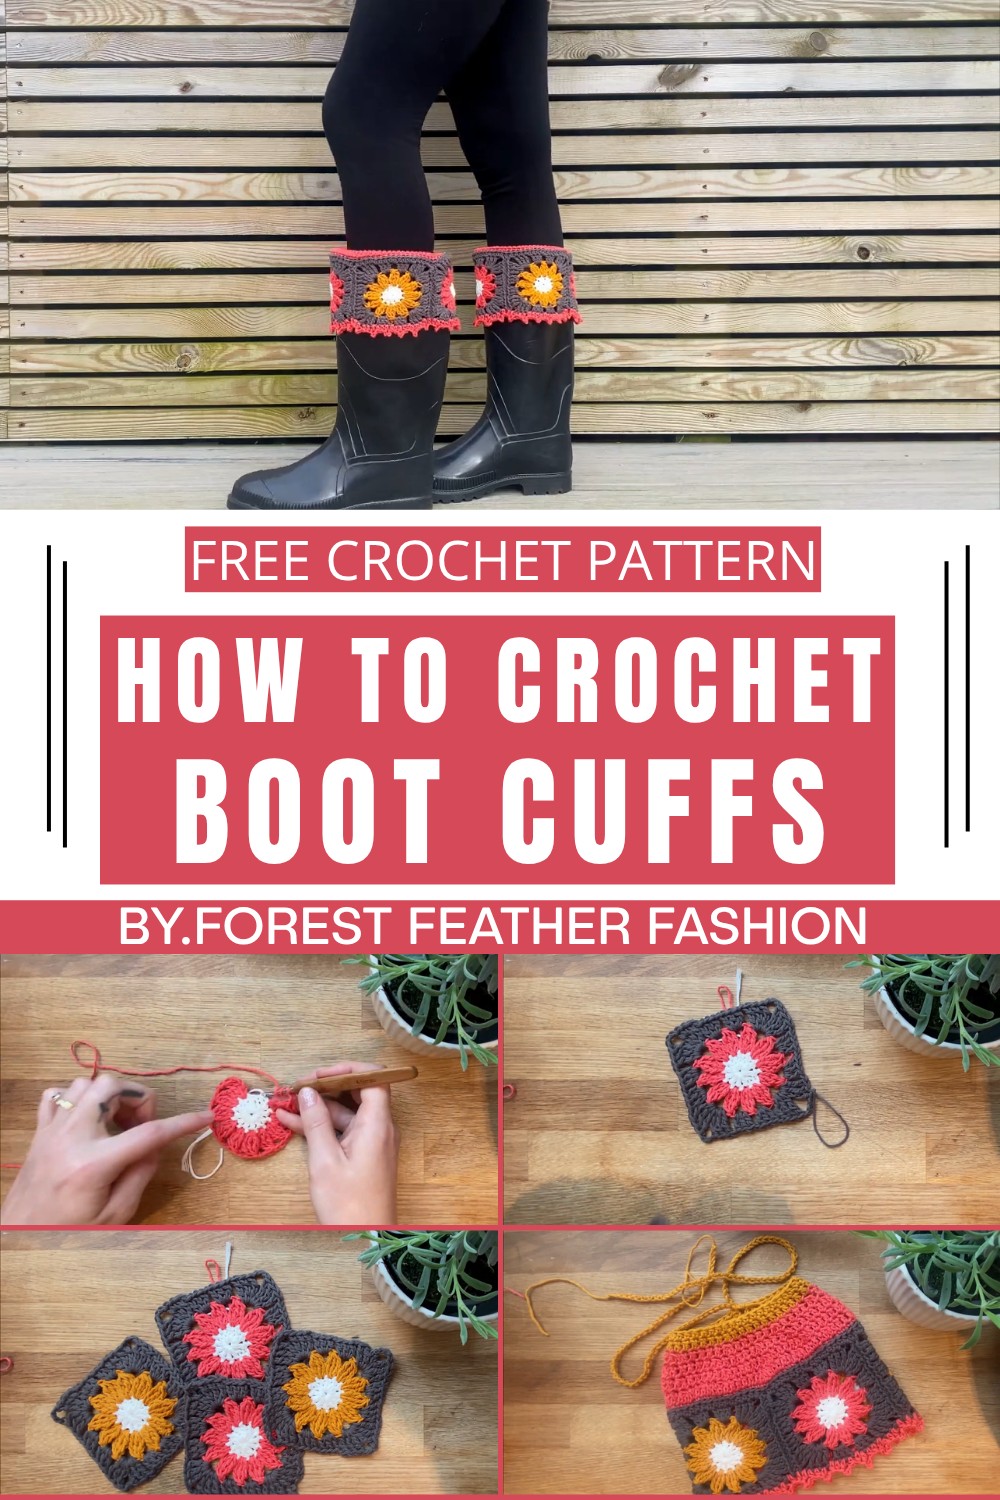
Beautiful Free Crochet Boot Cuff Pattern To Boots Your Style
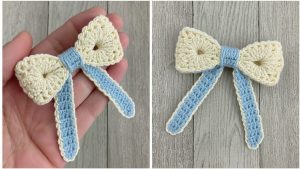
Add a pop of style to your boots with this easy and creative crochet boot cuff pattern, designed to keep you warm and fashionable all season long.
Stylish Free Crochet Boot Cuff Pattern for Warmth
There’s nothing quite like adding a touch of charm to your outfit during colder days. A beautiful crochet boot cuff peeks stylishly over the top of your boots, giving them a cozy and decorative look. With its soft texture and intricate design, it’s more than just a practical addition to keep your legs warm—it’s a fashionable statement that enhances your overall appearance.
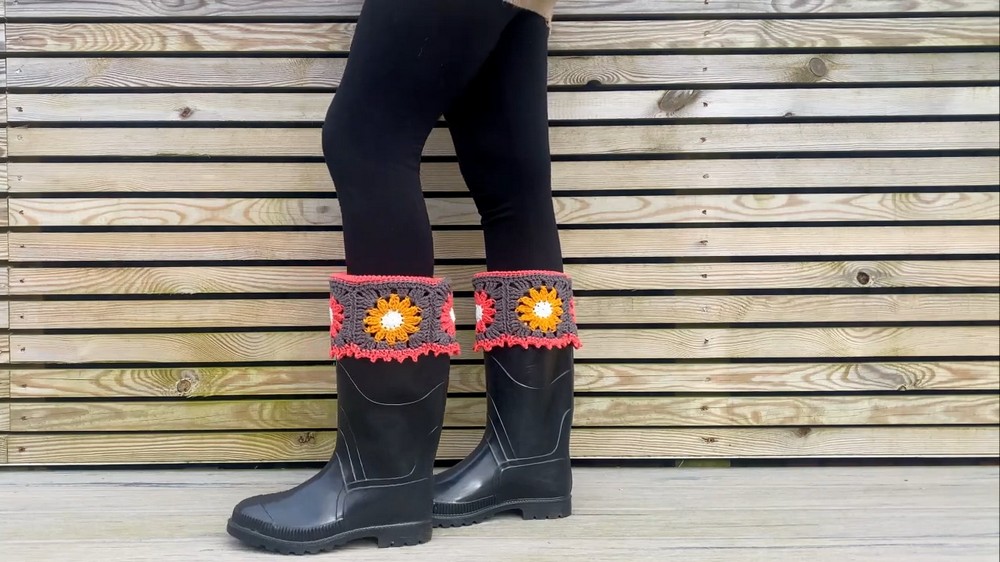
Designed to fit snugly around your calves, it brings both comfort and elegance, whether you’re wearing tall boots or ankle ones. The versatile design allows it to work perfectly with winter outfits or even as an accent for casual wear. Beautifully hand-crocheted with a variety of colors to suit any preference, it’s easy to match with scarves, gloves, or other accessories. Whether for your own wardrobe or as a thoughtful gift, a crochet boot cuff is a simple yet eye-catching way to stay stylish and warm.
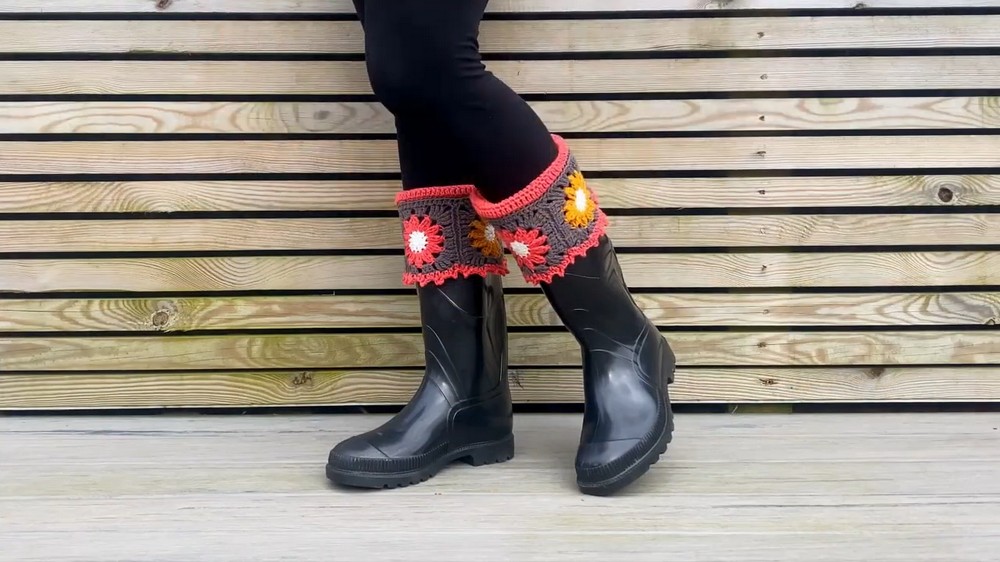
Crochet Daisy Granny Square Boot Cuffs Pattern
Finished Size
- Granny Square Size: Approximately 3 inches x 3 inches per square.
- The boot cuff size depends on the circumference of your boot opening. For example, if the boot’s top circumference is 13 inches, you’ll need 4 granny squares joined into a circle (each approximately 3 inches).
- The leg warmer portion will depend on the desired length, recommended at least 10-12 rounds for stability.
Materials Needed
- Yarn: Various medium-weight (or Aran) cotton or cotton-blend yarns in the following:
- For the flower centers: 1 color.
- For petals: 1 color.
- For square border and accents: 2 contrasting colors.
- Crochet Hook: 4mm hook (or a size appropriate for your yarn).
- Additional Tools:
- Scissors.
- Measuring Tape.
- Tapestry Needle: For weaving in ends.
Gauge
- Gauge is approximate due to yarn and crochet tension variations:
- 3 rounds of the daisy square should measure approximately 3 inches in width and height.
Key Abbreviations (US Terminology)
- Ch: Chain
- Sl St: Slip Stitch
- SC: Single Crochet
- HDC: Half Double Crochet
- DC: Double Crochet
- Tr: Treble Crochet
- St/s: Stitch/es
Pattern Overview
This project is broken into three main sections:
- Making Daisy Granny Squares: Each cuff requires 4 squares (or adjust for your boot size).
- Joining Squares: Connecting the squares to create the base cuff.
- Adding Frills and the Leg Warmer Section: Adding ruffled frills to the bottom and a leg warmer section for the top with ties to secure around your legs.
Step-by-Step Pattern
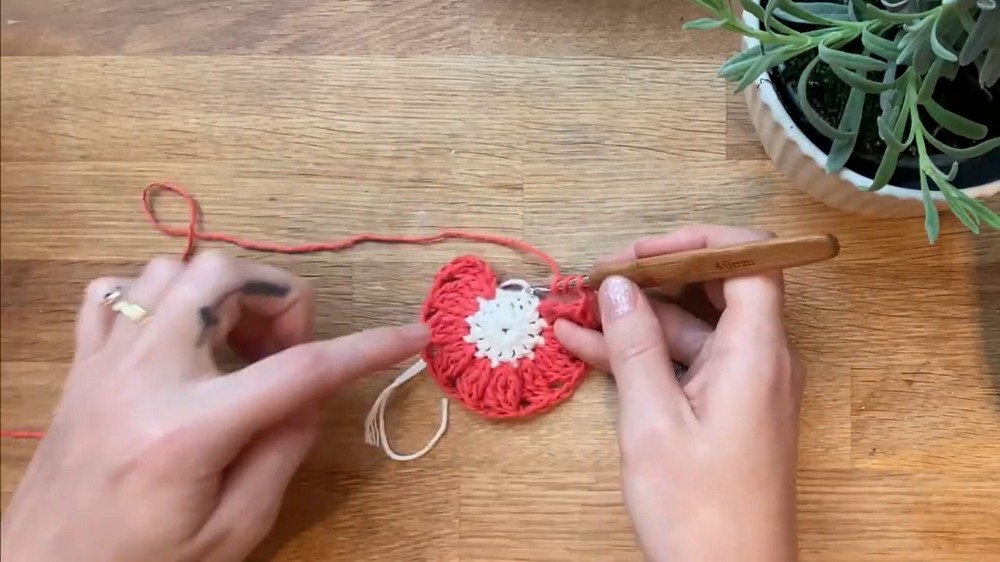
Step 1: Daisy Granny Square
Center Circle
- Start with a slip knot and chain 4.
- Slip stitch into the first chain to form a ring.
- Center DC Round:
- Ch 3 (counts as 1st DC), yarn over, and make 11 DC into the center of the ring.
- The total number of stitches will be 12 (including the first Ch 3).
- Slip stitch into the top of the Ch 3 to close the round.
- Cut and secure yarn; attach the next color for the petals.
Flower Petals
- Attach the petal color yarn in any stitch.
- Start Petal:
- Chain 4 (counts as 1st Treble (Tr)).
- Yarn over twice; work 2 incomplete Treble Crochets in the same stitch:
- Insert hook, yarn over, pull through 2 loops twice. Leave the last loop on the hook. Repeat for the next Treble.
- You should have 4 loops on your hook.
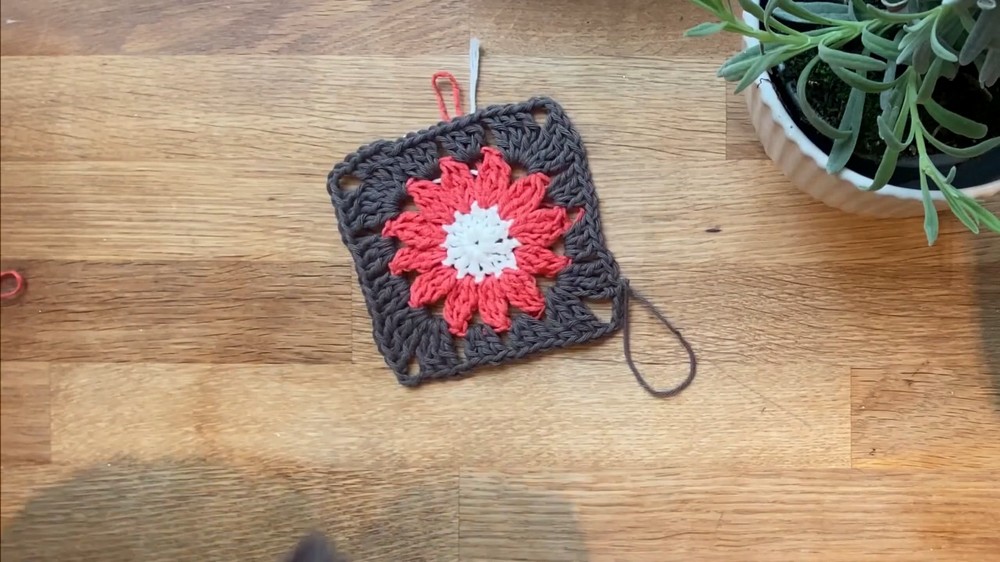
- Yarn over, pull through all loops.
- Chain 2, then move to the next stitch and repeat the petal instructions (a cluster of 3 incomplete Treble Crochets).
- Continue this pattern around the circle to create 12 petals, separated by chain 2.
- At the end, chain 2 and slip stitch into the top of the first petal cluster.
- Fasten off and attach a yarn color of your choice to create the square outline.
Square Border
- Attach the third color yarn in any Ch-2 space.
- Corner Formation:
- Chain 4 (counts as 1st Tr), then make 2 Tr in the same space.
- Chain 3 and add 3 Tr into the same space. This forms a corner.
- Side Formation:
- Chain 1, make 3 DC in the next Ch-2 space. Chain 1. Continue until the next petal.
- For each new corner, work (3 Tr, Ch 3, 3 Tr) in the same space.
- Continue forming corners and sides until the square is completed.
- Slip stitch into the 4th chain of the starting corner. Cut and fasten off.
✦ Make 4 squares for each boot cuff, alternating colors as desired.
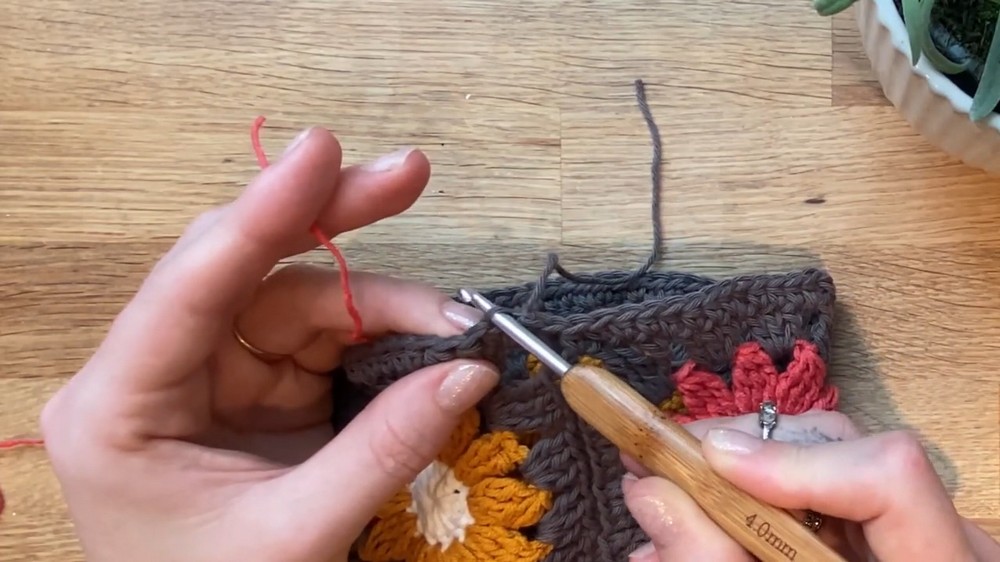
Step 2: Joining the Squares
- Arrangement: Arrange the finished squares with right sides facing each other if using alternate colors.
- Joining Method (Slip Stitch Back Join):
- Place two squares side by side, right sides facing in.
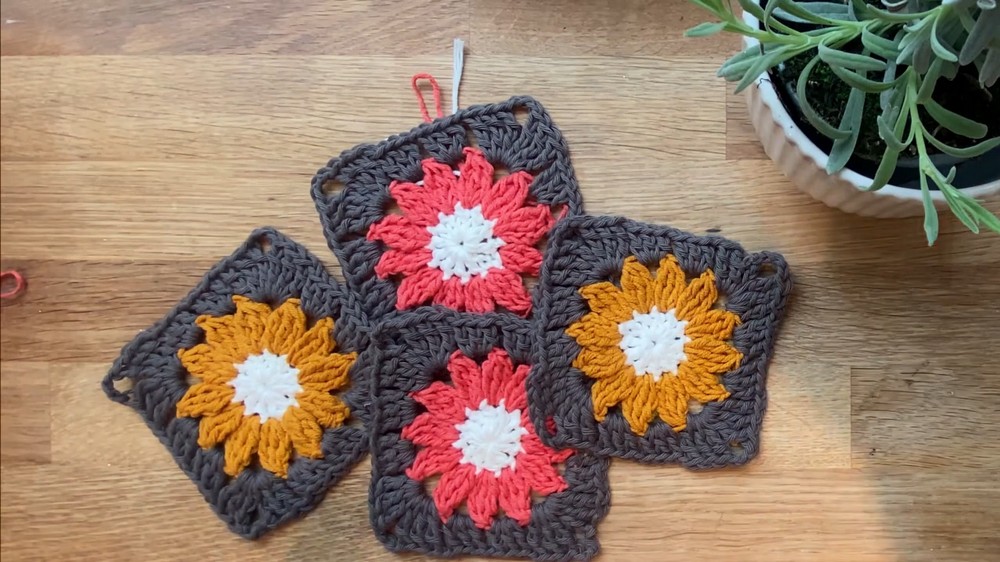
- Using the same yarn color as the square border, insert your hook into the back loops only of the corresponding stitches on both squares.
- Yarn over and pull through both loops to make a slip stitch. Continue this method across the edge.
- Place two squares side by side, right sides facing in.
- Join all 4 squares to make a continuous circle.
Step 3: Adding Frills
- Attach a contrasting yarn color to any corner space of the squares.
- Row 1 of Frills:
- Chain 1, work HDC into the same space, and HDC into each join and corner around.
- After every 3 HDC, make a picot stitch (Ch 3, Sl St into the back loop of the last HDC worked). Repeat around.
- Slip stitch to the starting stitch and fasten off.
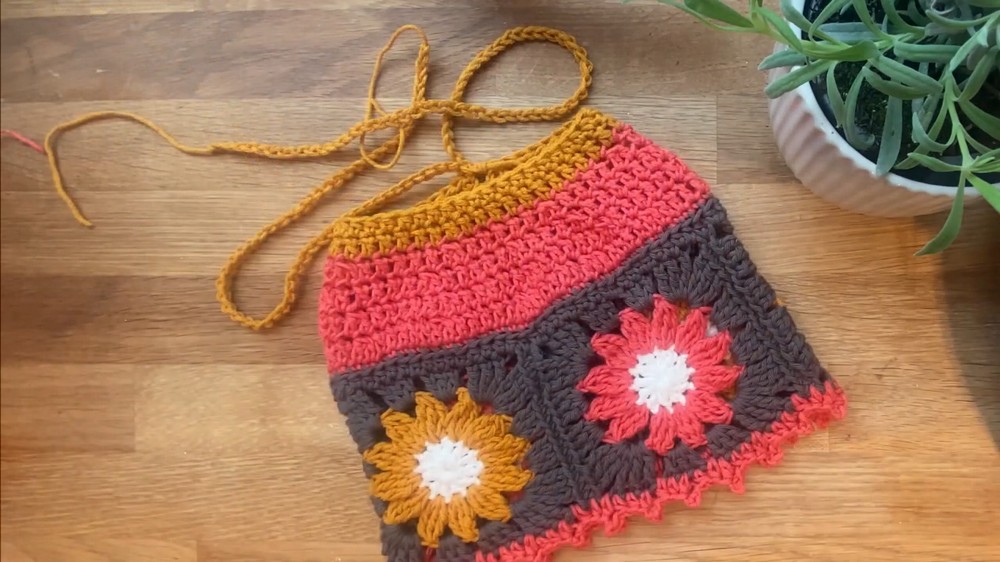
Step 4: Leg Warmer Section
- Row 1:
- Join the yarn to the top of a square and work a round of HDC into every stitch around.
- Rows 2 Onward:
- Work SC into the back loops only for a foldable effect.
- Alternate normal DC rounds with DC decrease rounds to taper the leg warmer.
- Example: 5 DC, then 1 DC decrease. Increase the number of DC between decreases each round.
- Example: 5 DC, then 1 DC decrease. Increase the number of DC between decreases each round.
Step 5: Ties
- At the base of the leg warmer, make a long chain (approx. 50-60 Ch) directly after the last Sl St.
- Fasten off and weave the tie through the bottom row of stitches. Repeat on the opposite side for the second tie.
Customizations
- Color Scheme: Use leftovers or gradient yarn for a unique look.
- Frill Style: Experiment with lace-like edges or shell stitches.
- Square Size: Add a round of single crochet if the squares need a slight size adjustment.
- Stretch Fit: Consider a stretchy ribbing stitch for the leg warmer section.
Conclusion
Congratulations on completing your crochet daisy granny square boot cuffs! These cuffs are the perfect blend of comfort, style, and functionality for your wellies. They make for an excellent project to use scrap yarn and are versatile for customizing colors and design.
Final Remarks
- They are lightweight and perfect for outdoor fashion.
- Tag your finished projects on social media to inspire others!